There's no difference between the usage of Android MicroStrategy Mobile app and Android MicroStrategy Library app to enable the AppConfig. The only difference is in Part II upload apps. Please upload the app you want to use: MicroStrategy Mobile app or MicroStrategy Library app.
Part I Enroll device
1. download "Intelligent Hub" on your device. Go to Play Store and search airwatch you will find an app named “Intelligent Hub” and download it to your device.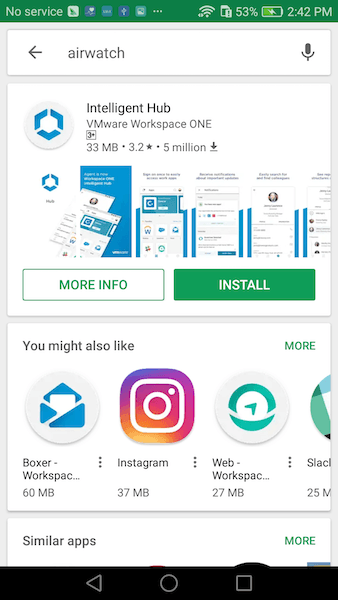
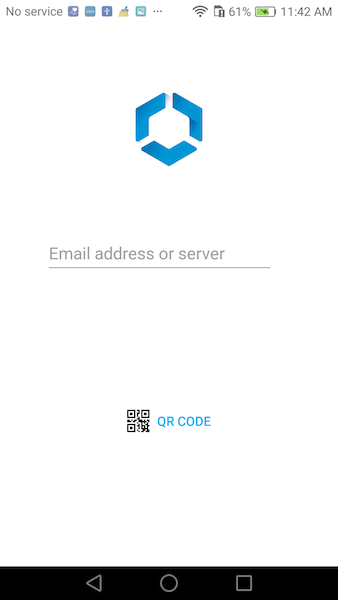
2. Open "Intelligent Hub" on your device. You will be required to register it via email address or server or QR code.
3. Go to AirWatch console to enroll your device.
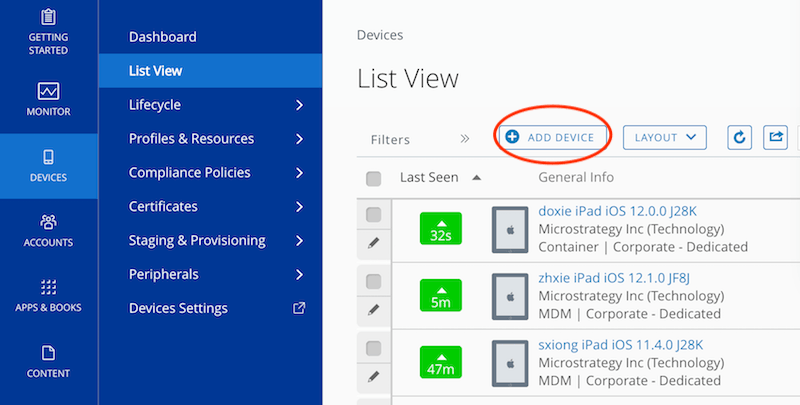
a. Login to AirWatch console and DEVICES -> List View -> ADD DEVICE.
b. Choose the user you want to enroll.
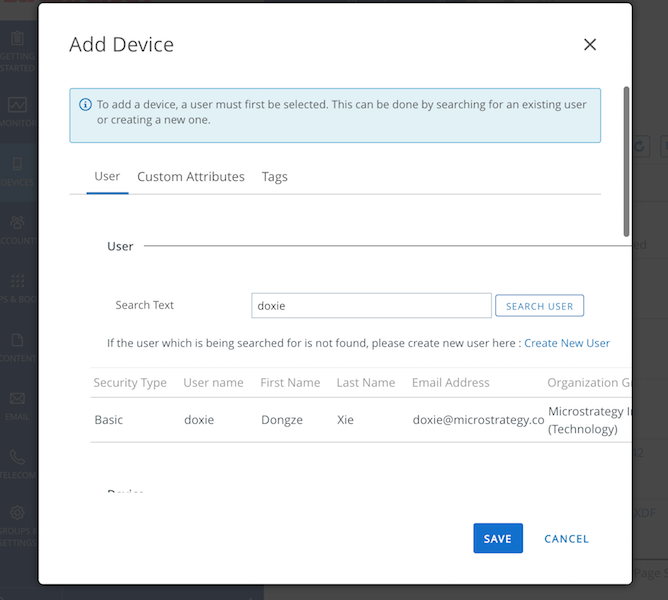
Then you will receive an email.
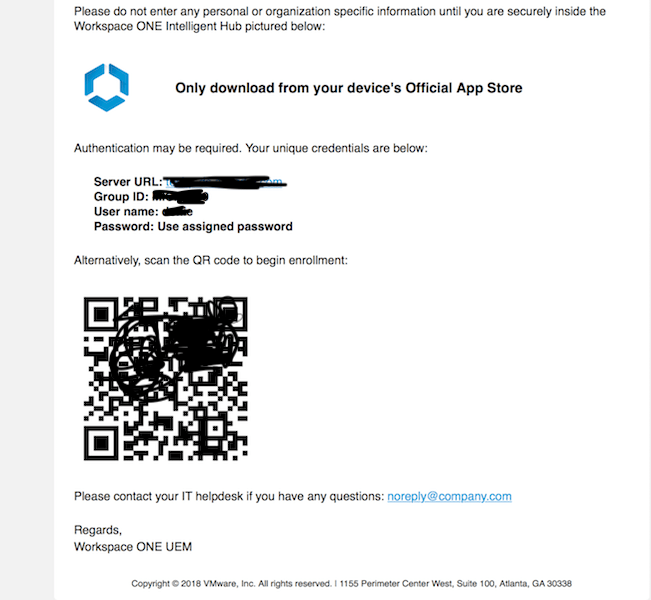
4. Use your device to scan the QR code to enroll your device and give permission then the "Intelligent Hub" will show you login page.
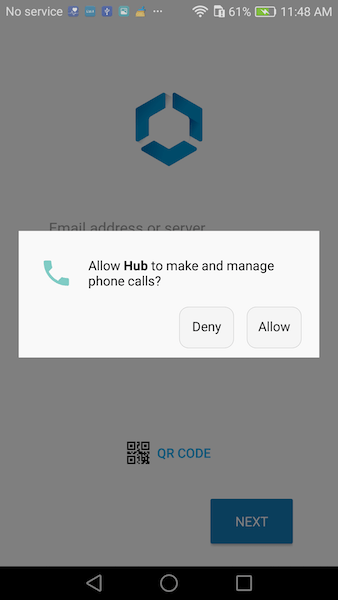
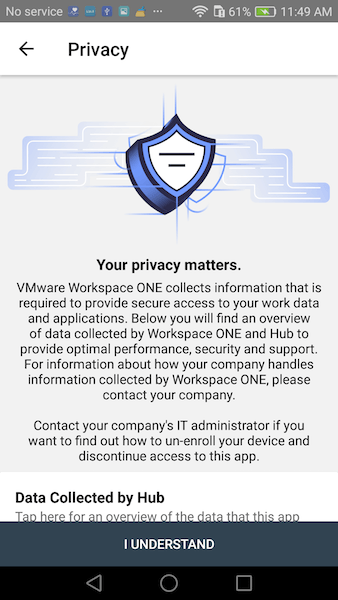
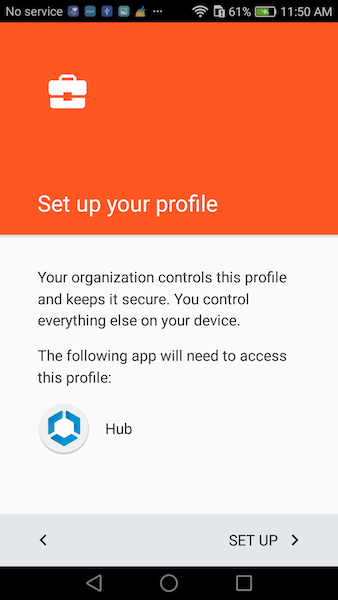
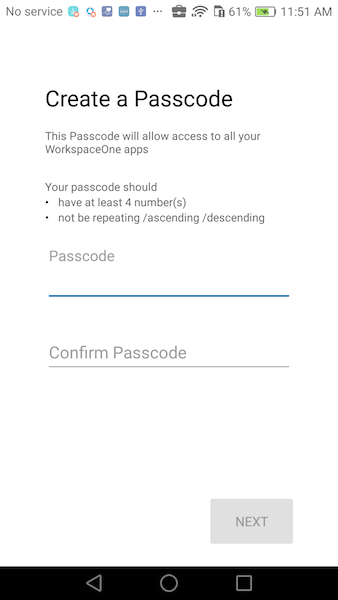
login with your AirWatch console account. Then follow the instructions to install profile and create passcode.
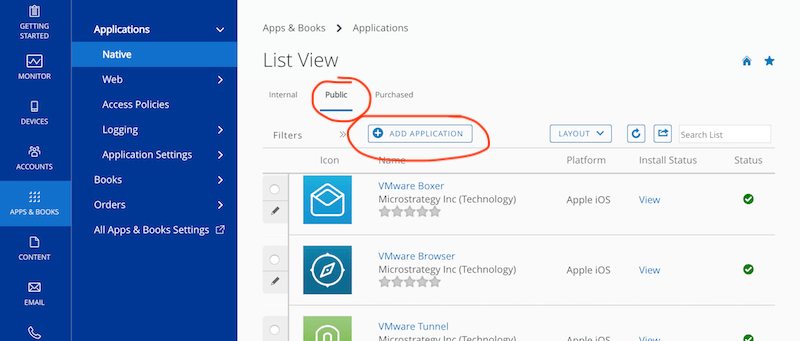
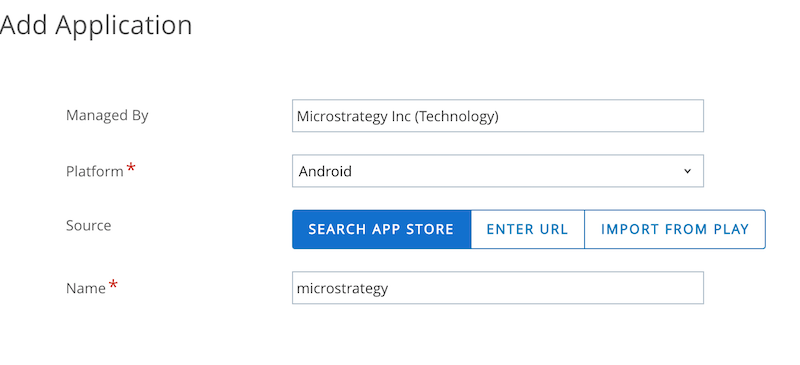
2. Choose Platform to Android and Source to SEARCH APP STORE and input the app's name then click NEXT.
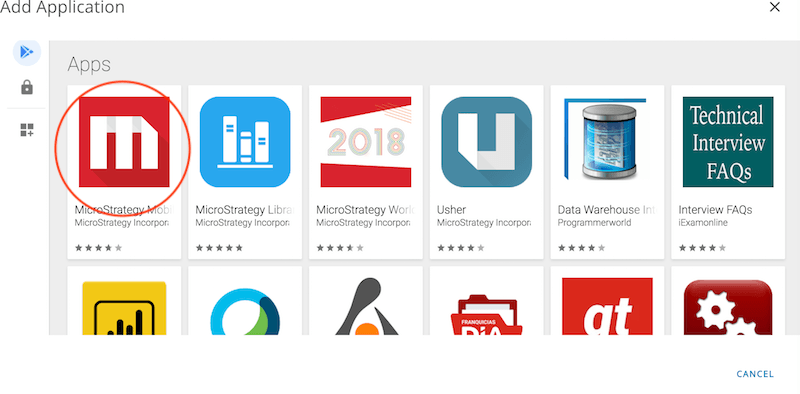
3. Add the app you search to your console and you will find it in your app list.
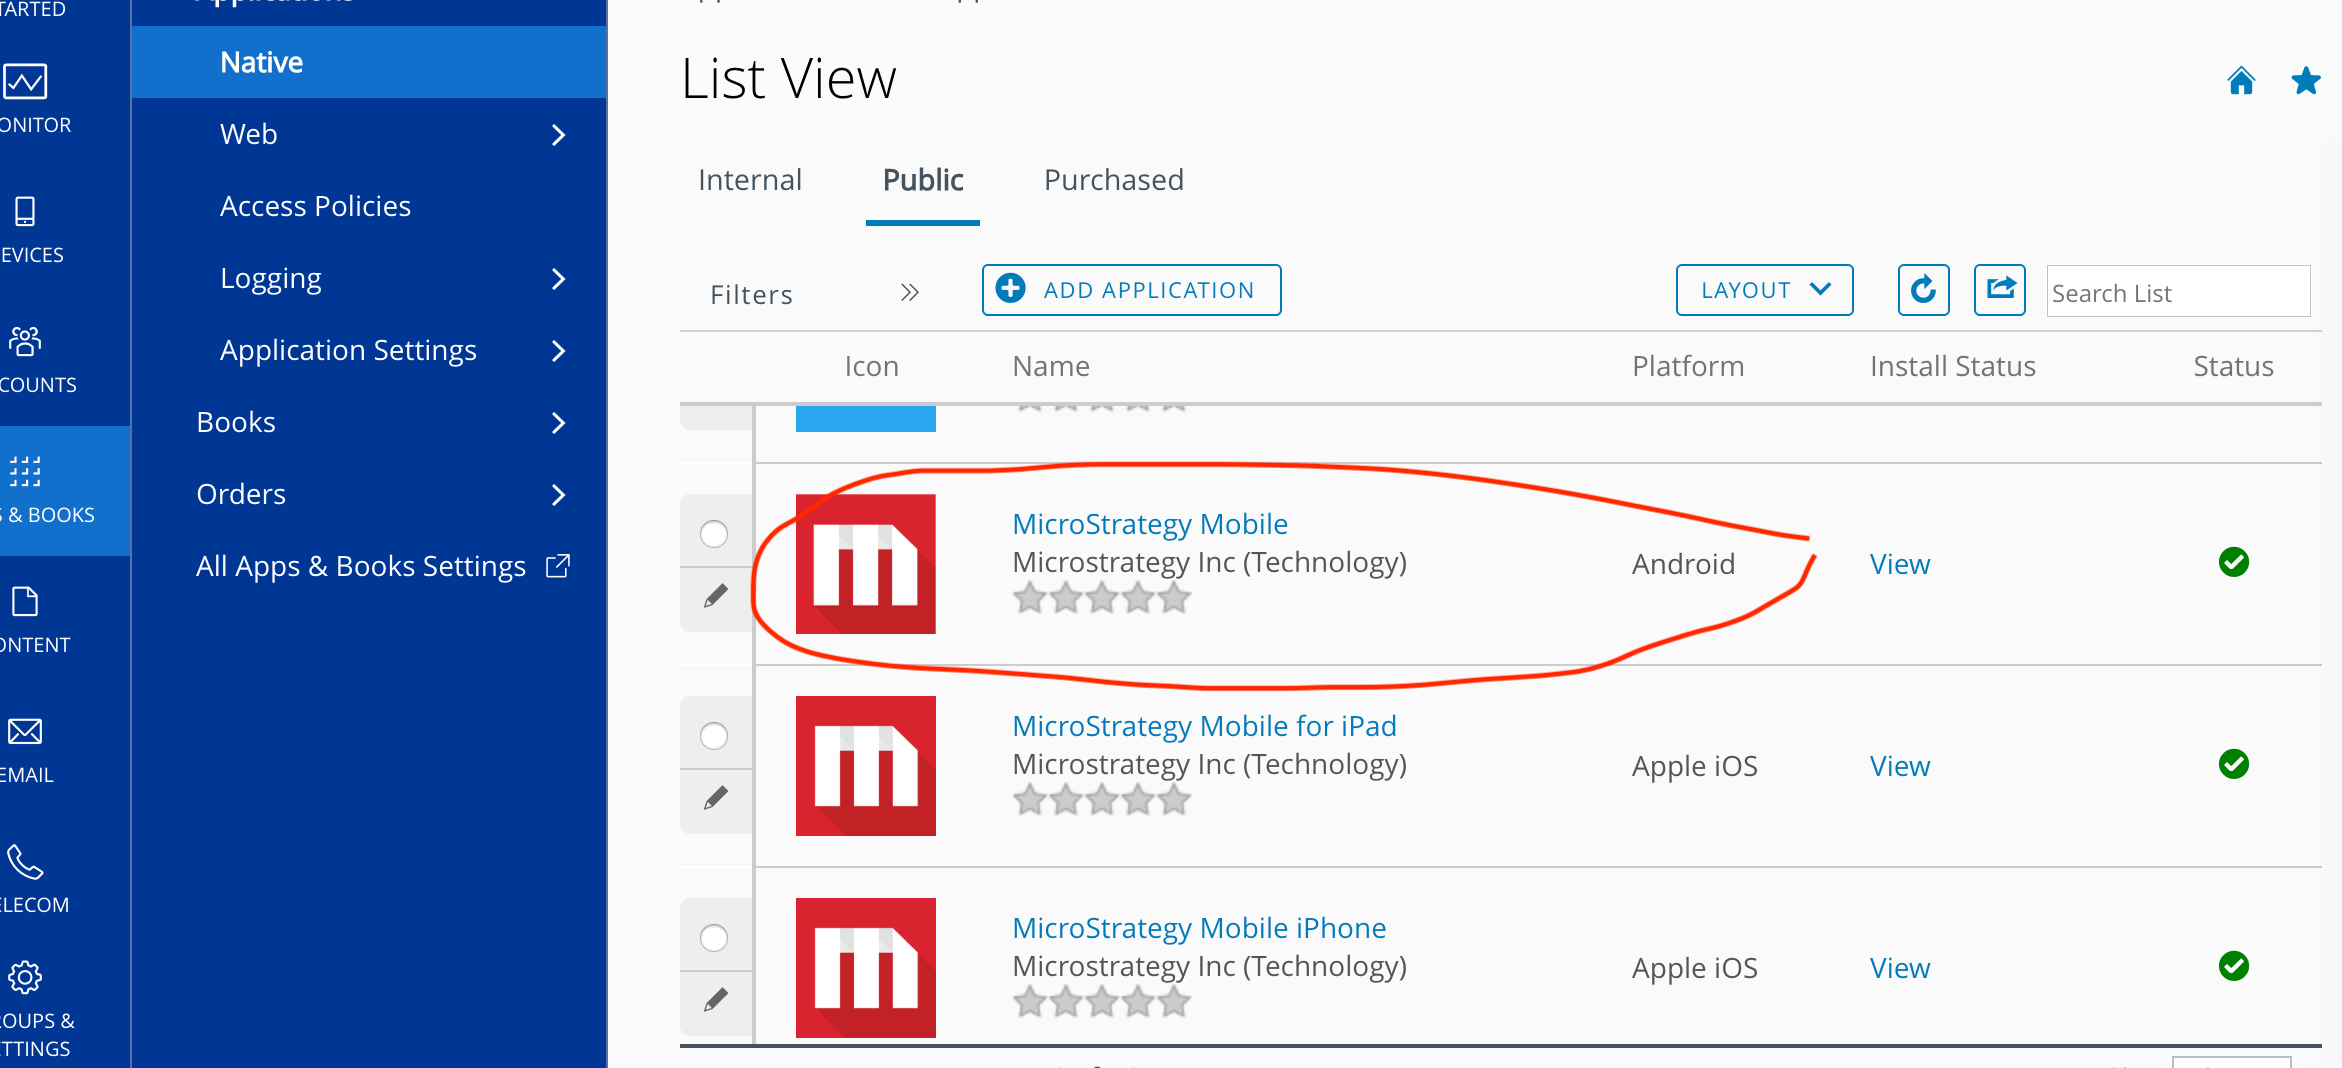
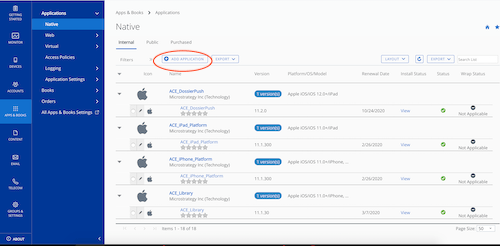
2. Choose your apk file and click the "SAVE" button
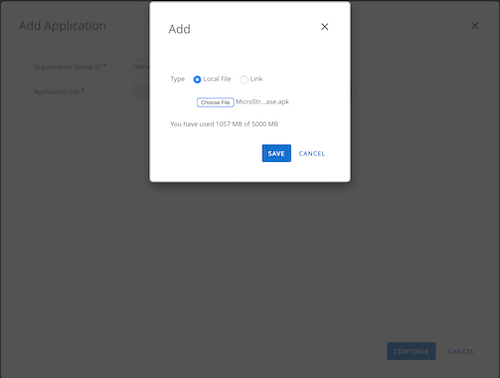
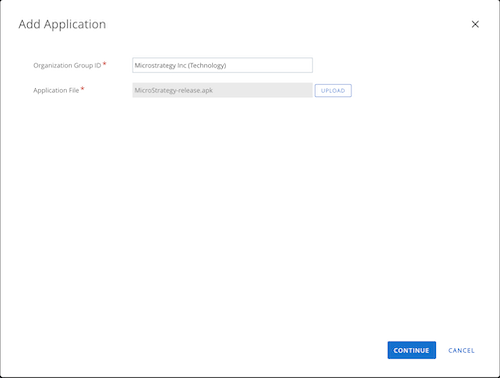
3. Verify the application information and click "CONTINUE"
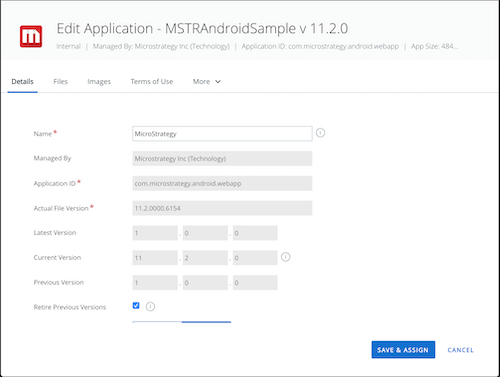
4.Set application information such as Name and version. Click "SAVE AND ASSIGN".
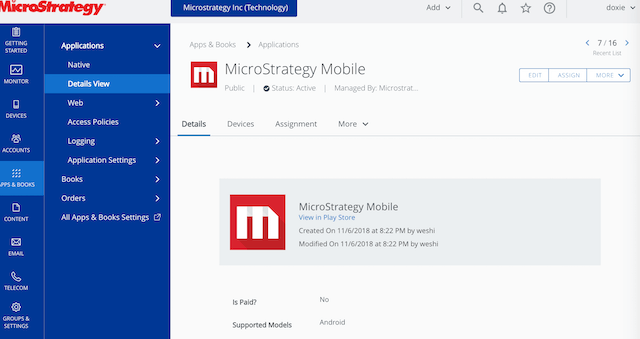
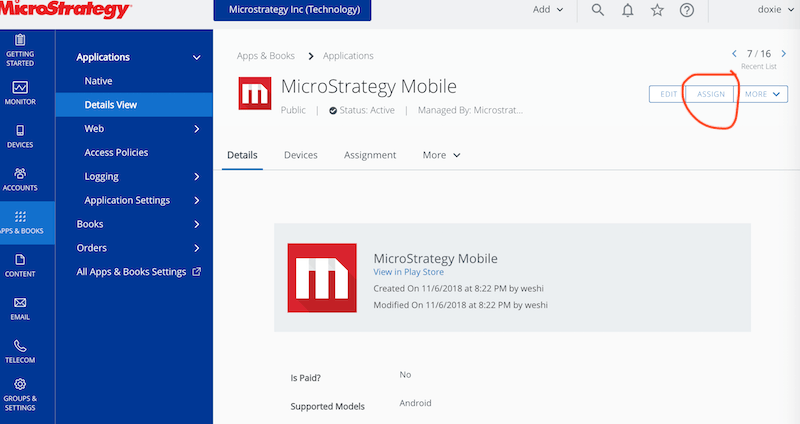
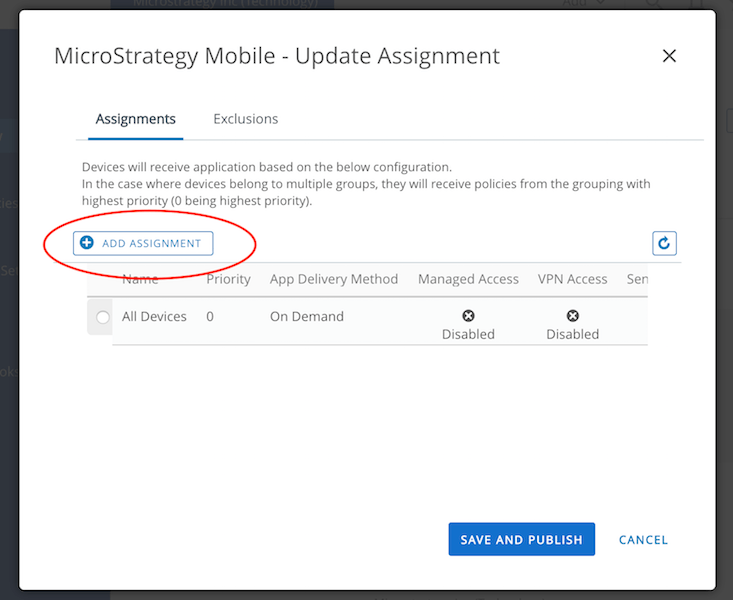
2. Click "ASSIGN" button to open assign page then Click "ADD ASSIGNMENT"
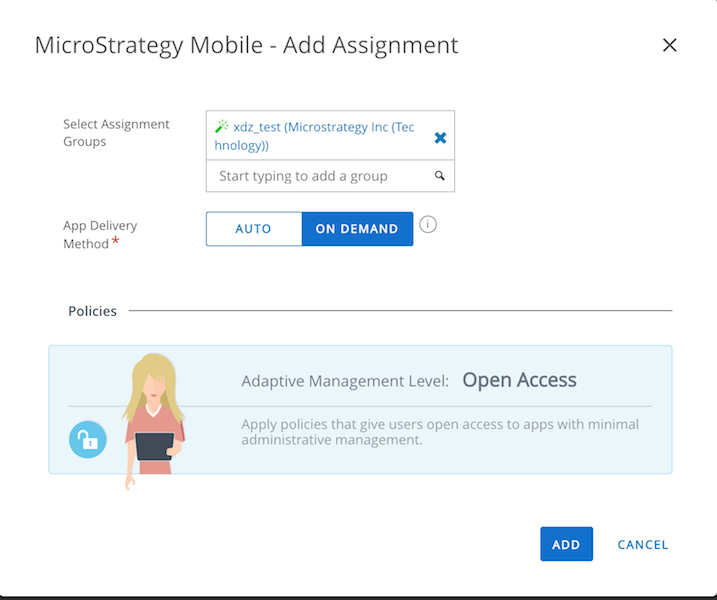
3. Choose the "SMART GROUP" you want to assign.
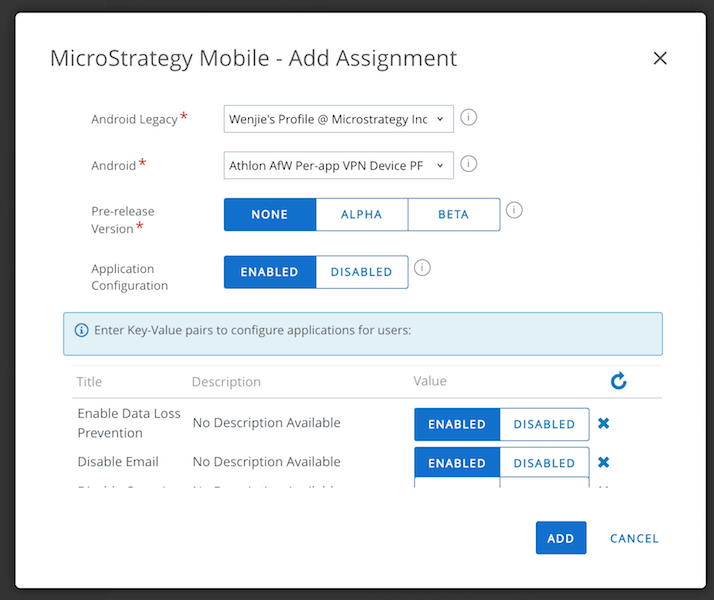
4. Fill the other information for assignment. I enable "App Tunneling" and "Application Configuration" here.
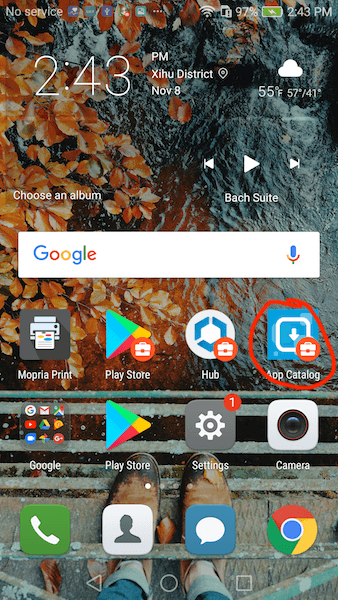
Open "Catalog" you will see the app you have assigned to you and download it.
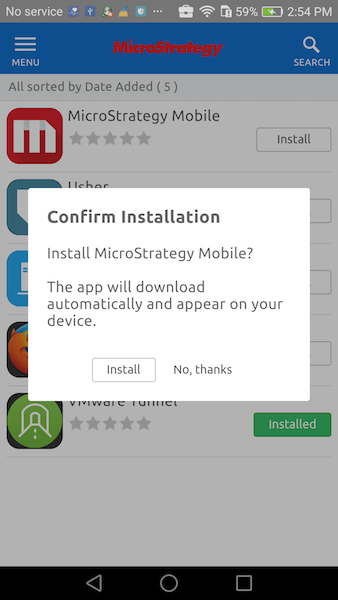
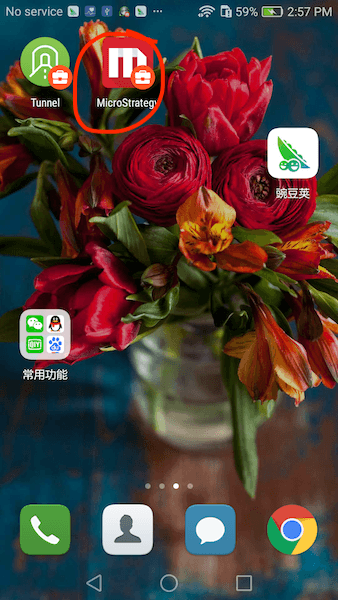
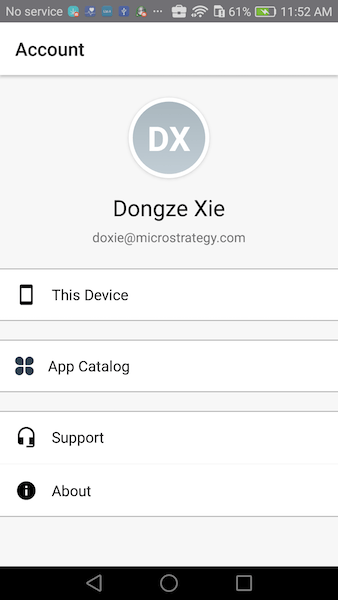
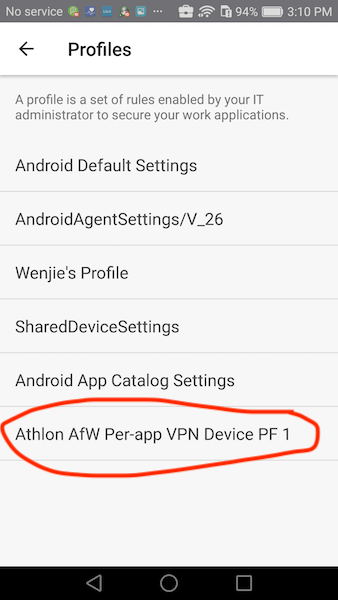
Since I have enabled App Tunneling and choose a Per-App VPN Profile there will be a profile auto downloaded to my device and you will see it in the Intelligent Hub -> This Device -> Profiles
Key | Value Type | Sample Value |
|---|---|---|
EnableDataLossPrevention | Bool | true |
DisableEmail | Bool | true |
DisableOpenIn | Bool | true |
DisablePrint | Bool | true |
DisableCopyPaste | Bool | true |
DisableCameraAccess | Bool | true |
DisableLocationServices | Bool | true |
DisableSaveToPhotos | Bool | true |
ConfigurationURLT | String | dossier://?url=http%3A%2F%2Fctc-iphone.labs.microstrategy.com%3A8080%2FMicroStrategyLibrary%2F%2Fapi%2Fconfig%2Fmobile%2F |
ConfigurationURLP | String | dossier://?url=http%3A%2F%2Fctc-iphone.labs.microstrategy.com%3A8080%2FMicroStrategyLibrary%2F%2Fapi%2Fconfig%2Fmobile%2F |
In Airwatch console, value with percent-encoding characters from application configuration will be automatically decoded:
%3A → :
%2F → /
%3F → ?
%3D → =
%26 → &
Therefore, we should firstly replace the "%" character with "%25" before applying the URL, for example:
Original URL:
mstr://?url=http%3A%2F%2F10.197.32.253%3A80%2FMicroStrategyMobile%2Fasp%2FTaskProc.aspx%3FtaskId%3DgetMobileConfiguration%26taskEnv%3Dxhr%26taskContentType%3Djson%26configurationID%3D68f36dc0-da1d-4fde-ab54-5ead5ffd5226%26blockTransform%3Dflatten%26blockVersion%3D1&authMode=1&dt=3
Converted URL:
mstr://?url=http%253A%252F%252F10.197.32.253%253A80%252FMicroStrategyMobile%252Fasp%252FTaskProc.aspx%253FtaskId%253DgetMobileConfiguration%2526taskEnv%253Dxhr%2526taskContentType%253Djson%2526configurationID%253D68f36dc0-da1d-4fde-ab54-5ead5ffd5226%2526blockTransform%253Dflatten%2526blockVersion%253D1&authMode=1&dt=3
If you need the application be initialized with a configuration URL, in the Application Configuration section, please input the converted URL as a String value. To distinguish configuration URLs between Android phone and tablet, we have the following keys for the URL:
3. Choose the assignment you want to modify and click "EDIT".
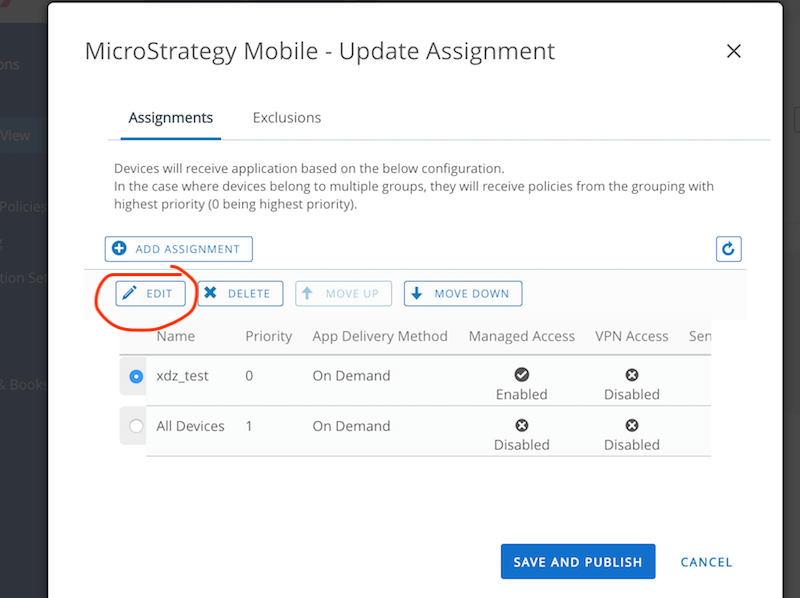
4. Modify the configuration in your assignment. I disable App Tunneling and change the DisableEmail to false which means I don't disable email in my app.
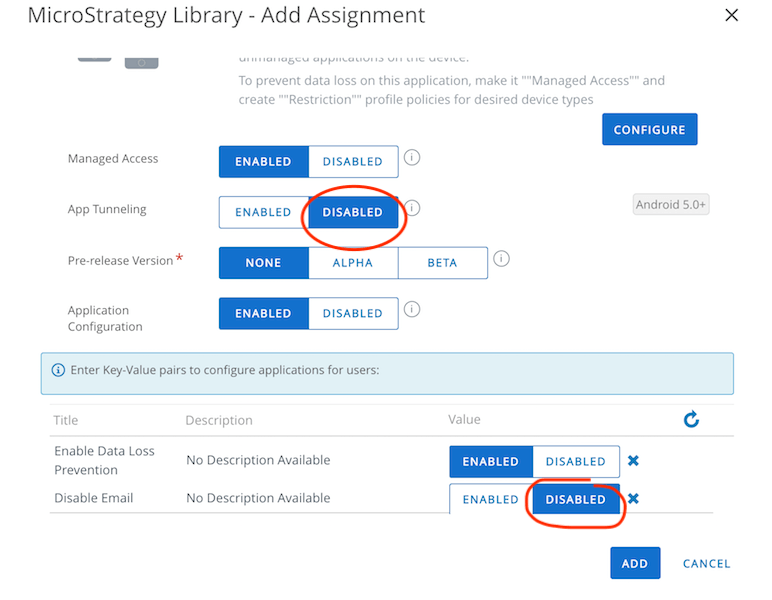
5. Add and publish. Then you will find that sending email is enabled.
