1.1 Adding users and devices in Workspace ONE UEM (This part is usually done by administrator who manages this console)
1.1.1 Login to Workspace ONE UEM with an administrator account: https://techp.awmdm.com/
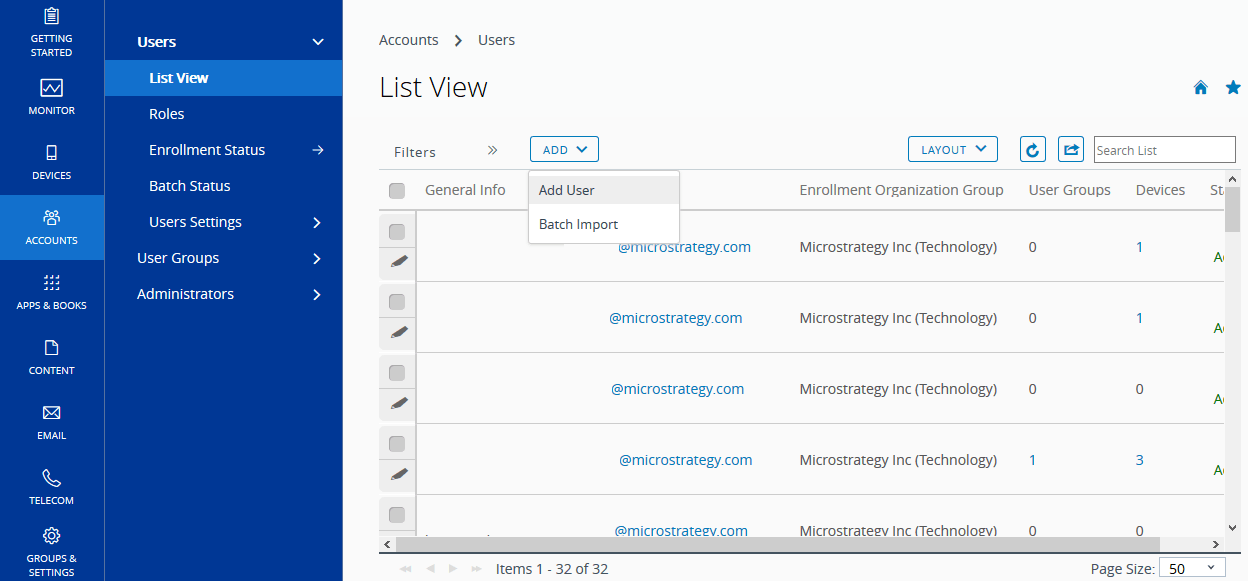
1.1.2 After you successfully logged into the Workspace ONE UEM, firstly you'll need to add the users and devices to the UEM. Please note that this user account is different from the administrator account. Add users in Accounts > Users > List View > Add > Add User:
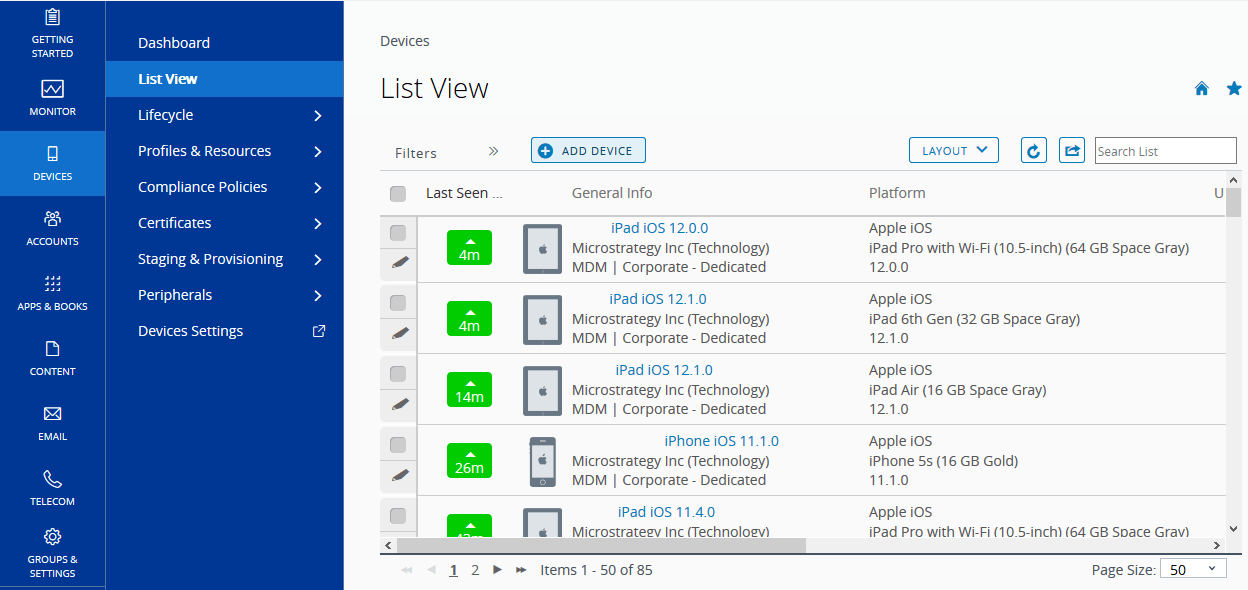
1.1.3 You can also add your devices in Devices > List View > ADD DEVICE.
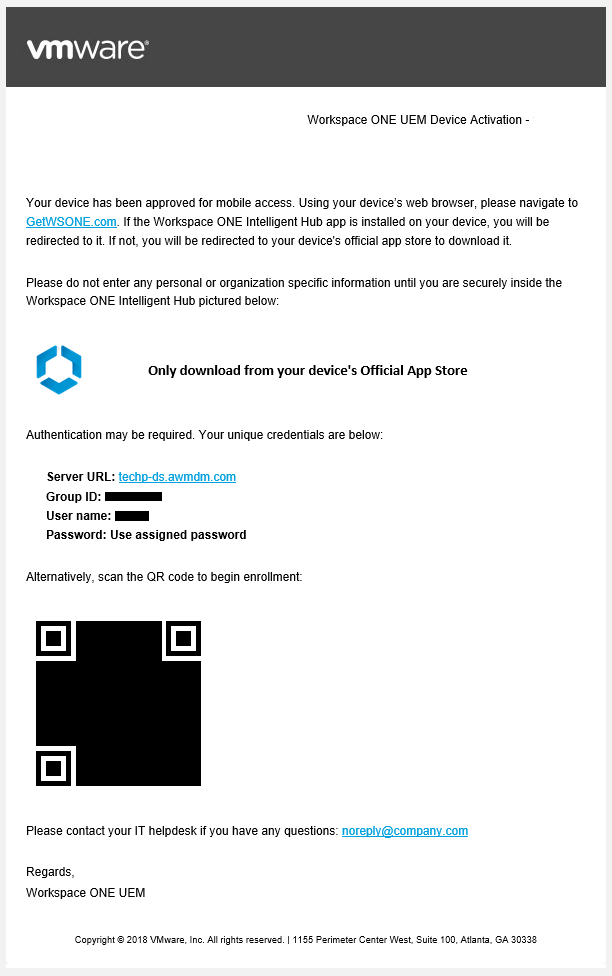
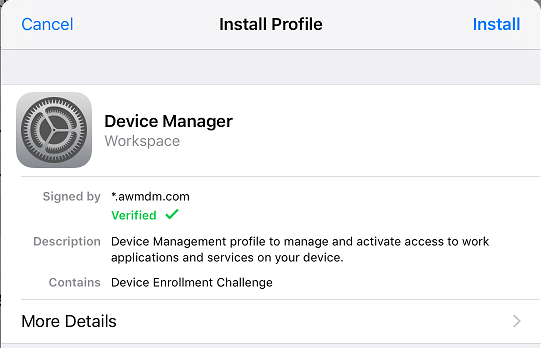
1.1.4 After the device is added into the list, you would receive an email on the email address you provided for the device. Open the link in your device, you will see the below page for Workspace ONE UEM device setup:
1.2 Configure the device to use Workspace ONE UEM
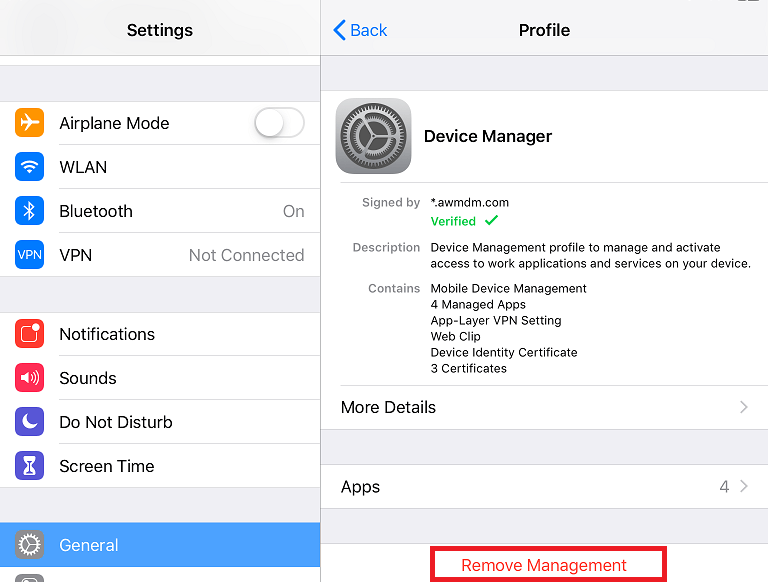
Note: Before enrolling your device in Workspace ONE UEM, please make sure that your device has not installed other MDM control profile. For iOS devices, go to Settings→General→Profiles & Device Management, if Mobile Device Management profile exists, please remove it from management.
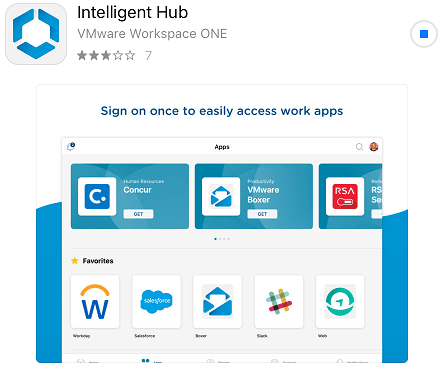
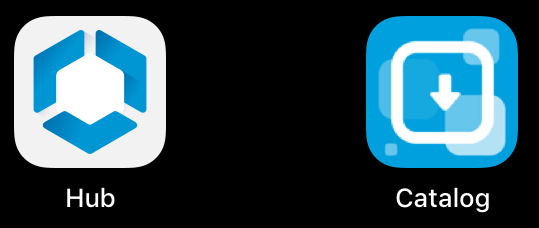
1.2.1 Install “Intelligent Hub” (use AppStore for iOS and Google Play for Android):
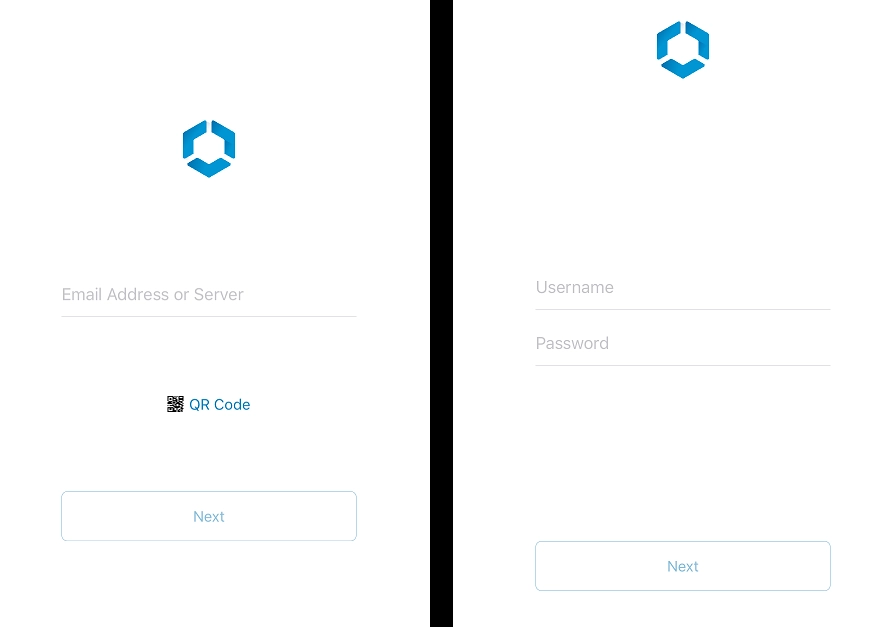
1.2.2 Launch the Intelligent Hub app and login with the information provided in the email and your credentials (left image is a sample of IOS, and right image is a sample of Android):
1.2.3 After login succeed, you need to approve policies and gain proper permissions to the app (left image is a sample of IOS, and right image is a sample of Android).
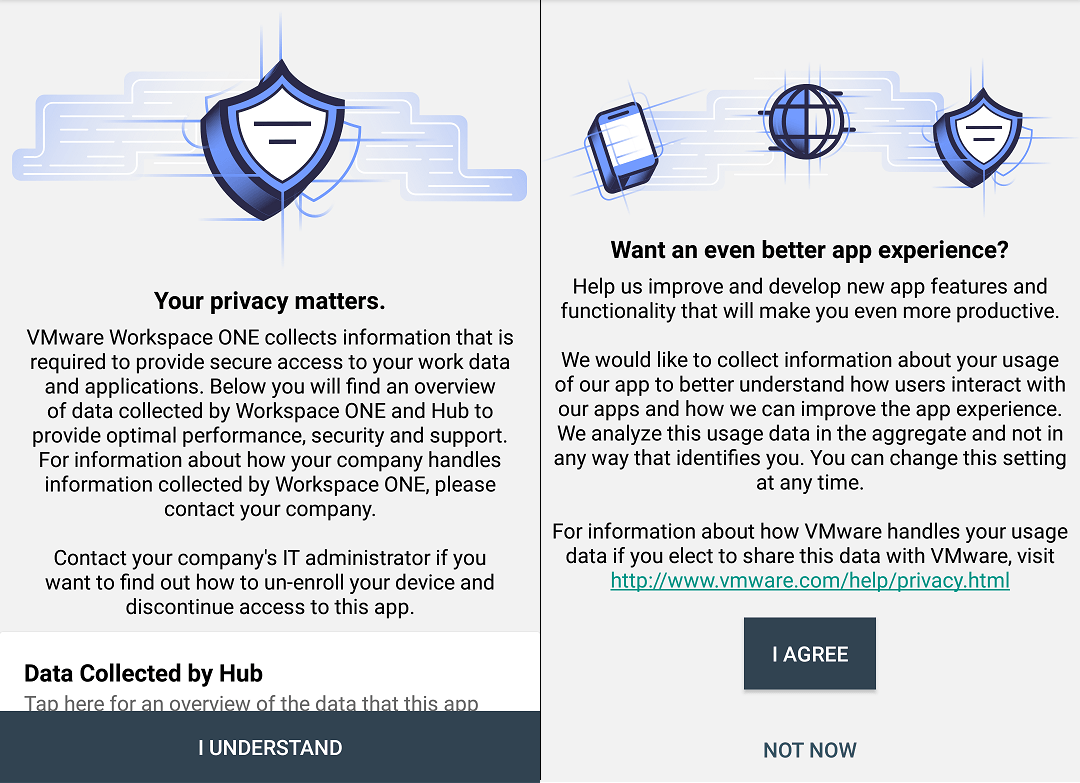
For iOS devices, you need to enable Device Management by installing a Certificate:
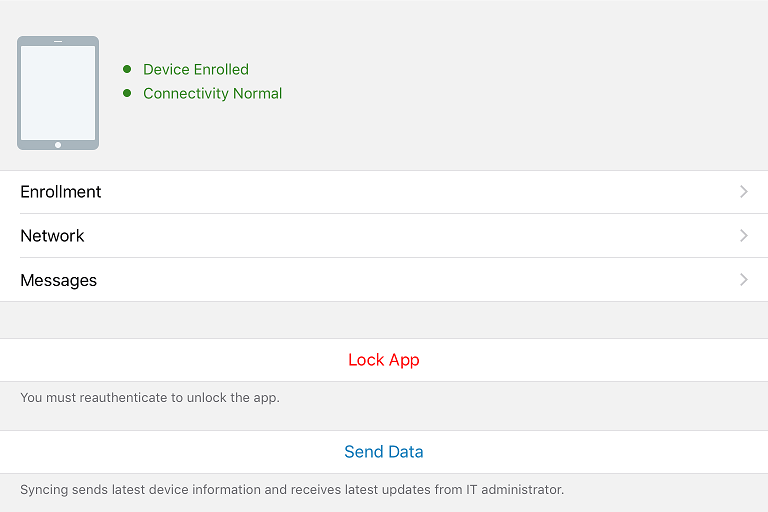
1.2.4 You will be redirected back, finish the remaining steps and your device has been enrolled in Intelligent Hub:
1.2.5 Another app called App Catalog should also be installed automatically.
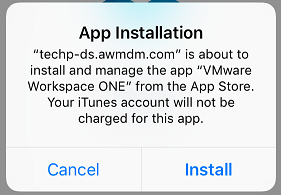
1.2.6 Now your device will begin to download and install apps from Workspace ONE UEM (left image is a sample of IOS, and right image is a sample of Android):
2.1 Adding and Configuring SDK Profiles
After the user account is created and device is enrolled, before uploading your AirWatch apps to the Workspace ONE UEM, you also need to add SDK profiles on the Workspace ONE UEM. SDK profiles are used to deliver security policies and settings down to your AirWatch SDK embedded application (In short, we'll call it AirWatch App).
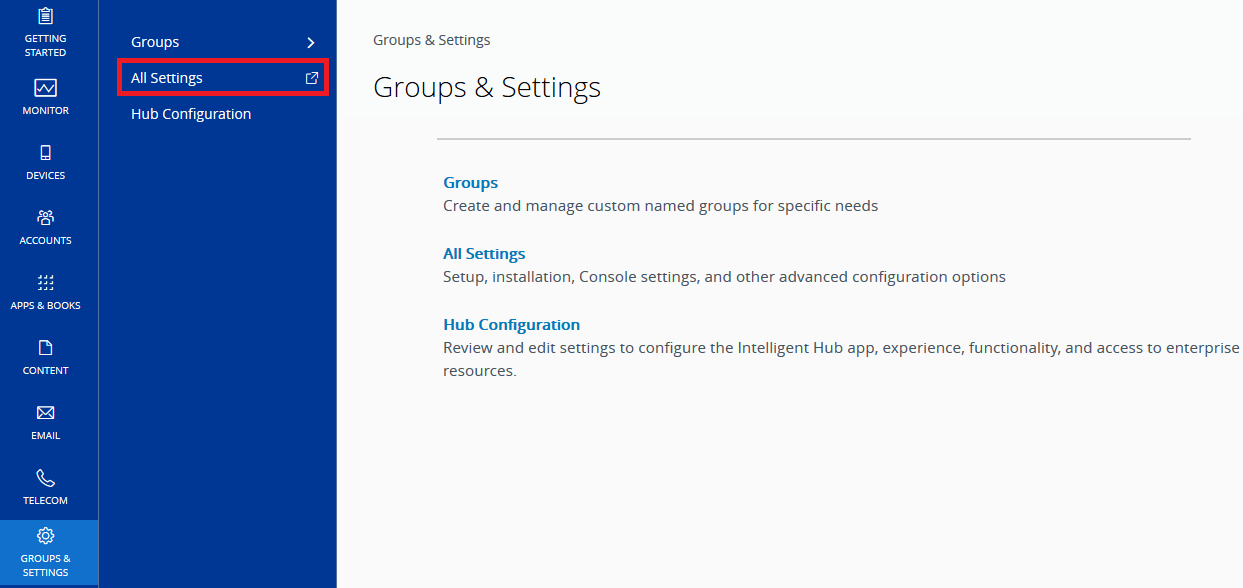
2.1.1 To set up SDK profiles for apps, you can go to Groups & Settings and click on All Settings:
2.1.2 Then go to Settings > Apps > Settings And Policies > Profiles, you'll see all SDK profiles here.
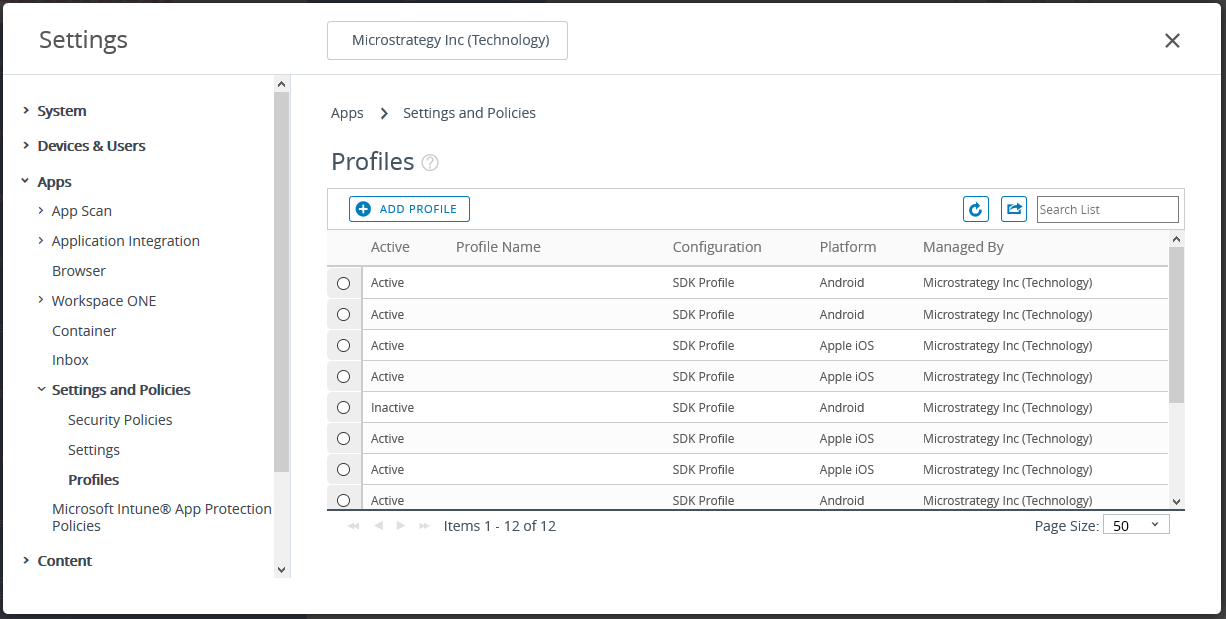
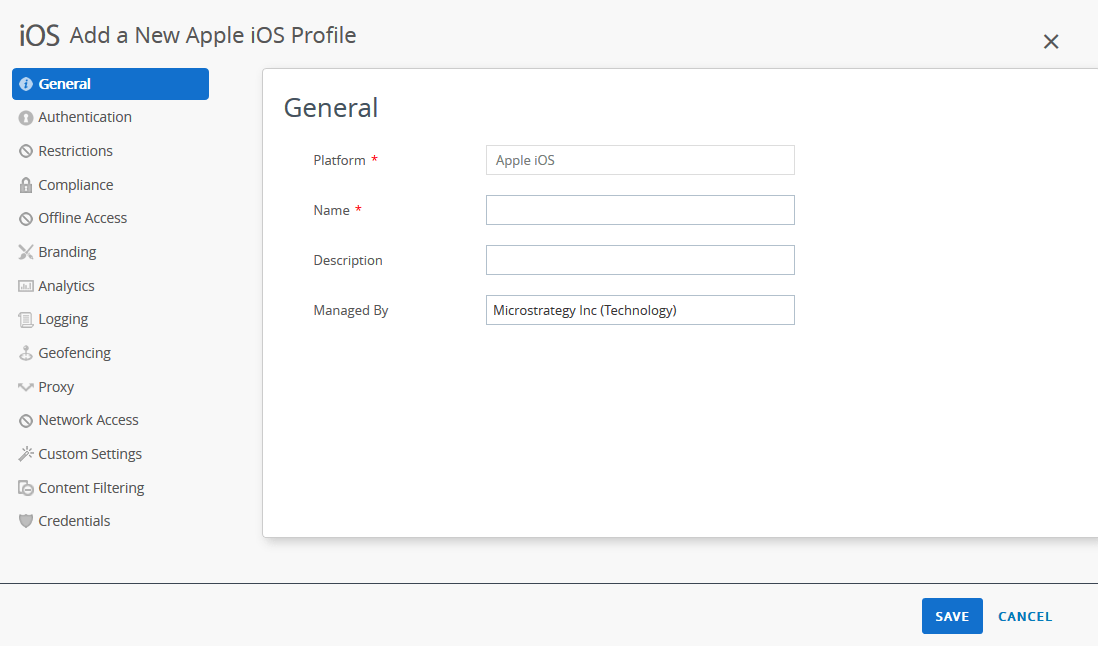
2.1.3 Click on "Add Profile" to add a new SDK profile. Please choose the corresponding platform, and you'll see the following page to enter the profile name:
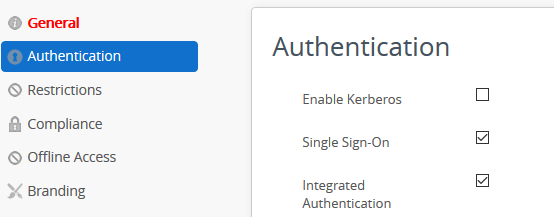
2.1.4 If you wish AirWatch do the authentication for your AirWatch app, please open the "Authentication" page and select "Single Sign On" option. When your AirWatch app is launched, it would jump to the AirWatch Agent app and do the authentication:
2.1.5 You can enable Data Loss Prevention setting to protect sensitive data in your AirWatch app. This setting controls copy and paste, print, take pictures and screen captures, use Bluetooth, and other areas where data transmits back and forth. If you do not enable Data Loss Prevention, you can perform almost every out-of-the-box Strategy Mobile data transfer. If you wish to enable Data Loss Prevention option, please go to the "Restrictions" page and check "Enable Data Loss Prevention" option:
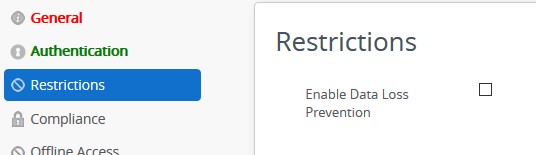
Please note that currently we use "Enable Data Loss Prevention" option to turn on the PDL.
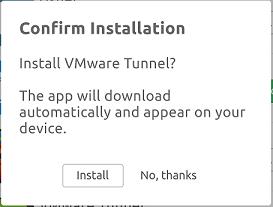
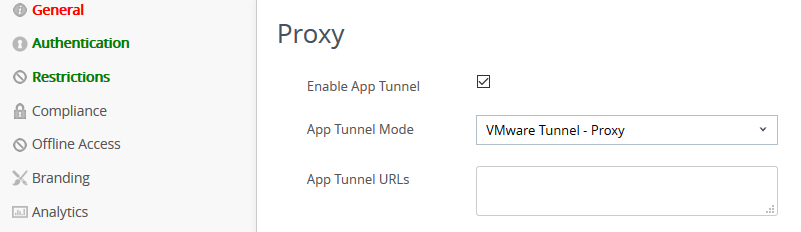
2.1.6 You can setup VMware Tunnel Proxy server as the proxy to access internal resources in your organization. If you wish to enable the VMware Tunnel Proxy server option, please go to the "Proxy" page, then check "Enable App Tunnel" option and select " VMware Tunnel - Proxy " in App Tunnel Mode:
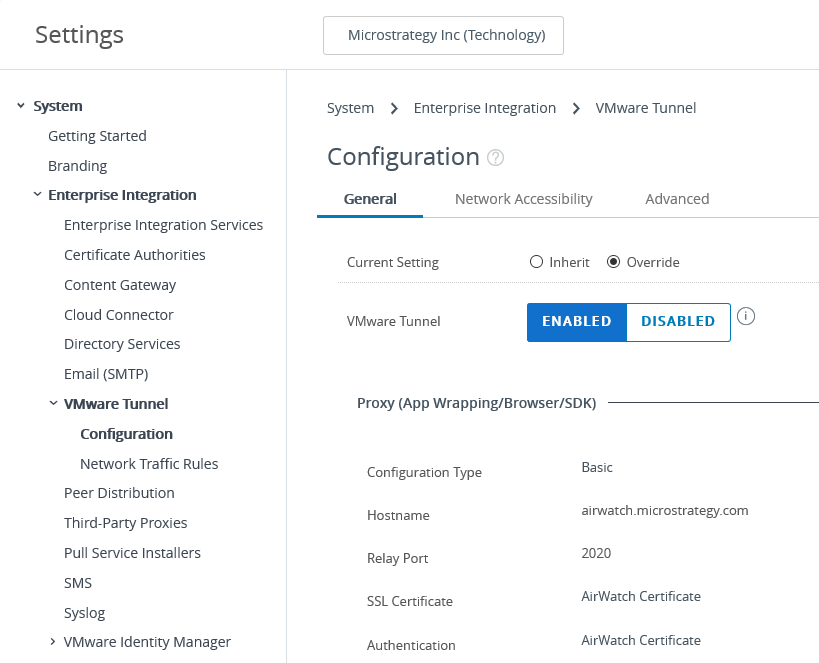
2.1.7 If you wish to setup the detailed information of your VMware Tunnel Proxy server, such as host name, port certificate and authentication, please go to Settings > System > Enterprise Integration > VMware Tunnel > Configuration > Proxy (App Wrapping/Browser/SDK):
2.2 Build and upload the app to Workspace ONE UEM
2.2.1 To upload your Airwatch app, first you need to customize and build the app with AirWatch integrated SDK:
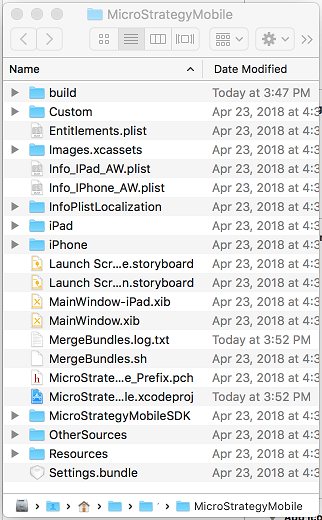
iOS: Mount the dmg file, Open the project file "StrategyMobile.xcodeproj" with Xcode, make your customizations, build the project and export the .ipa archive.
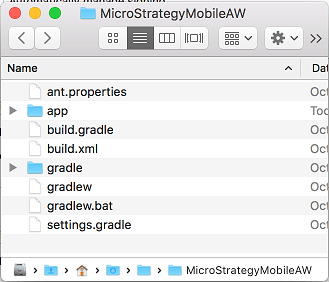
Android: Decompress the AirWatch SDK and load the Gradle project with your favorite IDE, make your customizations and build the .apk archive.
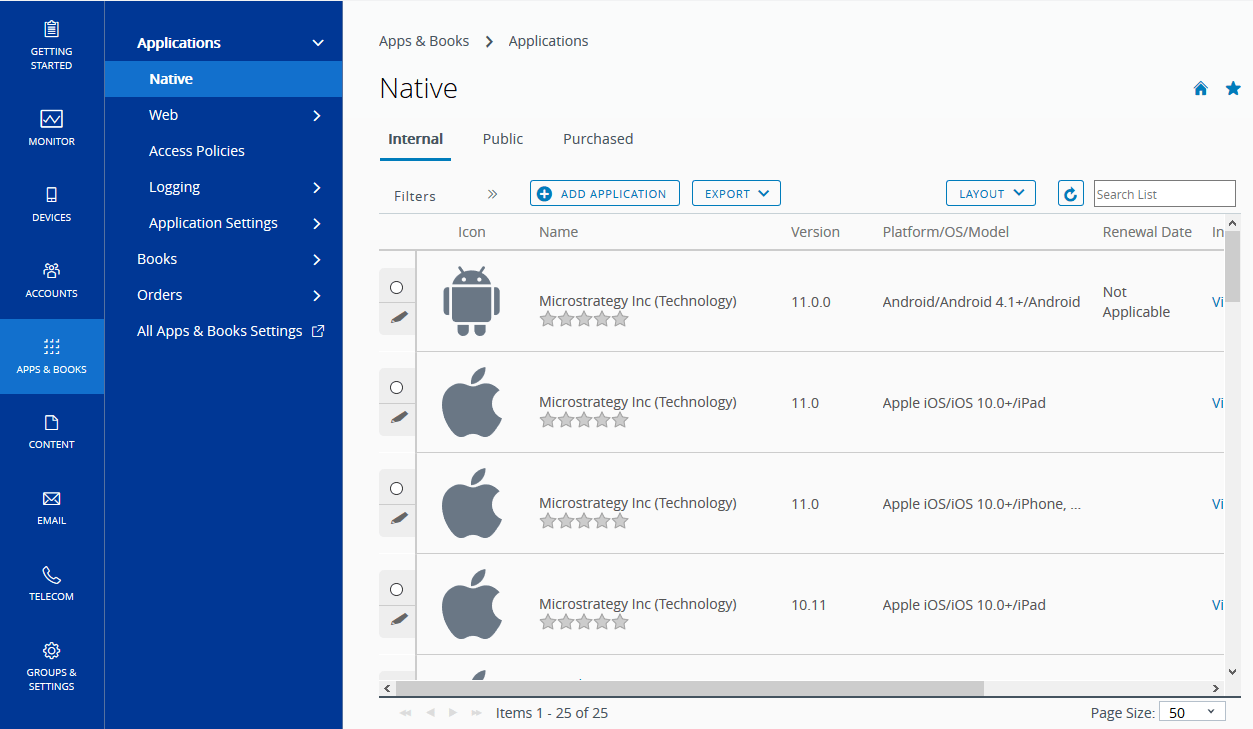
2.2.2 in Workspace ONE UEM, go to Apps & Books > Applications, click on ADD APPLICATION:
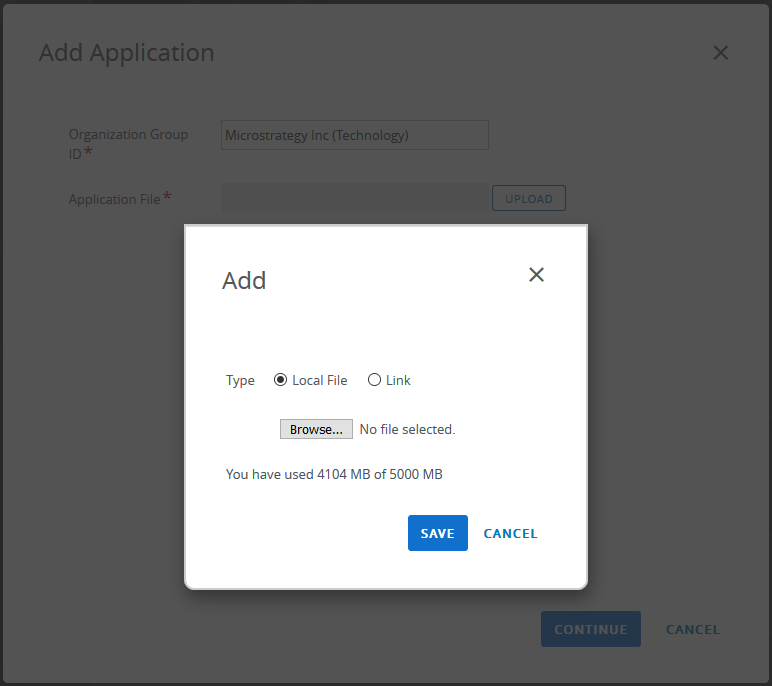
2.2.3 Browse and select your app archive (.ipa for iOS app and .apk for Android app), click “SAVE” to upload:
2.2.4 After the upload is completed, you'll need to fill the information of the uploaded version of your application:
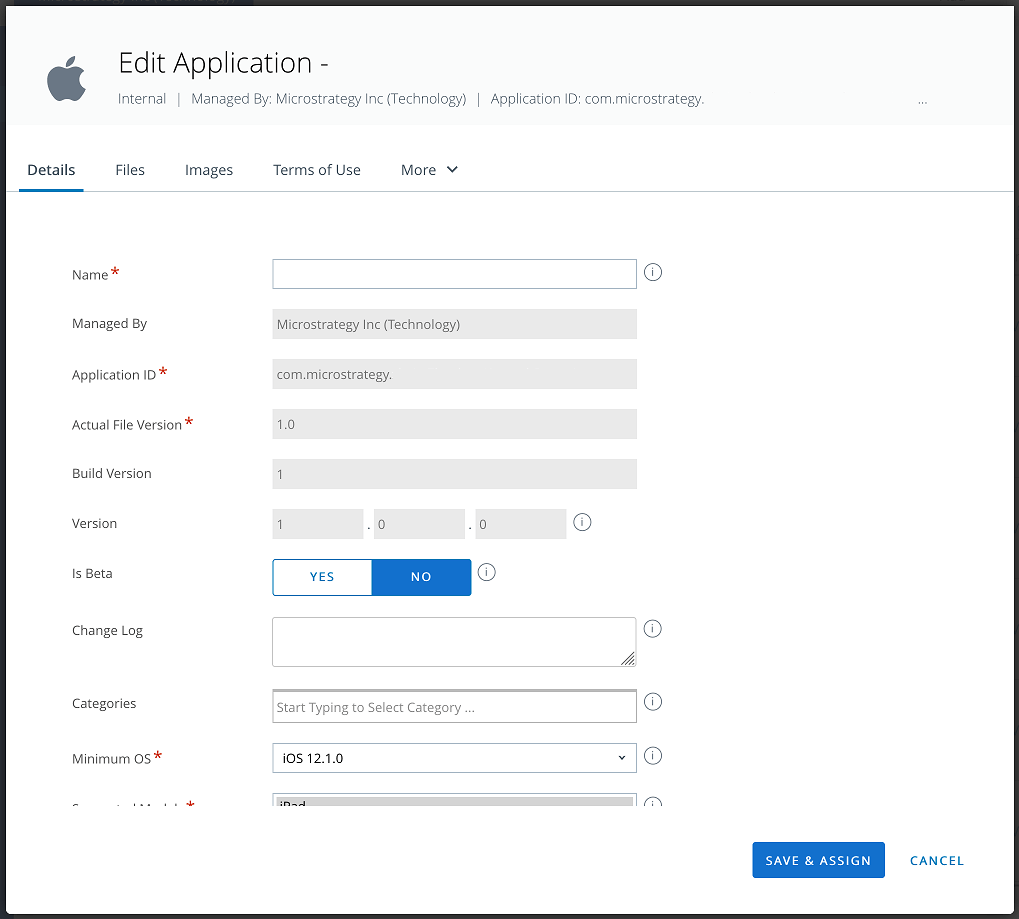
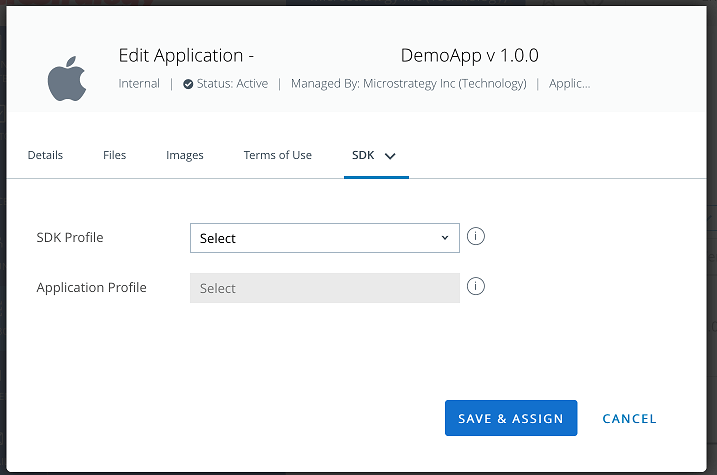
Mostly everything here could be kept as default, except for: Although you can change the version of your newly uploaded application in "Details" tab, we recommend you keep the version number the same as the build version(the bundle version you set in info plist). Since the application you uploaded includes the AirWatch SDK, you need to assign a SDK profile to this application. Please go to More > SDK tab to assign a SDK profile to the app.
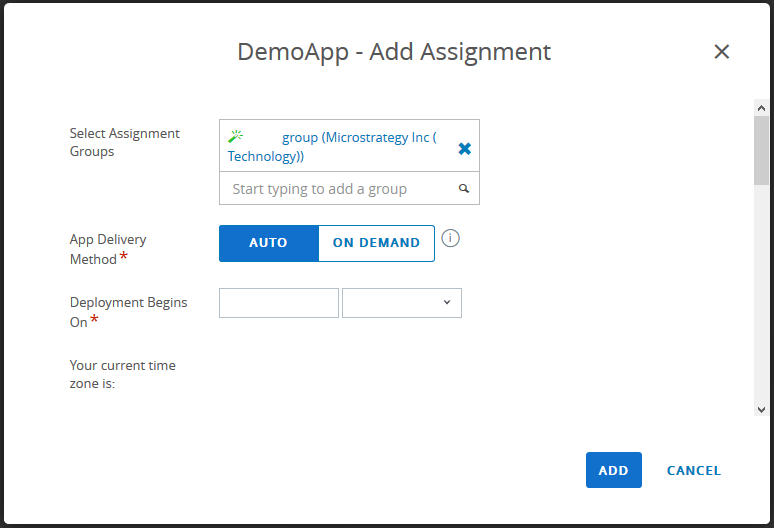
2.2.5 Click on "Save & Assign" button to proceed to the “Update Assignment” dialog. You can assign the app to an existing group or add a new assignment:
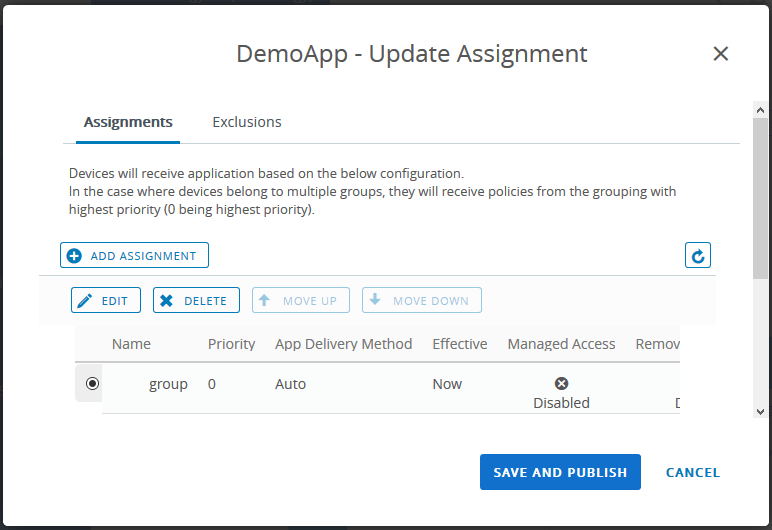
2.2.6 Click “SAVE AND PUBLISH” to close the dialog. Now you can find your newly added app in the application list view:

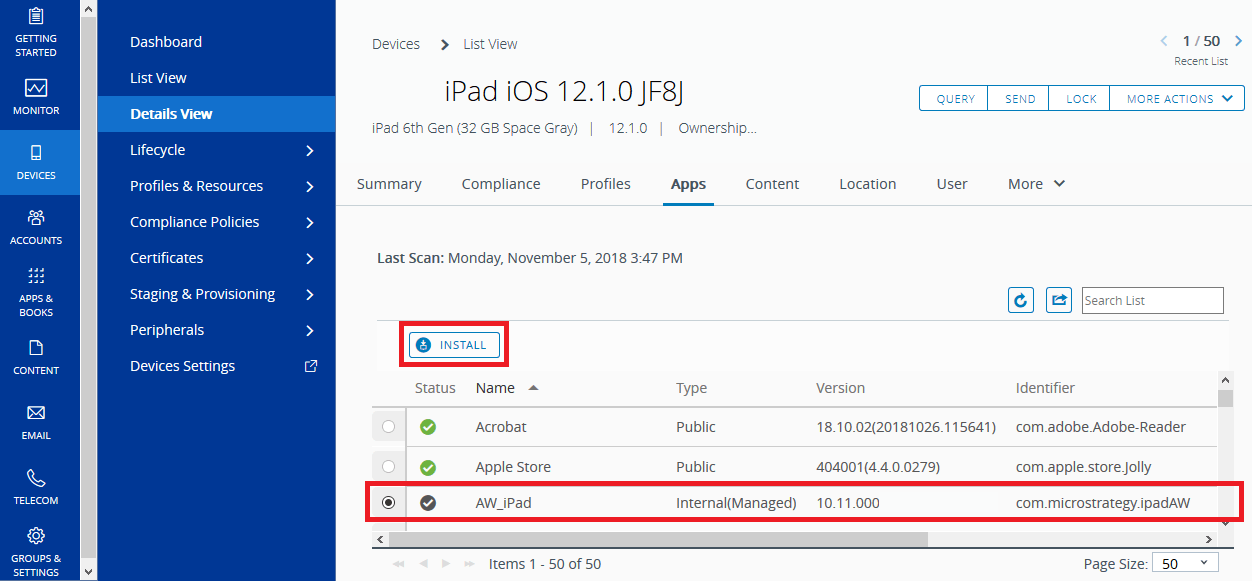
2.2.7 This application will be pushed to your device and will also be shown in the device's "Catalog" app.
You can install an application by pushing it from Workspace ONE UEM.
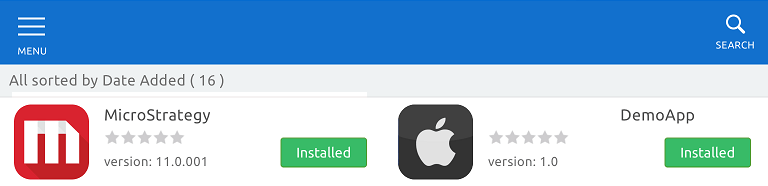
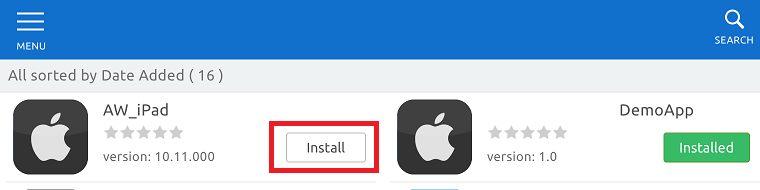
You can also install the application directly in App Catalog:
KB442193