There are multiple ways a connection between Core and Android Enterprise can be established. What we will be using in this tutorial is the recommended method which is the easiest to set-up.
Navigate to Services -> Google
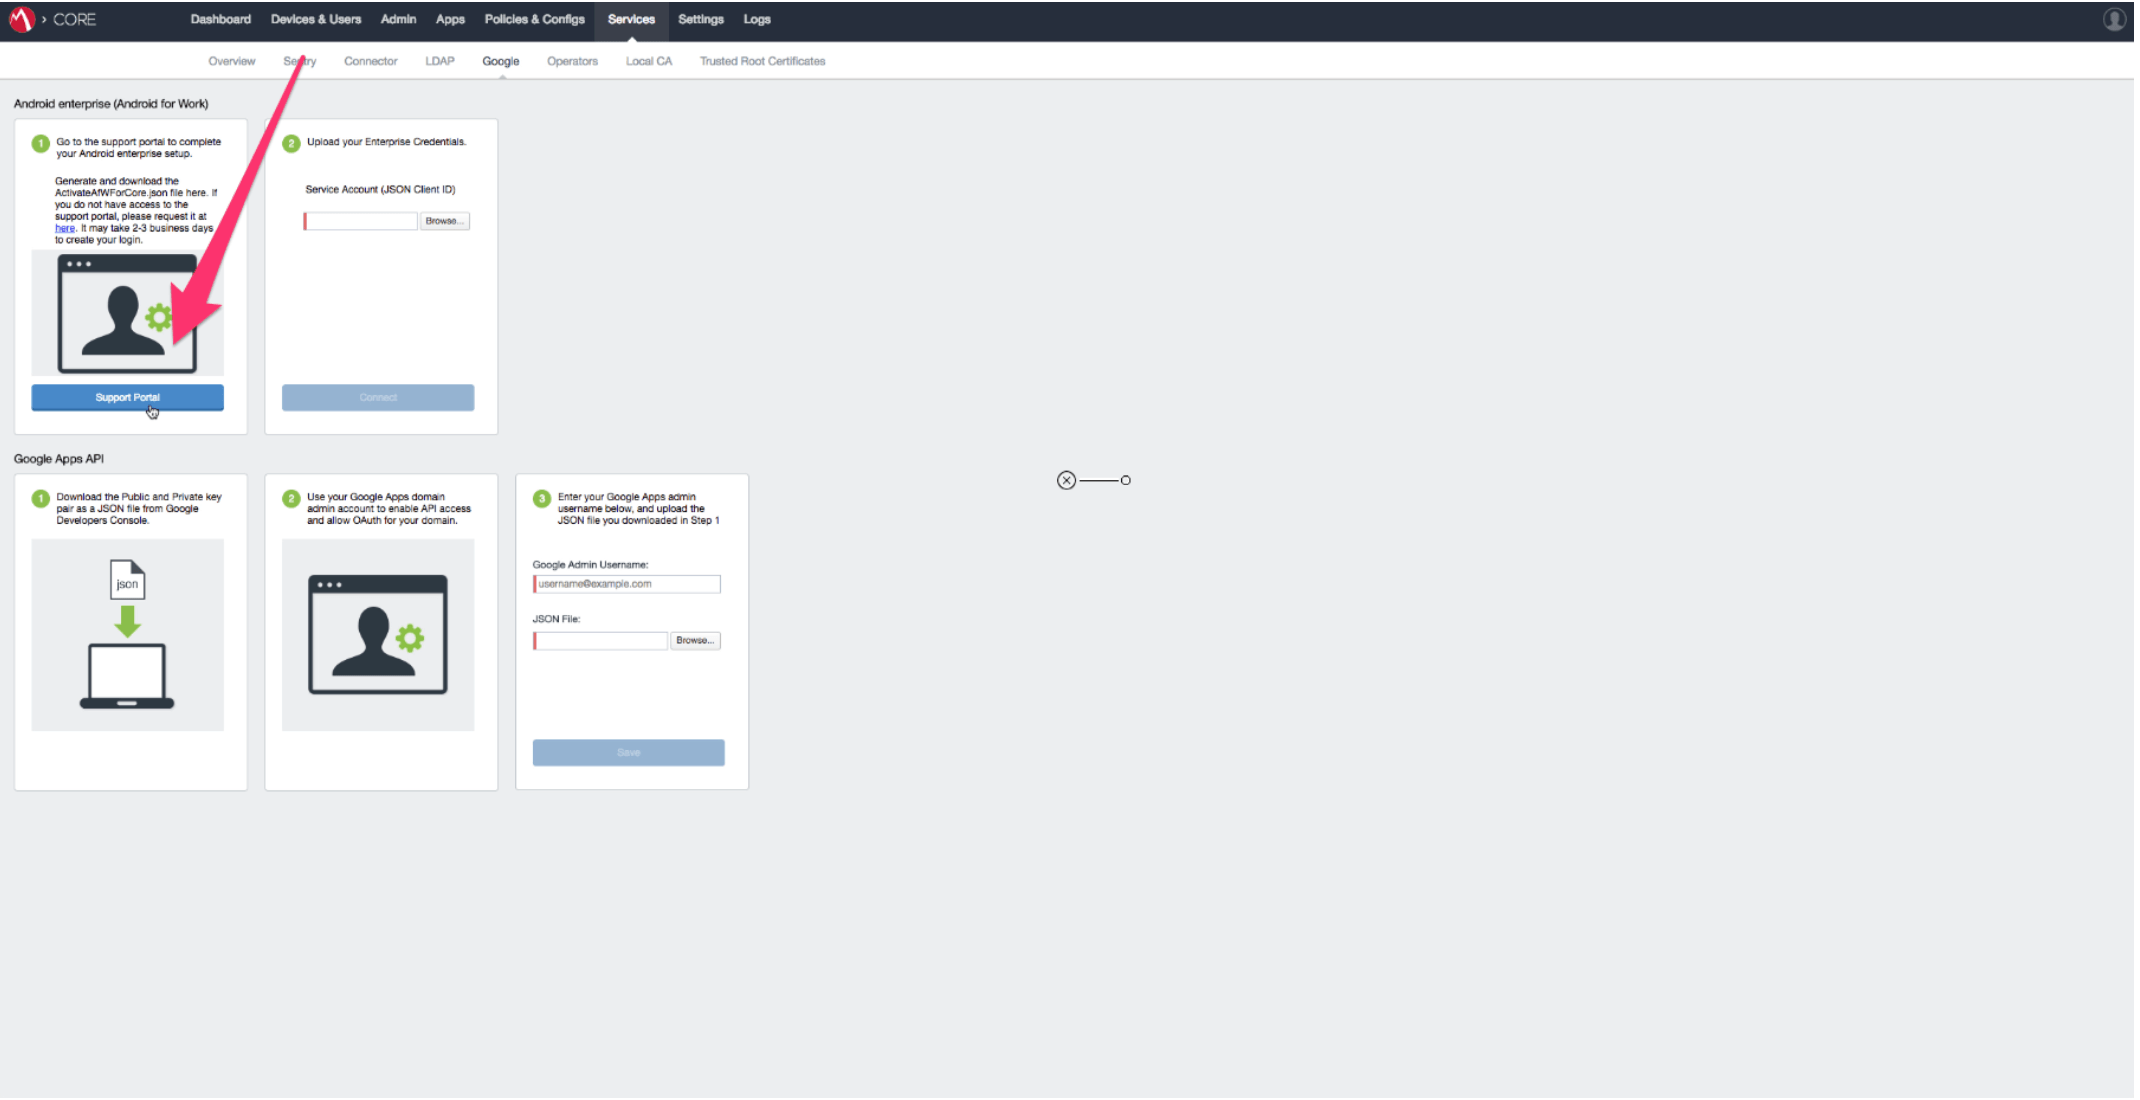
Open the "Service Portal" Link and navigate to the "Android Enterprise Enrollments" section.
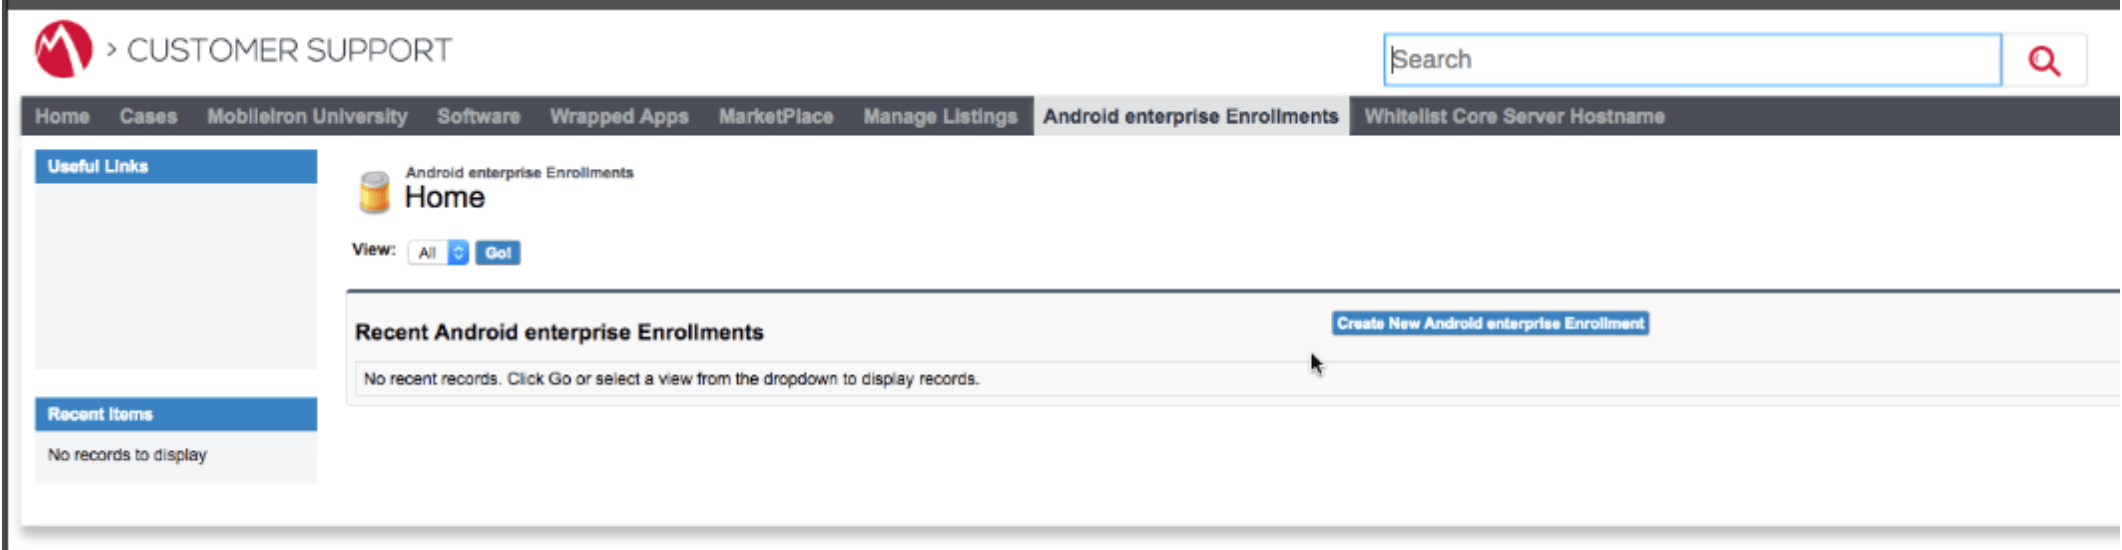
Click to create a new Android Enterprise enrollment.
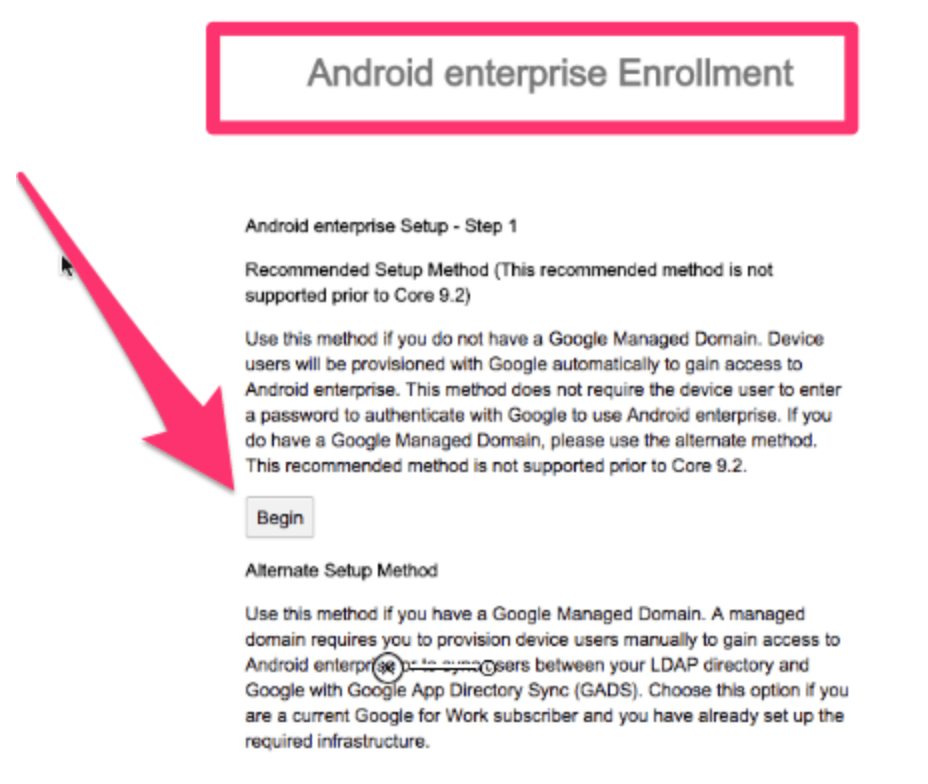
Then click the "Submit" button to begin the recommended setup. You will be redirected to google to complete the setup.
On the Google page you will need to login with the Google account you want to connect to.
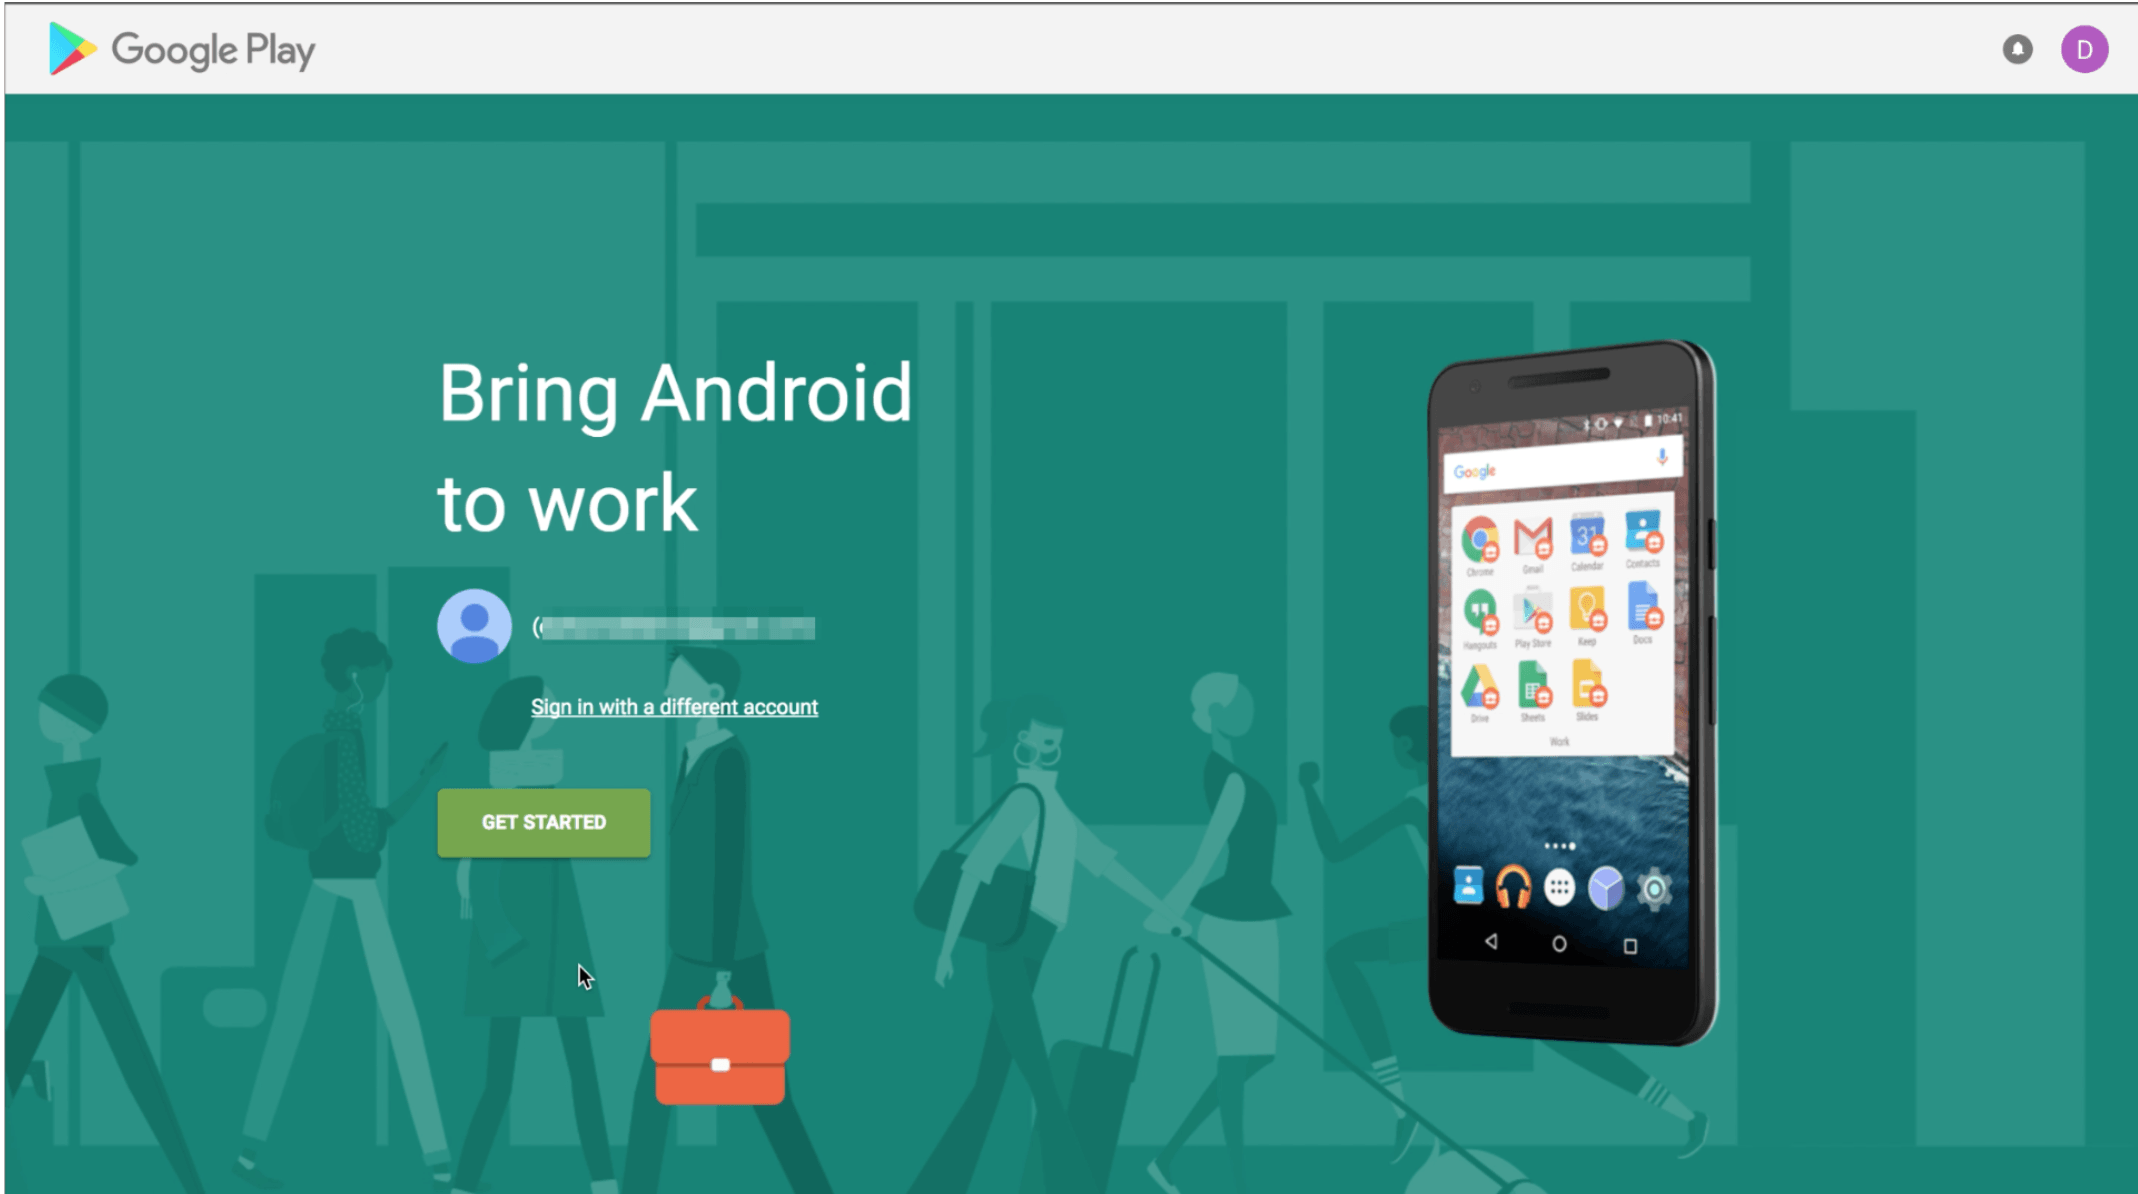
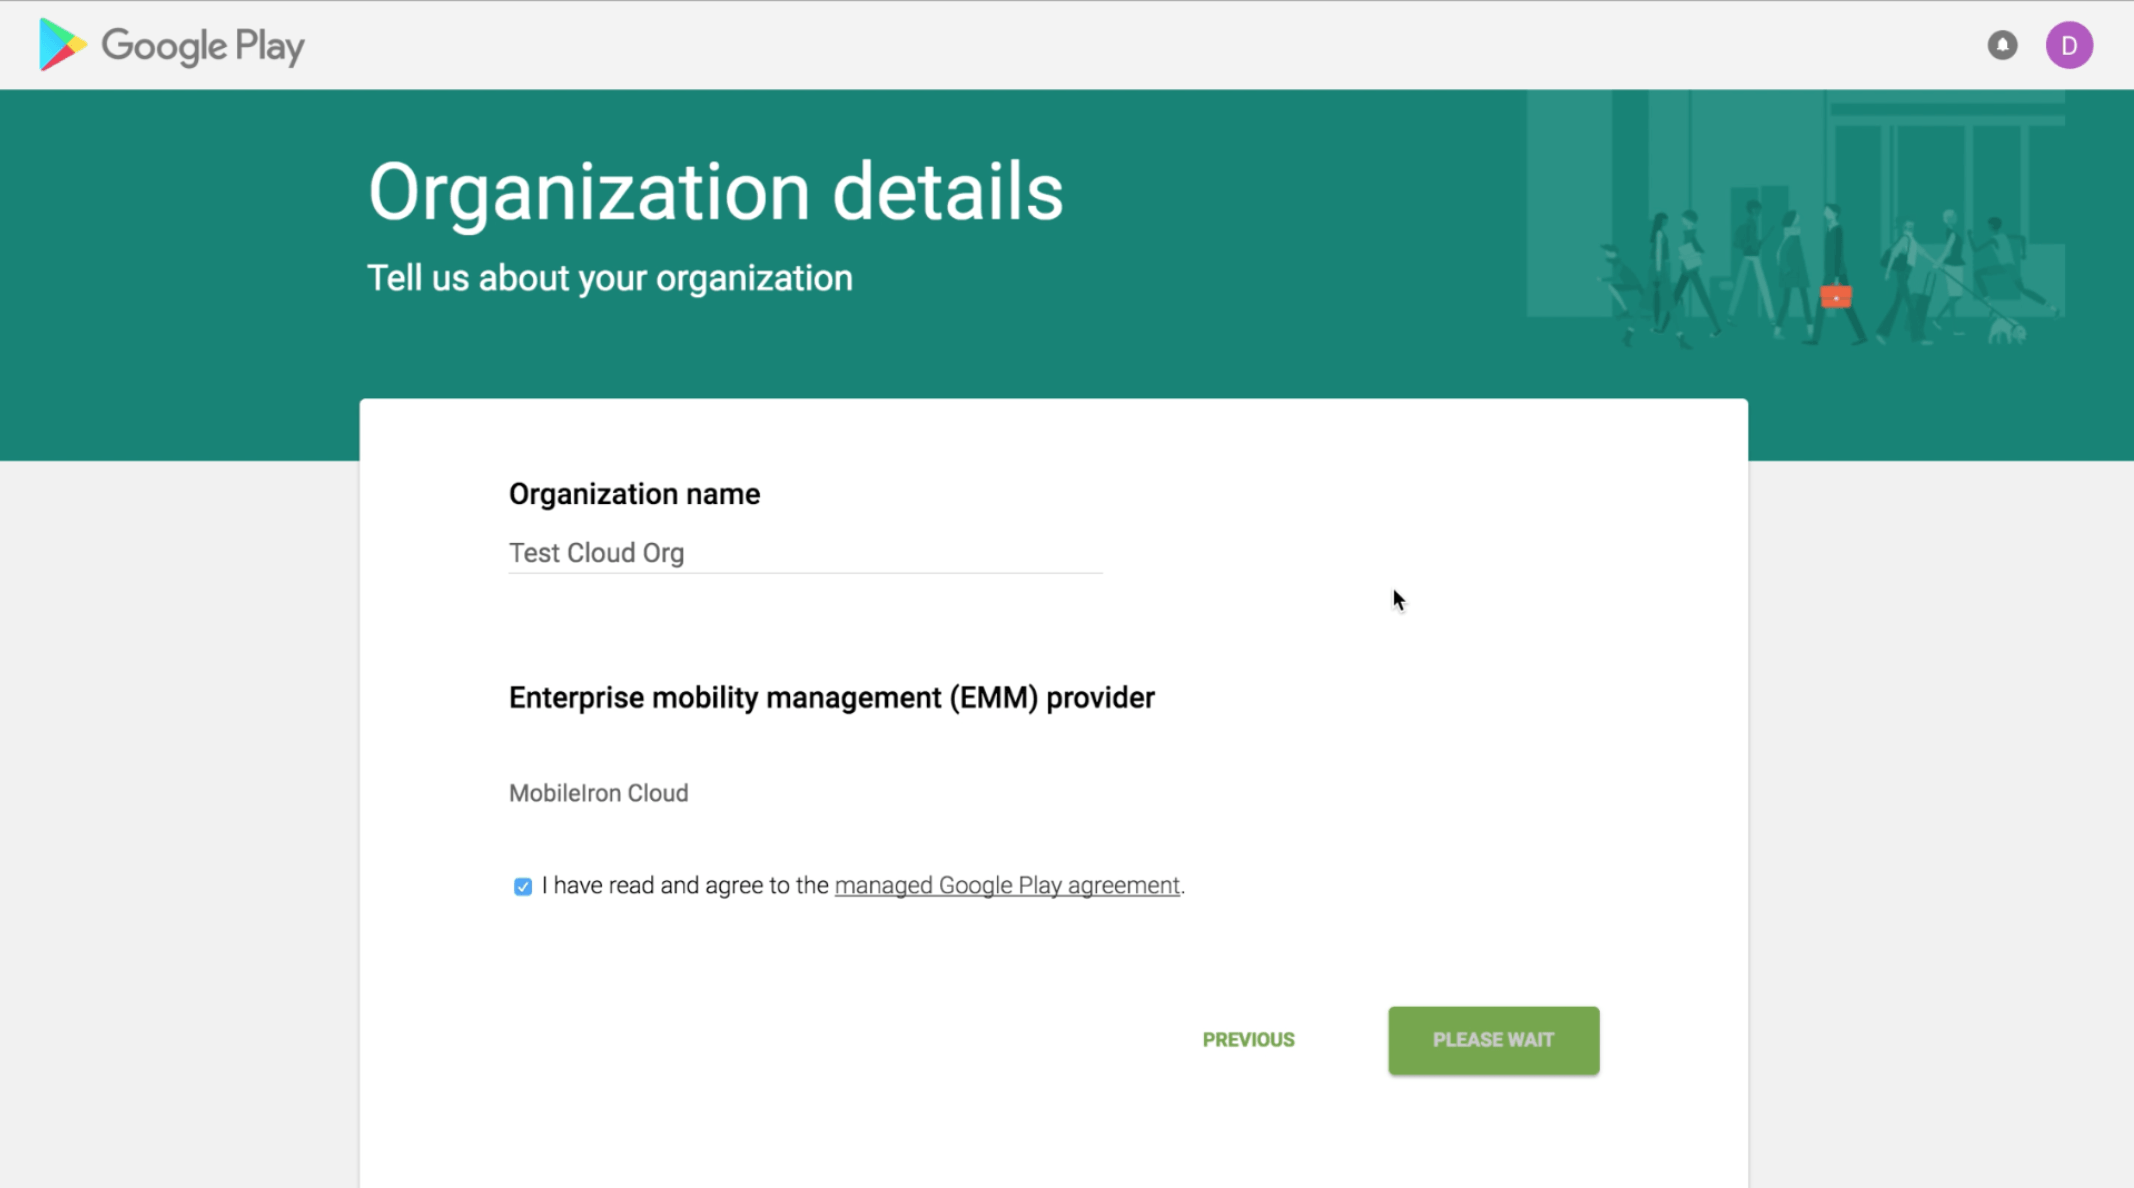
Click the "Get Started" Button and complete the registration.
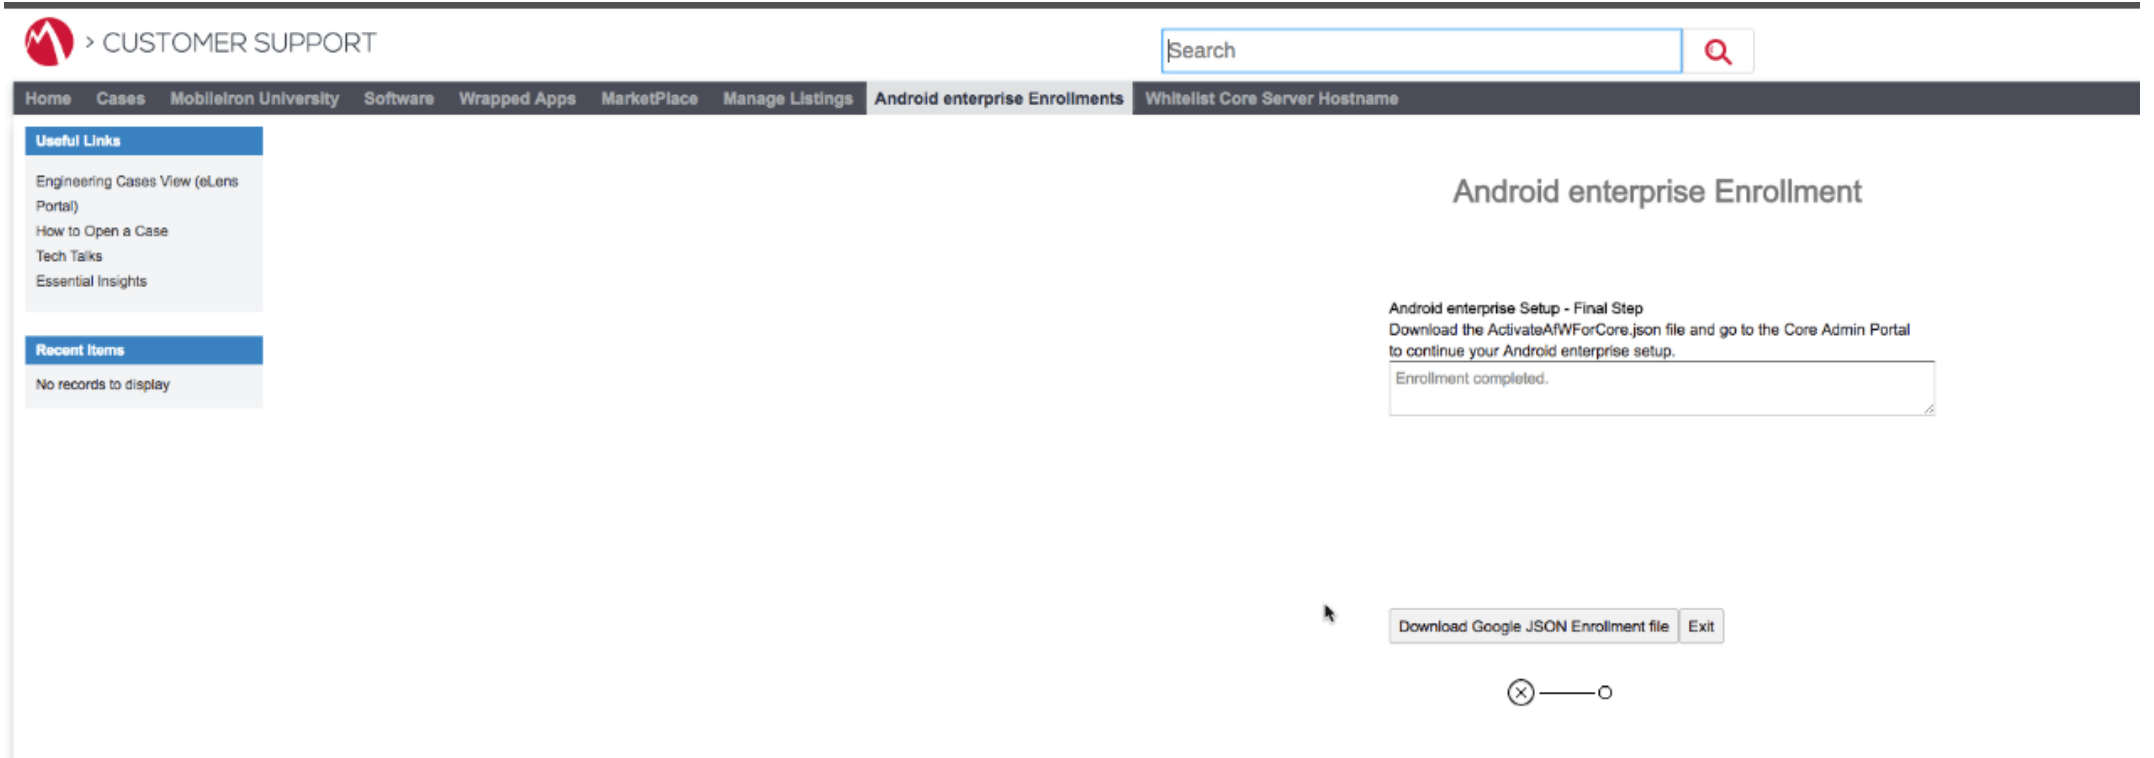
After the configuration has been completed you will be redirected back to the Support Portal. Here you need to download the JSON Enrollments file.
You probably need to rename this file to add the .json extension.
Upload the file back inside MobileIron Core and click the "Connect" button.
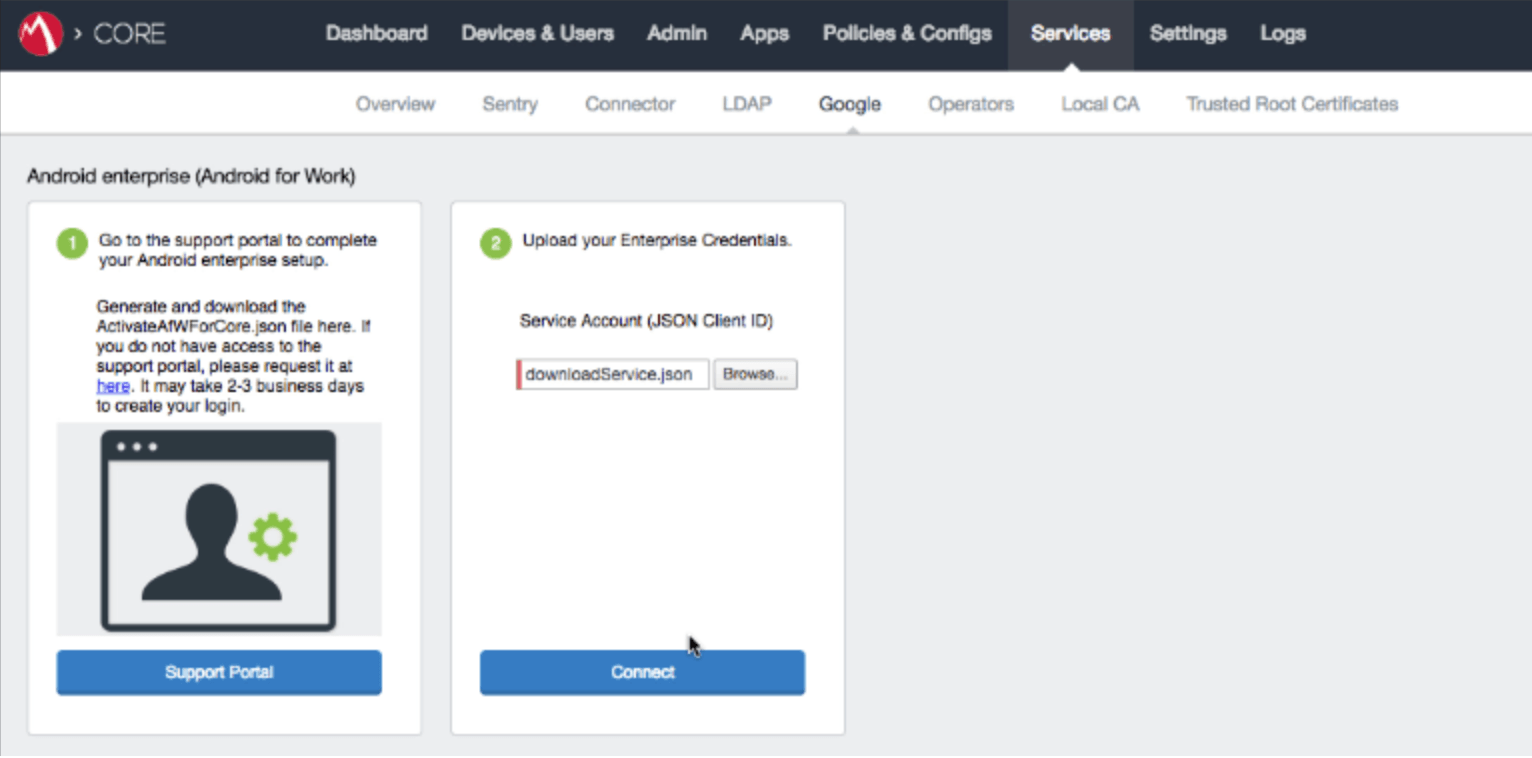
You should see the Status as Connected after this.
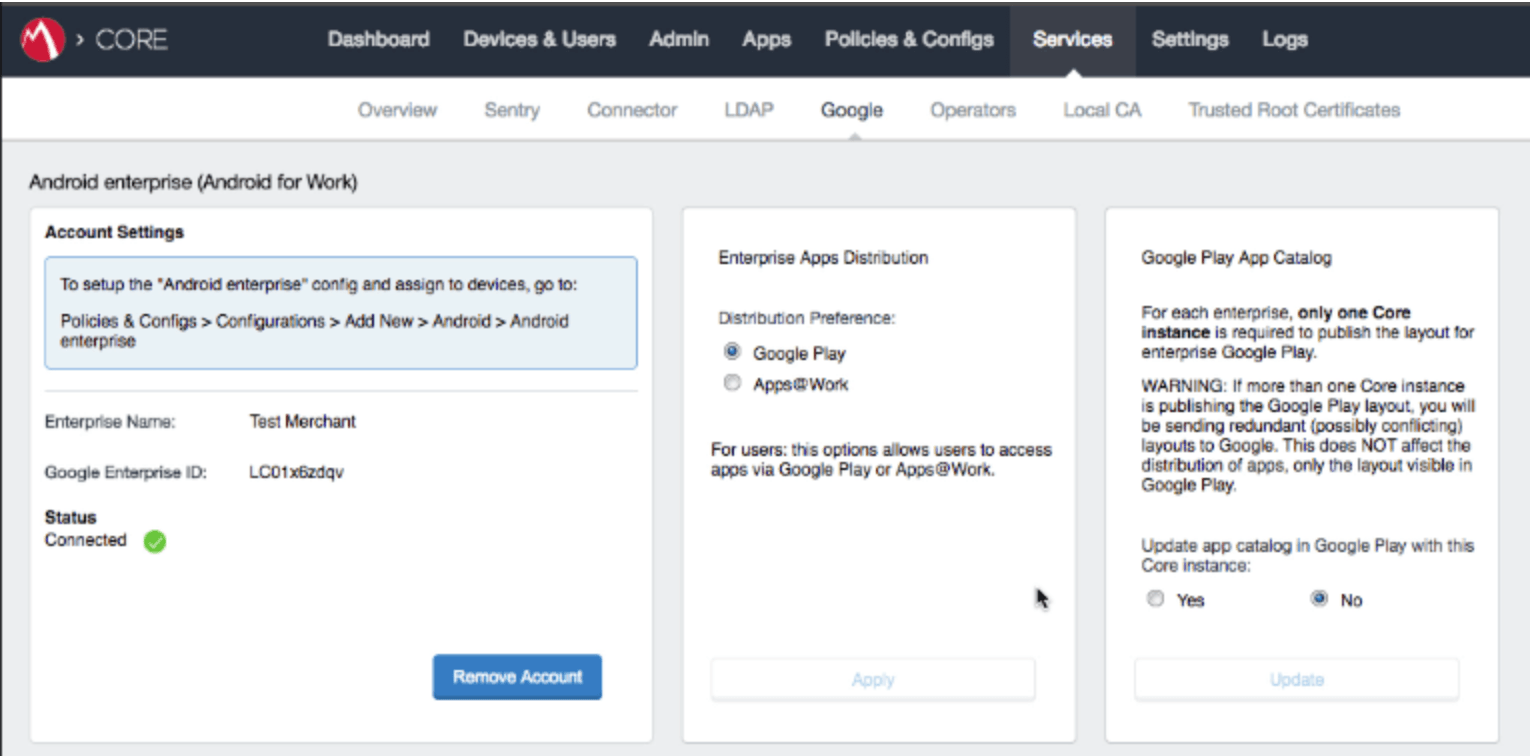
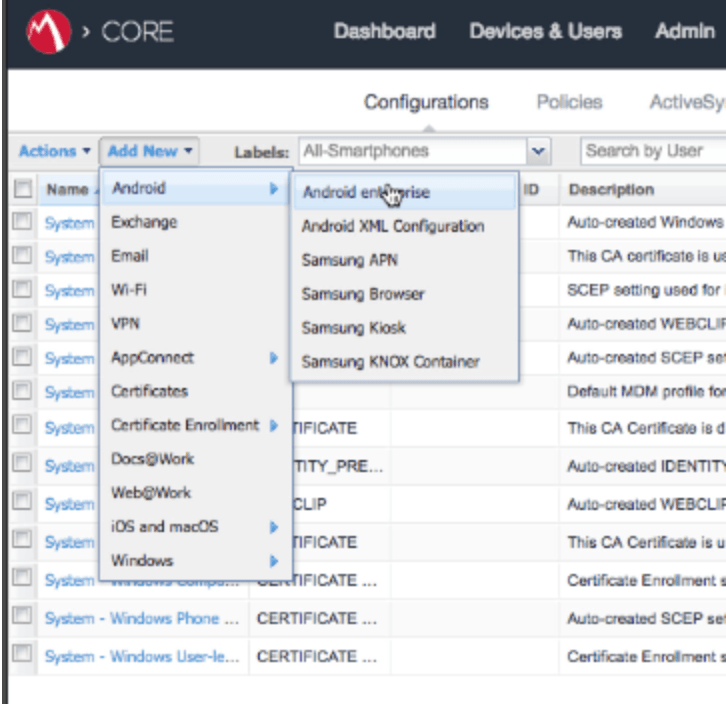
In order to enable Android enterprise for the devices a configuration needs to be created inside policies and configs.
Don't forget to add the label to this configuration in order to distribute it to the test devices.
In order to get the server info for device enrollment a new user and a single device entry need to be created inside the admin.
This is done through the Devices and Users tab. There are no special configuration that marks a device as Android enterprise when creating the user and device.
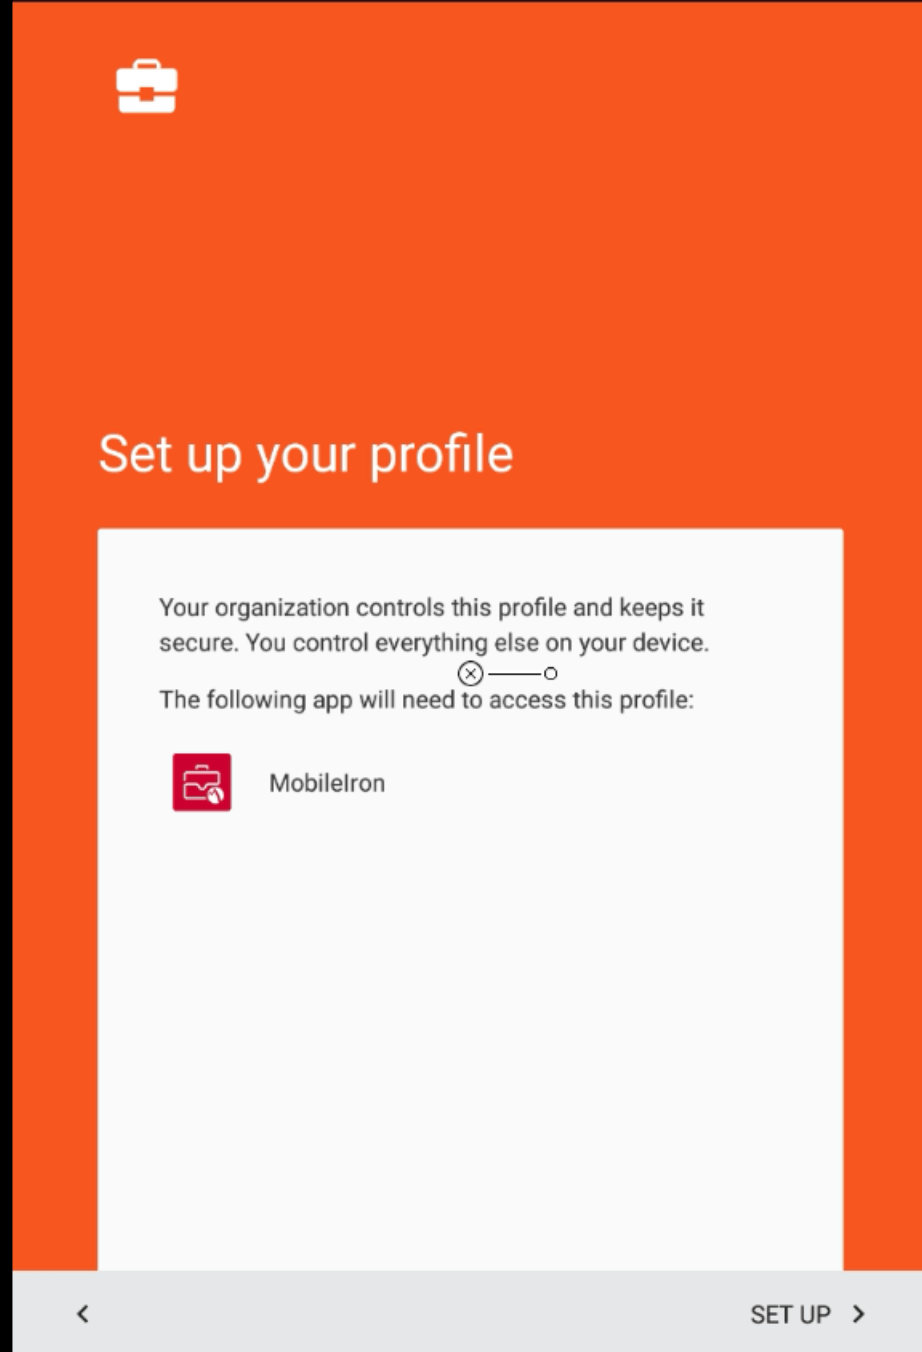
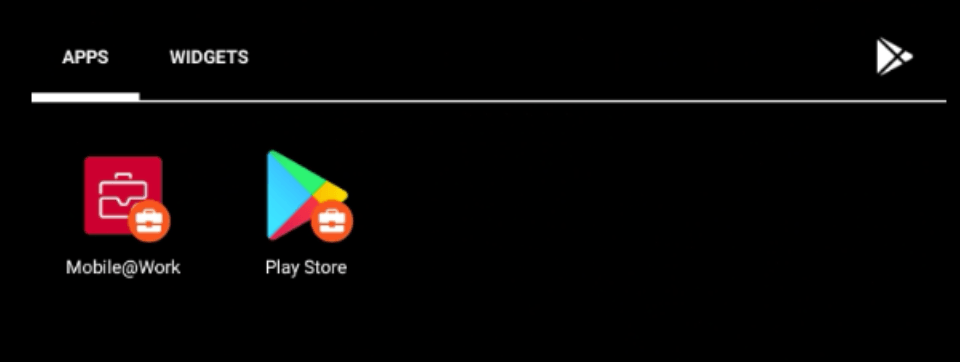
On the device go to Google Play and install the "Mobile@Work" app. Open it and follow the on screen instructions. Enter the user's email and password created here and proceed through the setup. There will be native Android screens near the last steps of the setup where you will be able to verify that the device is being enrolled through Android Enterprise. The android enterprise apps will be marked with a special icon. By default a separate Enterprise Google Play app should be created.
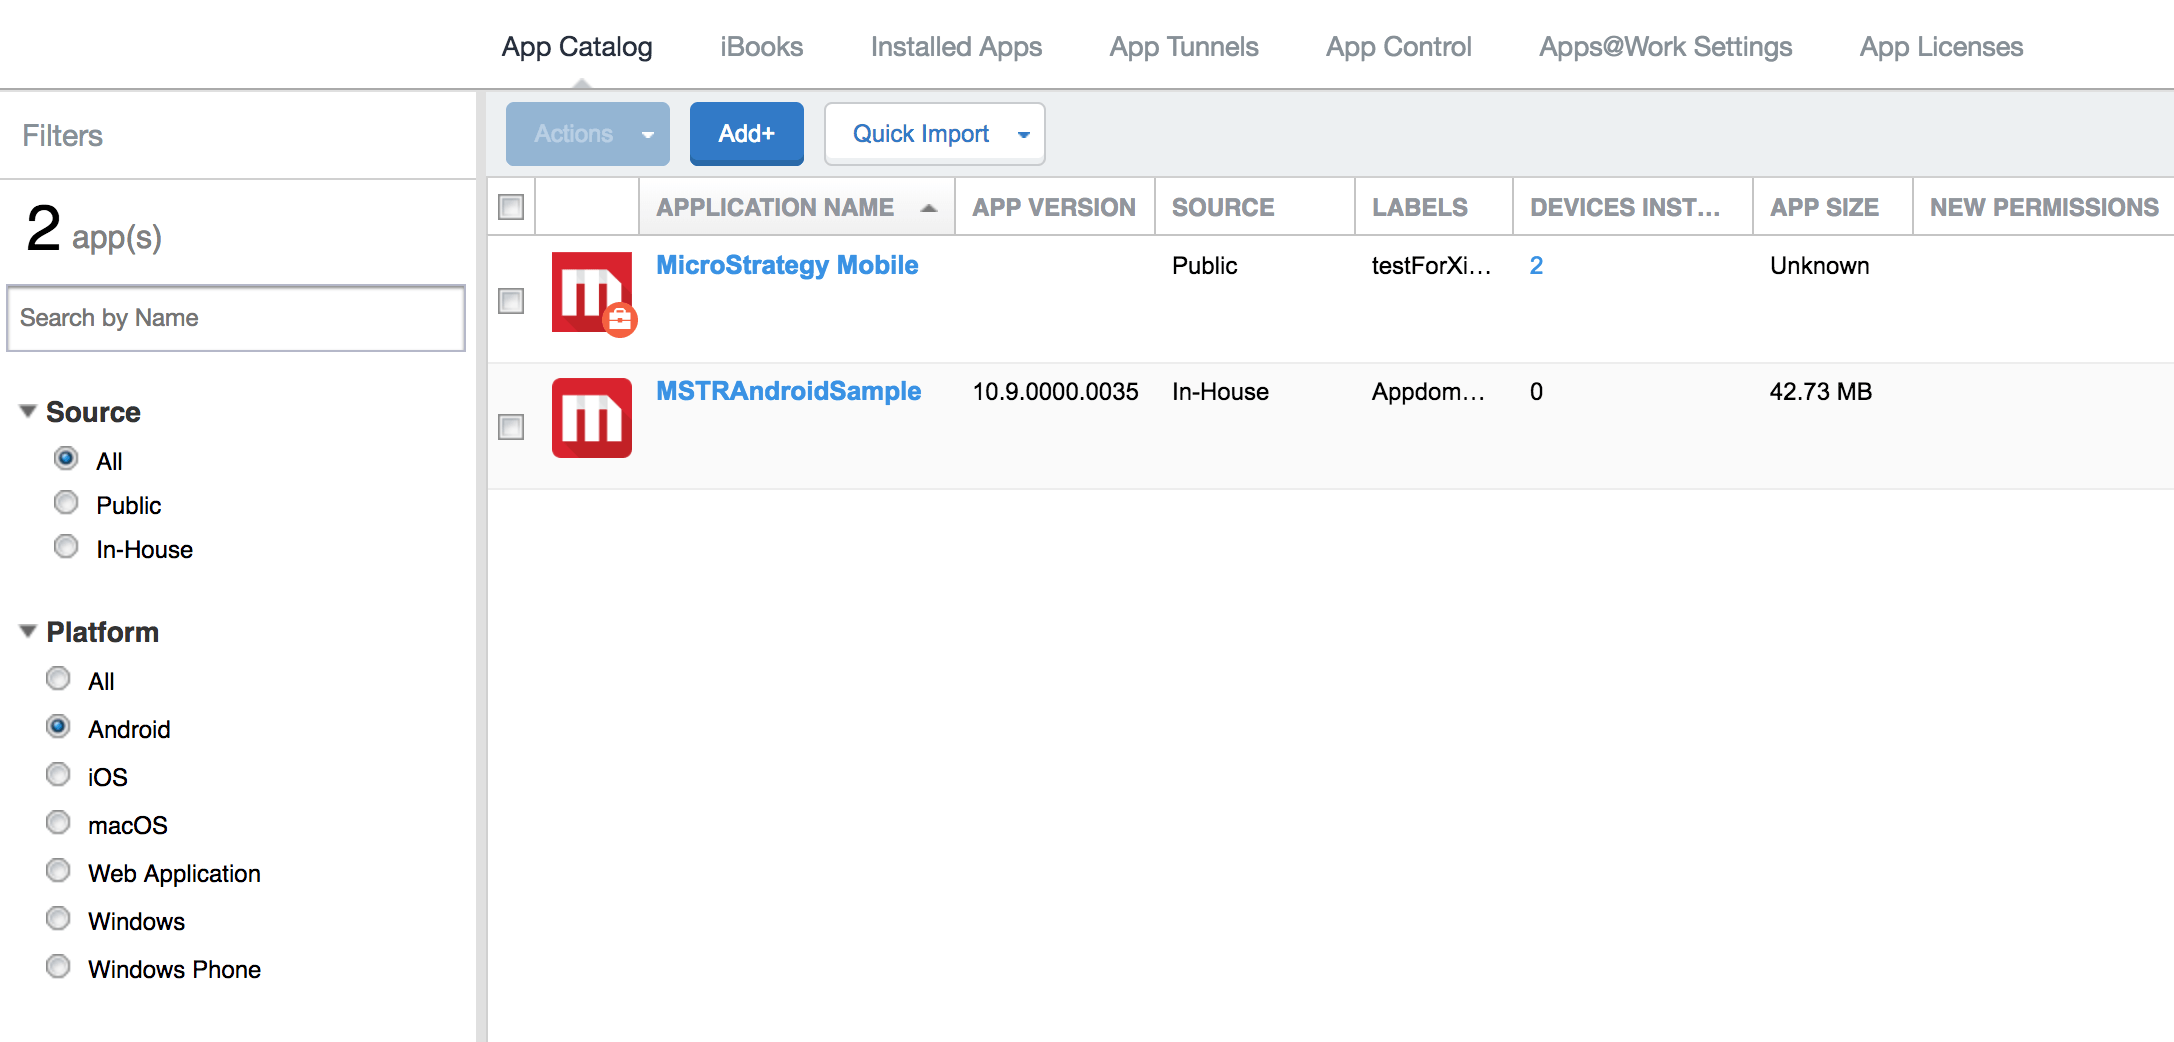
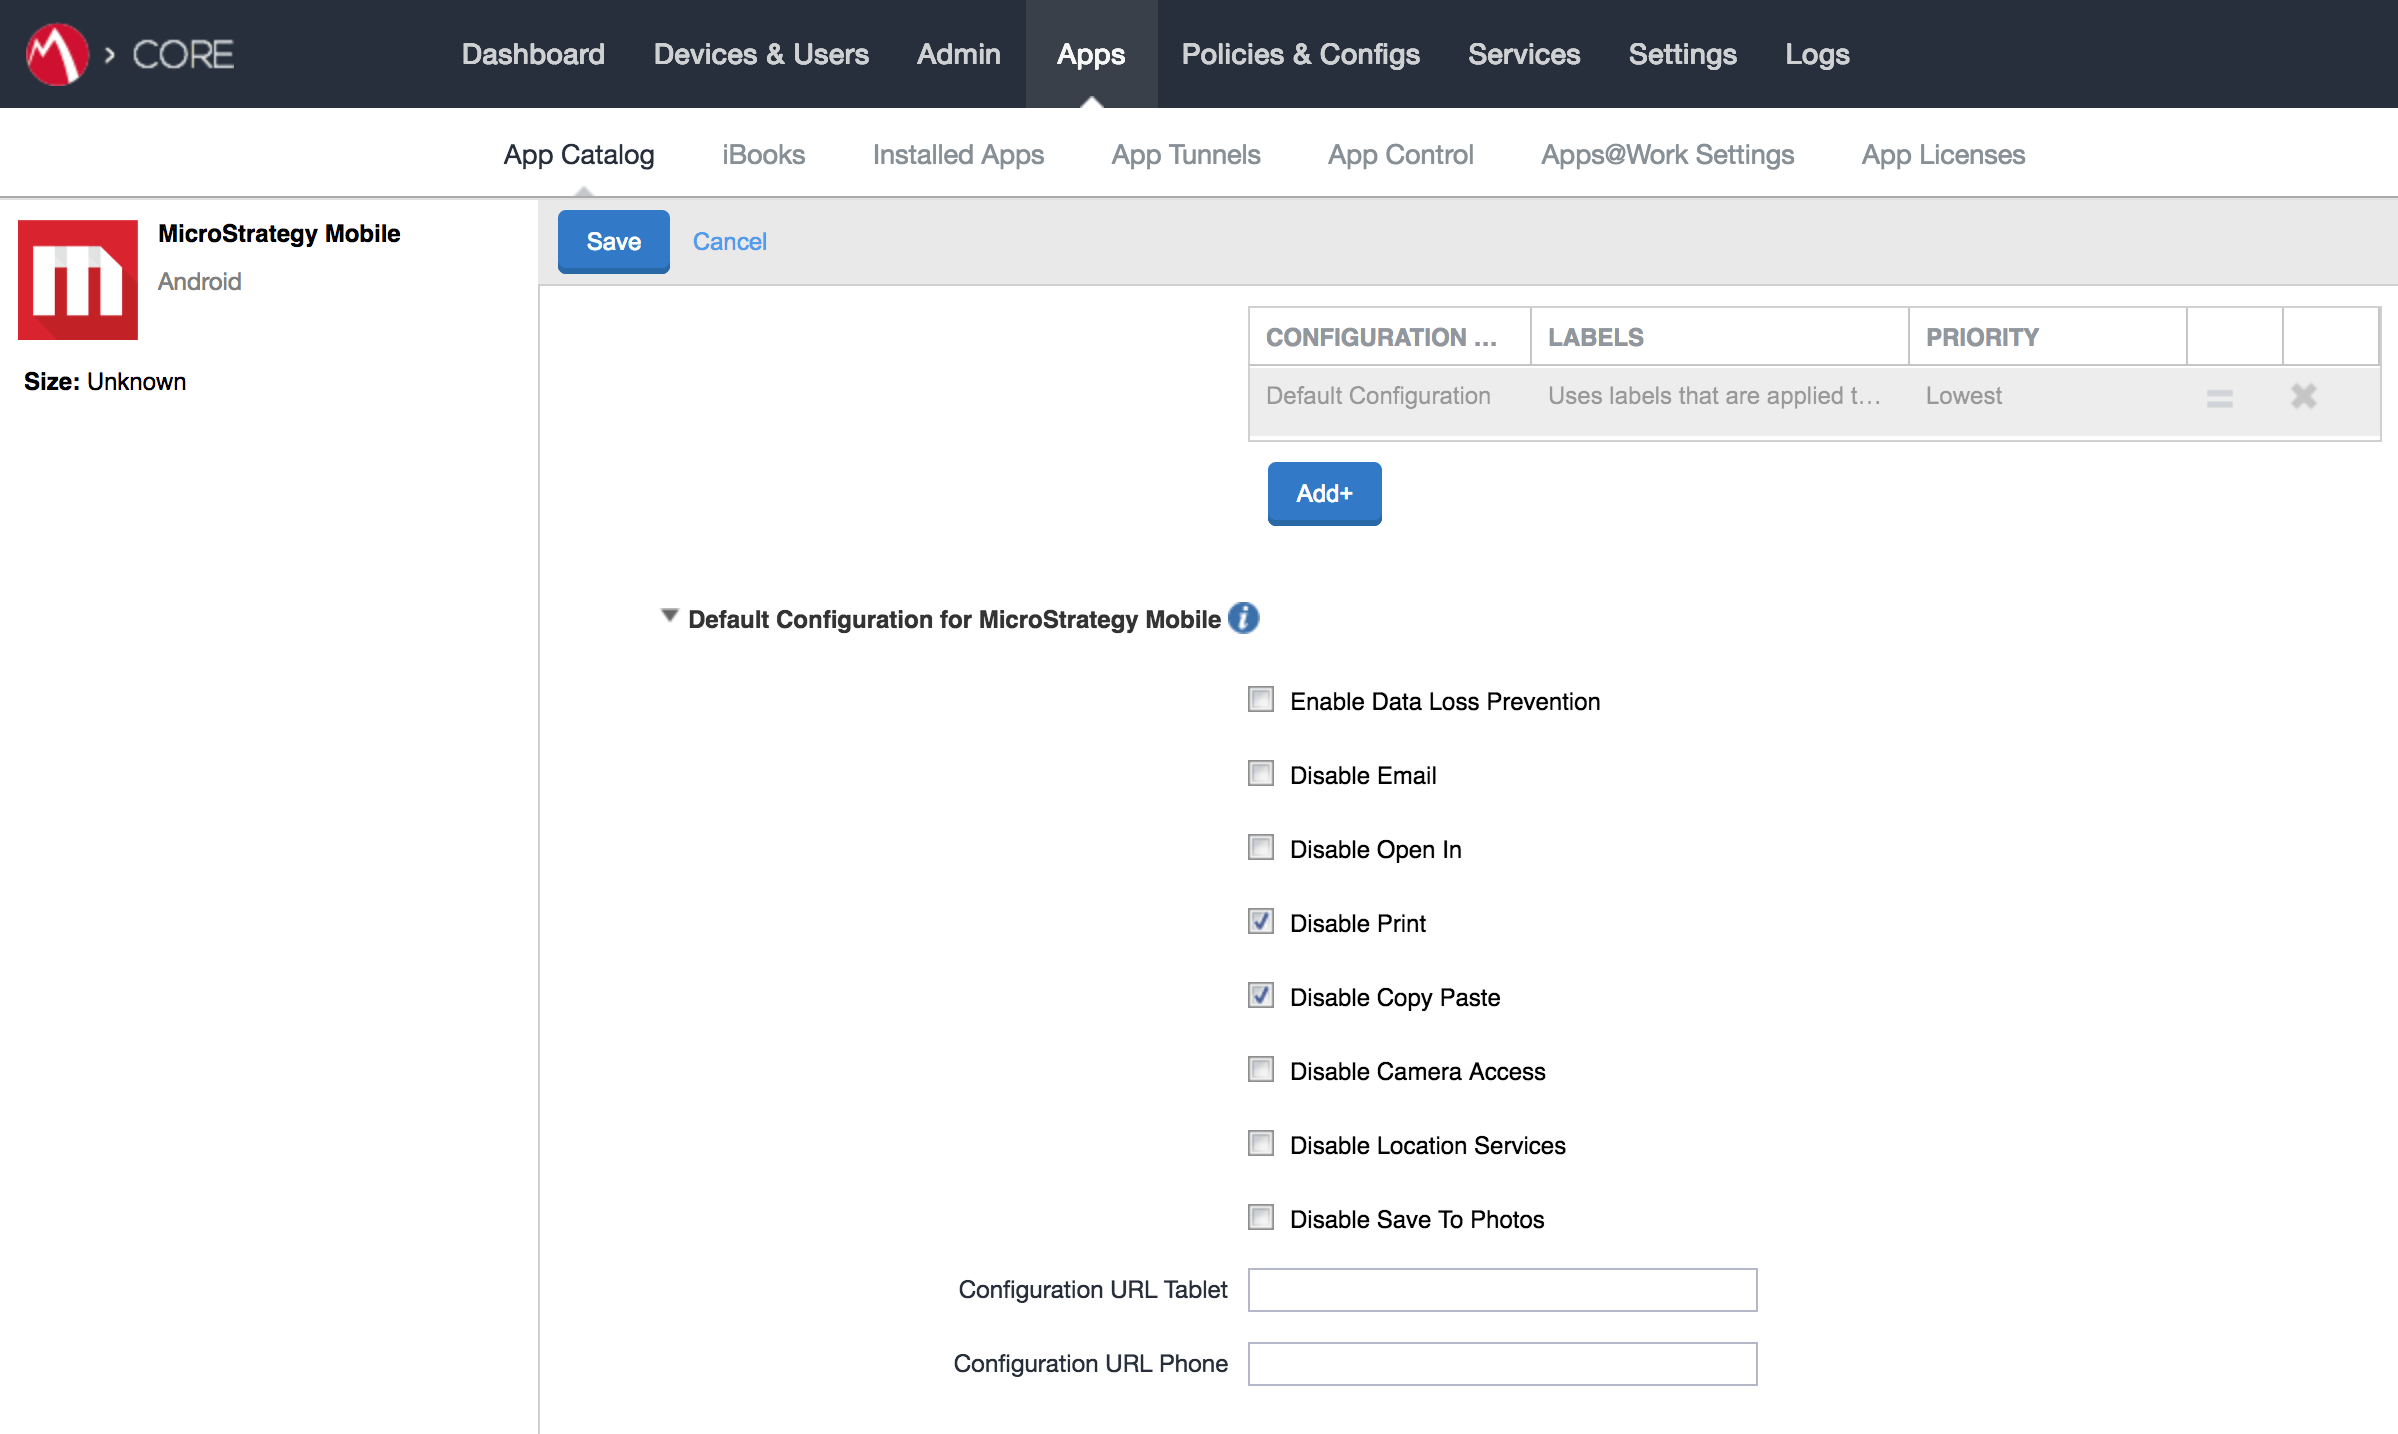
In app catalog, for app configuration, apply the android for enterprise label to corresponding app, then app could get all the default configurations we need to set showing as below: