Before using MobileIron to manage your MobileIron integrated SDK Platform app on your devices, you must first add your user account and enroll your device with the account in MobileIron Core.
You can add a local user account or LDAP account with MobileIron Core. The following steps show how to add a local user account:
1.1.1. Login into MobileIron Core with an administrator account.
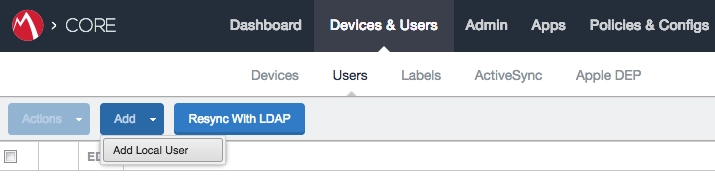
1.1.2. Go to Device & Users→Users, click Add→Add Local User if you wish to add a local user.
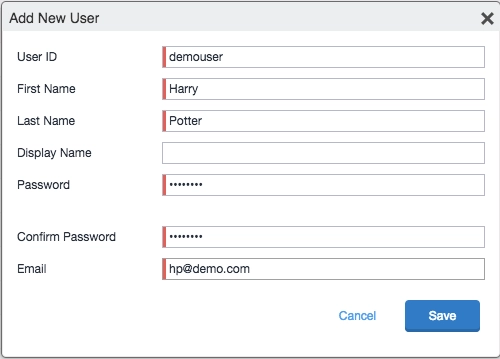
1.1.3. Input the necessary user information, then click Save button.
Note: Before enrolling your device in MobileIron Core, please make sure that your device has not installed other MDM control profile. On your iOS device, go to Settings→General→Profiles & Device Management, if Mobile Device Management profile exists, please remove it from management.
1.2.1. Login into MobileIron Core with an administrator account.
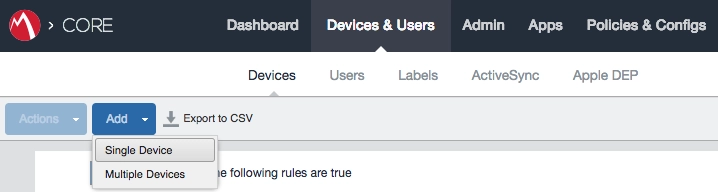
1.2.2. Go to Device & Users→Devices, click Add→Single Device.
1.2.3. Add device with user name and device platform. Select Email as the User Notification, click on Register button, the user will receive an email which will help to set up the environment.
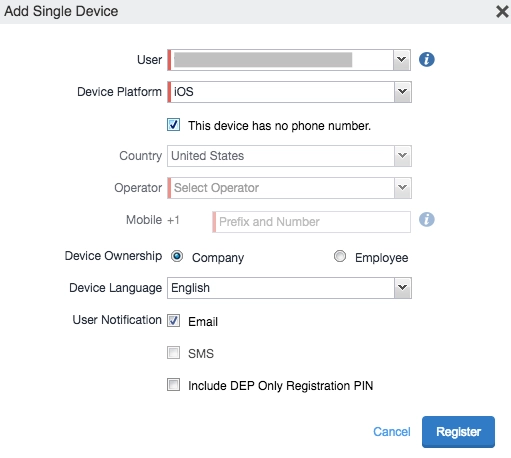
1.2.4. Following the steps provided in the email, tap the link on your mobile device.
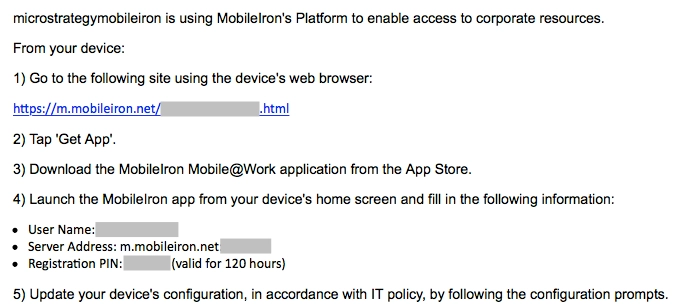
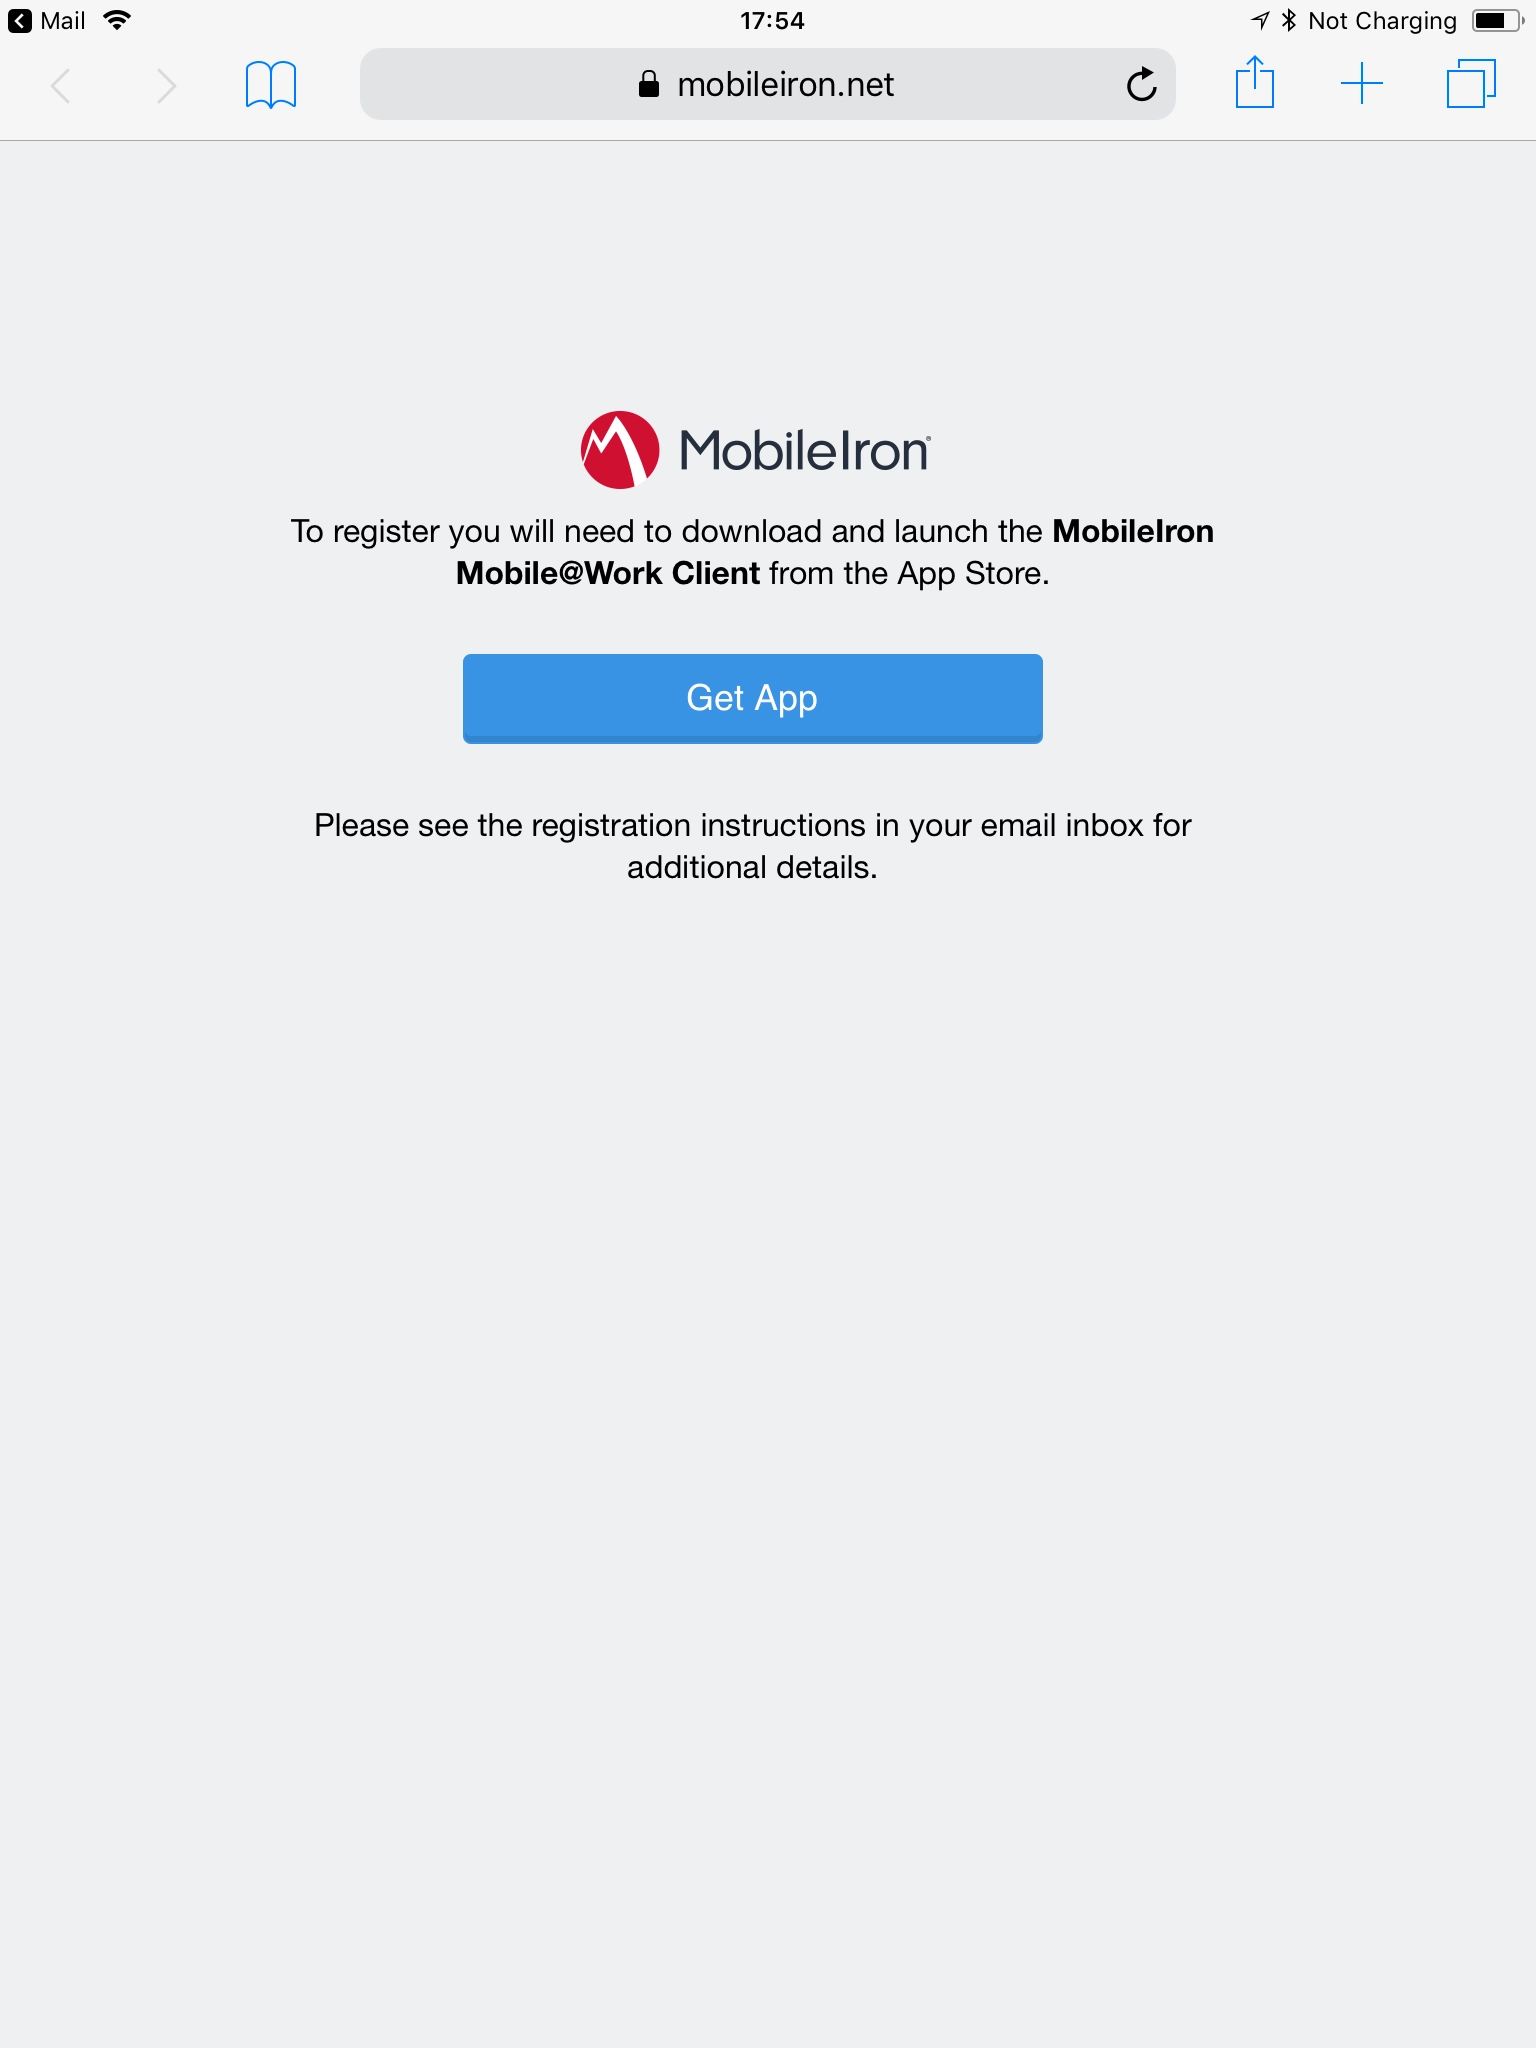
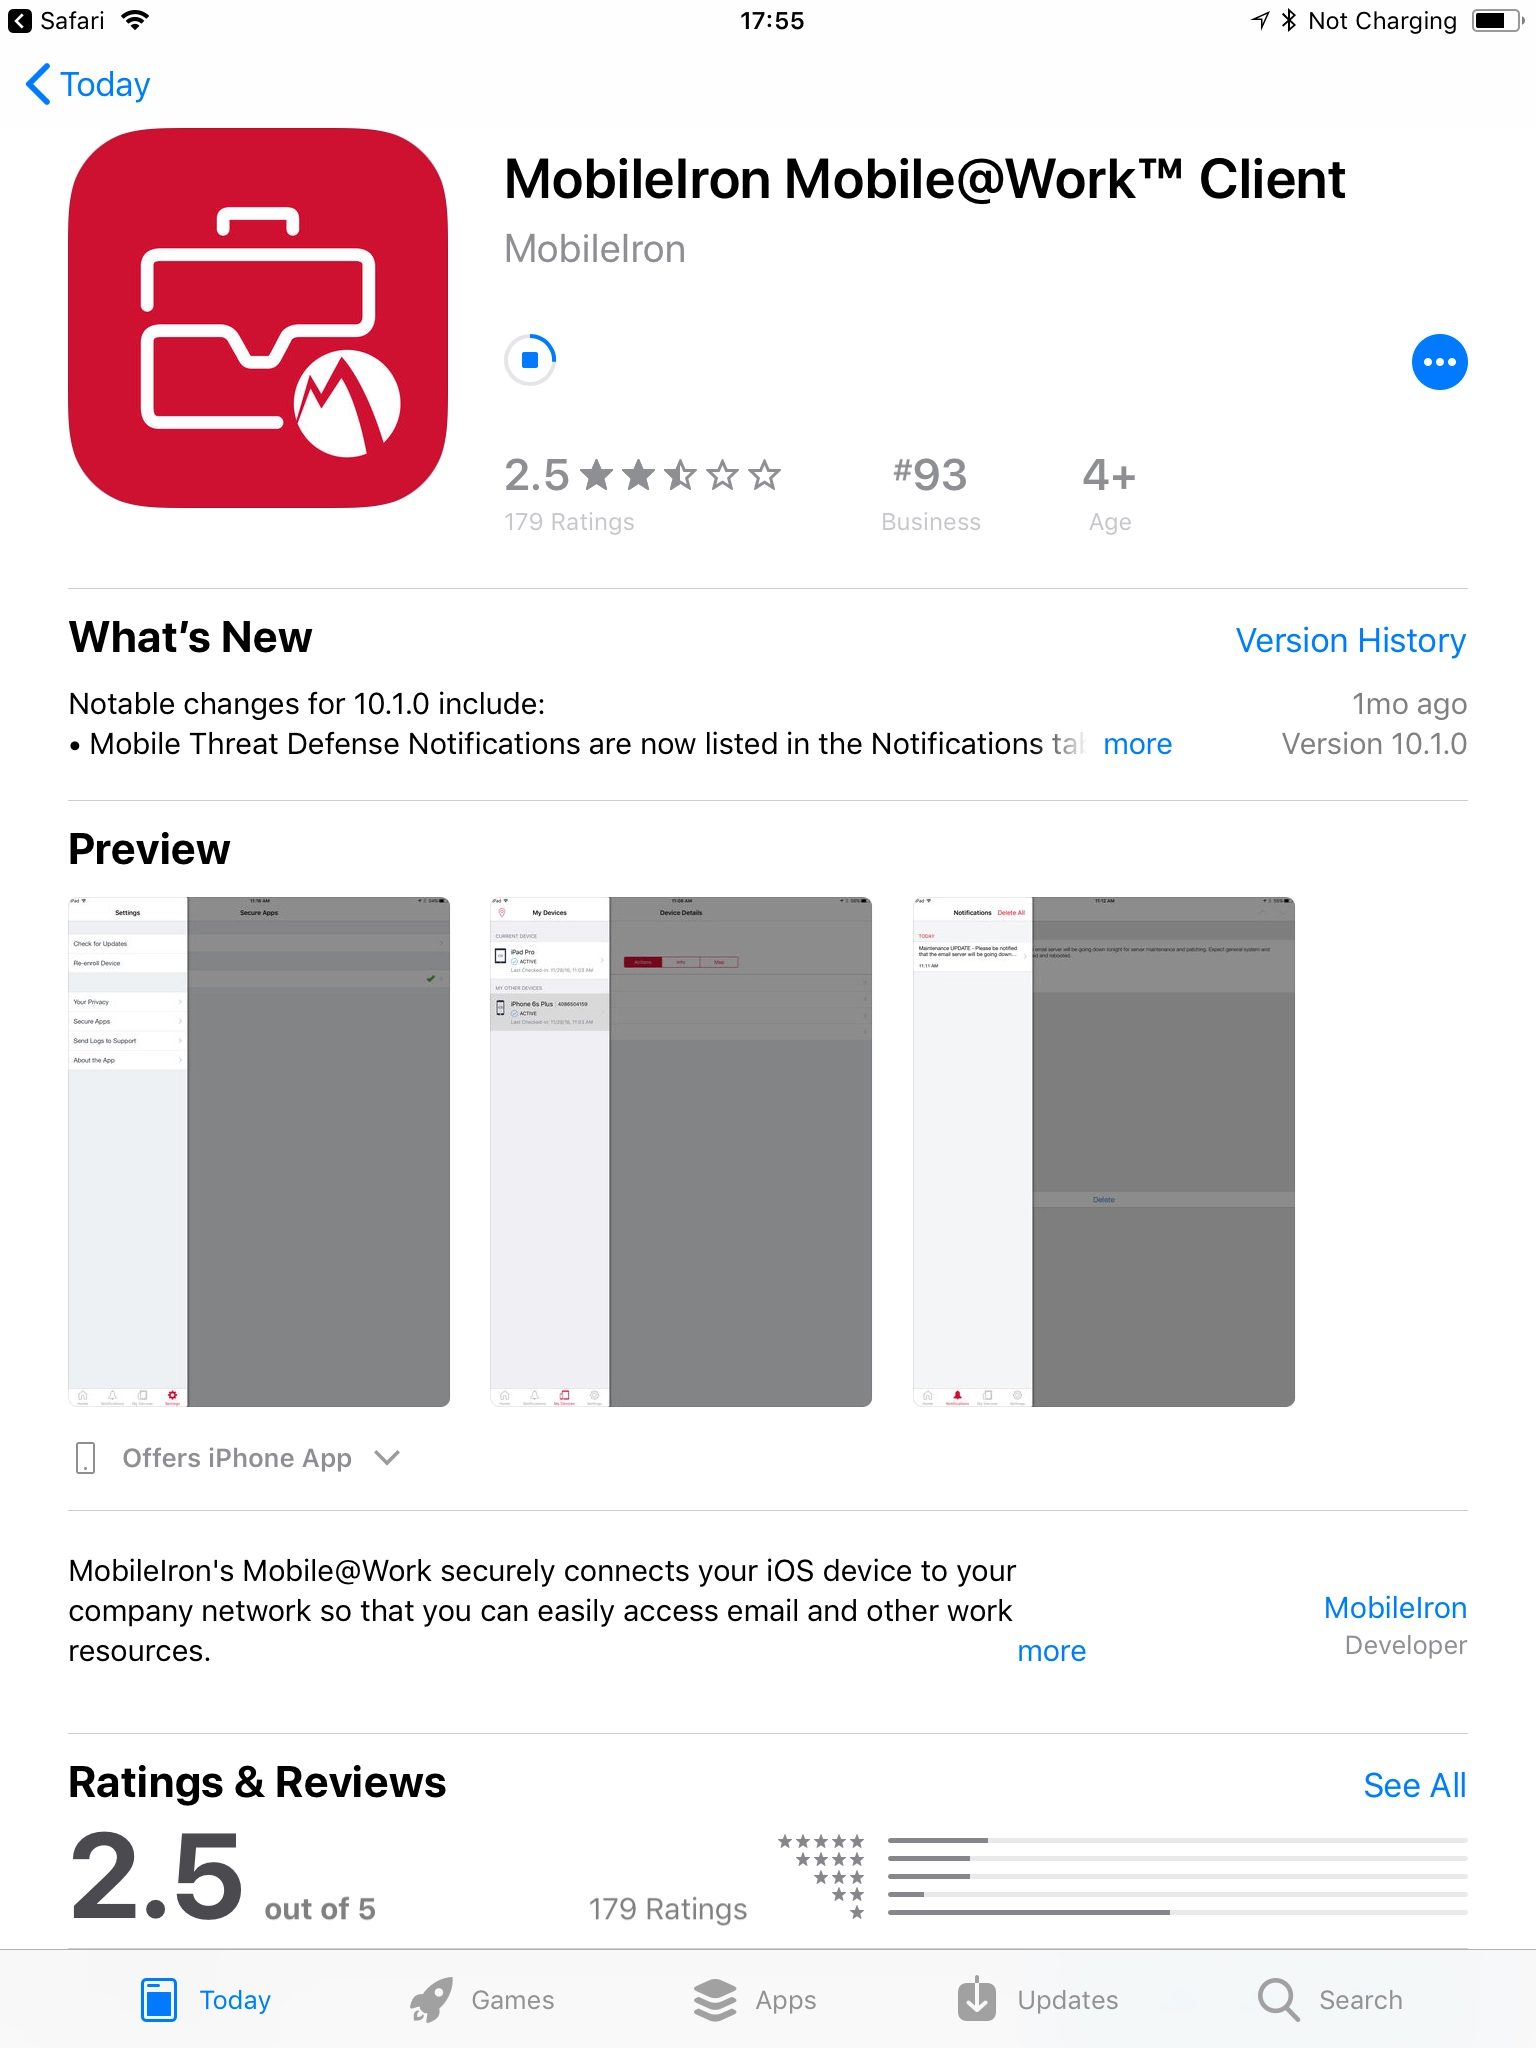
1.2.5. Tap Get App button in Safari, it would redirect to Apple App Store. Install the MobileIron Mobile@Work Client app.
1.2.6. Open the installed MobileIron app, input the user name, server address and security PIN you received in email. Tap Register in the navigation bar, then tap Continue button.
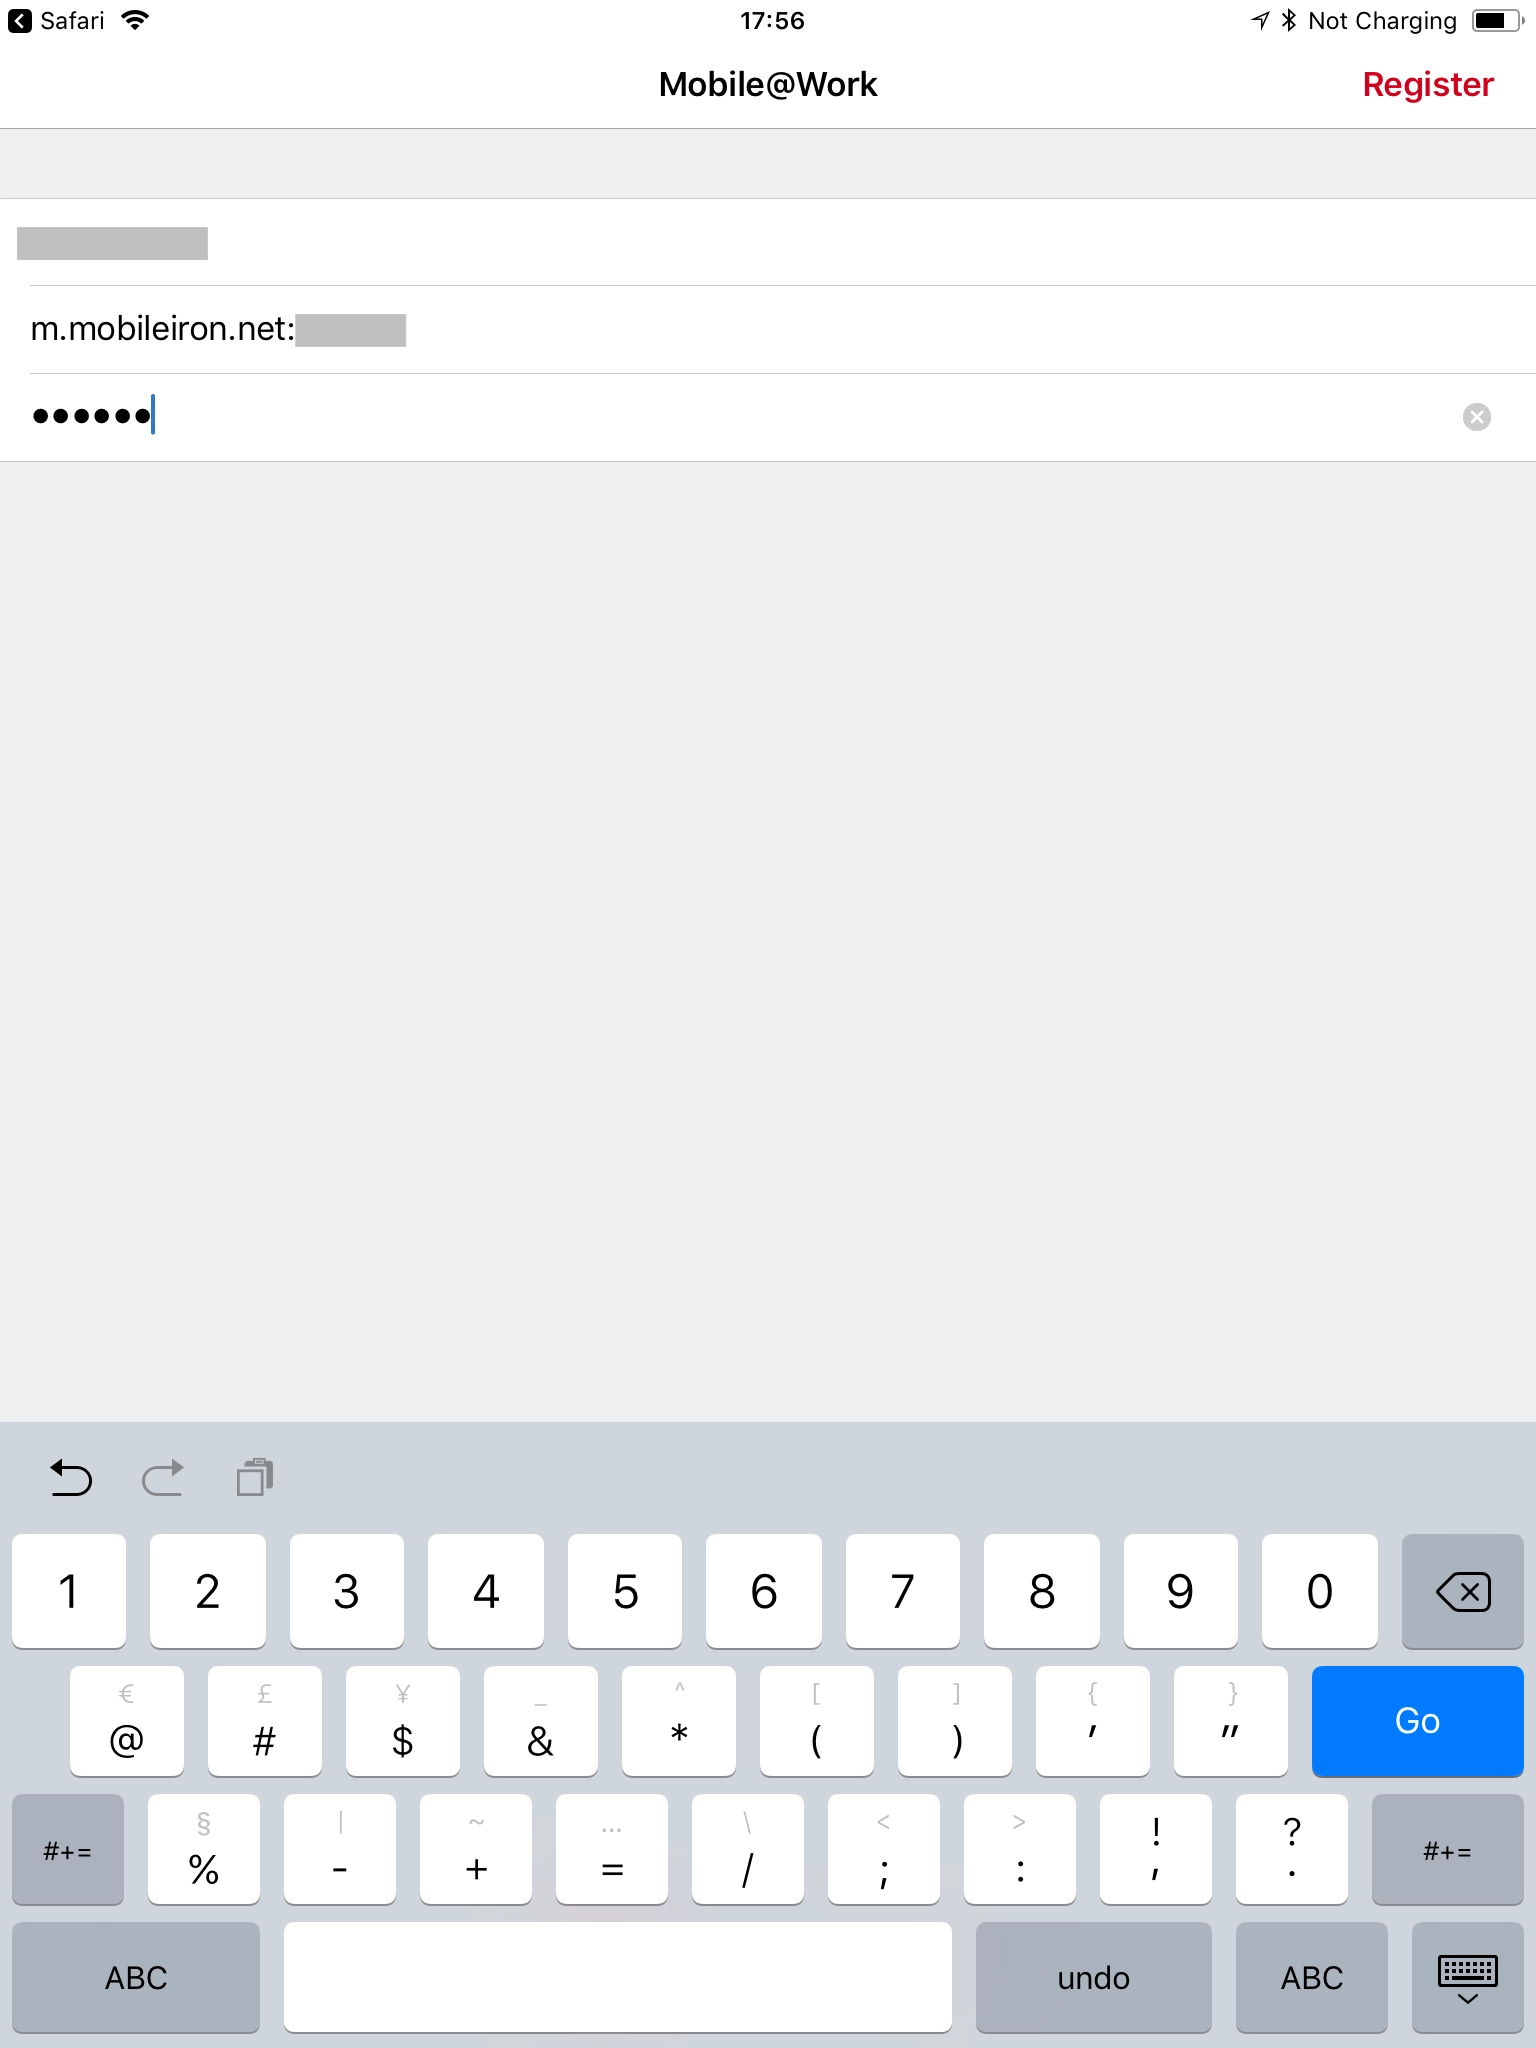
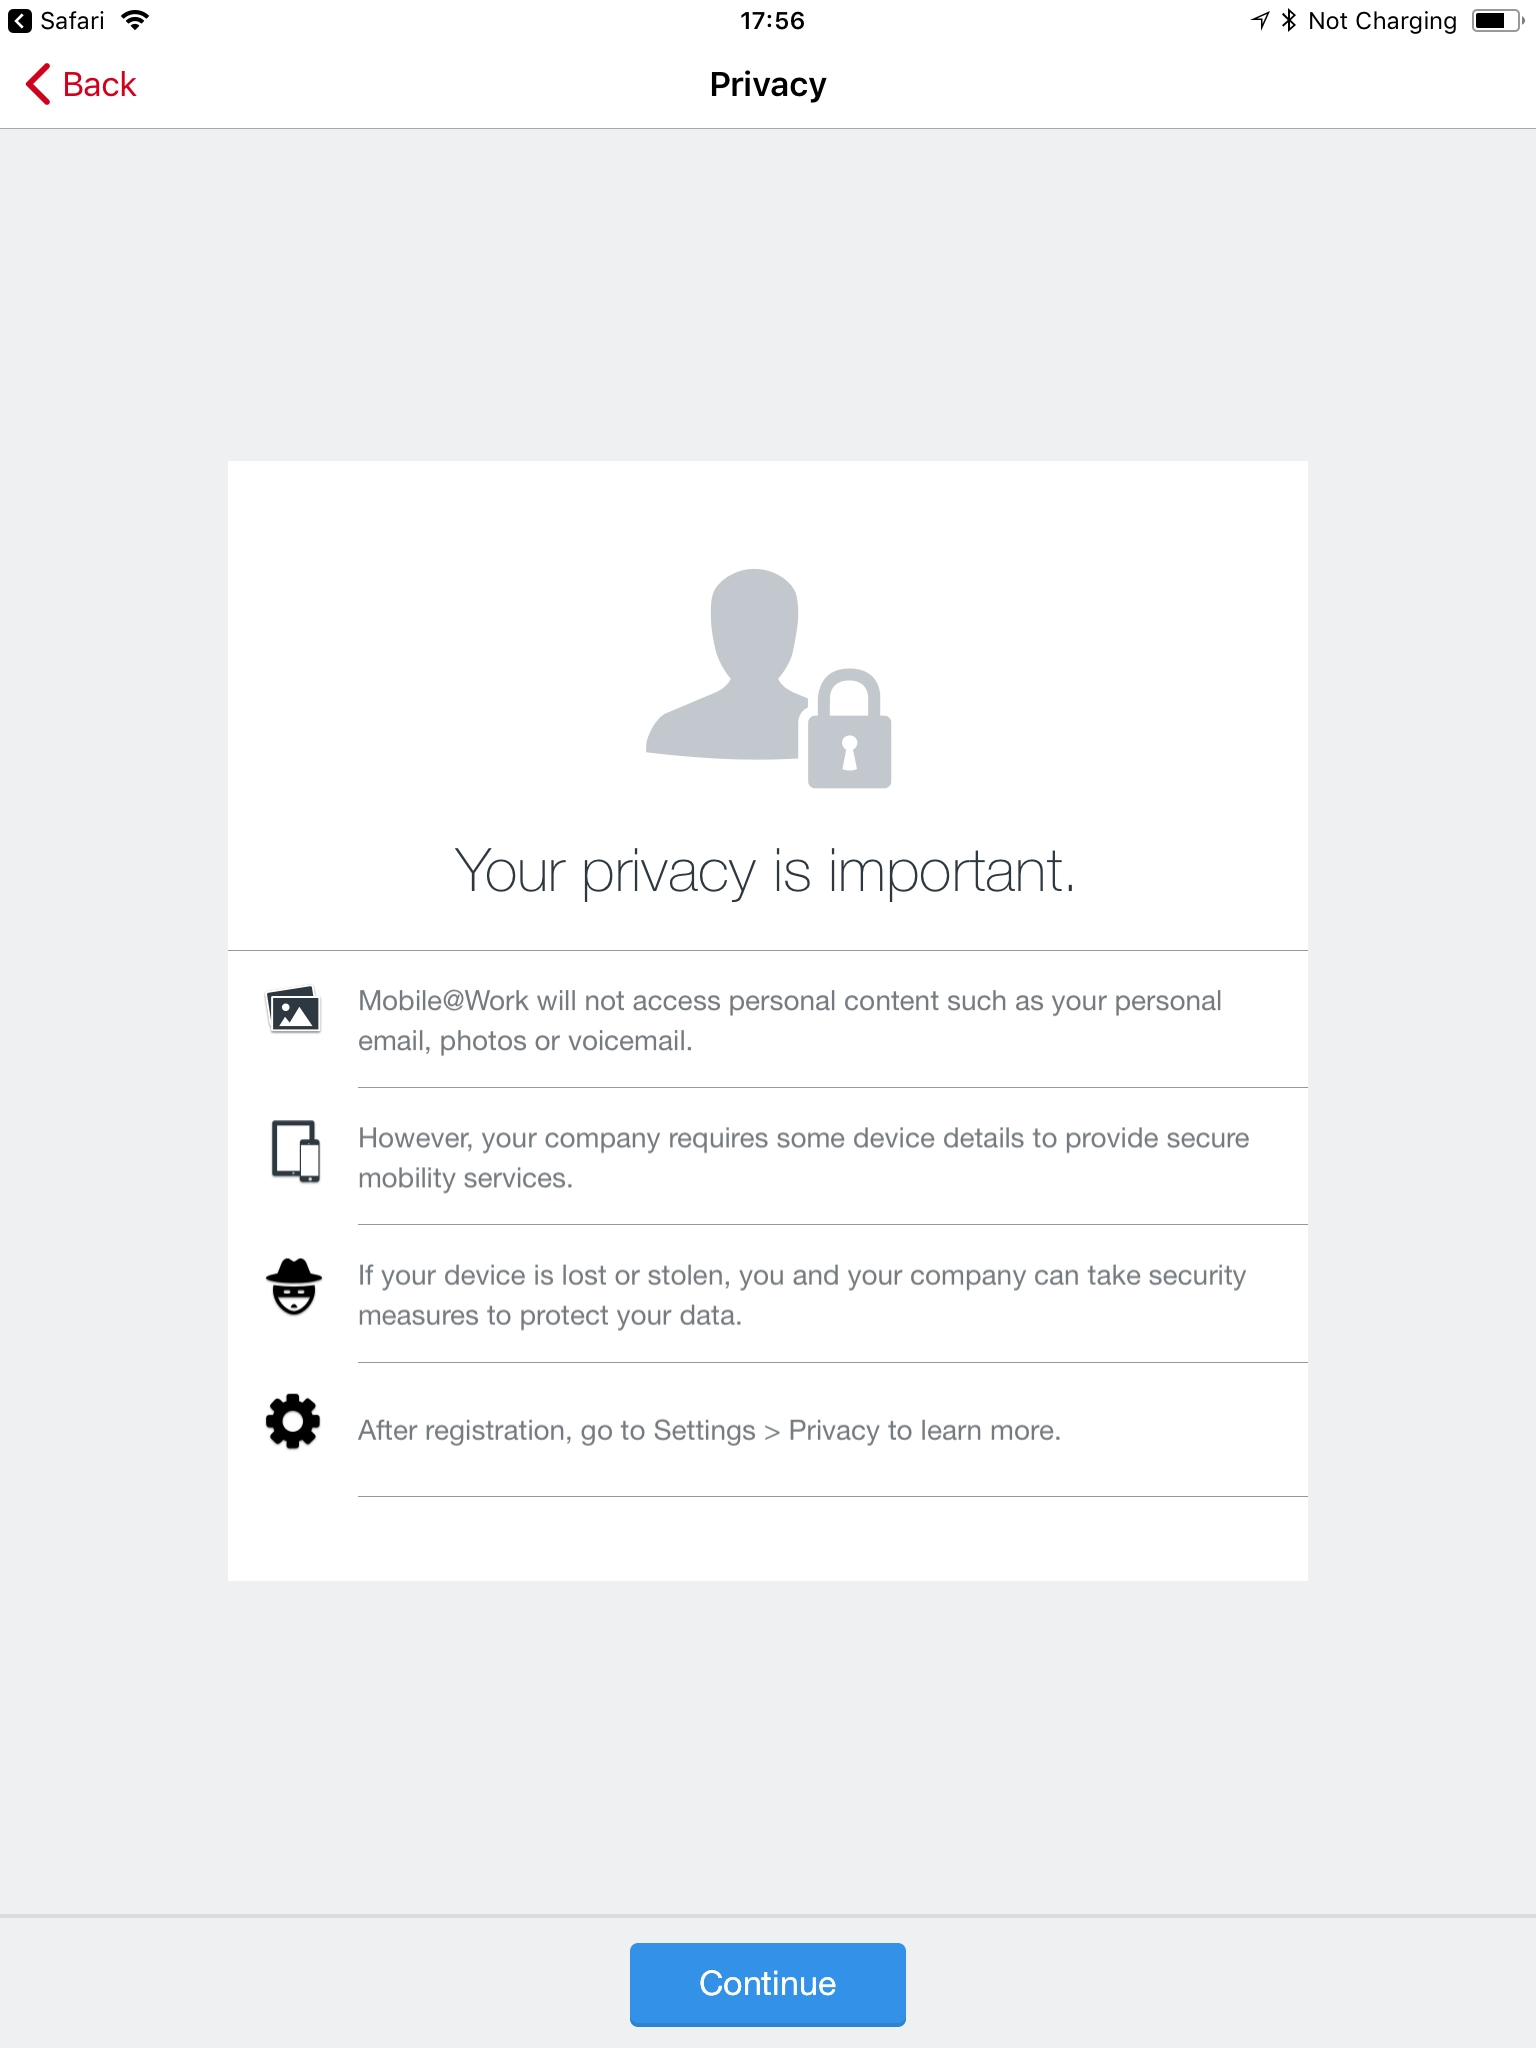
1.2.7. Tap OK then tap Allow to install the iOS configuration in Settings app.
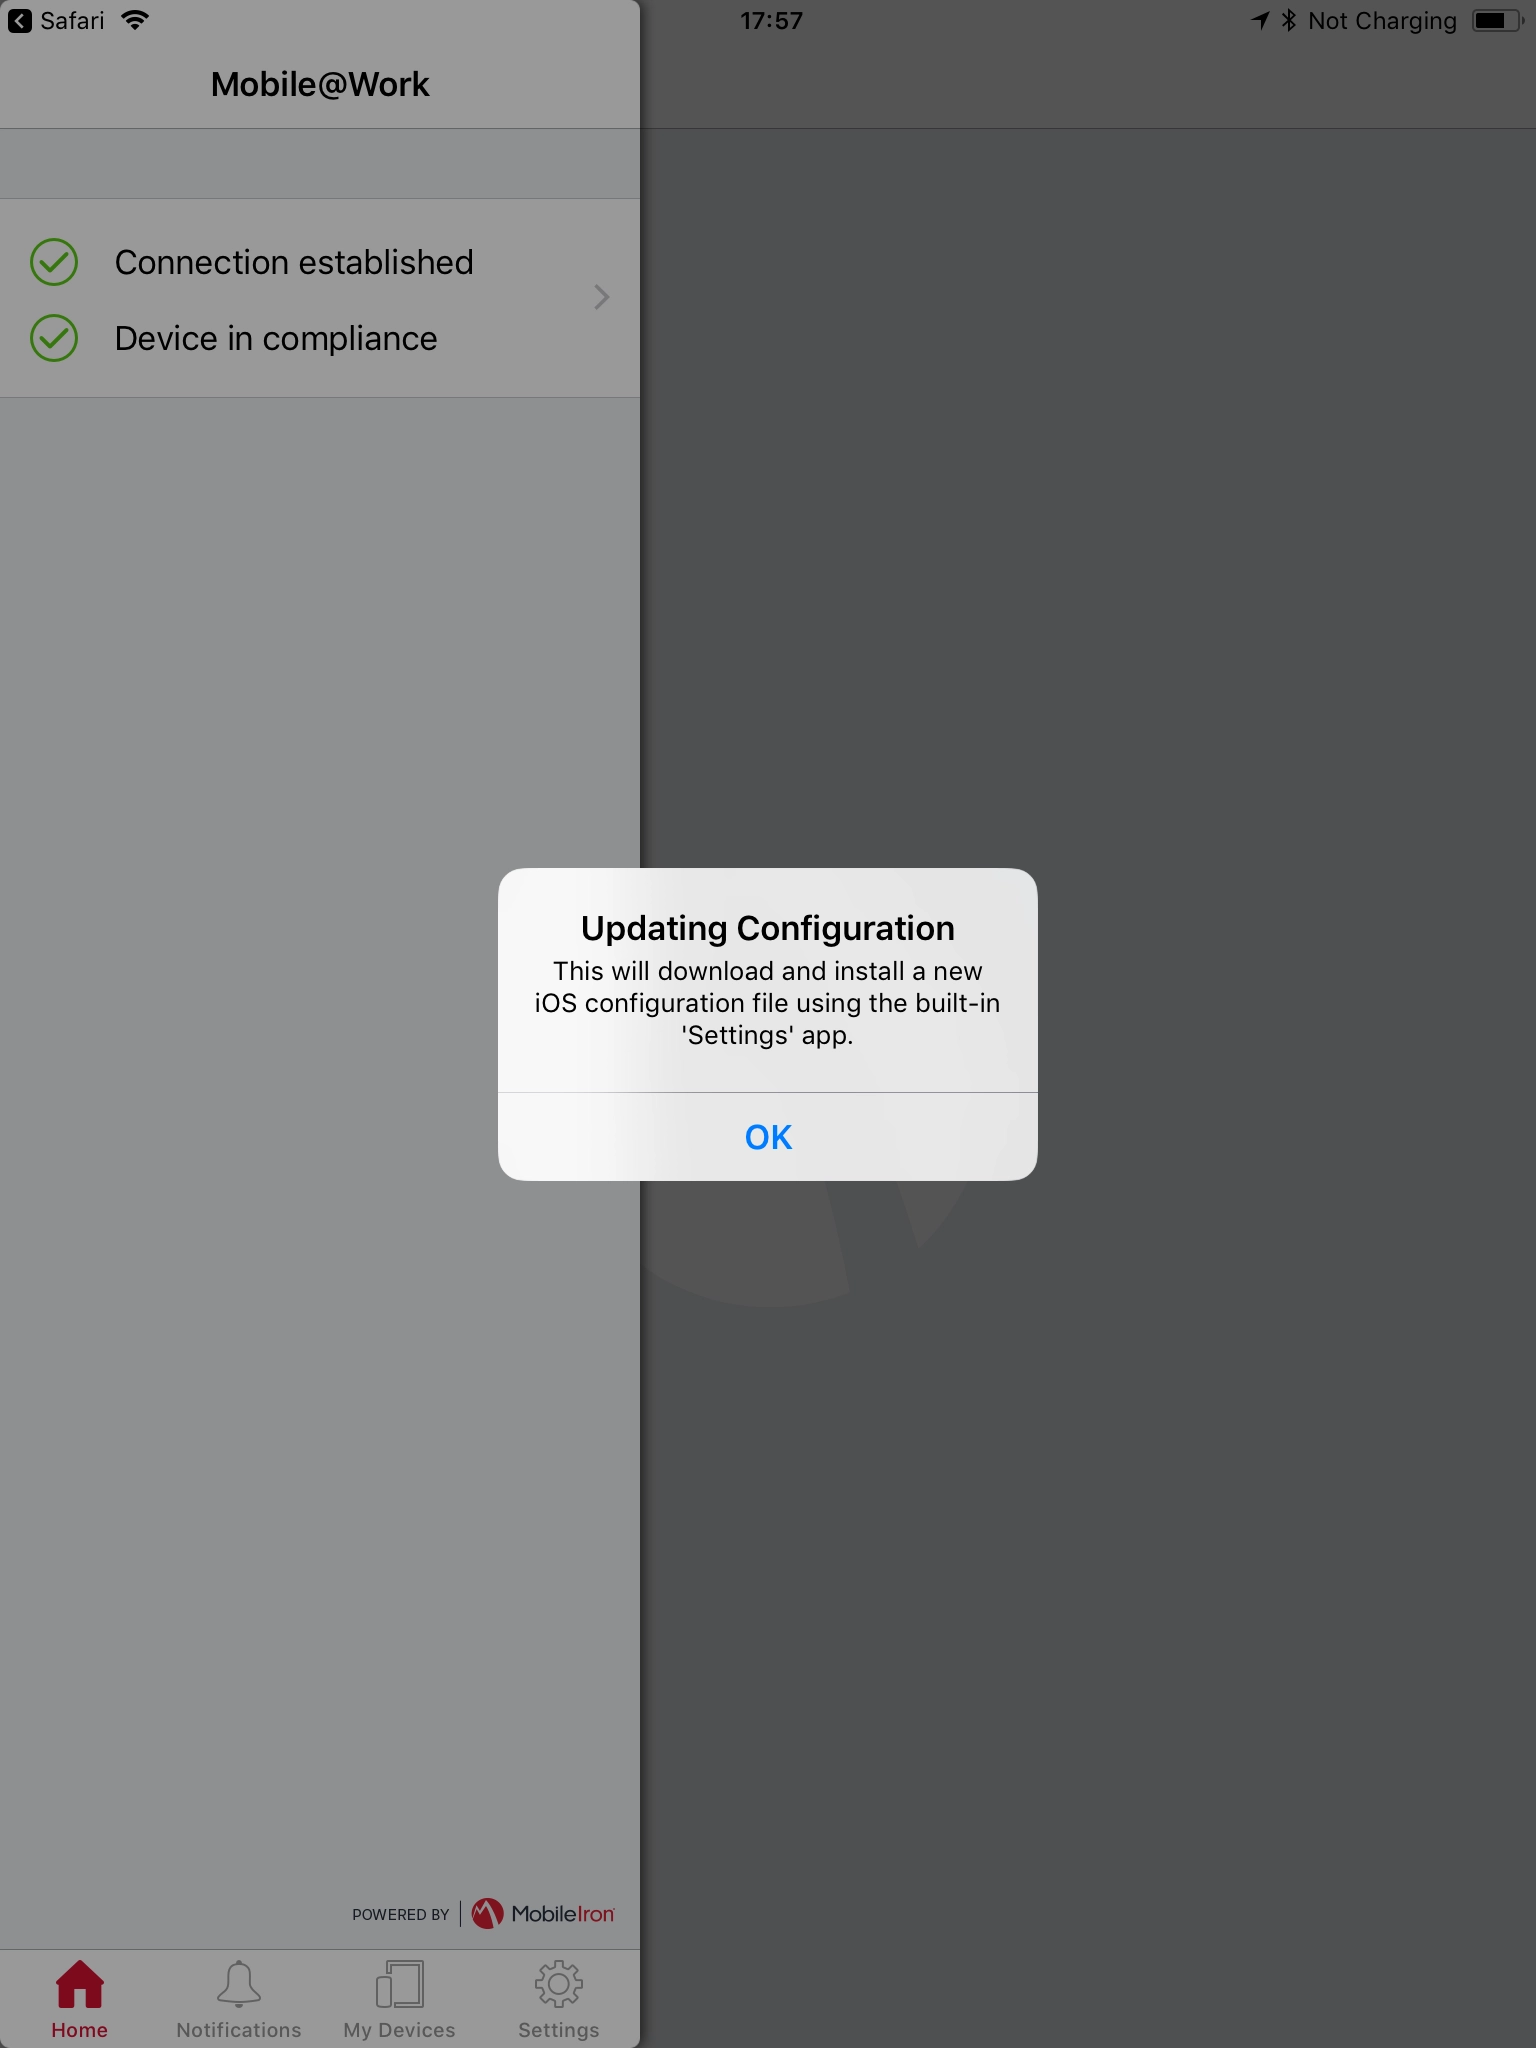
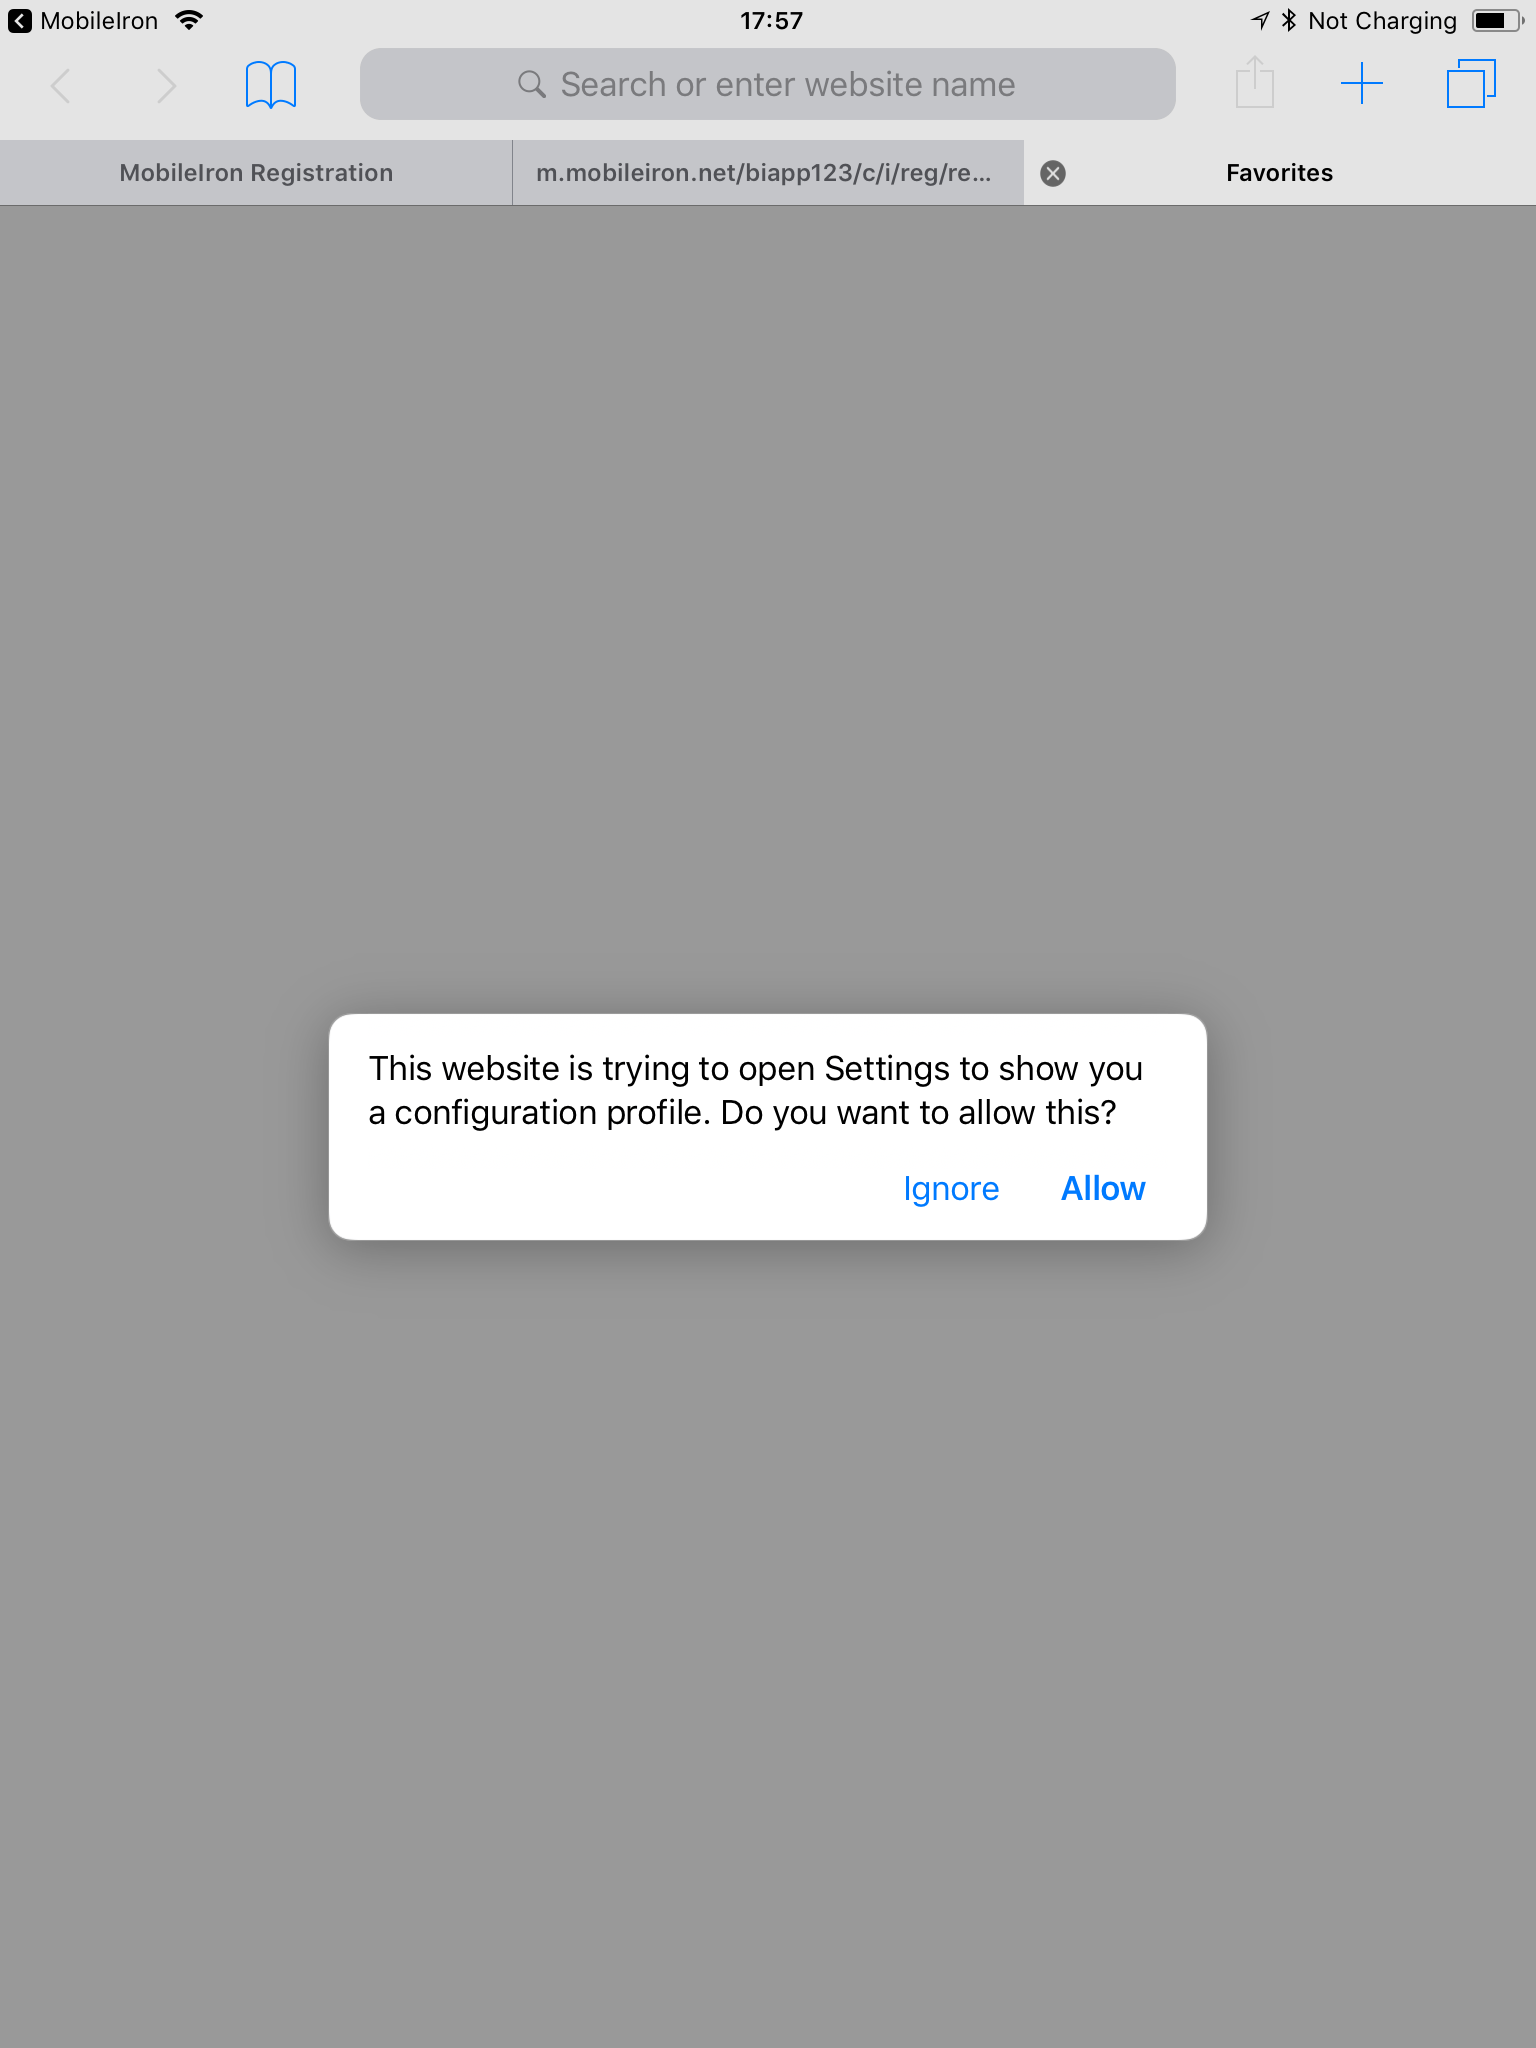
1.2.8. Trust the profile while installing the iOS configuration.
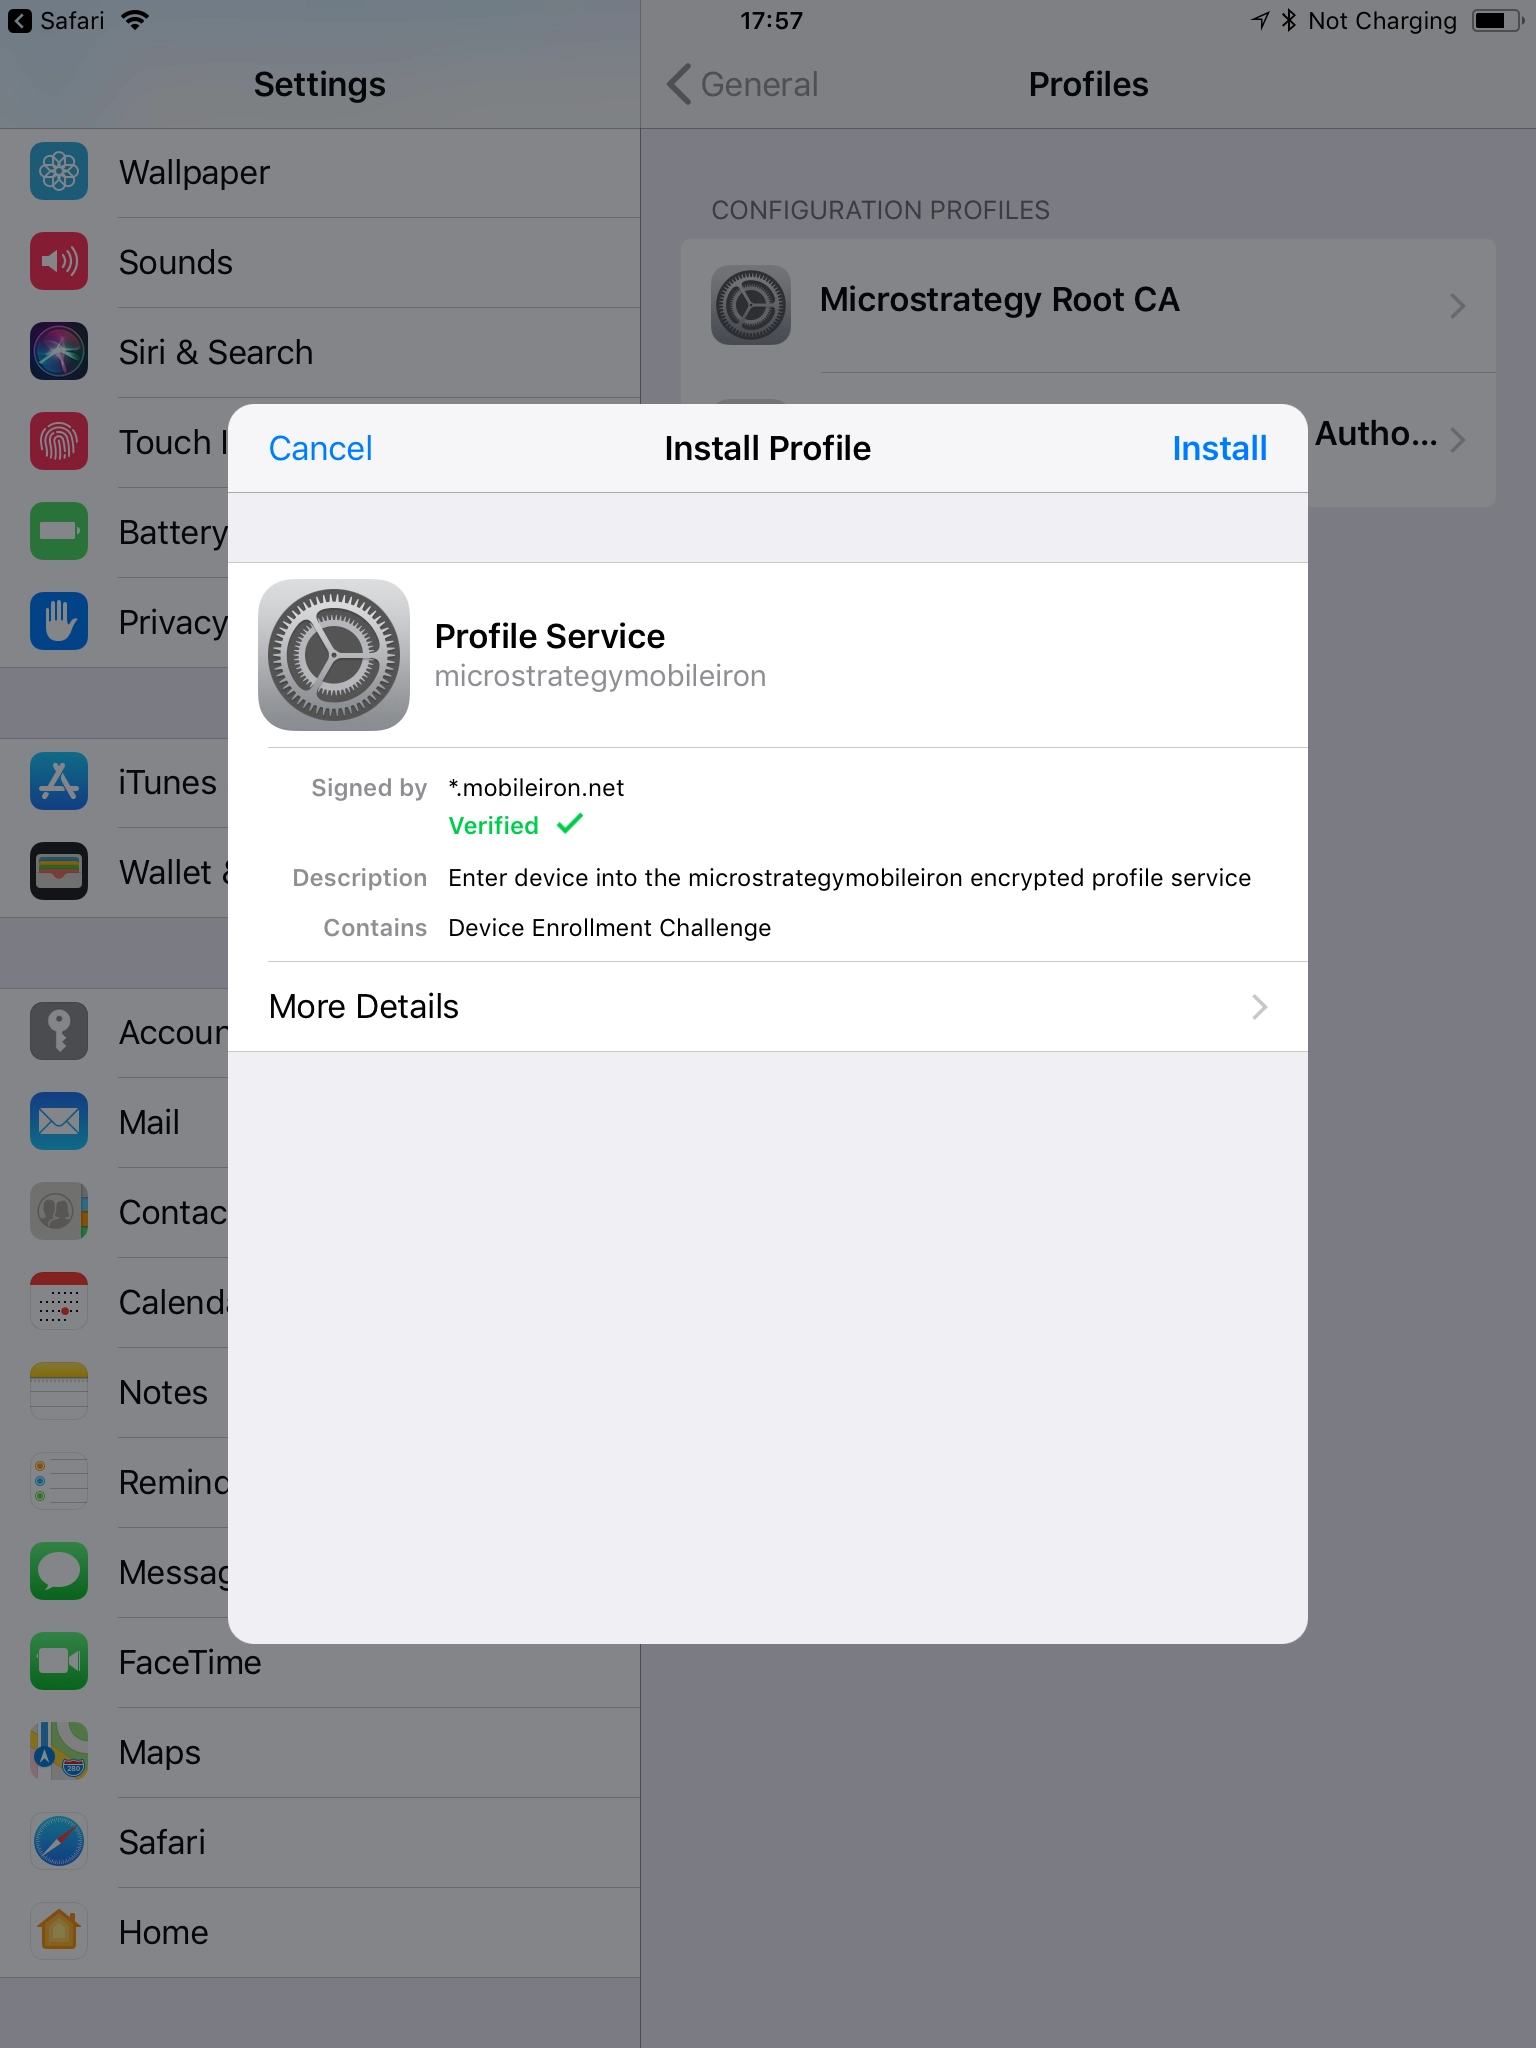
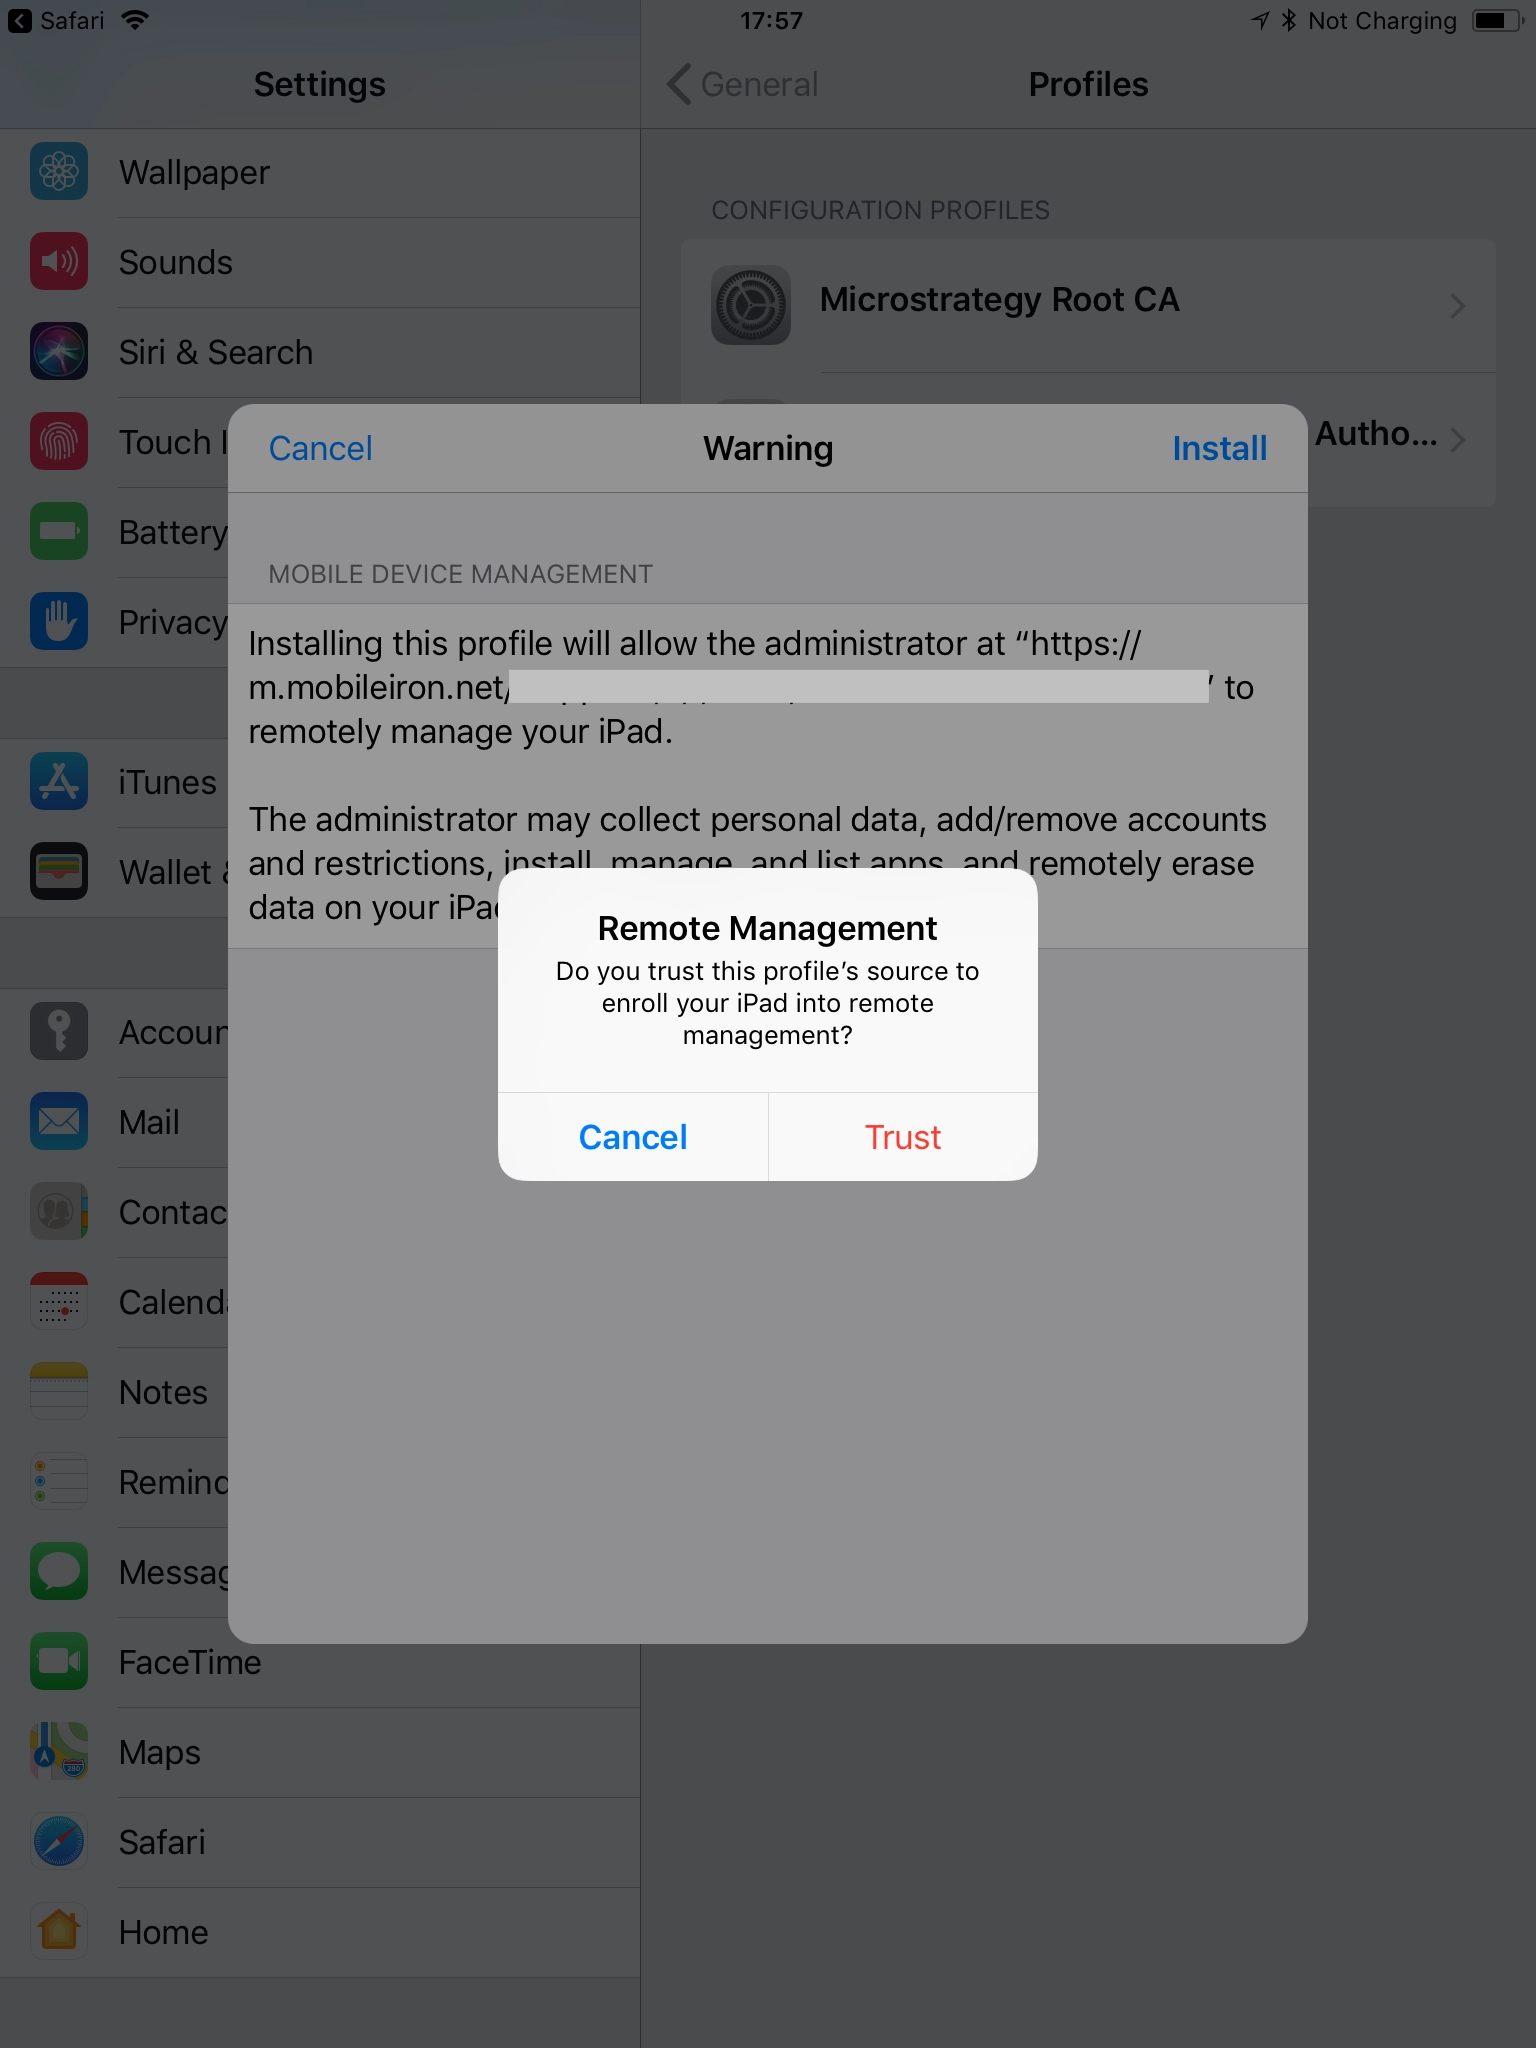
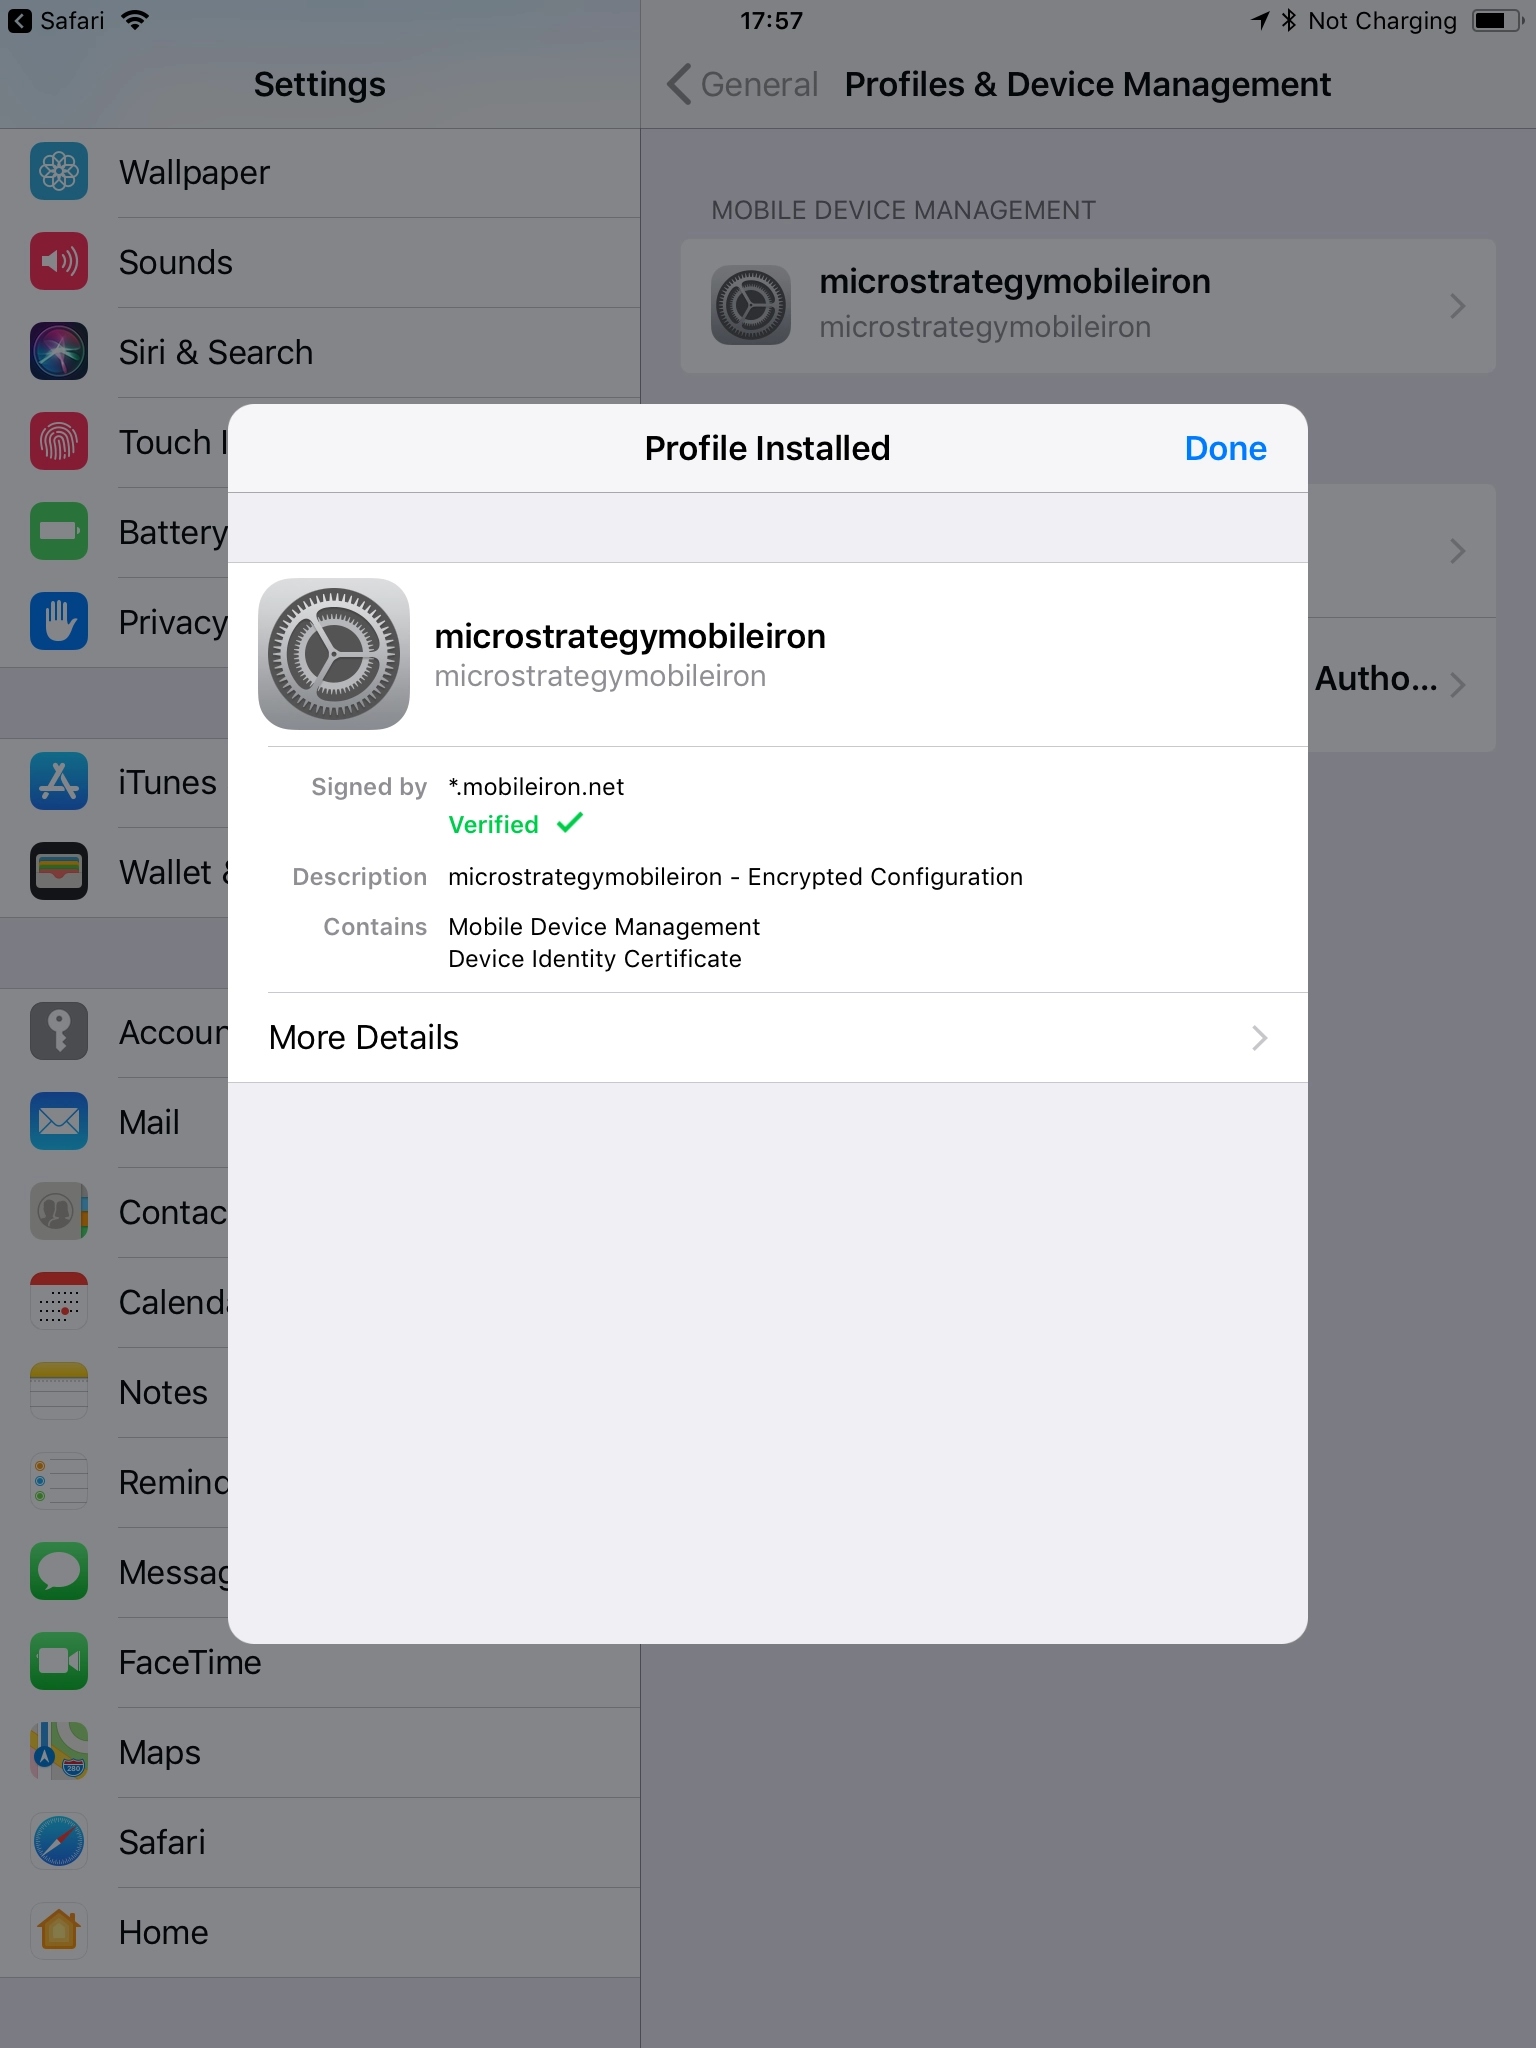
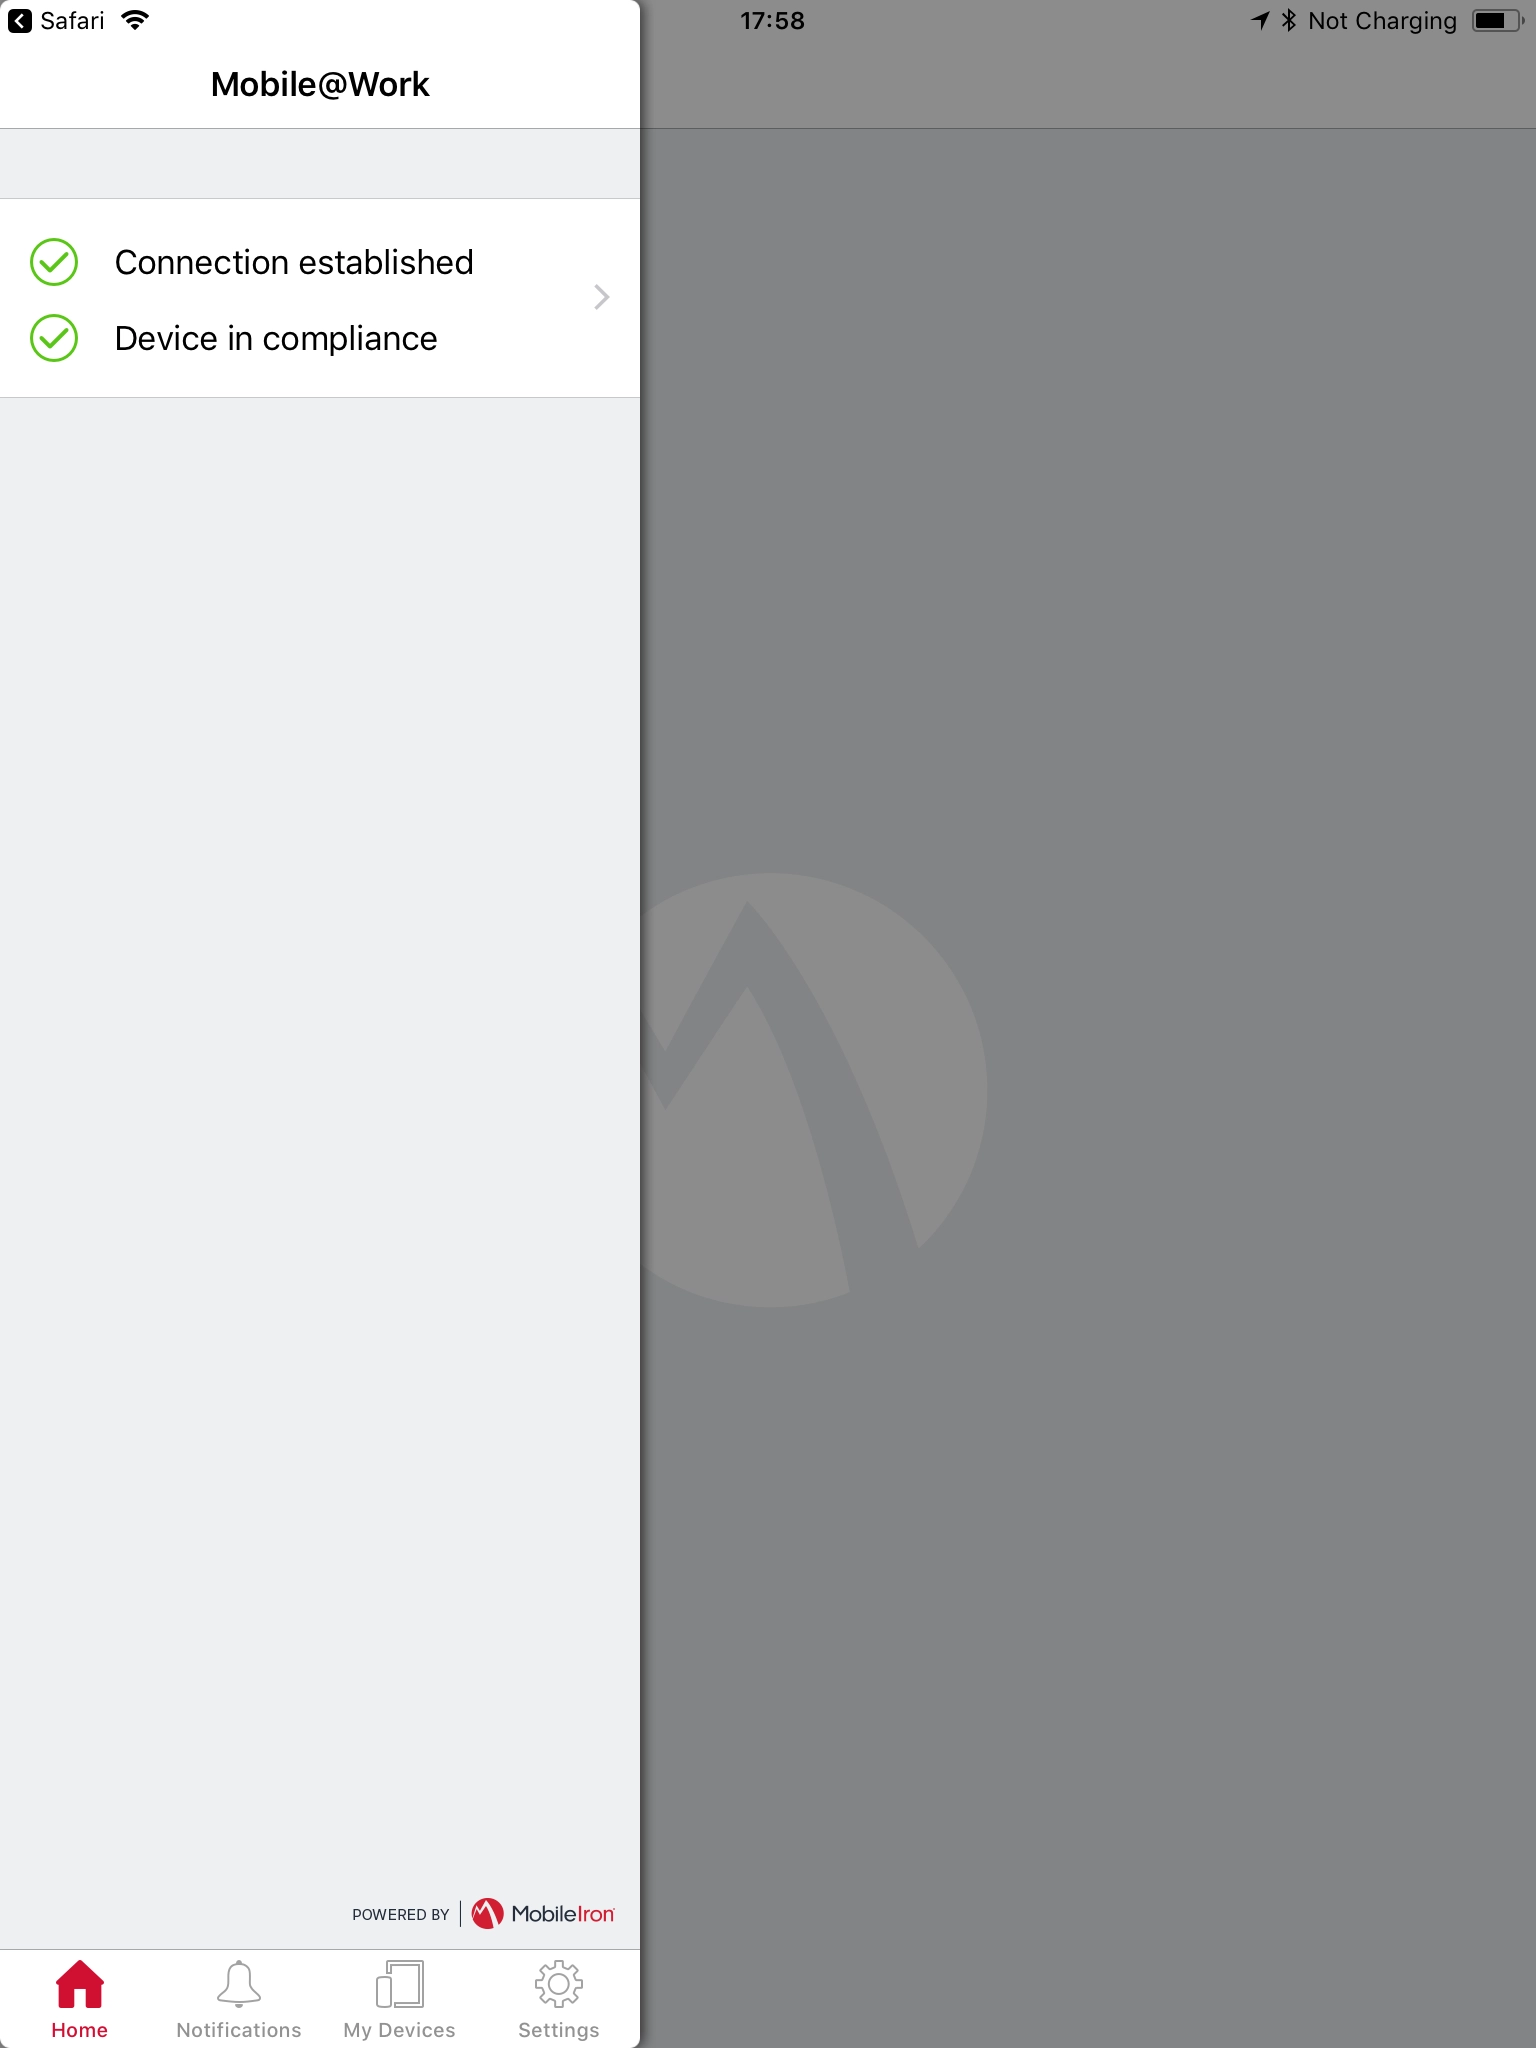
1.2.9. After the profile is installed, it would redirect back to the MobileIron app. At this moment, the device is successfully enrolled.
2.1.1. On a Mac computer, go to the Strategy Download site and download the latest DMG file for the Strategy Mobile SDK Secured by MobileIron. This includes the Strategy Mobile Xcode project and a MobiileIron integration framework called the MSIAppConnect.framework.
2.1.2. Double-click the downloaded DMG file.
2.1.3. Click Agree to accept the terms of the license agreement. This opens the disk image.
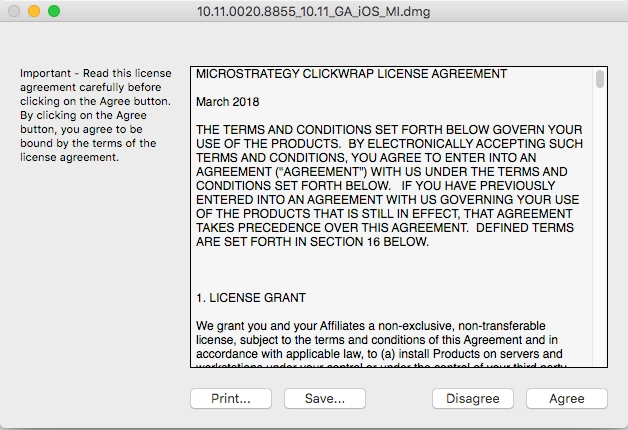
2.1.4. Copy all the folders to your local drive.
2.1.5. Eject the disk image.
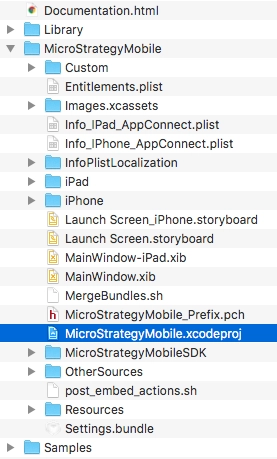
2.2.1. In the StrategyMobile folder copied from the disk image on your Mac, double-click StrategyMobile.xcodeproj. The Strategy Mobile project opens in Xcode.
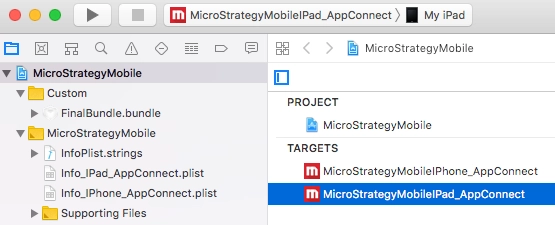
2.2.2. Choose either the StrategyMobileIPhone_AppConnect or StrategyMobileIPad_AppConnect scheme, depending on the type of device you are creating the application for.
2.2.3. Open the appropriate property list file—Info_IPhone.plist for iPhone or Info_IPad.plist for iPad. Set Bundle Identifier property—by default, com.Strategy.ipad for an iPad app or com.Strategy.MSTRMobile for an iPhone app.
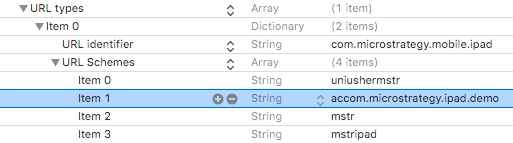
Note: If you have changed the Bundle Identifier, then you need to go to the Info.plist file, find URL Types→Item 0→URL Schemes→accom.Strategy.ipad, replace this item with "ac"+"your bundle id". For example, if your bundle ID is "com.Strategy.ipad.demo", then change this item to "accom.Strategy.ipad.demo";
2.2.4. For the scheme you selected, make sure that your distribution provisioning profile is selected under Code Signing in the Build Settings section.
2.2.5. Build a distributable archived version of the application, with an .ipa extension.
Note: You can create the archive either by Xcode Archive, or by manually zipping the .app in a folder named Payload, then rename the .zip extension to .ipa.
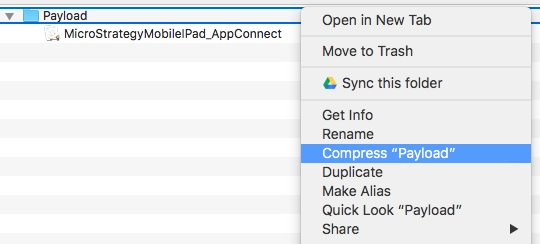
2.2.6.Close Xcode.
A label is a combination of security policies and configurations. You can apply your labels to the users who can share the same set of policies.
2.3.1. Login into MobileIron Core with an administrator account.
2.3.2. Go to Device & Users→Labels, click Add Label button.

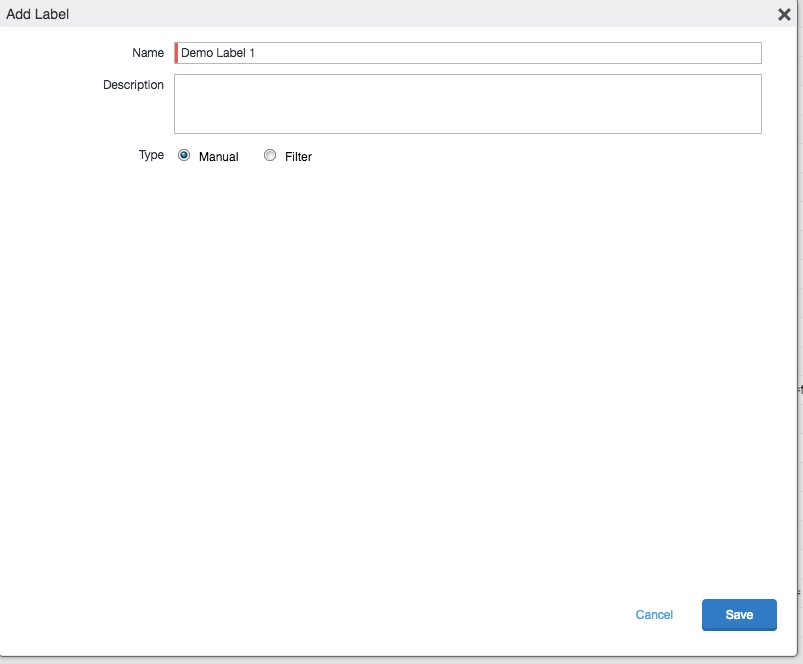
2.3.3. Input the label name and description, select Manual as the Type, click Save button to save the label.
2.4.1. Login into MobileIron Core with an administrator account.
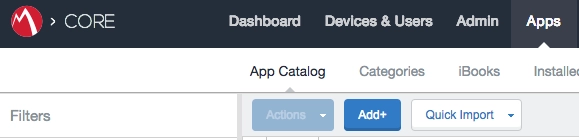
2.4.2. Go to Apps→App Catalog, click Add+ button.
2.4.3. Select the In-House type, click the Browse... button to upload the .ipa file you've created in 2.2, then click the Next button.
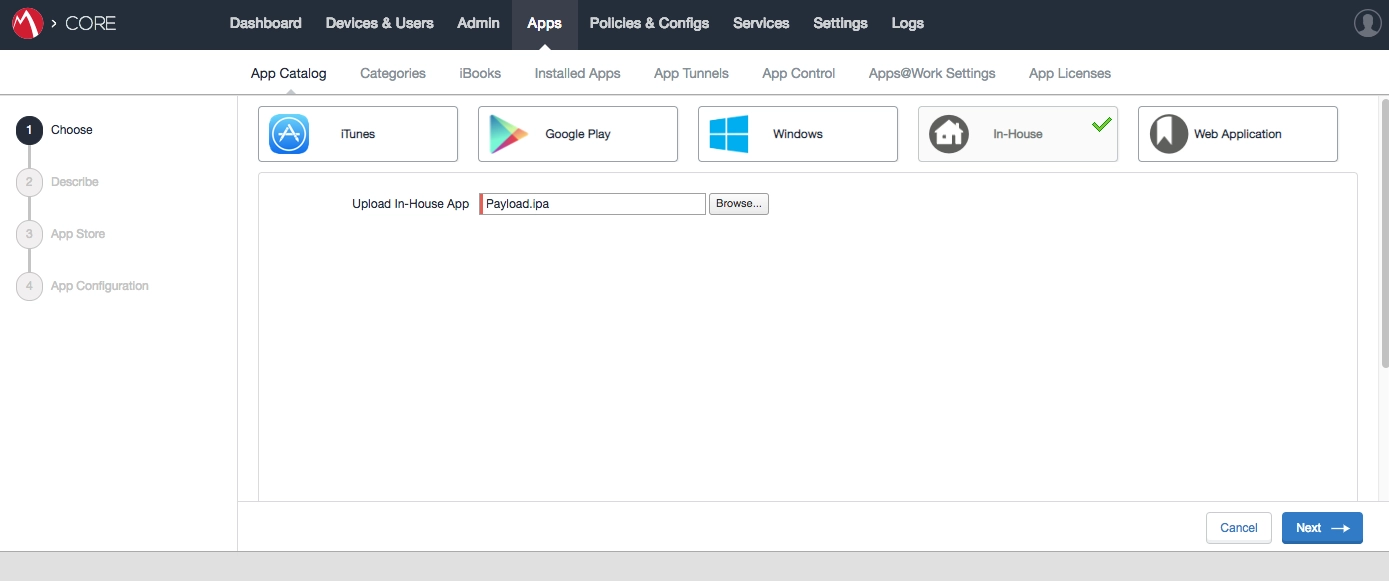
2.4.4. Wait until the .ipa is uploaded successfully.
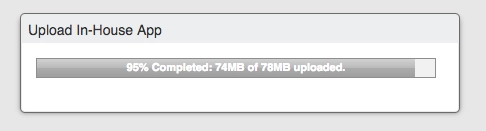
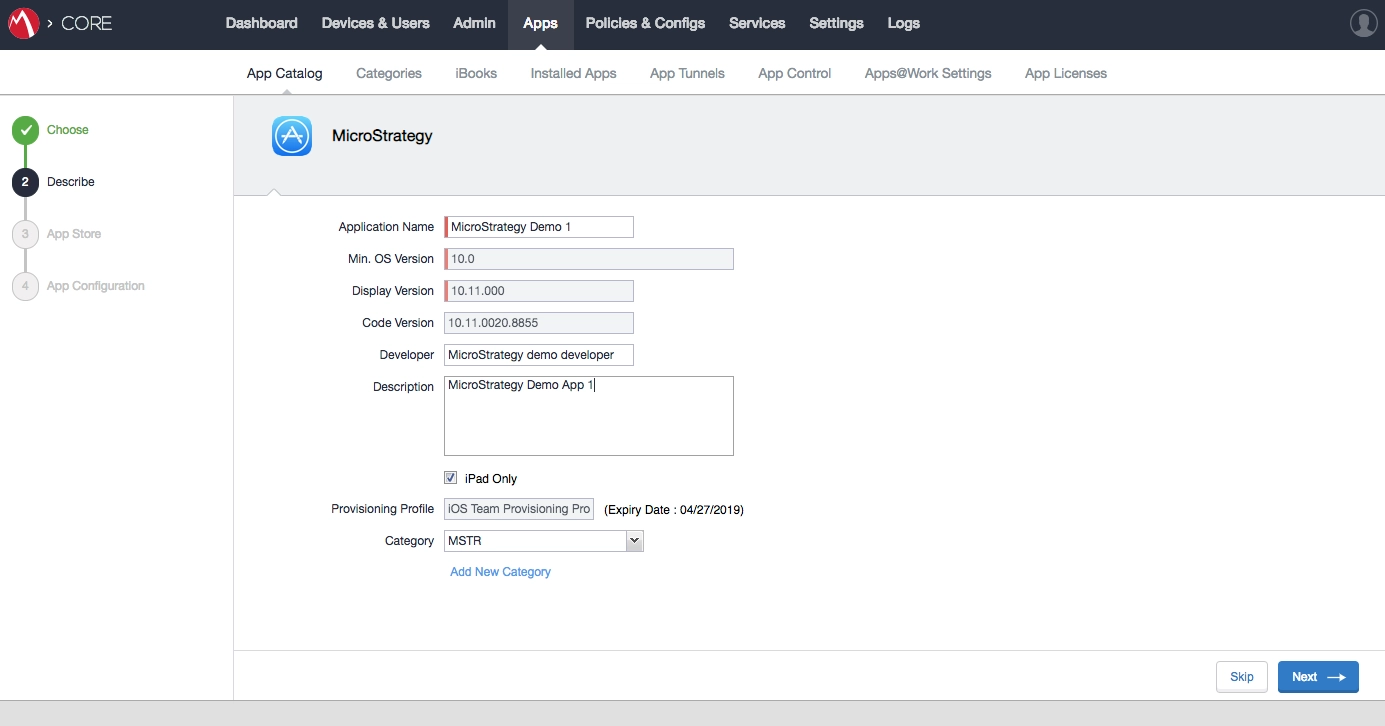
2.4.5. Input the description of the app, then click the Next button. You can keep the default settings if there's no need to change.
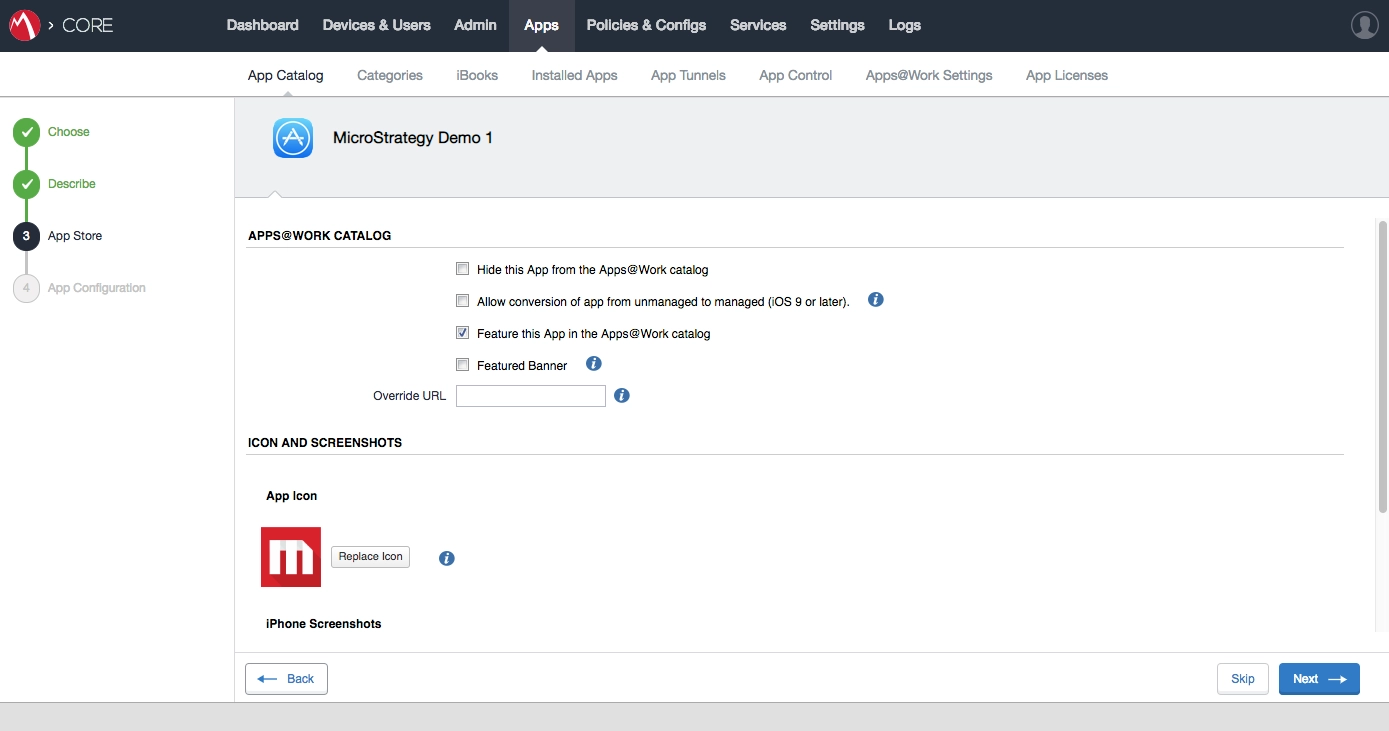
2.4.6. Input the app catalog settings of the app, then click the Next button. You can keep the default settings if there's no need to change.
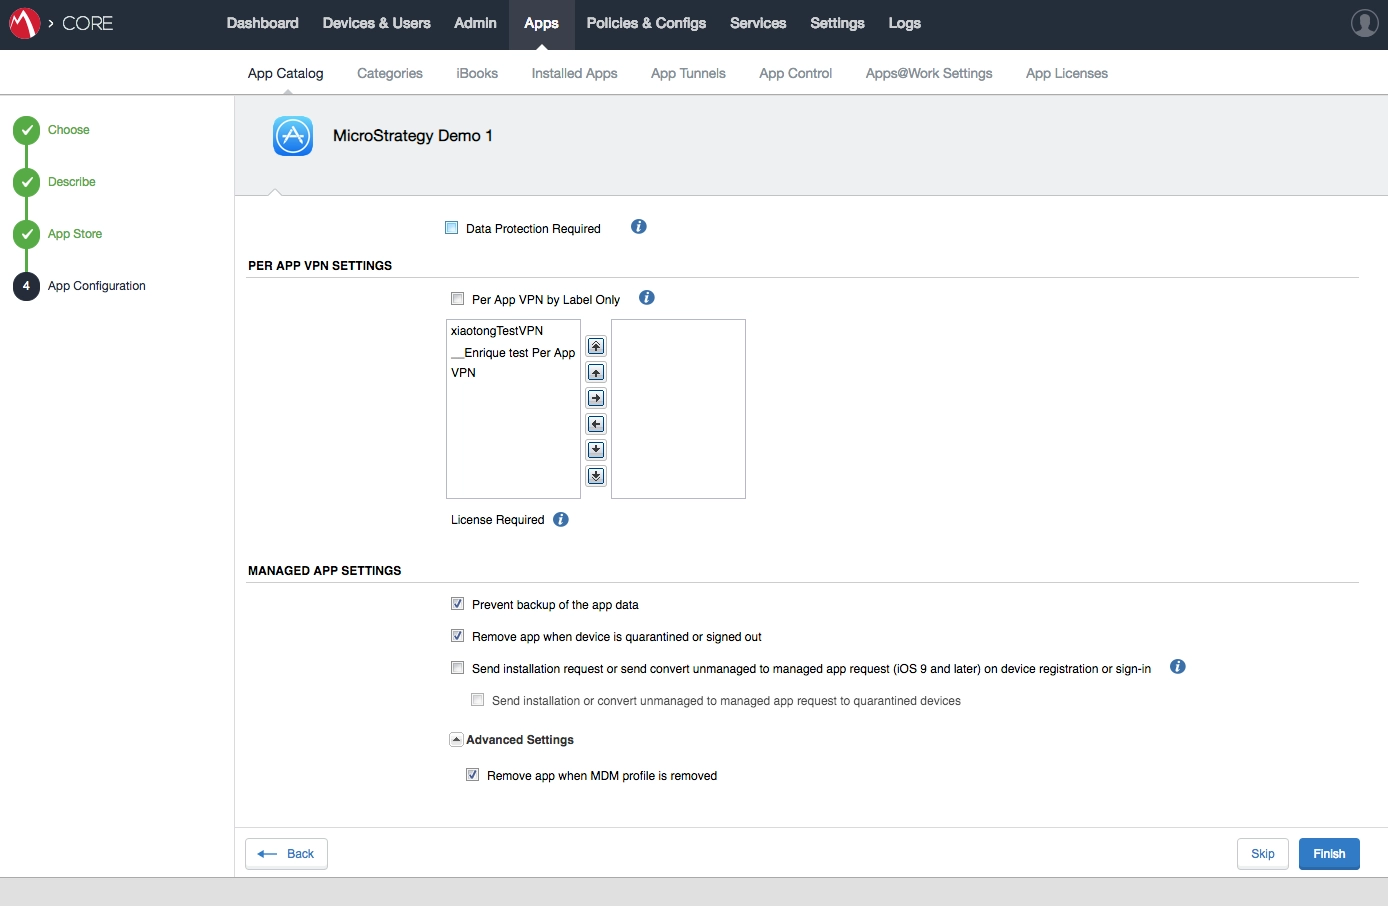
2.4.7. Input the app configuration settings of the app, then click the Finish button. You can keep the default settings if there's no need to change.
2.4.8. You can see the app you've added in the list of App Catalog.

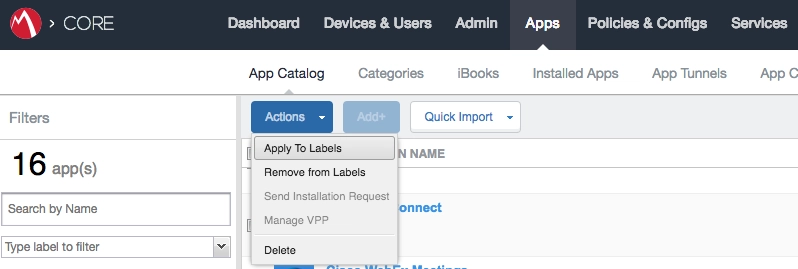
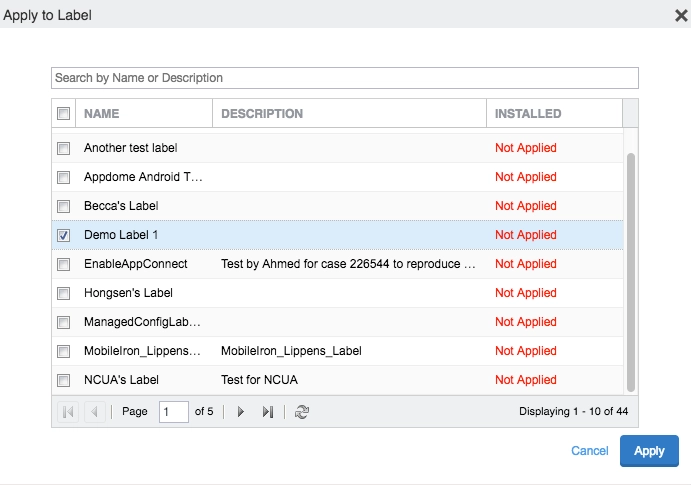
2.4.9. Apply the app to the label. In App Catalog list, selected the app you've added, click Actions→Apply To Labels.
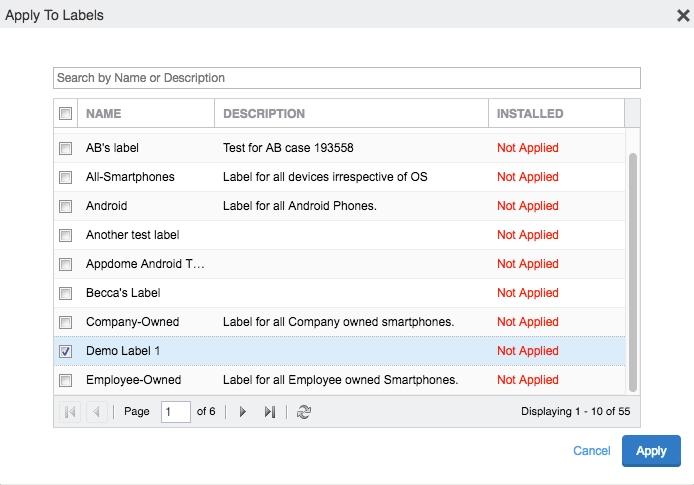
2.4.10. Select the label you've created, then click Apply button.
Create a policy of type AppConnect, which contains the security policies that can impact the way users use their app, like print, copy/paste and open in.
2.5.1. Login into MobileIron Core with an administrator account.
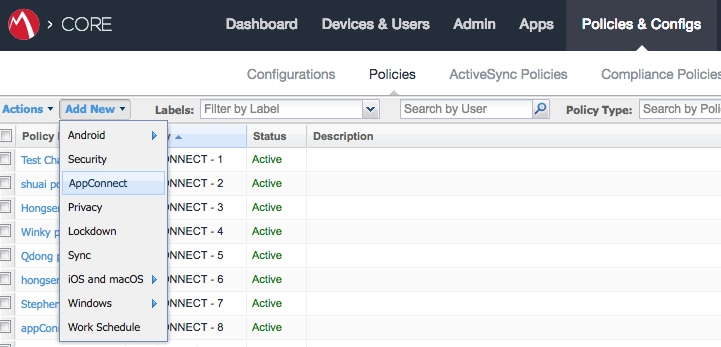
2.5.2. Go to Policies & Configs→Policies, click Add New→AppConnect.
2.5.3. Input the name of the policy.
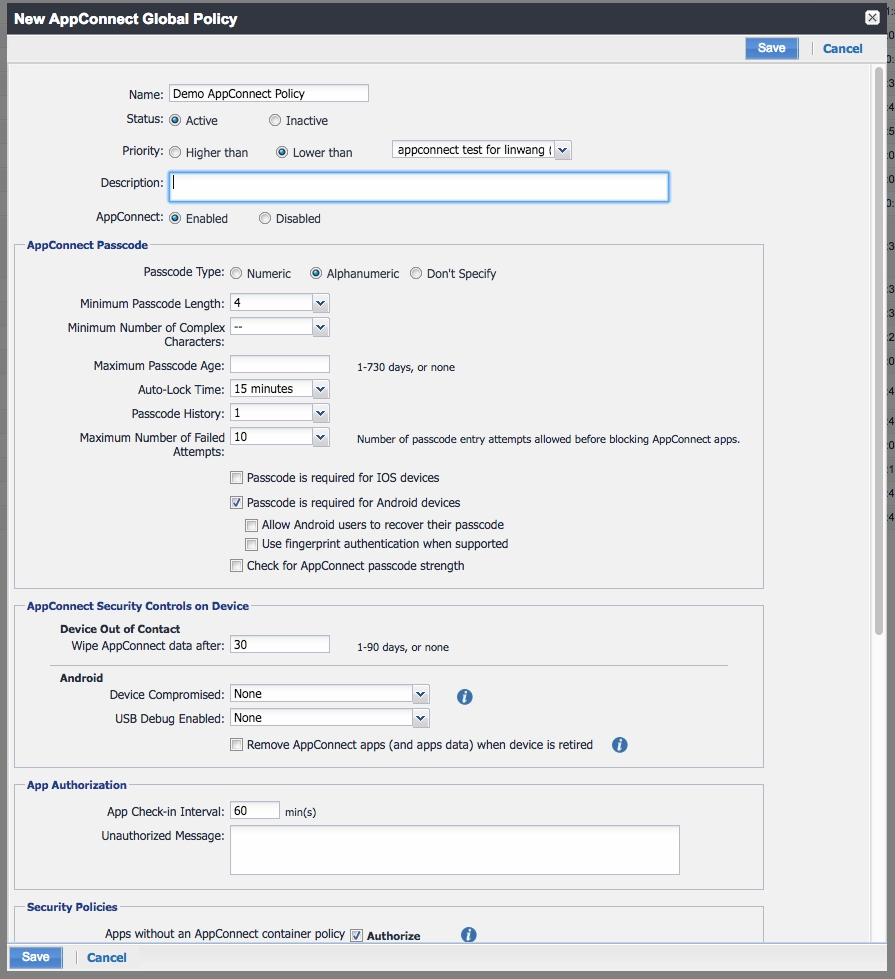
2.5.4. In Security Policies group, you can control the restrictions of the app, such as print, copy/paste and open in. Click Save button to save the policy.
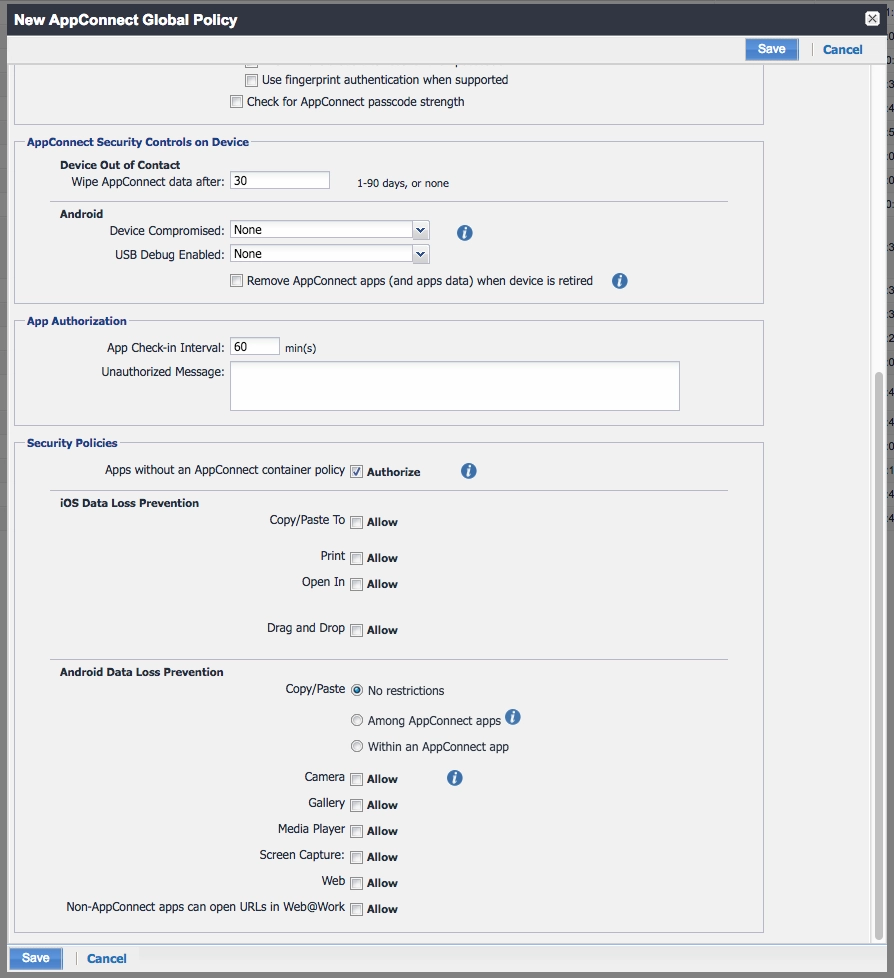
2.5.5. Apply the policy to the label. In Policies list, selected the policy you've added, click on Actions→Apply To Label.
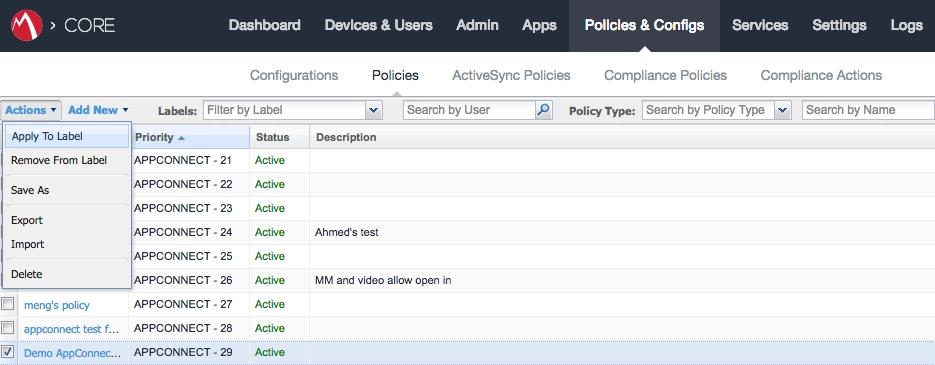
2.5.6. Select the label you've created, then click Apply button.
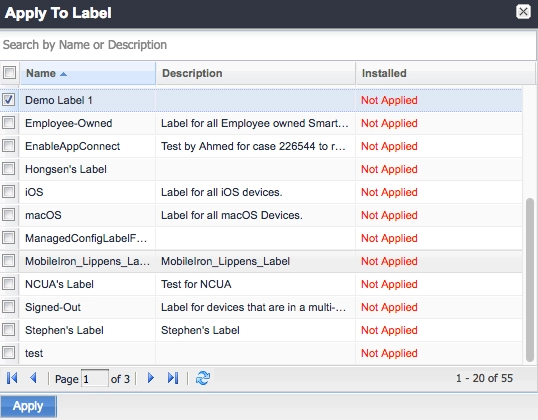
2.6.1. Login into MobileIron Core with an administrator account.
2.6.2. Go to Device & Users→Devices, select the device, click Actions→Apply to Label.
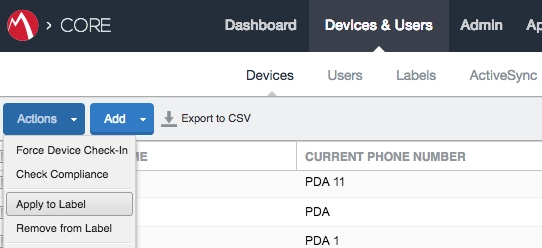
2.6.3. Select the label you've created, then click Apply button.
You can deliver your app to the device either by App Catalog or directly with .ipa.
Note: Please apply your app to iOS label if you wish to install the app from App Catalog.
When the app is installed on your device, tap the icon to start it. It would redirect to the MobileIron app to do authentication. When the authentication is done, it would automatically redirect back and launch the app.
App restrictions, such as print, copy/paste and open in, can be set up in the policy you've created in 2.5.
3.2.1. Login into MobileIron Core with an administrator account
3.2.2. Go to Policies & Configs→Policies, select the policy you've created, then click the Edit button.
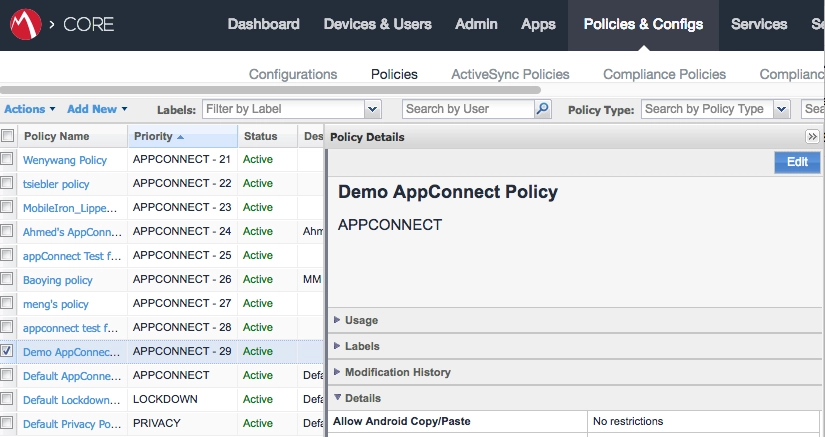
3.2.3. Scroll to Security Policies group, you can control the restrictions of the app in the iOS Data Loss Prevention section.
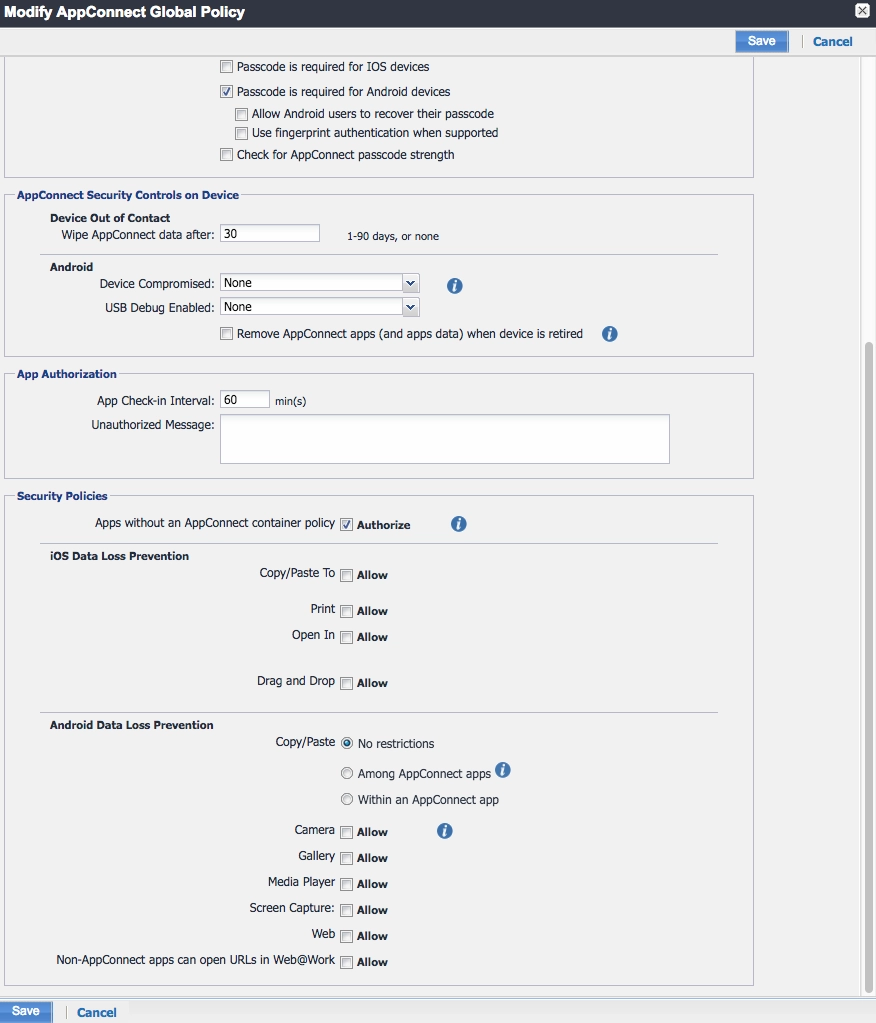
3.2.4. Click Save button to save the policy.
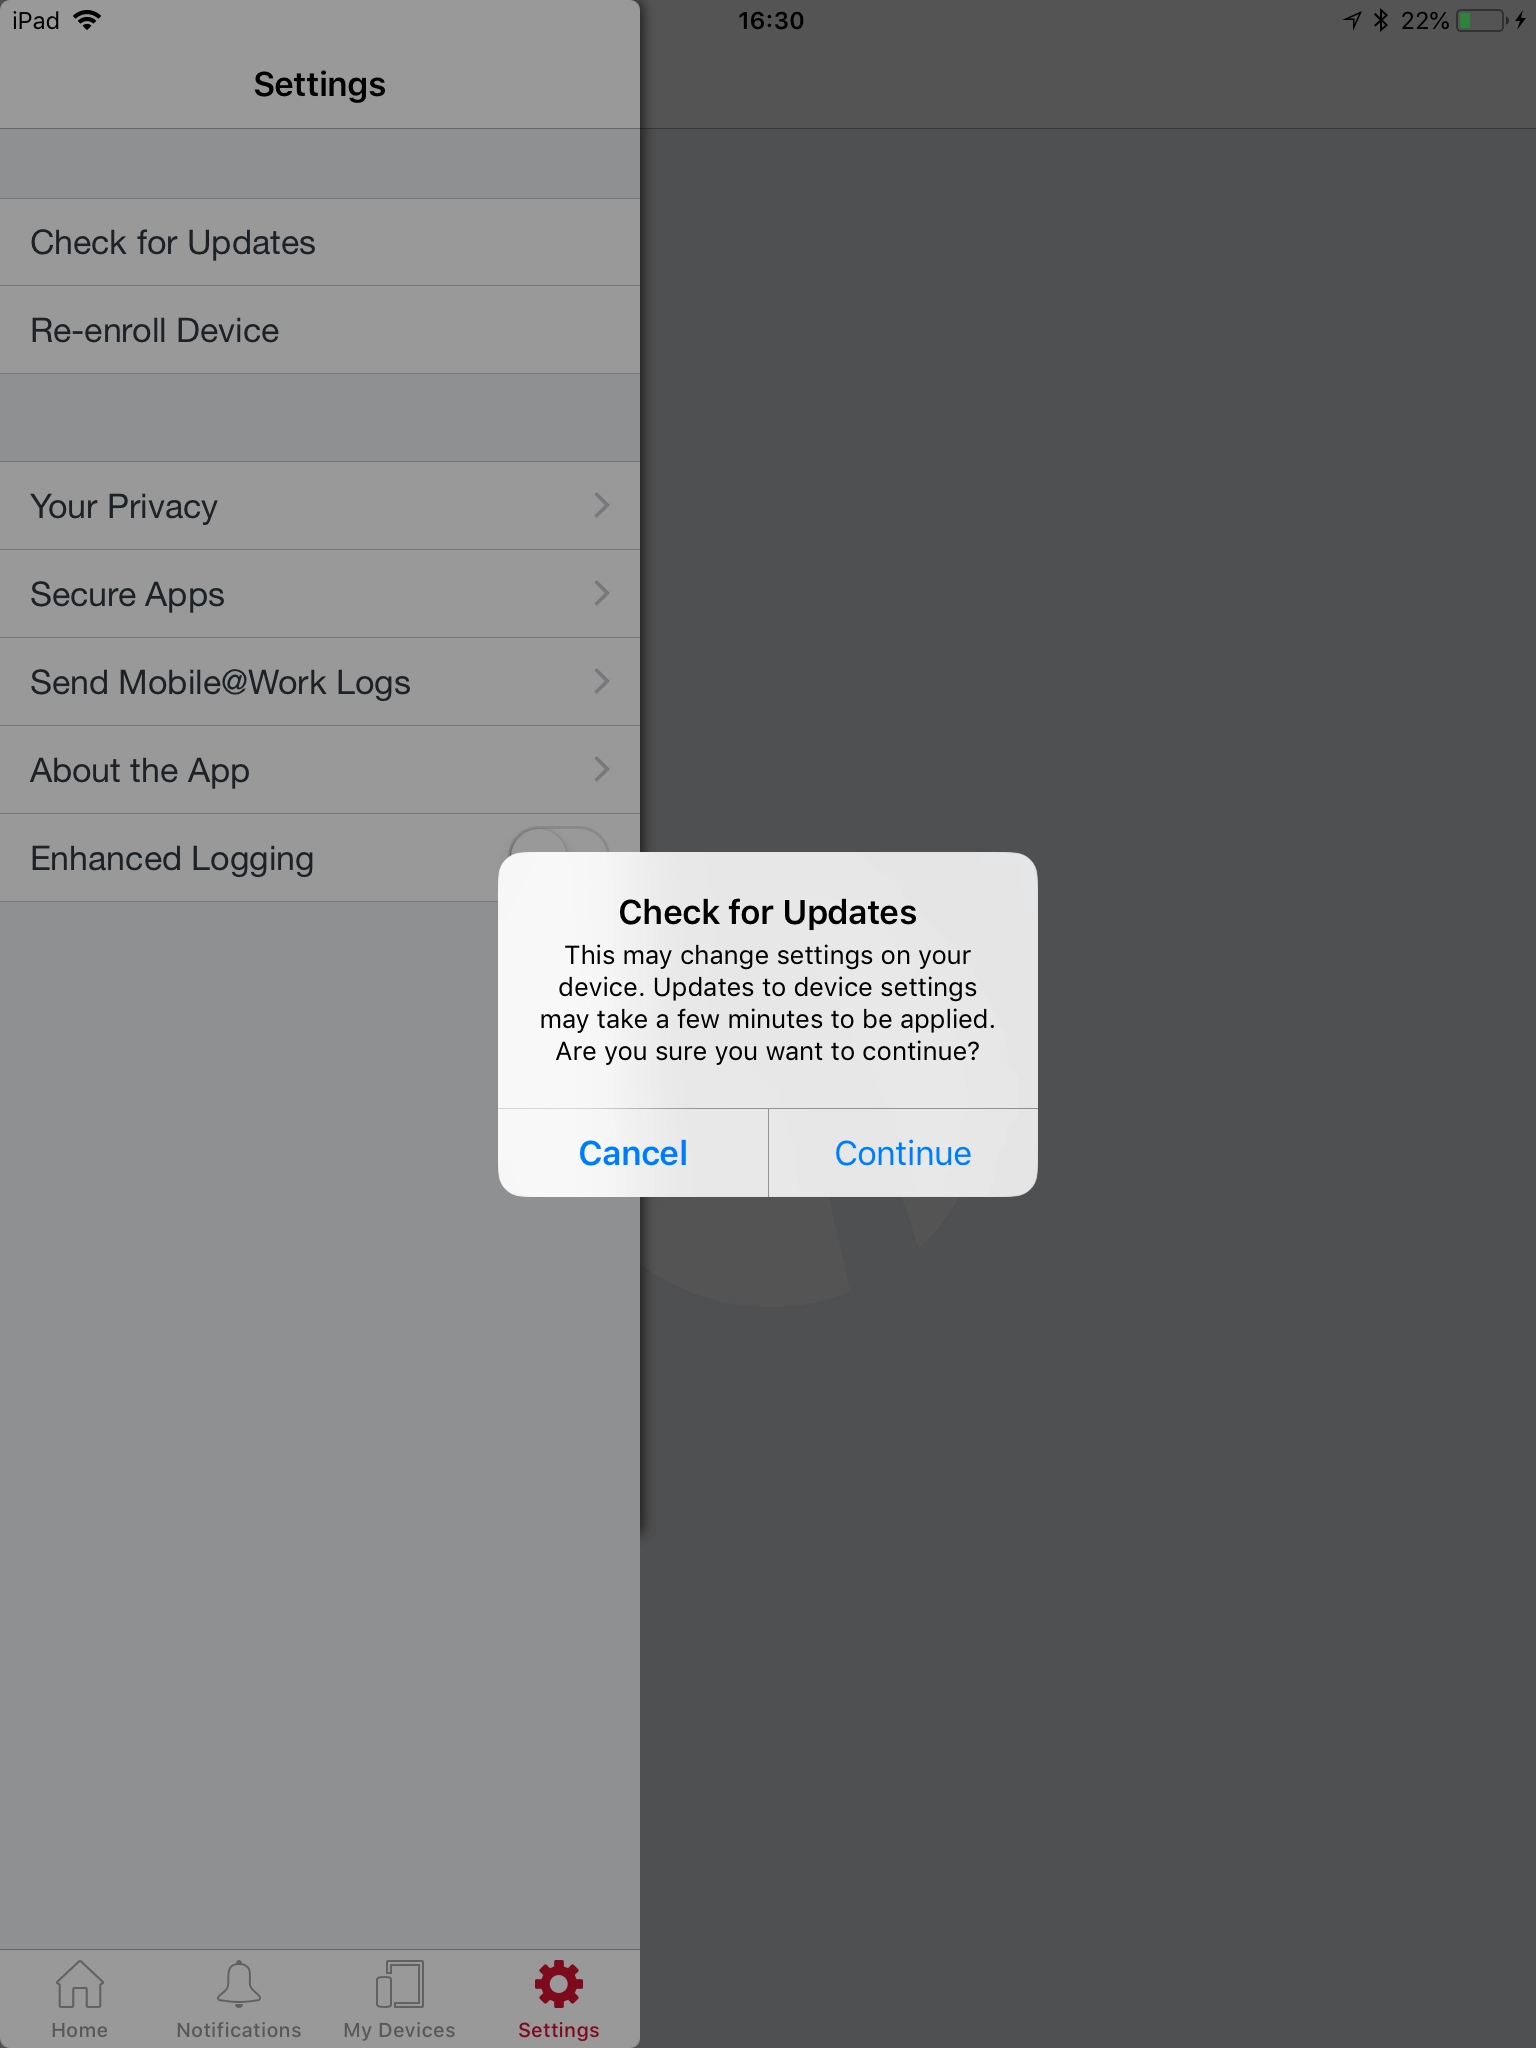
3.2.5. If you wish to make the updated policy is applied to your device immediately, on your device, open the MobileIron app, go to Settings, and tap the Check for Updates item.
3.2.6. Tap Continue in the following alert.