Strategy have enabled Tibco Data Virtualization in Data Source Management. Currently, only ODBC connection is supported.
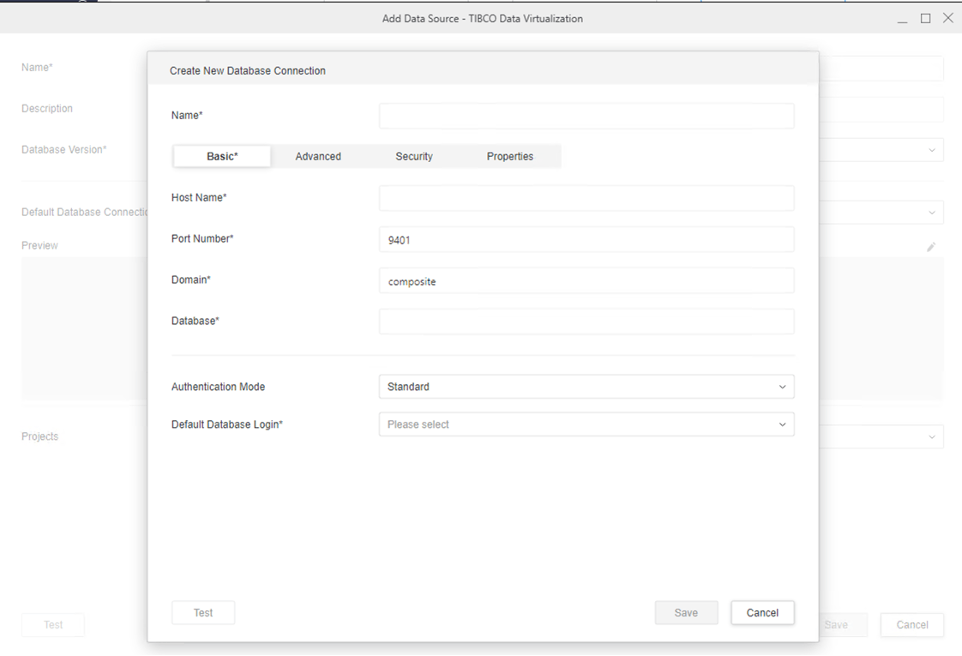
Since ODBC driver for Tibco Data Virtualization is not a Strategy-branded driver. The following steps show how to configure ODBC driver for Tibco Data Virtualization.
Begin by installing ODBC Driver for Tibco Data Virtualization for the correct operating system. For information on installation, refer to the Installation and Configuration Guide provided by Tibco Data Virtualization.
The directory where ODBC driver for Tibco Data Virtualization is installed should always be accessible to Strategy Intelligence Server.
The following set of instructions are divided into two sections: how to define the location of your environment and how to configure a DSN.
HOME_PATH, where
HOME_PATHis the directory you specified as the Home Directory during installation. Browse to the folder env.
chmod u+w ODBC.sh
ODBC.shfile and add the location of the directory where the ODBC Driver for Tibco Data Virtualization is installed. Within the
ODBC.shfile, the following definitions are included:
TIBCO_DRIVER_PATH='/opt/Tibco/linux64'
if [ "${TIBCO_DRIVER_PATH}" != '<TIBCO_DRIVER_PATH>' ]; then
    export TIBCO_DRIVER_PATH
    mstr_append_path LD_LIBRARY_PATH "${TIBCO_DRIVER_PATH:?}"/lib
    export LD_LIBRARY_PATH
fiODBC.sh.
ODBC.shfile and remove Write privileges from the file by entering the following command:
chmod a-w ODBC.sh
[ODBC Drivers]
TIBCO(R) Data Virtualization 8.5=Installed
[TIBCO(R) Data Virtualization 8.5]
DRIVER=<Driver Path>
DriverUnicodeType=1
SSO=(Disabled)
CONNECTTIMEOUT=70
HOME_PATHwhere
HOME_PATHis the directory you specified as the home directory during installation.
[Tibco_DSN]
DRIVER=<Driver Path>
DriverUnicodeType=1
HOST=<Host>
PORT=9401
SSO=(Disabled)
DOMAIN=<Domain>
DATASOURCE=<Data Source>
CONNECTTIMEOUT=70
odbc.inifile.
odbc.inifile.
For details on these DSN parameters, refer to the product documentation provided directly by the database vendor.
