Disclosure
In MCP, the OCU automation only takes EBS snapshot while performing the Upgrade. It’s the customer’s responsibility to ensure all the proper backups of their infrastructure are in place, like EFS backups, RDS backups, EC2 snapshots, etc. Strategy is not responsible for any loss of data during the steps performed in this document.
Considerations:
cat /opt/mstr/MicroStrategy/log/mstr.hist | grep 'Release\|Build'
After:

Steps to Follow:
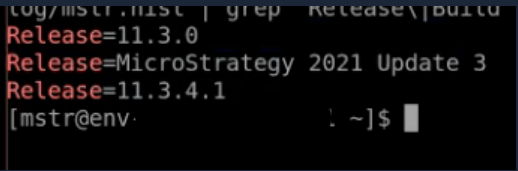
cat /opt/mstr/MicroStrategy/log/mstr.hist | grep 'Release\|Build'
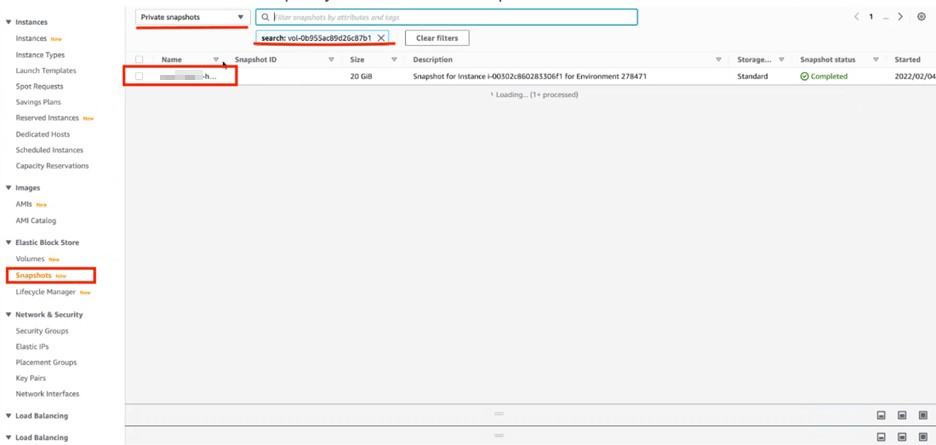
You should see something like the following screenshot:
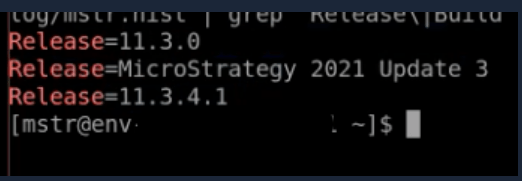
Example:
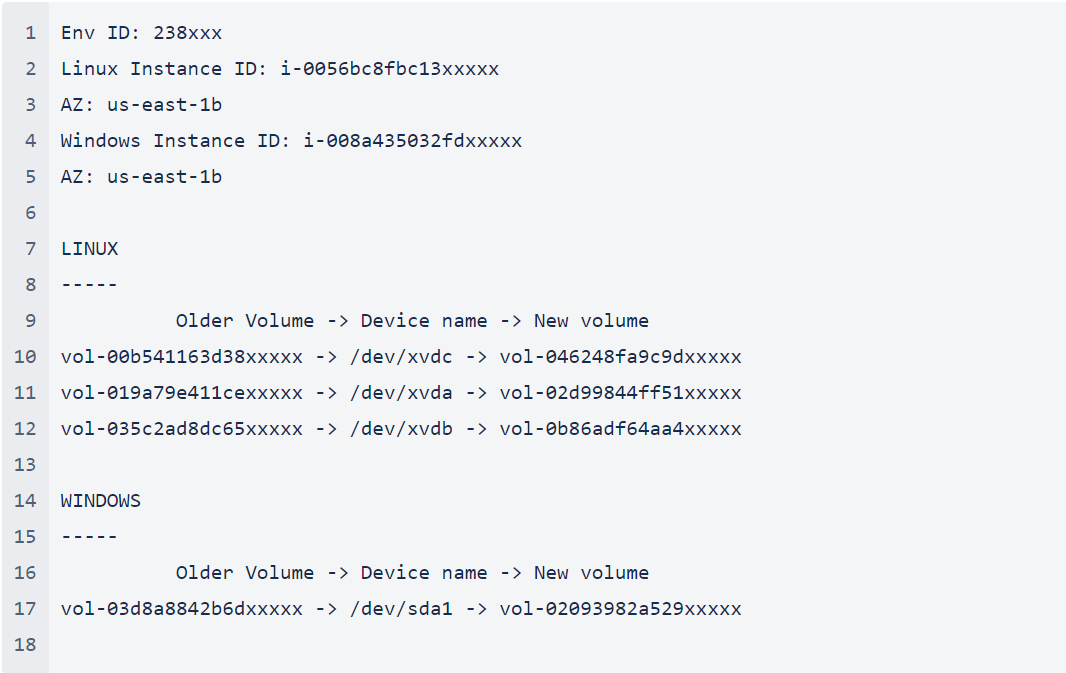
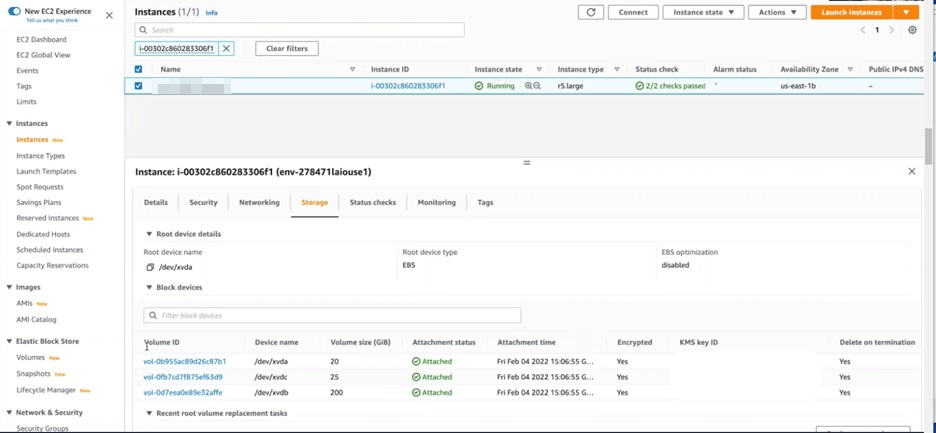
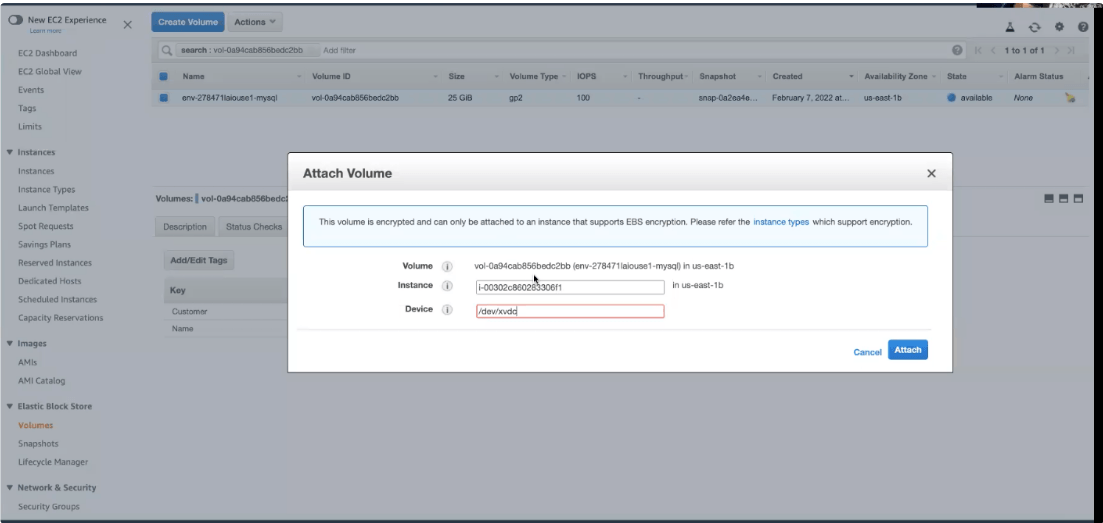
Note: If this is being done for a multi node instance then get the details of all of the respective EBS volumes for each EC2 instance.
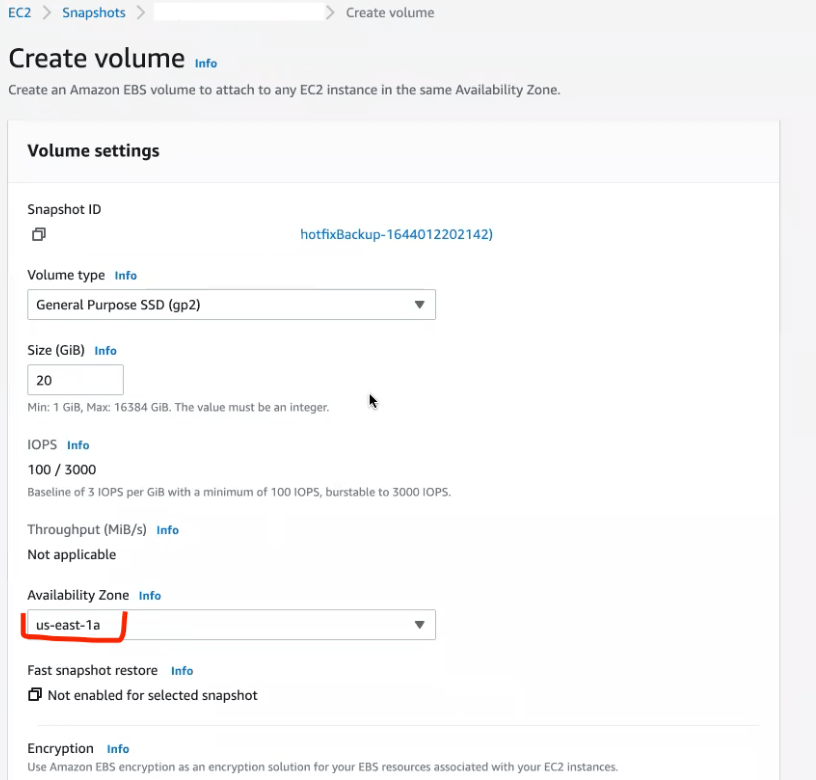
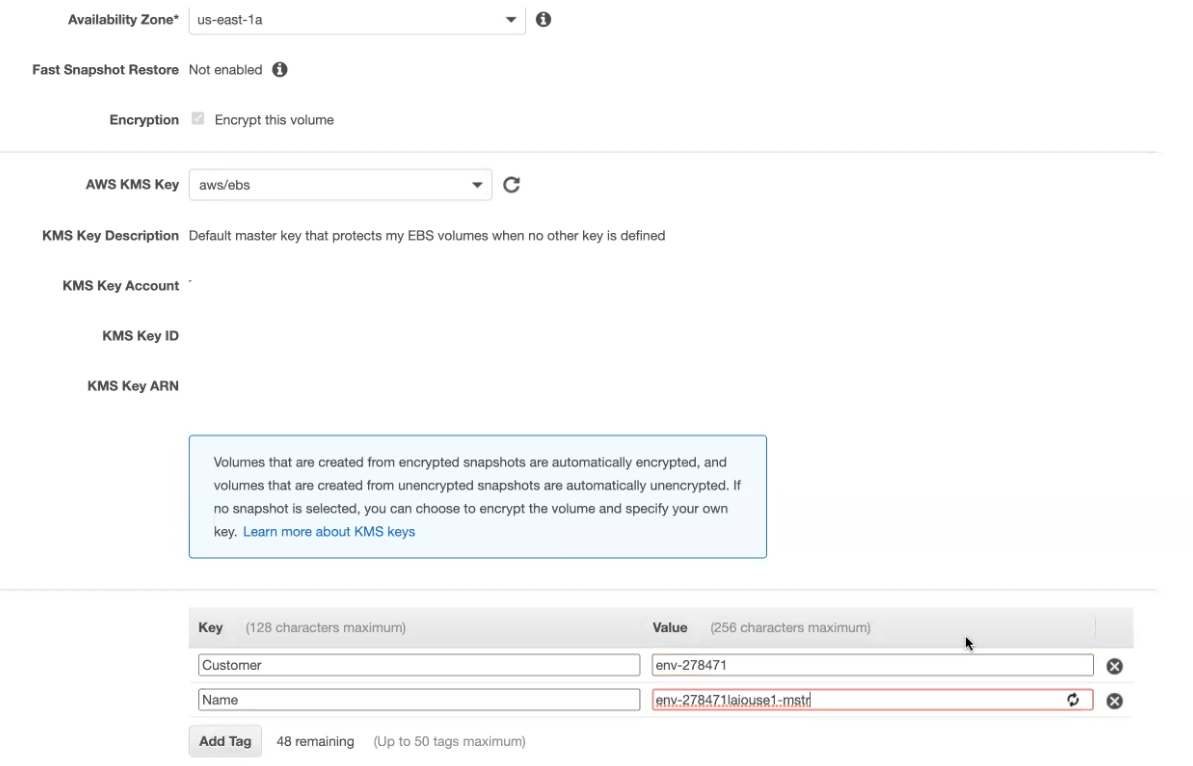
Note: The new volume should have the same properties as the existing one
Repeat these steps for all the volume IDs gathered in step 4.
cat /opt/mstr/MicroStrategy/log/mstr.hist | grep 'Release\|Build'
