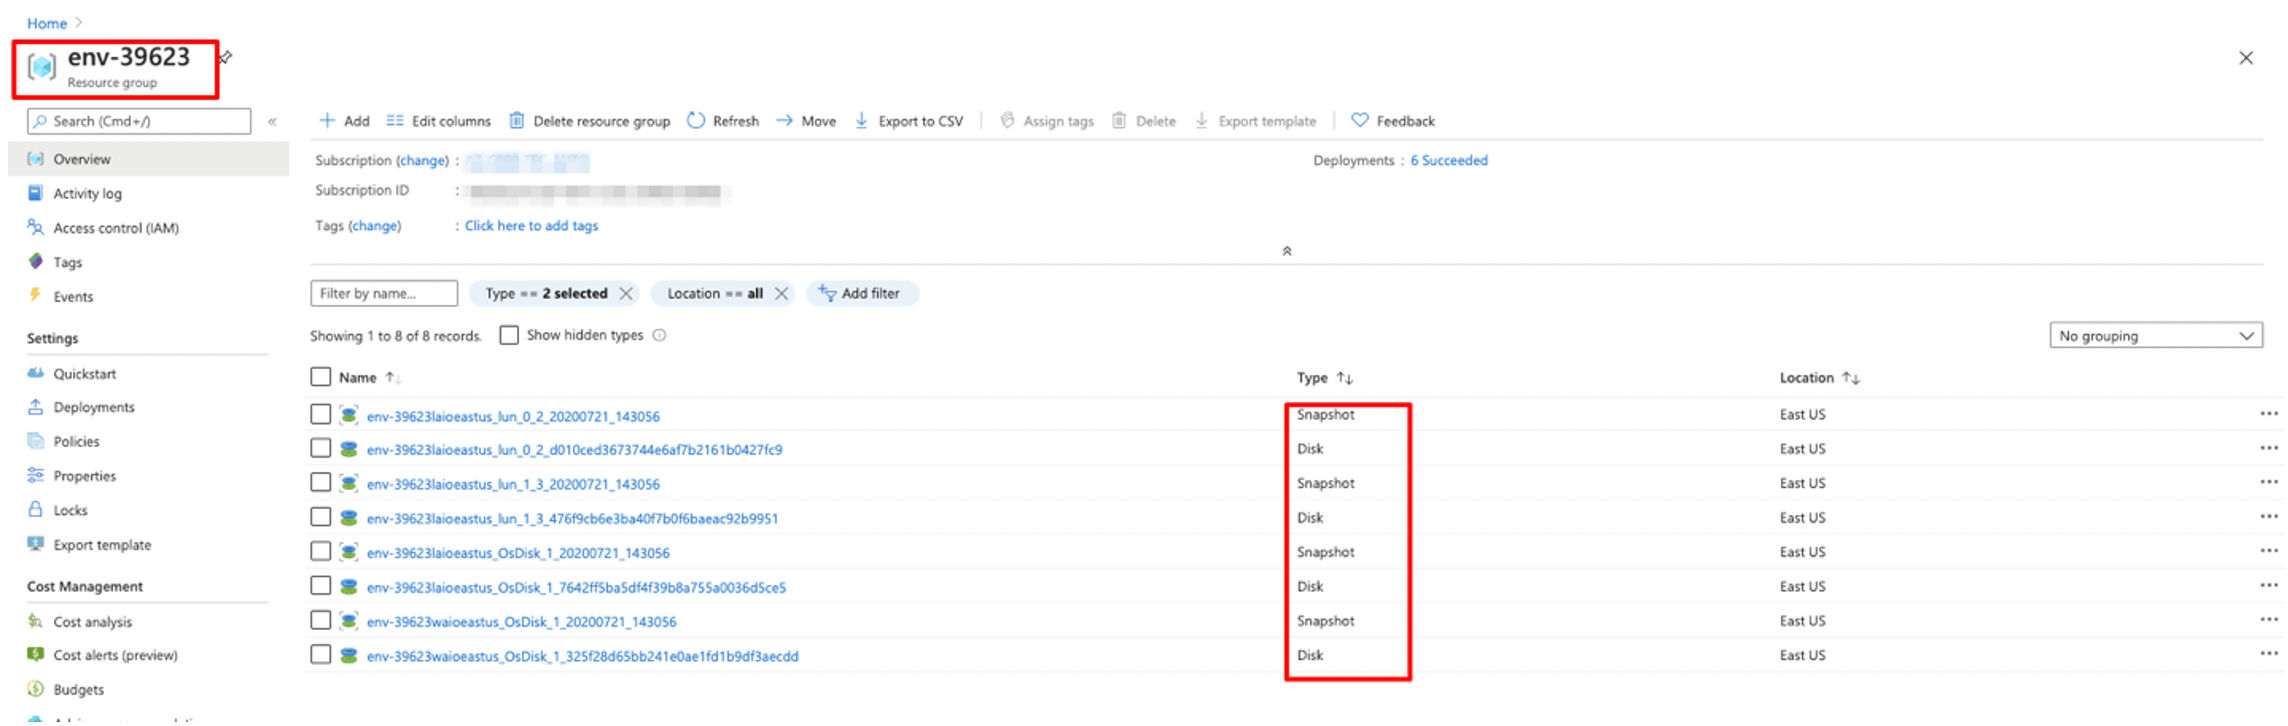
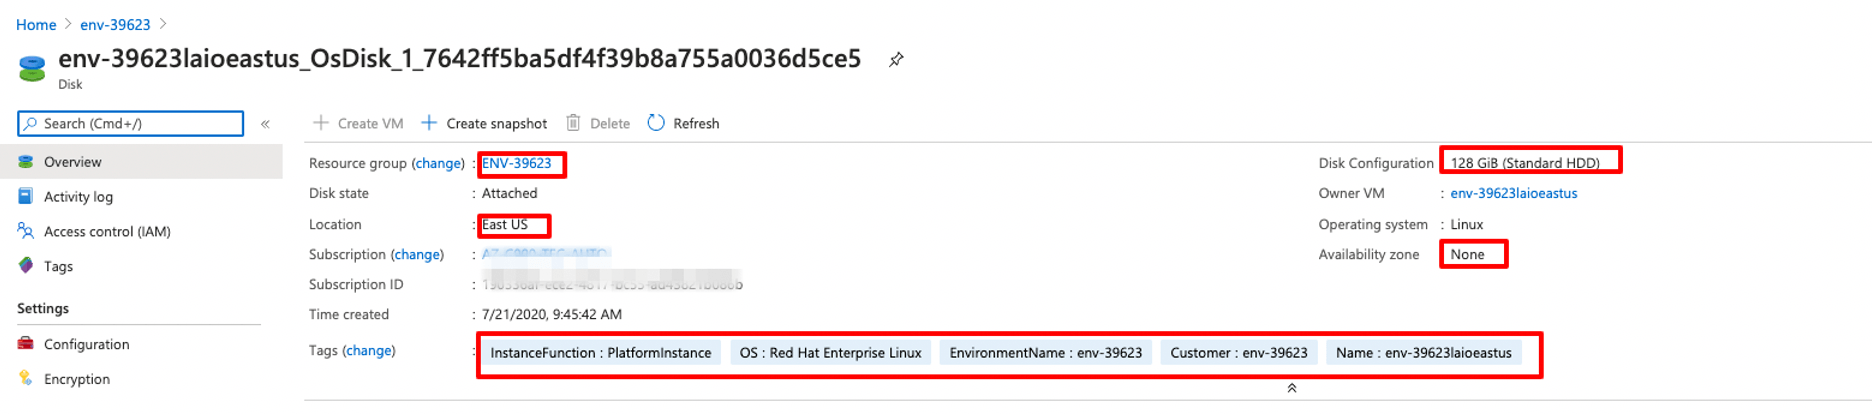
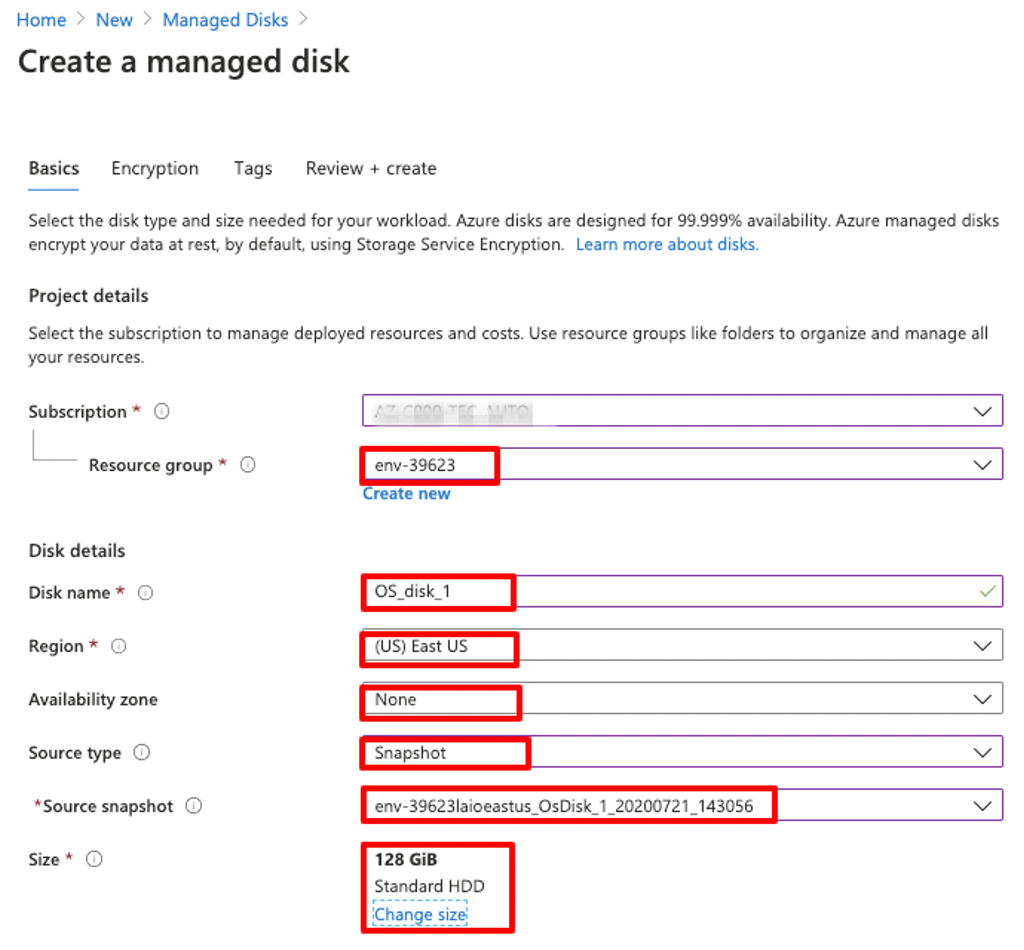
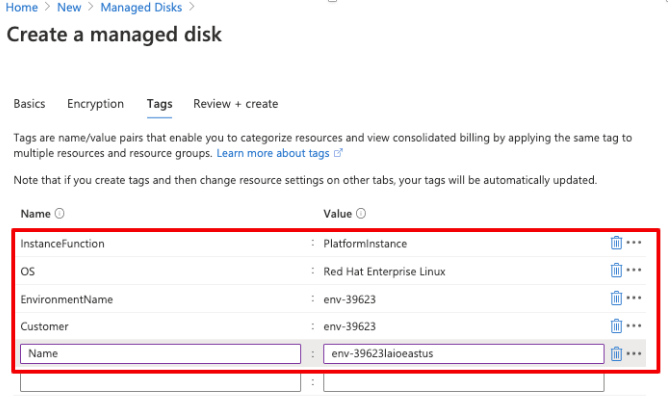
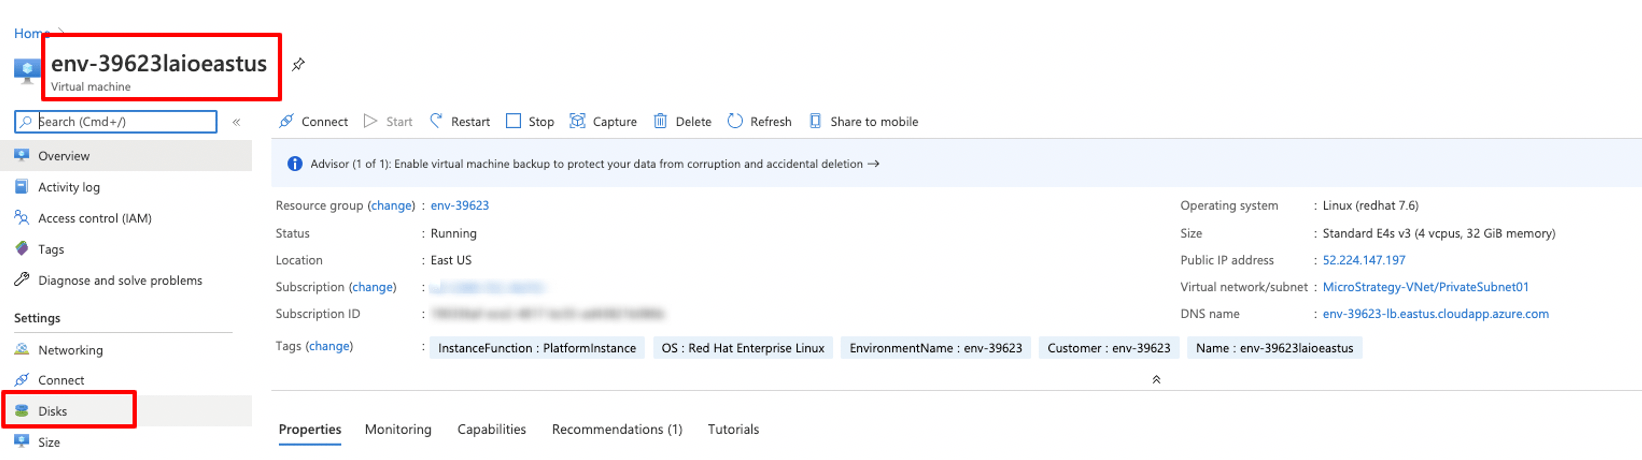
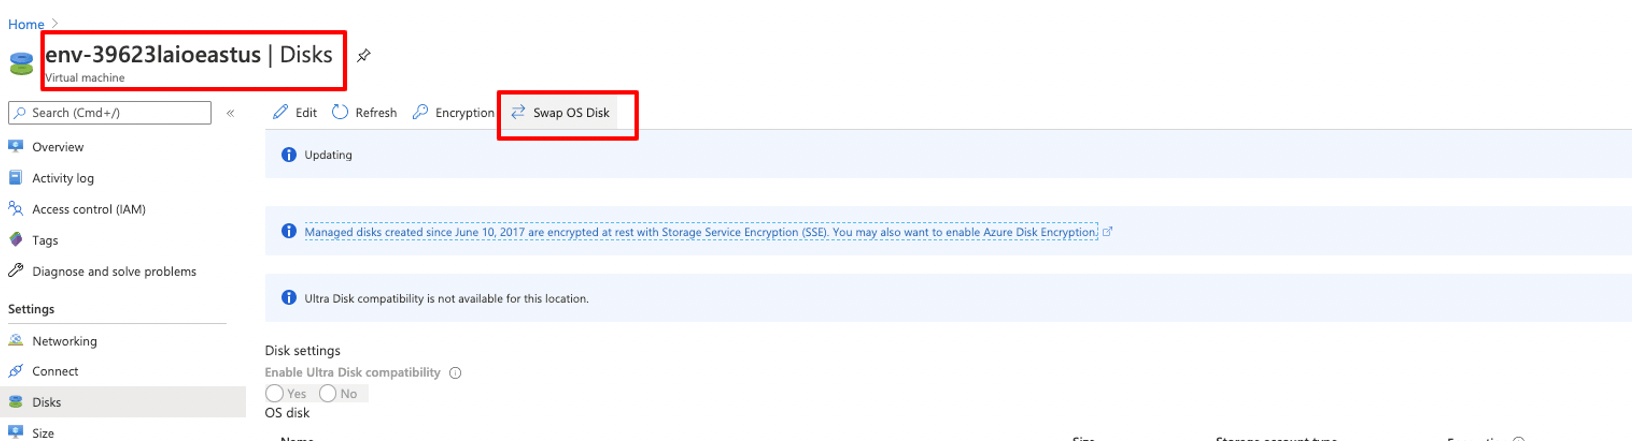
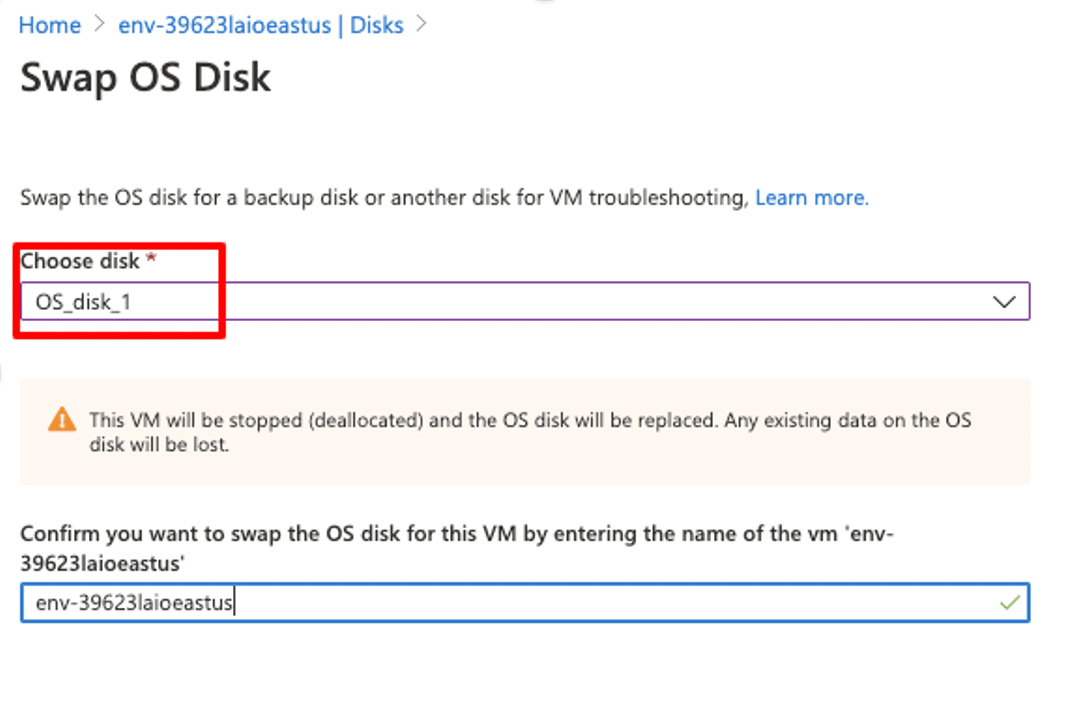
If the upgrade fails on an Azure environment, you can follow the following steps to restore the Virtual Machine (VM). We back up the operating system (OS) and data disks as snapshots in the resource group. In case of an upgrade failure, we need to create disk from snapshots and attach these newly created disks to the VM.

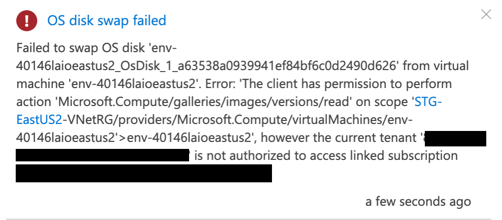
Failed to swap OS disk 'env-40146laioeastus2_OsDisk_1_a63538a0939941ef84bf6c0d2490d626' from virtual machine 'env-40146laioeastus2'. Error: 'The client has permission to perform action 'Microsoft.Compute/galleries/images/versions/read' on scope 'STG-EastUS2-VNetRG/providers/Microsoft.Compute/virtualMachines/env-40146laioeastus2'>env-40146laioeastus2', however the current tenant ‘xxxxxx' is not authorized to access linked subscription ‘xxxxxxx'.
# Powershell commands to swap the disks
# Make note of the following parameters
# resourceGroupName
# vmName
# diskNames - osDisks, dataDisks
# replace the bold parameters with your resource information

# get the VM information
$vm= Get-AzVM -ResourceGroupName resourceGroupName -Name vmName

# Set the image reference to null
# This is done because the VM was originally created from an Image in
# Shared Image Gallery that is in another subscription and the Image Reference
# is still pointing to the image. When we try to swap the disks, ARM
# does not allow cross tenant operation for security reasons
$vm.StorageProfile.ImageReference=$null

# update the VM for the changes to take effect
Update-AzVM -vm $vm -ResourceGroupName resourceGroupName

# swap the disks
$disk = Get-AzDisk -ResourceGroupName resourceGroupName -Name diskName

# Apply the changes to the VM
Set-AzVMOSDisk -VM $vm -ManagedDiskId $disk.Id -Name $disk.Name
Update-AzVM -vm $vm -ResourceGroupName resourceGroupName
# get the VM information
$vm= Get-AzVM -ResourceGroupName resourceGroupName -Name vmName

# set the image reference to null
$vm.StorageProfile.ImageReference=$null

# make note of the data disk you need to remove
# $dataDisk to be removed
Remove-AzVMDataDisk -VM $vm -Name dataDiskName

# Update the vm
Update-AzVM -vm $vm -ResourceGroupName resourceGroupName

# get the new data disk
$newDatadisk = Get-AzDisk -ResourceGroupName resourceGroupName -Name diskName
# Add the new data disk
# Make note of the LUN you want to attach it to
# Provide appropriate LUN value while repeating the process
$vm = Add-AzVMDataDisk -VM $vm -Name $ newDatadisk.Name -CreateOption Attach -ManagedDiskId $newDatadisk.Id -Lun 0

# update the VM
Update-AzVM -vm $vm -ResourceGroupName resourceGroupName
# update the additional properties
After the disks are added, you can modify the caching property to Read-only.