EducationSoftwareStrategy.com
StrategyCommunity

Knowledge Base

Product

Community

Knowledge Base

TopicsBrowse ArticlesDeveloper Zone

Product

Download SoftwareProduct DocumentationSecurity Hub

Education

Tutorial VideosSolution GalleryEducation courses

Community

GuidelinesGrandmastersEvents
x_social-icon_white.svglinkedin_social-icon_white.svg
Strategy logoCommunity

© Strategy Inc. All Rights Reserved.

LegalTerms of UsePrivacy Policy
  1. Home
  2. Topics

KB19493: How to add users or groups to the Access Control List (ACL) for projects in MicroStrategy Desktop 9.x and 10.x


Community Admin

• Strategy


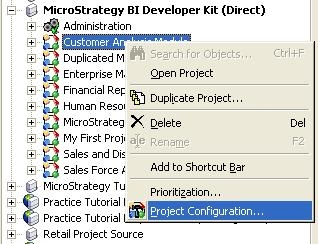
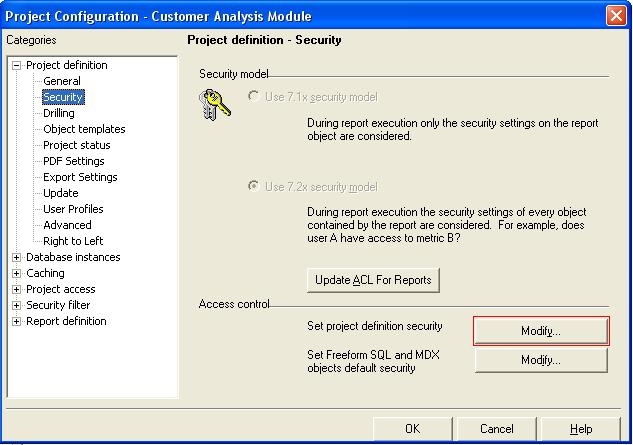
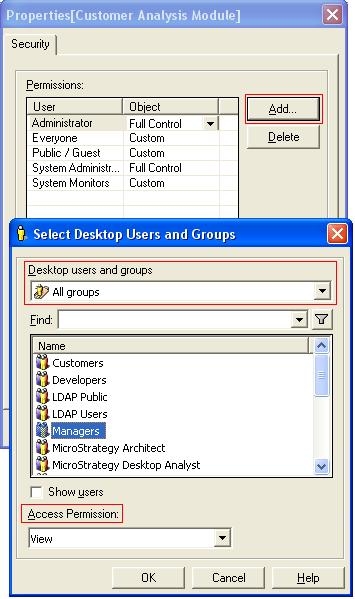
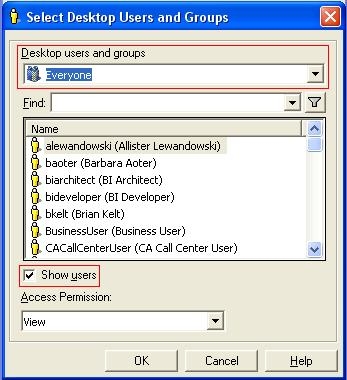
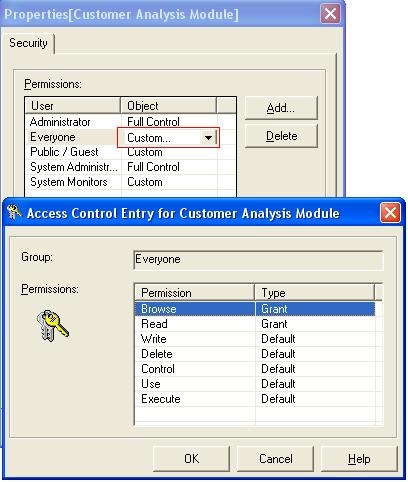
The Access Control List (ACL) for a project defines the users and groups that have various levels of access to the project. In order to open a project, a user must have at least browse access in the ACL, either individually or by virtue of some group in which the user is placed. If a user tries to perform an action that requires browse access, e.g. importing a Microsoft Windows user into Strategy Desktop, the error 'You do not have browse access to project object <Project_GUID>' occurs. In this case, the user receiving the error must be added to the ACL for the project according to the steps below.
 

  • Connect as an administrator to the project source that contains the project whose ACL requires alteration.
  • Right-click the project and select Project Configuration, as shown below:
ka04W000000Of35QAC_0EM440000002Eju.jpeg
  • After clicking on Security under the menu Project definition, click on 'Modify' to the right of "Set project definition security" under the heading Access control, as shown below:
ka04W000000Of35QAC_0EM440000002Ejm.jpeg
  • This displays the ACL for the project. In order to add a group, ensure that in the dropdown menu "Desktop users and groups", the option "All groups" is selected. Highlight the group that needs to be added to the ACL, select the Access Permission desired at the bottom of the window, and click 'OK'. Note that it is possible to edit the access granted to the group after the group has been added to the ACL, as shown below:
ka04W000000Of35QAC_0EM440000002Ejy.jpeg
  • If it is desired to add an individual user to the group, the checkbox "Show users" must be selected. In order to see all of the users, select the Everyone group from the dropdown "Desktop users and groups." Users may be added in the same way as groups, as above.
ka04W000000Of35QAC_0EM440000002Ejq.jpeg
  • In order to customize the access that is granted to a user of group, click to the right of the user or group, in the column "Object," and select "Custom…"
ka04W000000Of35QAC_0EM440000002Ejs.jpeg
  • Here, the individual access levels that are required may be selected. "Default" indicates that the user or group is to inherit the access granted to the group to which the user or group belongs.
  • Click 'OK' in the three windows that are open.

NOTE: Changes in ACLs do not require restart of the Strategy Intelligence Server. However, changes made in the ACLs of a 2-tier project source will not be reflected in the ACLs in a 3-tier project source pointing to the same metadata until the project in question is unloaded and reloaded to the Strategy Intelligence Server.


Comment

0 comments

Details

Knowledge Article

Published:

June 13, 2017

Last Updated:

June 13, 2017