This article is intended as a guide on how to send a virtual directory to Strategy Technical Support for further analysis. When troubleshooting an issue related to Strategy Web, Strategy Technical Support may request the virtual directory to test the issue in house. This will allow Technical Support to determine whether the issue is related to the Strategy Web application files, or the application server, network, or other environmental component. This analysis can be invaluable in narrowing down the cause of a particular issue, as if the issue travels along with the Strategy Web files, it can be concluded that the issue is caused by Strategy, but if it doesn't the culprit may be within the third-party components that interact with it.
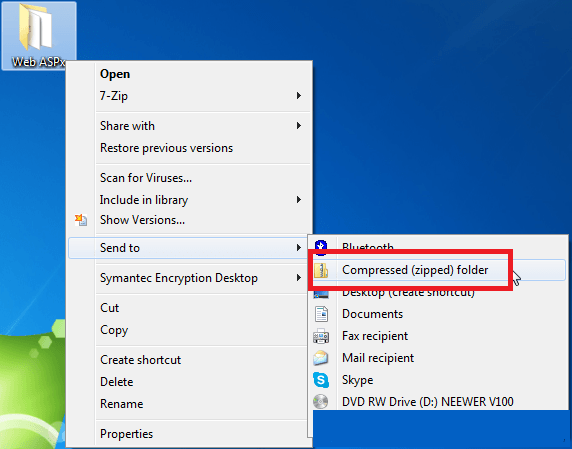
The steps to follow will vary slightly for the asp version or the jsp version of the application, but both of these will be covered in this guide. Listed below are the steps to follow.
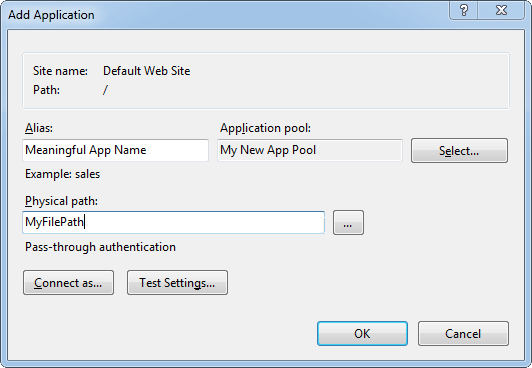
The application can now be accessed at the following url:
http://<ServerName>/<Alias>/asp/Main.aspx.
The application can now be accessed at the following url:
http://<ServerName>:<PortNumber>/ApplicationName/servlet/mstrWeb