Starting from Strategy Mobile 9.2.1, Analysts can use the Photo Uploader widget to upload images from an iPhone or iPad. By default, images are uploaded and stored in the SavedImages folder on the Mobile server, while the location of each image is stored in the user's data source.
Below is an example on how to create a photo uploader widget with Strategy Tutorial project:
1. Create a new table "photo_upload" in Tutorial warehouse database
(the default location: C:\Program Files\Strategy\Tutorial Reporting\TUTORIAL_DATA_7200.mdb), as shown below:
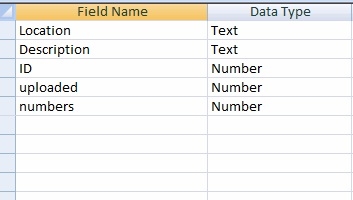
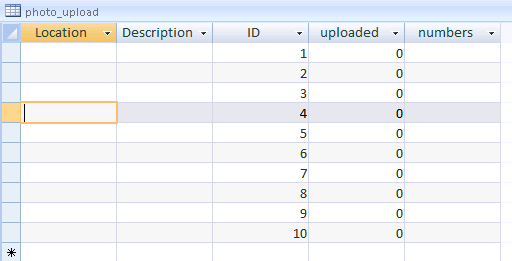
2. The 'photo_upload' table has to be pre-populated with *exactly* 10 rows of data, the values for the 'ID' column should be 1-10 and the values for the 'uploaded' column should all be 0
3. In Strategy Desktop, create a freeform report "R1" based on the new table "photo_upload" in Tutorial data created at step 1, as shown below:
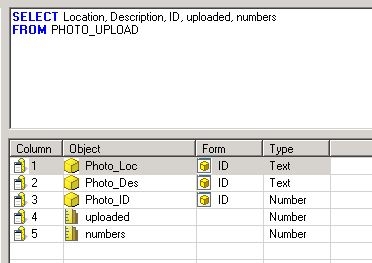
SELECT Location, Description, ID, uploaded, numbers
FROM PHOTO_UPLOAD
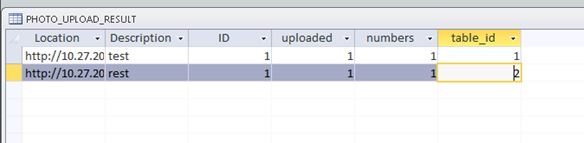
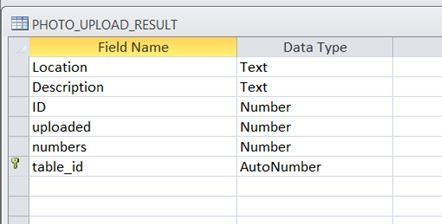
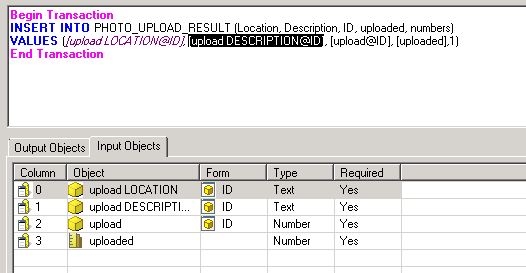
5. Create a transaction service report "T1" with "output objects" and "input objects" based on the second table in Tutorial data created at step 4, as shown below:
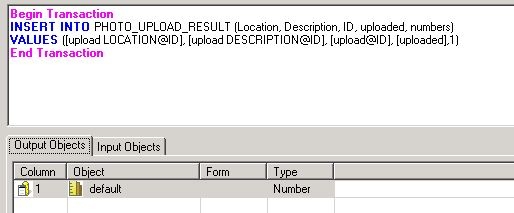
Begin Transaction
INSERT INTO Photo_Upload_Result (Location, Description, ID, Uploaded, Numbers)
VALUES([upload Location@ID],[upload Description@ID],[upload@ID],[uploaded],1)
End Transaction
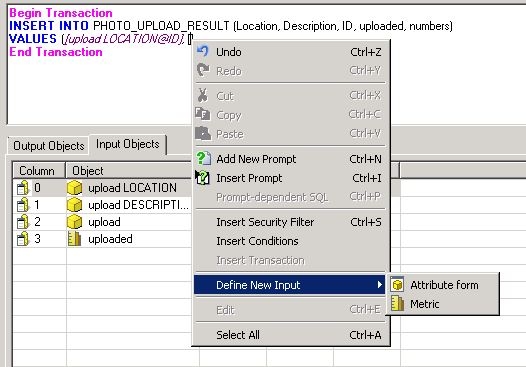
Make sure the final output looks like this one
6. Create a Report Services document with report "R1" created at step 2 as dataset and associate "Photo uploader" widget with it.
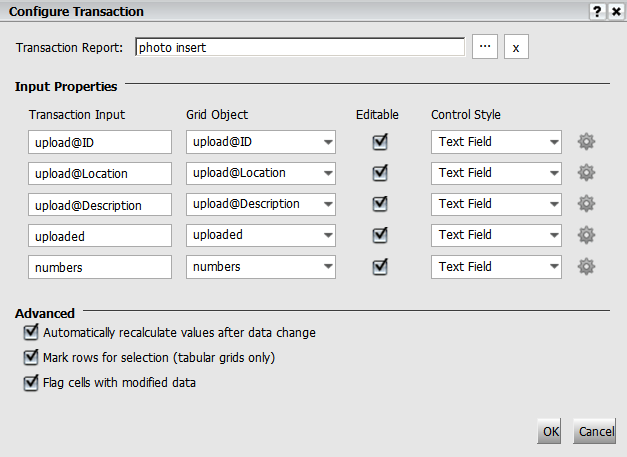
7. Right click the grid and select "configure transaction", configure the transaction as shown below:
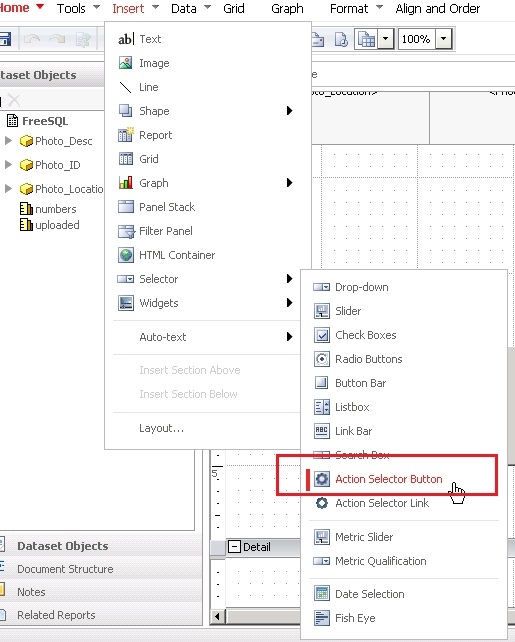
8. Create the Action Button for this transaction
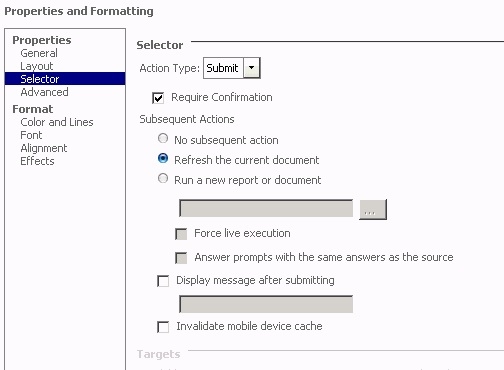
9. Make sure the Action button is set to 'Submit'
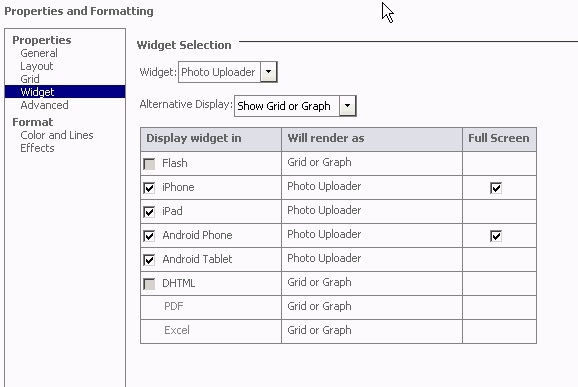
10. Right click on the Grid object and select Properties and Formatting to set Photo Uploader as the widget under Widget setting unchecking full screen for android phone as following
11. Run the document on iPad, as shown below:
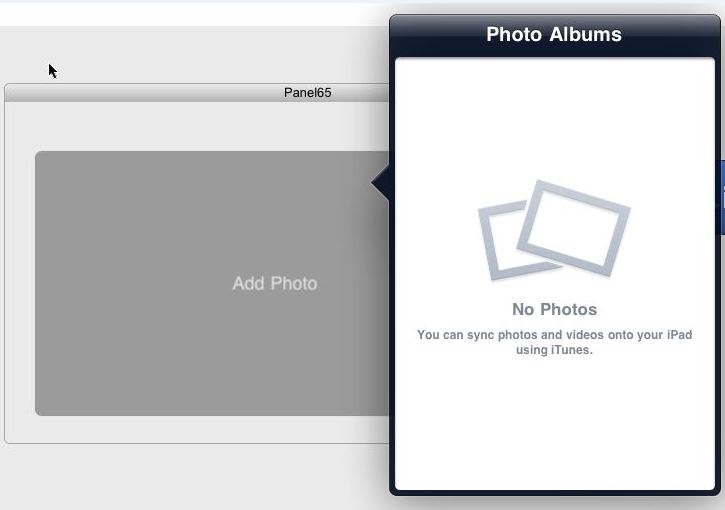
12. Click "Add Photo" and select photos to upload.
KB38007
