This is a sample of how to create and use a new server definition using Strategy Configuration Wizard without graphical interface in Linux environments in Strategy 9.4.x - 10.x
Follow the steps below in order to create and use a new server definition using Strategy Configuration Wizard via command line:
1 - Use a SSH connection like Putty
2 - Login to the server with the user where the Intelligence Server is installed, usually root
3 - Browse to <HOME_PATH> where <HOME_PATH> is the directory that was specified as the home directory during the installation of Strategy.
4 - Look for the Strategy (bin) folder; for example: /opt/MicroStrategy/bin.
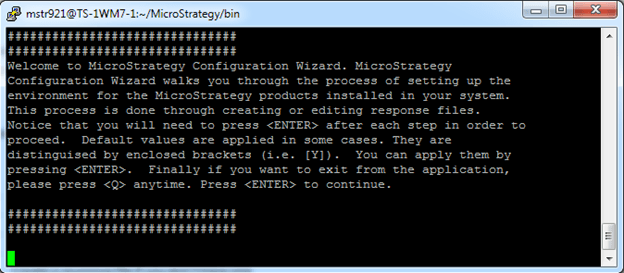
5 - Run ./mstrcfgwiz-editor in order to launch the Strategy Configuration Wizard in command line mode, to launch the welcome screen shown below:
6 - After Pressing ENTER the following options are presented. Type 2 in order to create a response file if it's not already available.

7 - Select option 2 to configure Intelligence Server

8 - Select the ODBC Data Source connection where the metadata is located

9 - Type in the ODBC user and password, also prefix if there is one or just press ENTER

10 - Use the Administrator user to connect to the metadata

11 - Choose the option that fits the given requirement. For this sample, it is option "1. Create a server definition"
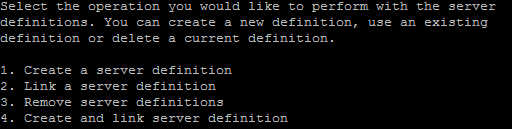
12 - Type in a server definition name or leave it as it is by pressing ENTER. Select the filename for the response.ini, for example “rs.ini”

13 - Select “Y” to execute the file now or “N” to execute it later

14 - If “Y” has been typed, the following message should appear when the configuration finished successfully

