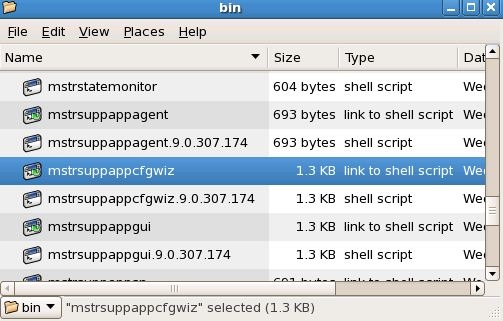
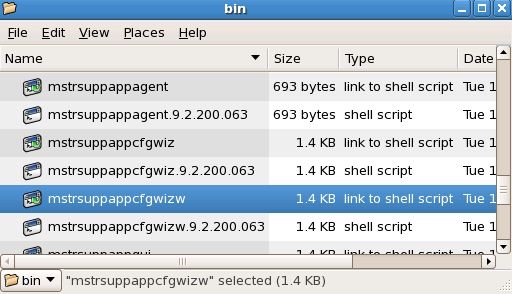
For configuring MHA or HA in a UNIX/Linux system WITHOUT GUI, refer to the technical note below:
KB35640 - How to configure Strategy Master Health Agent or Health Agent on a UNIX/Linux machine without any graphical user interface (GUI)
For configuring MHA or HA in a Windows system, refer to the technical note below:
KB32554 - How to Configure a Strategy Health Center system.
Configuring a New Health Center System
To configure a new Health Center system carry out the following tasks.
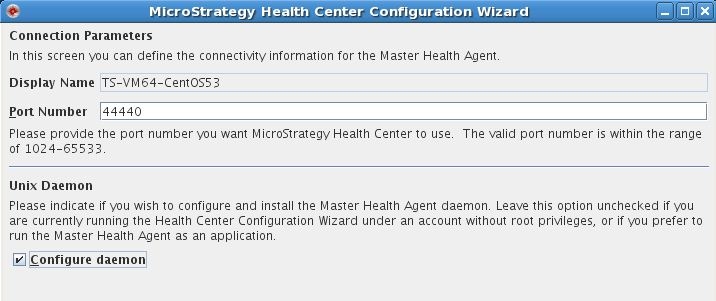
Configuring a machine as a Master Health Agent
Health Center requires that one machine in the Health Center system be designated as a Master Health Agent. This machine is responsible for most of the Health Center operations, such as scheduling system checks and transmitting diagnostics packages to Strategy Technical Support.
It is recommended to follow the best practices below for choosing a Master Health Agent machine:
Follow the instructions below to configure a machine as a Master Health Agent:
Note: In a UNIX or Linux system, the Master Health Agent and daemon must be configured by a user with root access.

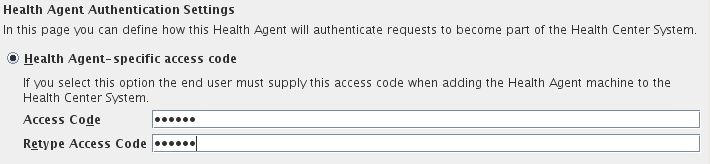
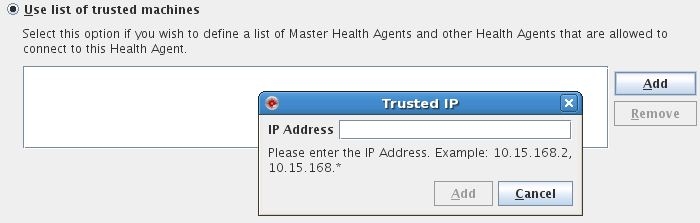
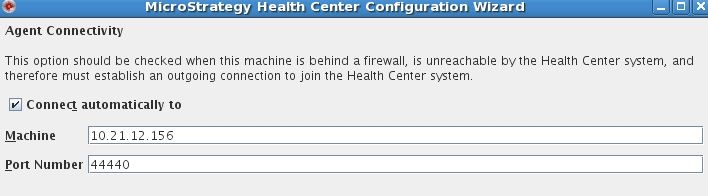
Configuring a machine as a Health Agent
Most of the machines in a Health Center system are configured as Health Agents. Health agents perform system checks when instructed to do so by a Master Health Agent, and pass the results of those checks to the Master Health Agent.
Because the Health Agent process requires relatively few system resources, users can configure all machines in the network as Health Agents with minimal impact on performance.
Follow the instruction below to configure a machine as a Health Agent:
Note: In a UNIX or Linux system, the Health Agent daemon must be configured by a user with root access.