In Strategy Developer, while it is not possible to create a single time-triggered schedule that can run daily (week days) for the first 2 weeks of every 4 weeks; it is possible to create two separate time-triggered schedules so that they can work together to achieve the same purpose.
The following procedure describes how to create the time based schedule to run daily (week days) for the first 2 weeks of every 4 weeks in Strategy Desktop 9.x. In this example, the first time-triggered schedule start on 9/3/12 and the second schedule start on 9/10/12.
Step 1. In Strategy Desktop expand the Administration section and open Configuration Managers > schedules. Right-click and choose New >schedule.
Step 2. Click Next on the main screen. Enter a name for the schedule and then click Next.
Step 3. When prompted for the type of schedule choose "Time-Triggered" and then click Next.
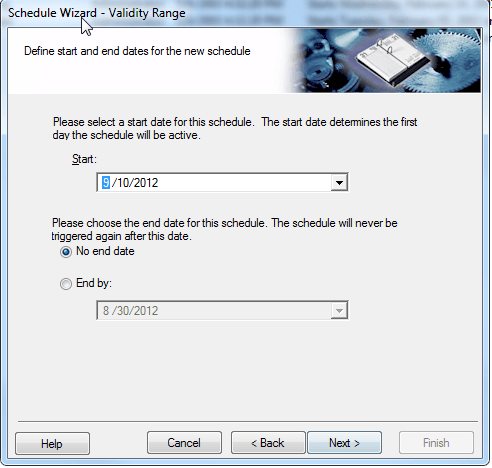
Step 4. Select a start date, for example in this case 09/03/12:

Step 5. Select the recurrence pattern that runs every 4 weeks as following:

Step 6. Click Next and the user can review the occurrences defined for the schedule as below. Click Next and then click Finish to save the schedule.

Step 7: Repeat the steps and create a new "Time-Triggered" schedule that start on 09/10/12 which is a week after the first schedule with the same recurrence pattern information as below:

Step 8: Click Next and then click Finish to save the schedule.
