Starting with the release of Strategy ONE (March 2024), dossiers are also known as dashboards.
New Features & Functionality
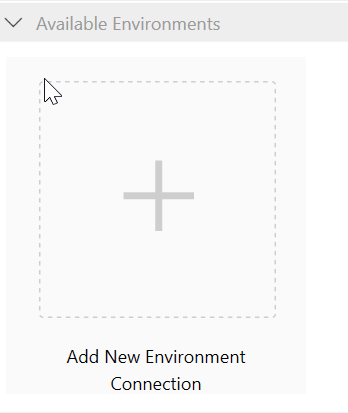
Creating a Connection File in Workstation
A Strategy connection file (also know as the .mstrc) is a text file that contains all of the information needed to connect Workstation to a Strategy environment. With a .mstrc file, users can simply import the file and enter their credentials, and then they will be connected to a Strategy On-Premises Environment. This article explains how to create a .mstrc file for an On-Premises Environment using Workstation, and creating a .mstrc file from any text editor.
Requisites
How to create the connection file
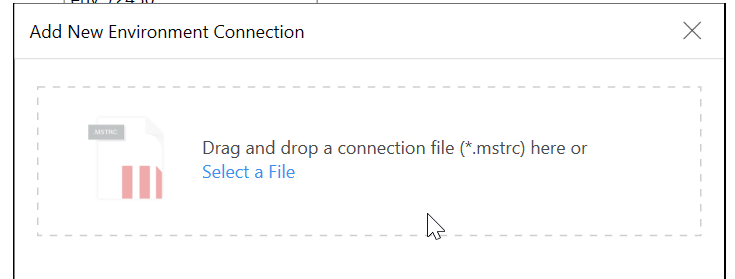
With the integrated option Connect to New Environment:
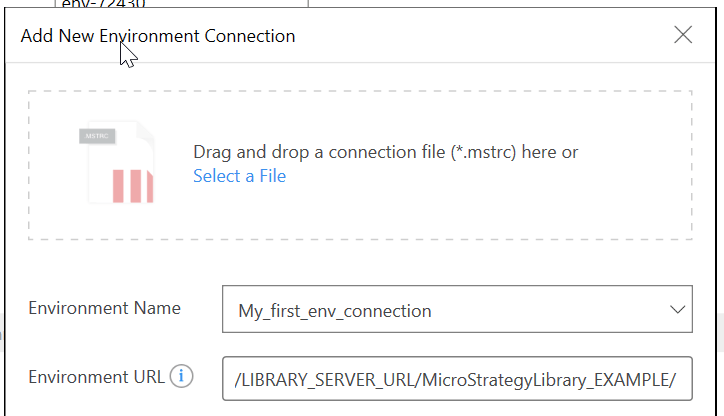
Note: If it is a default Strategy installation of Strategy Library, the Environment URL format will be the following: https://LIBRARY_SERVER_URL_or_IP:8080/MicroStrategyLibrary/
Continue with Step 6.
Creating a .mstrc file from an empty text file
If instead a “.mstrc” file needs to be created for an environment connection prior submission, please follow these steps.
5.1. To create a Strategy Environment connection file .mstrc, please open something similar to Notepad.
Use the Notepad and use the following syntax by replacing the values according to your environment:
{
"authenticationMode" : 1,
"dossierServerURL" : "https://LIBRARY_SERVER_URL/StrategyLibrary_EXAMPLE/",
"environmentName" : "ENVIRONMENT_NAME"
}
Note: If it is a default Strategy installation of Strategy Library, the environment URL format will be the following: https://LIBRARY_SERVER_URL_or_IP:8080/MicroStrategyLibrary/
Here the authentication mode is set to 1 for Standard Authentication, but in your environment, the available modes, the default mode, and the trusted provider could be different. Due to this, please make sure what's the desired or default authentication mode for Strategy Library is set by looking into the "configDefaults.properties" located at:
Windows: C:\Program Files (x86)\Common Files\Strategy\Tomcat\apache-tomcat-X.X.XX\webapps\StrategyLibrary\WEB-INF\classes\config\
Linux: /webapps/StrategyLibrary/WEB-INF/classes/config/
The value set in the .mstrc file must be a valid and available (parameters "auth.modes.available" and "auth.modes.default") authentication mode or if "Trusted" is enabled for MSTR Library, then the Trusted Provider ("auth.trusted.provider"):
#     Value | Meaning
# ====+=============================================
#         1 | IServer Standard Authentication
#         4 | IServer Passthrough Authentication
#         8 | IServer Guest Authentication
#        16 | IServer LDAP Authentication
#        32 | IServer Warehouse Passthrough Authentication
#        64 | IServer Security Plugin Authentication (Trusted)
#       128 | IServer Kerberos Authentication
#   1048576 | SAML Authentication
# When Trusted (64) authentication is selected as available or default mode,
# it is also necessary to select a provider.
# Value | Trusted Provider    | Property file
# ======+=====================+==========================================
#     1 | Tivoli              | resources/tivoli_security.properties
#     2 | SiteMinder          | resources/siteminder_security.properties
#     3 | Custom              | resources/custom_security.properties
#     4 | OracleAccessManager | resources/oblix_security.properties
#     6 | Ping                | resources/ping_security.properties
References
Have other questions? Feel free to start a discussion or reach out to your Support liaison to open a case!
Want to upgrade to Strategy 2019? Visit the Strategy website!