The following procedure describes how to update multiple managed MDX objects ACLs (except for attributes) at one time in Strategy Developer. Typically, the ACLs for managed MDX objects are obtained from the Project level setting seen below:

However, this only applies to new objects and not objects that already exist. For objects such as managed prompts, metrics, and hierarchies the below steps can be used to get a list of objects and modify all of their ACLs.
1) Within the root project folder create a new search
2) Within Tools -> Options select to "Display managed objects" and hit OK.
3) On the Contained By tab select Add in the filed for "Contained by the following objects"
4) In the window to select objects, navigate though the Data Explorer for the MDX source and select the MDX cube desired to move to the selected objects side (right side). Hit OK.
NOTE: It will appear using the table icon
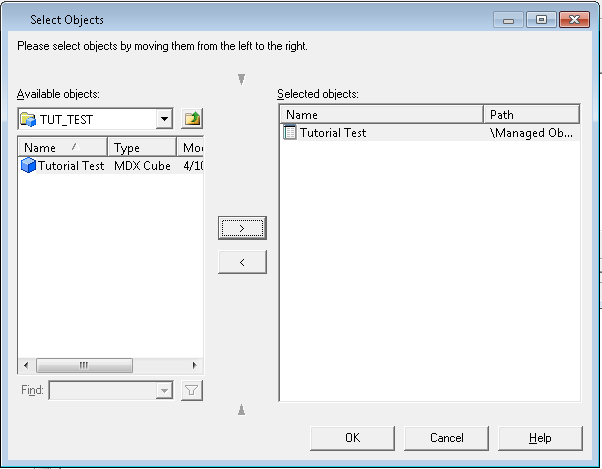
5) The previous selection should now be in the list box on the Contained By tab. Select Find Now.
6) This will populate all of the managed objects within the MDX cube selected (except for attributes). Highlight all of the desired objects using multi-select, right click, and select Properties.
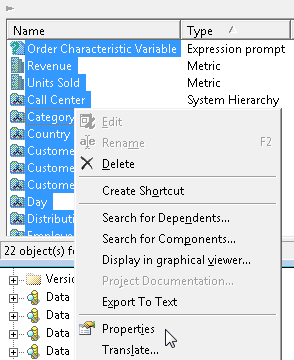
7) On the Security page set the ACLs as desired to match the project level setting (or whatever is needed).
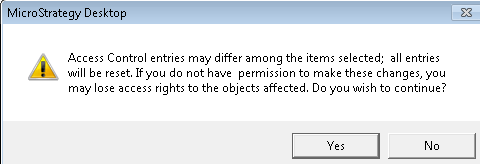
NOTE: A warning will appear indicating all the entries will be reset. This is only because the entries could be different among the multiple objects selected. Once the permissions are added, they will all be the same for every object selected in step 6.