Starting with the release of Strategy ONE (March 2024), dossiers are also known as dashboards.
Prerequisites
ESRI Shape files are usually a group of at least 3 files. You usually have 3 files with the same name with different extensions.
This article will discuss these format in particular, but probably can also apply to KML files as well.
1. Checking your file CRS for a shape file that is OK
An easy way to check the content of a shape is to use QGIS. This is a free tool to download with free-will donation.
You can download it on QGIS website .
(It's possible that QGIS requires installing Python as a pre-requisite.)
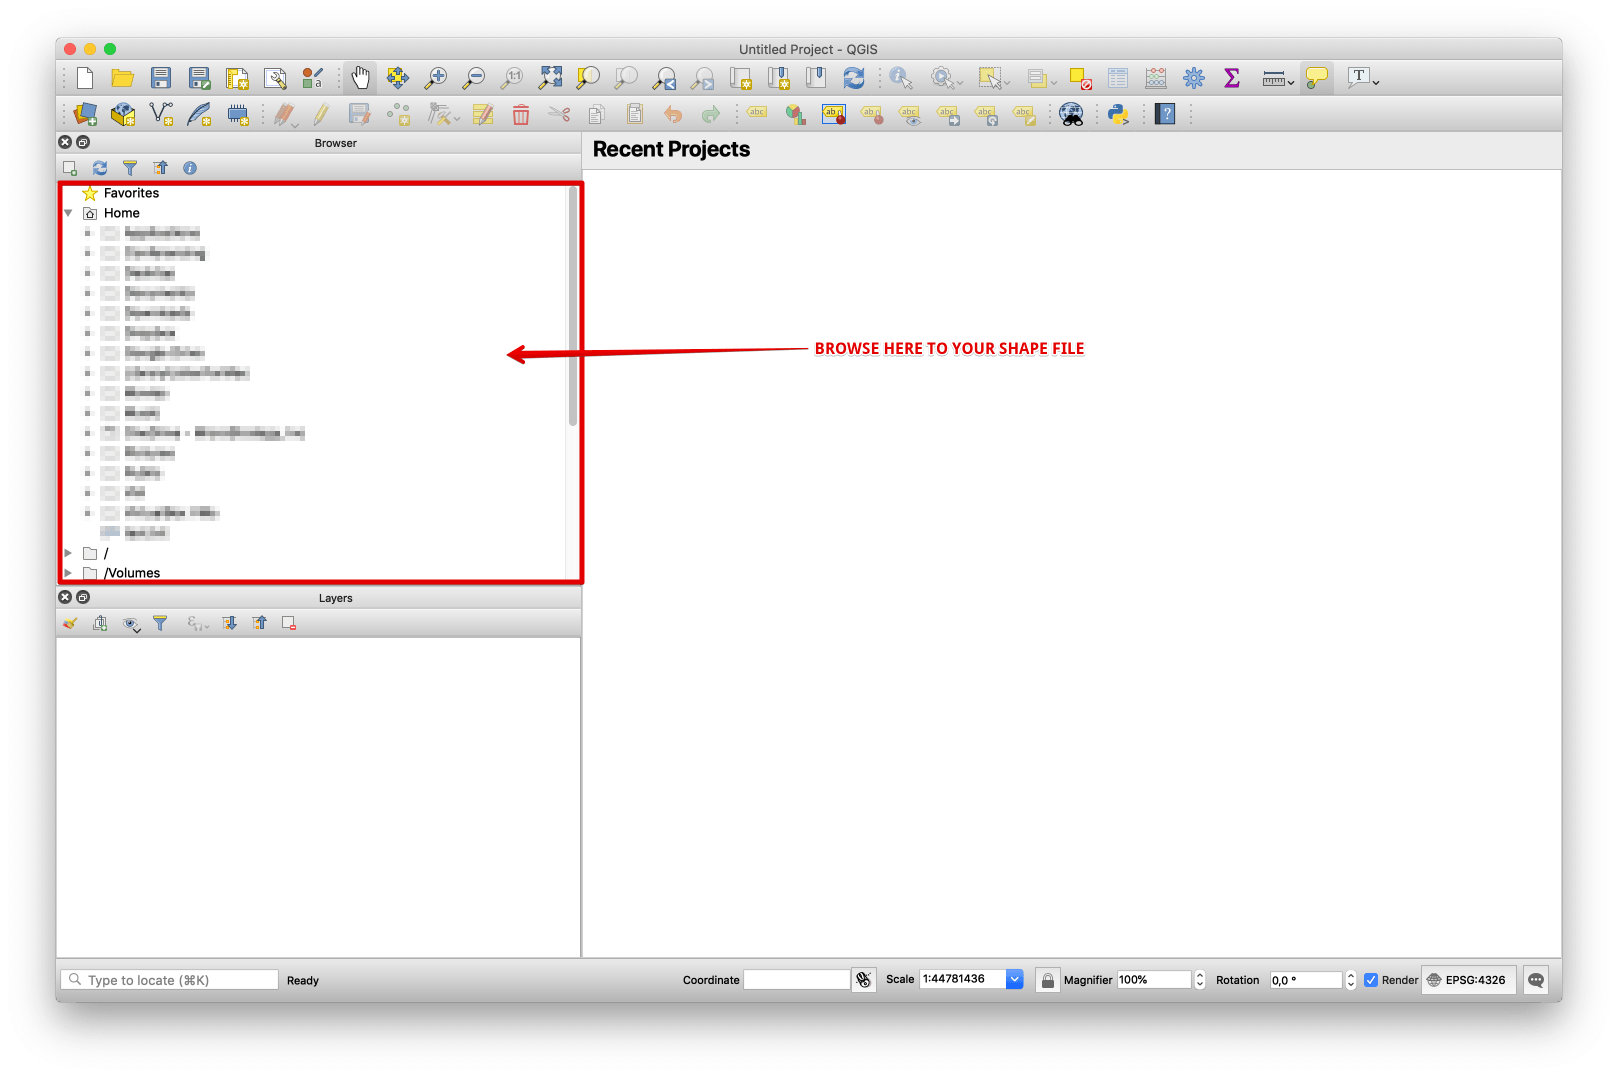
Once installed, open QGIS. On the left panel, browse your disk and locate the SHP file.
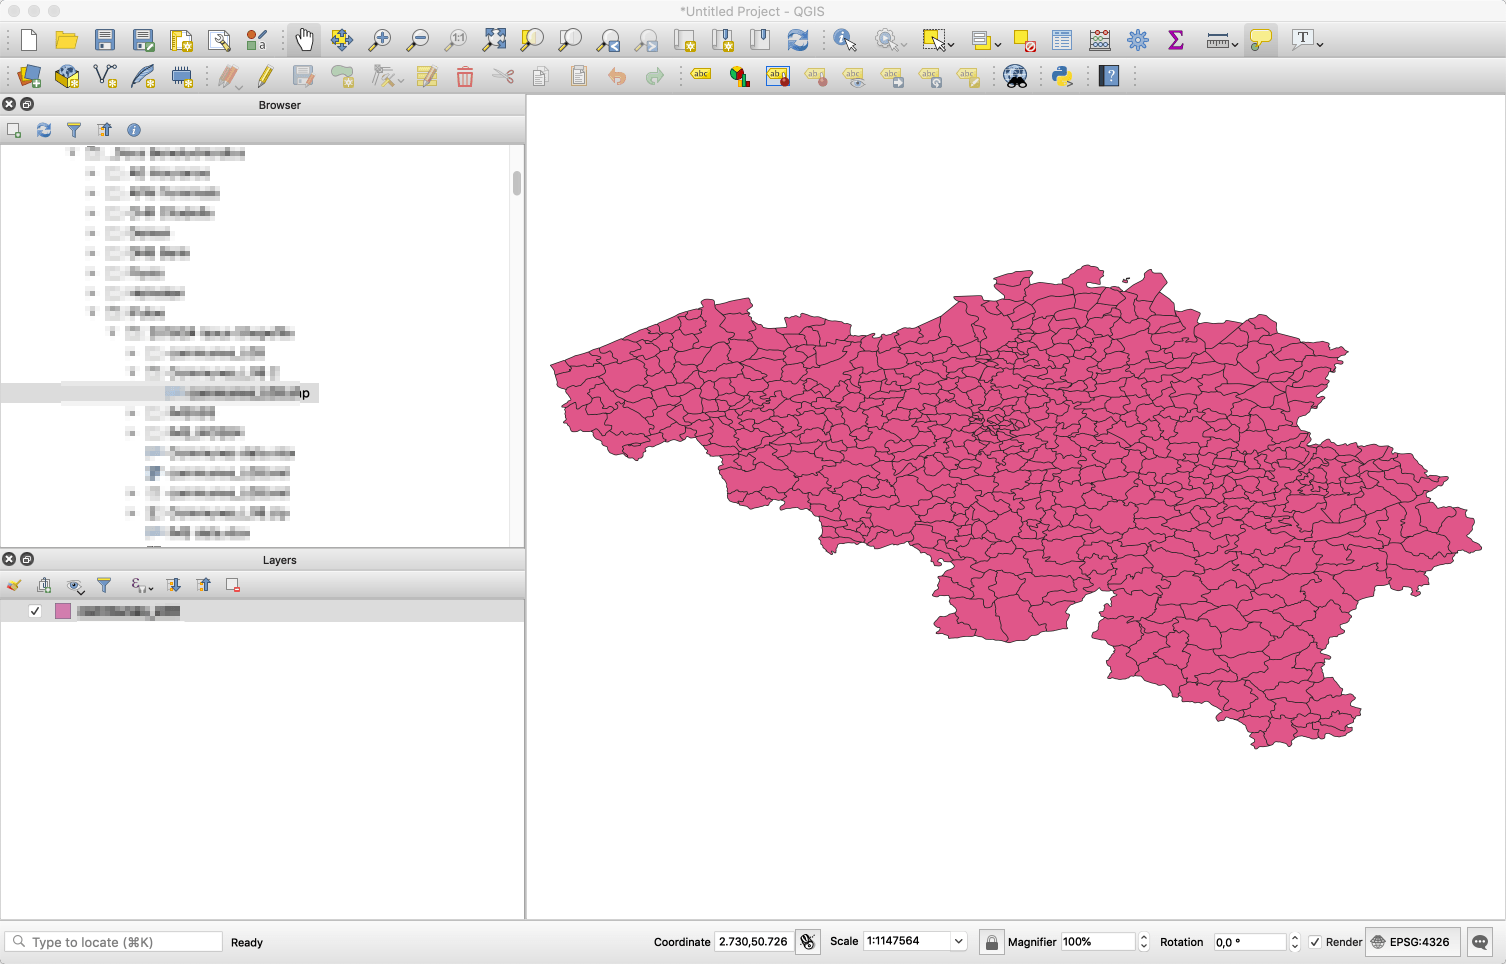
Right click on the layer in the bottom-left panel and select Set CRS > Set Layer CRS...
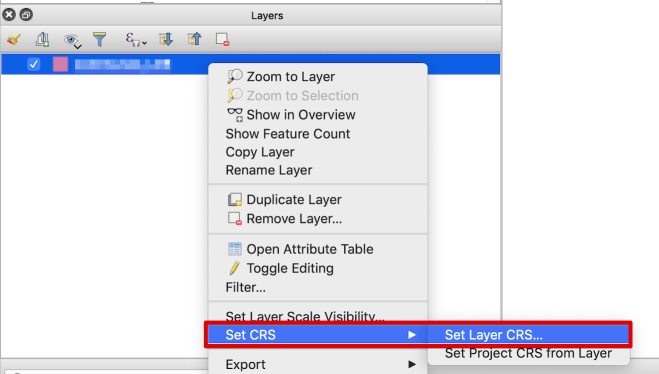
A popup appears and you can see the CRS that is used. Usually, we would prefer WSG84 which gives coordinates for Worldwide.
2. Checking the CRS for a shape file that is not OK
When the shape file is not good, a symptom is that the ESRI map in the Strategy Dossier doesn't display and it's just a white rectangle.
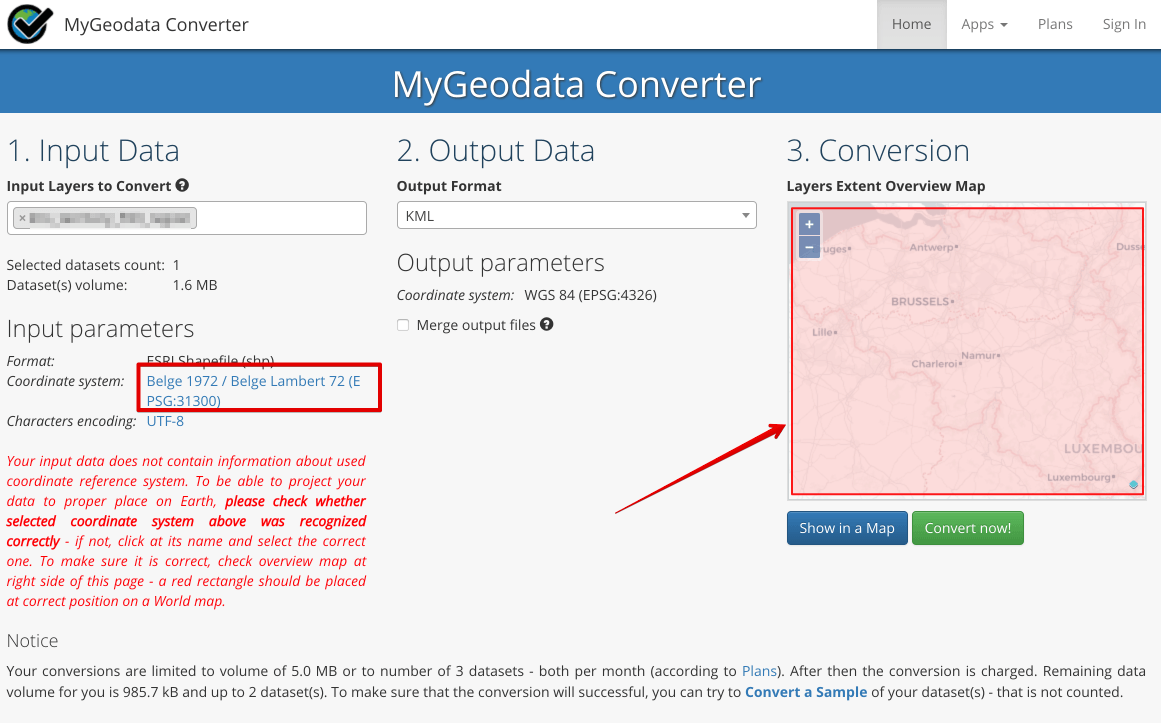
Here is an example of a shapefile that is not using a good CRS:

The CRS used is WGS84, but the coordinates are wrong and way too large (thousands).
The map displayed still shows the World, because the WGS84 refers to WW coordinates.
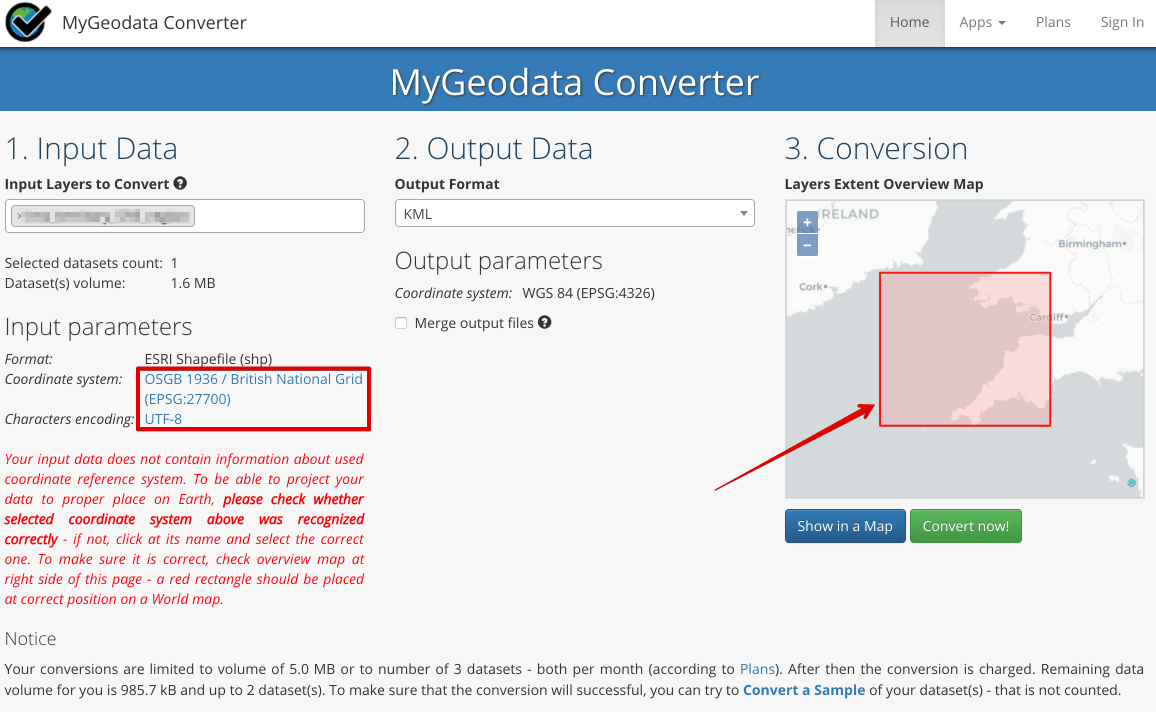
To check further, you can use external (non-Strategy) online tools, for example https://mygeodata.cloud/
You will need to upload you 3 ESRI files together.
It renders as the following : The map on this website indicates the rectangle within which your shapes are (and not the area related to your CRS). You can clearly see that the rectangle is not around Belgium, which is our target.
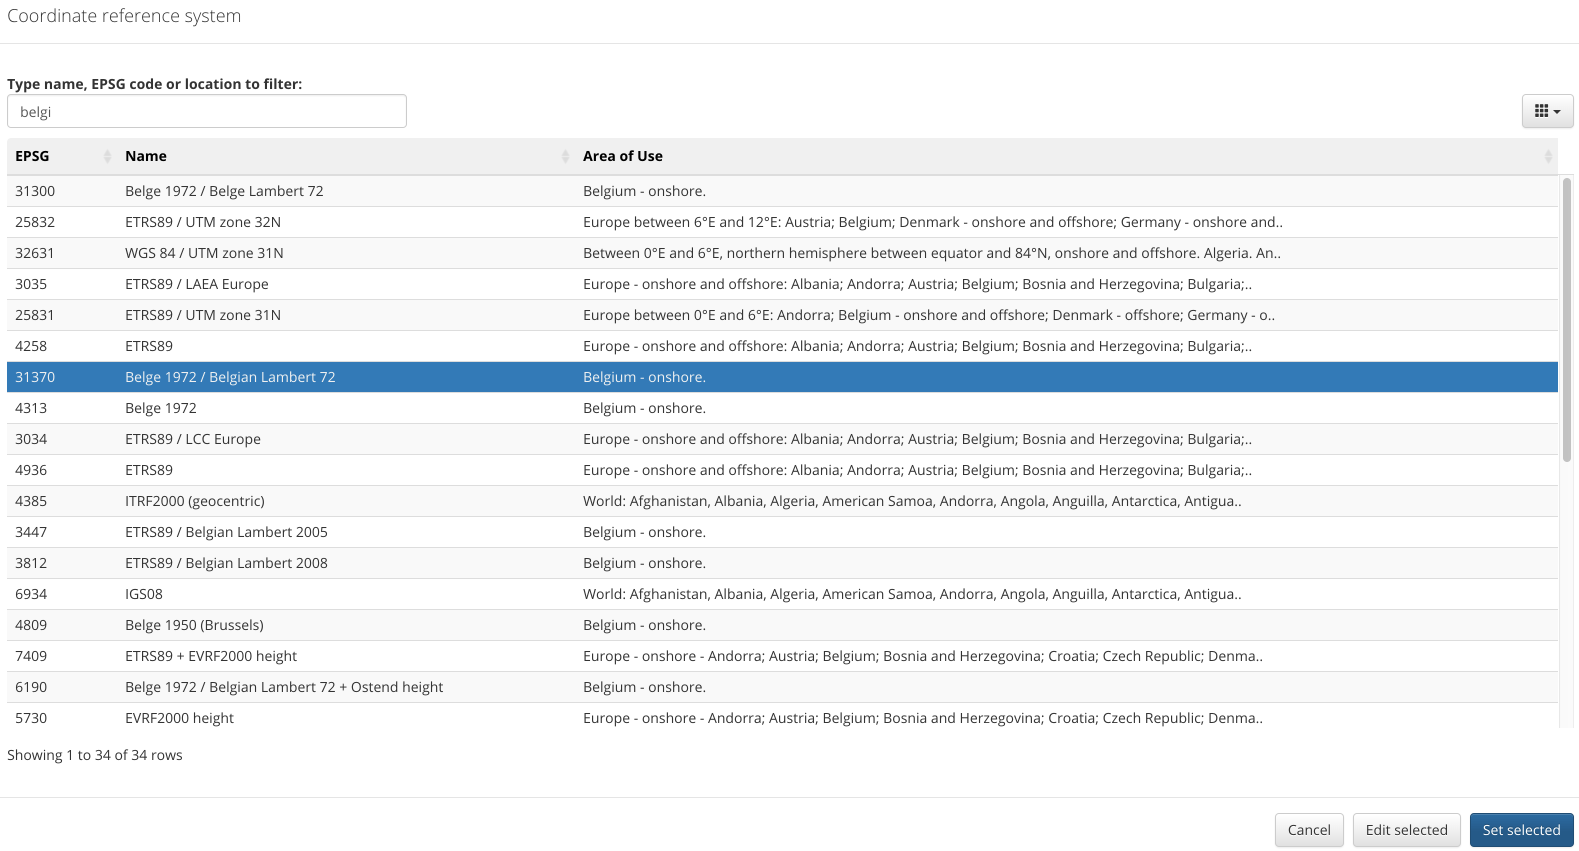
If you modify the CRS to be based on some Belgium coordinates (click on the Coordinates system link), you get the good boundaries :
3. Modify the CRS in QGIS and exporting to have a new clean shapefile
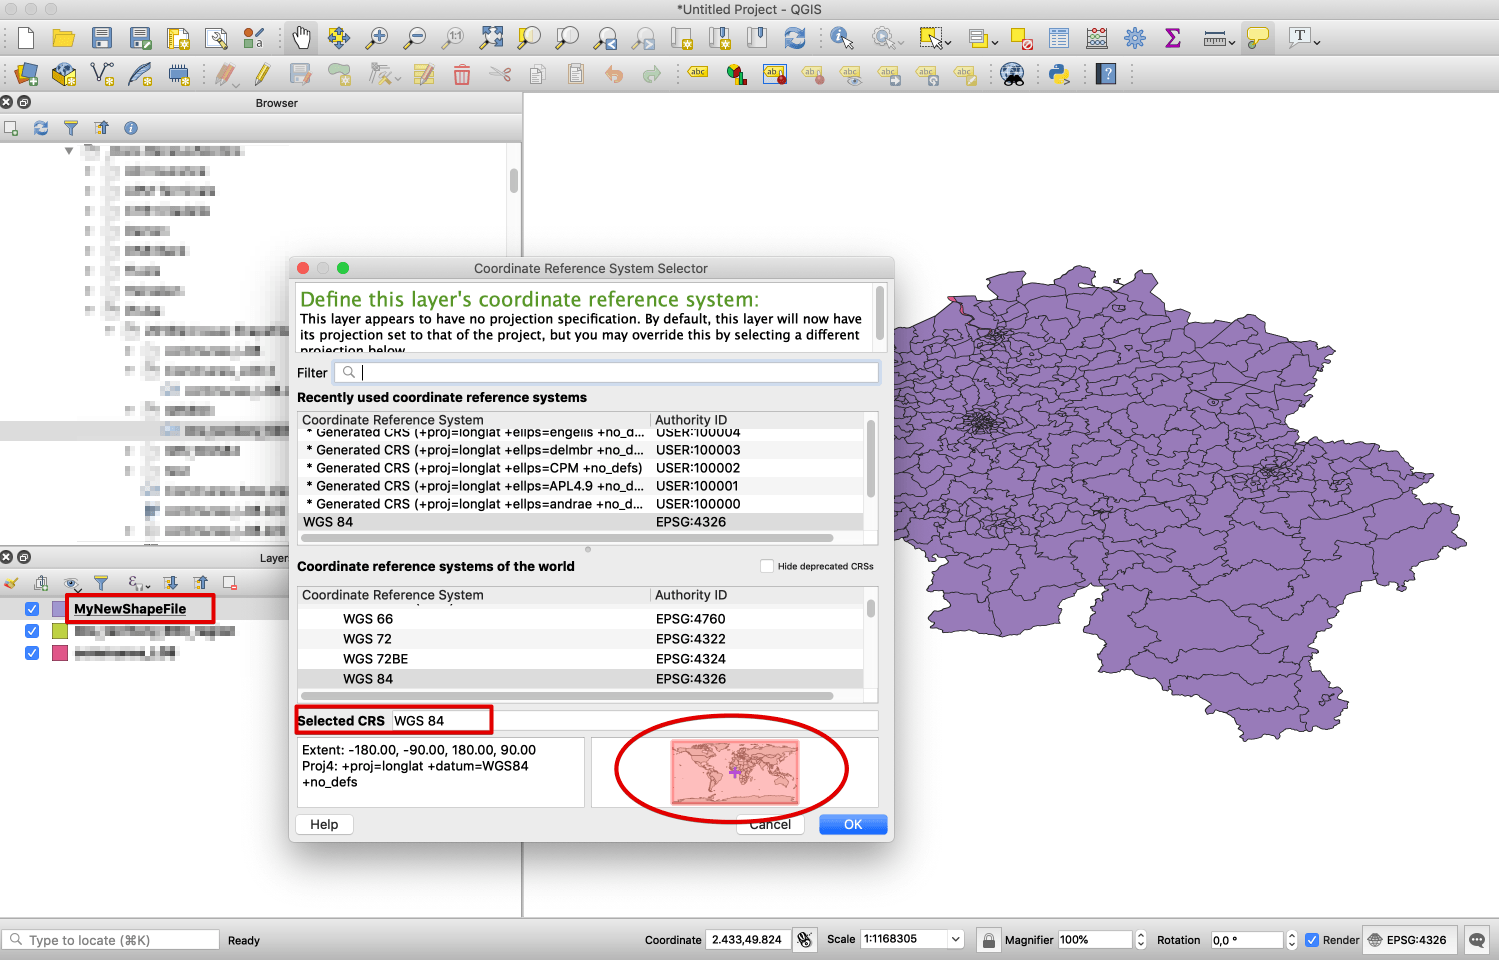
So returning back to QGIS, you can modify the CRS :
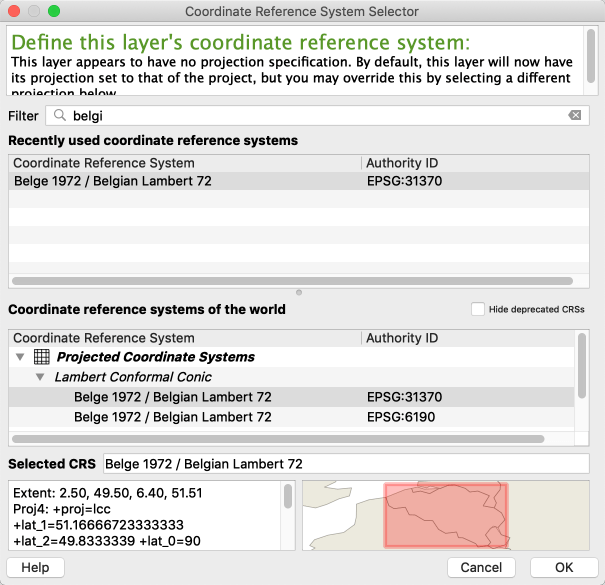
The boundaries on the map are now around Belgium, which is what we want for now.
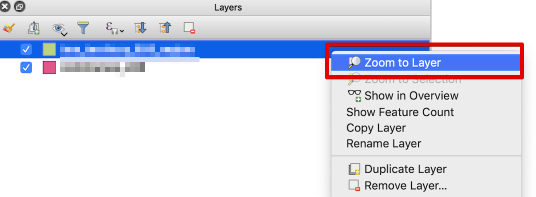
To make sure QGIS zooms on your map, you can use right click on the layer and ask to Zoom to layer :
You can now export the layer as a new Shape file, but with the coordinates that will be well understood by ESRI on Strategy.
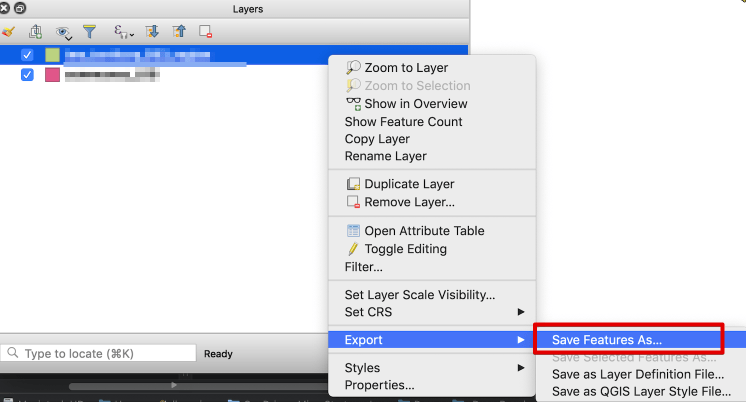
Right click on the layer and choose Export > Save Features As...
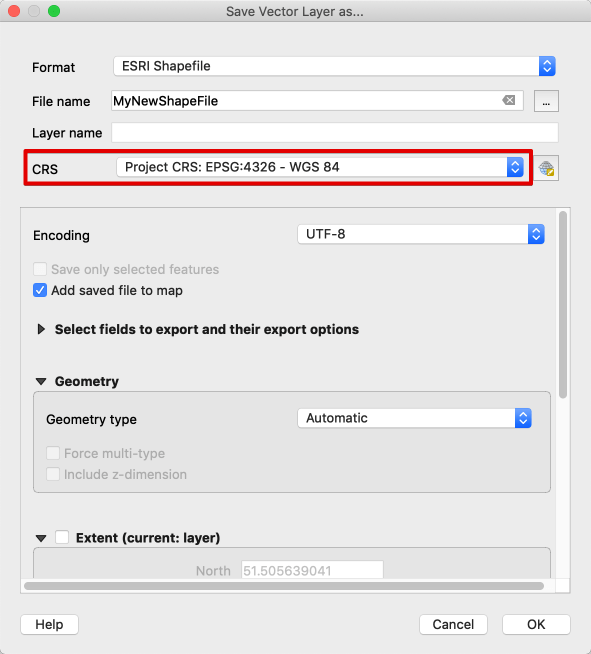
A popup appears. Make sure to name your file correctly, select the destination folder and modify the CRS to be WGS84 :
After saving, your new shapefile is imported automatically by QGIS (else go and import it).
If you check this new file, you'll see that the CRS is WGS84 and that the related map is Worldwide.
You can now use this shape file and follow the documentation instructions to use them into Strategy.
Additional notes
QGIS is also handy to check the content of your shapefile and see the names of the shapekeys.
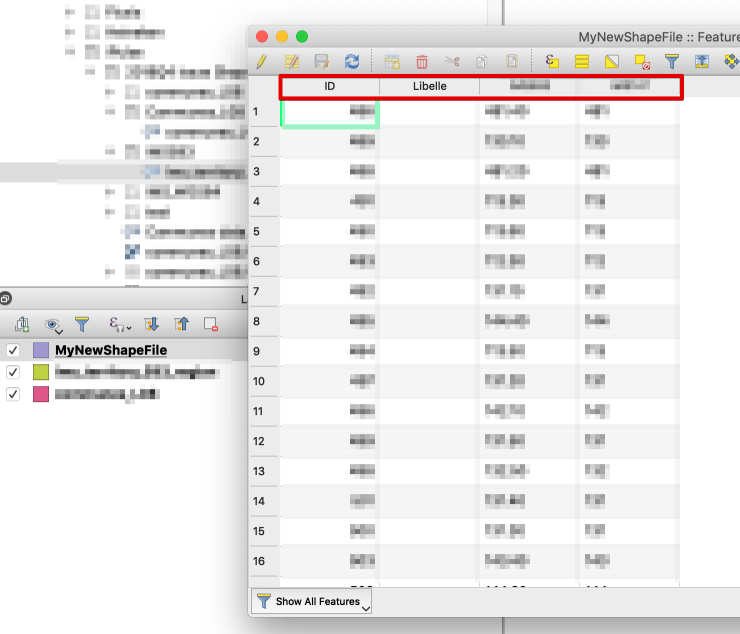
To see them, right click on your shape and select Open Attribute table
The names of the columns are the shape keys that will be used in the XML file mstrGeoShapesConfig.xml for matching with your dataset.
This is a sample of the resulting XML file .
<?xml version="1.0" encoding="UTF-8"?>
<shape-config>
    <layers>
        <layer id="8883"  title="MyCustomShape" ml="shp/MyCustomShape.shp" />
    </layers>
    <shapes>
        <shape id="8883"
            custom="true"
            plugin="ConnectorForESRIMap"
            default="false"
            desc="MyCustomShape"
            roleId="2"
            type="Polygon"
            shapeKey="MyShapeKey"
            layerId="8883"
            shapeCat="88883" />
    </shapes>
</shape-config>
The third-party product(s) discussed in this technical note is manufactured by vendors independent of Strategy. Strategy makes no warranty, express, implied or otherwise, regarding this product, including its performance or reliability.