NOTE:
CentOS is supported as from Strategy Intelligence Server 9.3.1. For further reference, refer to the Strategy technical note:
SAMPLE:
Follow the steps below to install Strategy Intelligence Server 9.3.1 using a SSH connection in CentOS 5.x and 6.x:
1) Make sure to download the correct set of installation files, in this case 9.3.158.056_9.3.1_GA_Linux.tar.gz
2) Uncompress the installation files using tar, as shown:
3) Start the installation by running the setup.sh file with the option -console, as shown:

Sample Code/Error
./setup.sh -console
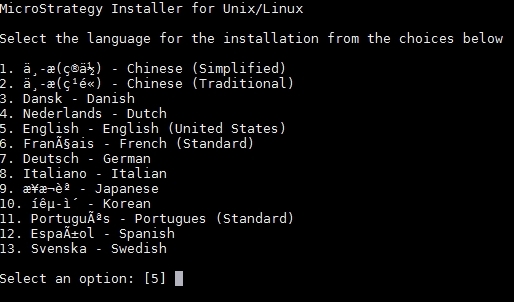
4) Select the installation language, in this case English was selected:
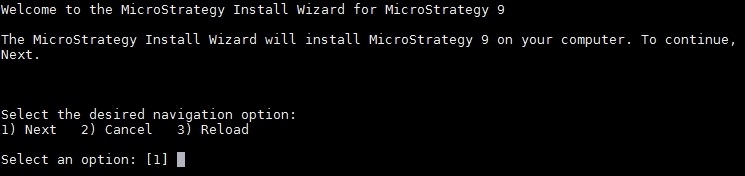
5) Select 1 (Next) to proceed with the installation process:
6) Review the Strategy License Agreement:
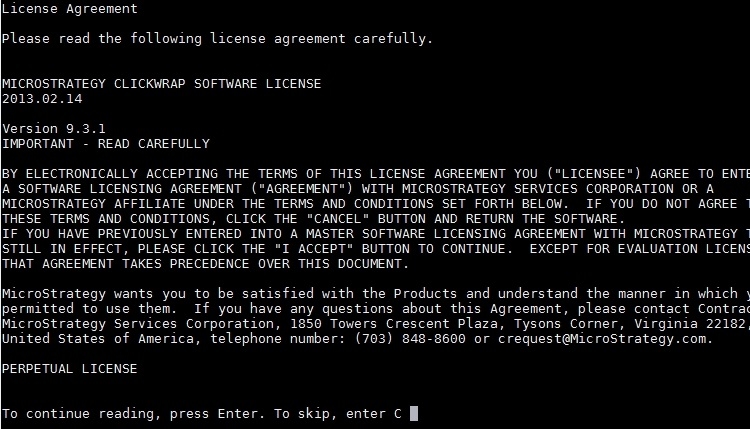
7) Enter 1 to accept the Strategy License Agreement:

8) Select 2 (Next) to proceed with the installation process:

9) Fill out the Customer Information form, including the License Key and select 2 (Next) to move forward:

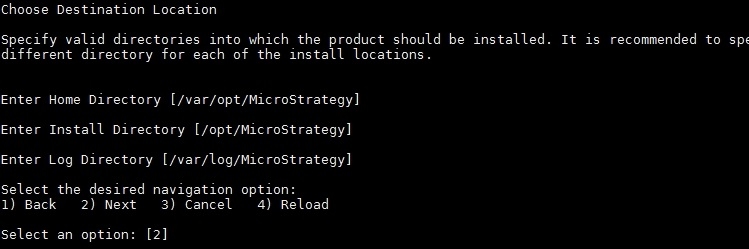
10) Define the installation folders and select 2 (Next):
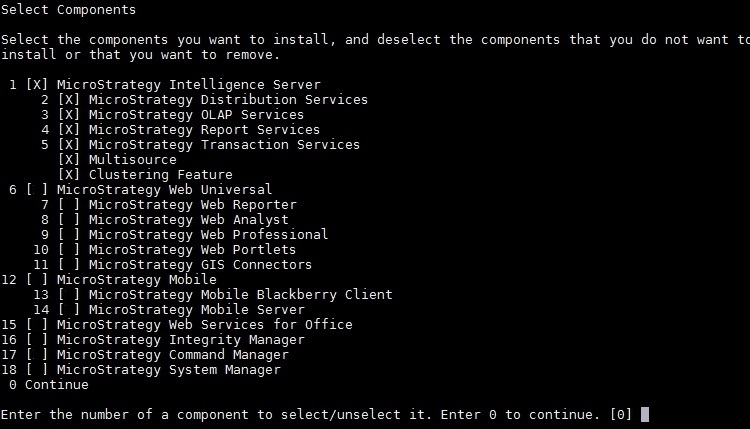
11) Select the Strategy Intelligence Server 9.3.1 components to be installed and enter with 0 to continue:
12) Select 2 (Next) to continue:

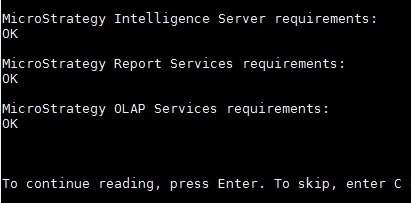
13) The following components will be installed, press Enter to continue reading or press C to skip the reading of the components requirements and move forward:
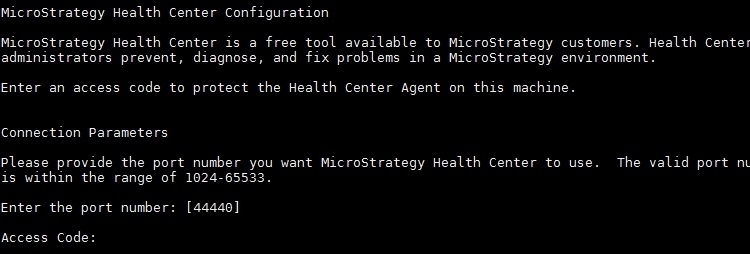
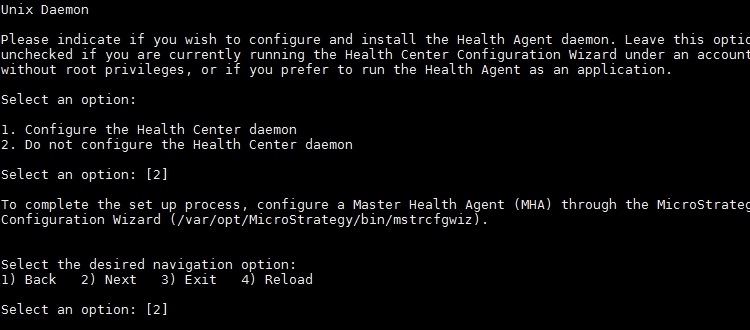
14) Perform the Health Center configuration by entering with the port and Access Code (For further information regarding Strategy Health Center, refer to KB32554 - How to Configure a MicroStrategy Health Center system):
15) Select 1 to run Health Center as a daemon or 2 to do not configure the Health Center as a daemon, so select 2 (Next) to proceed with the installation process:
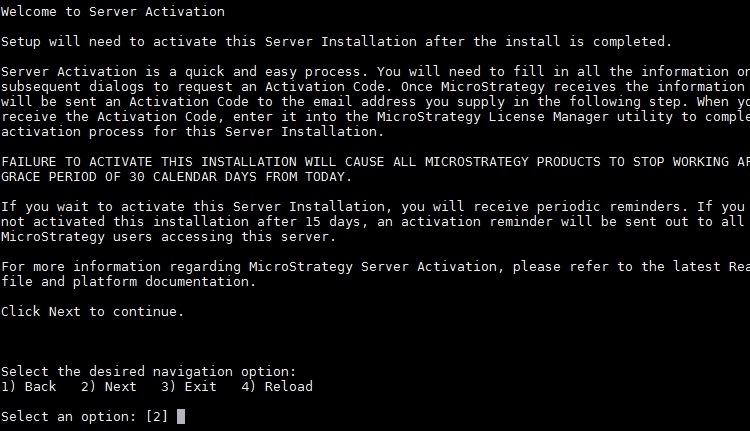
16) Select 2 (Next) to start the Activation process:
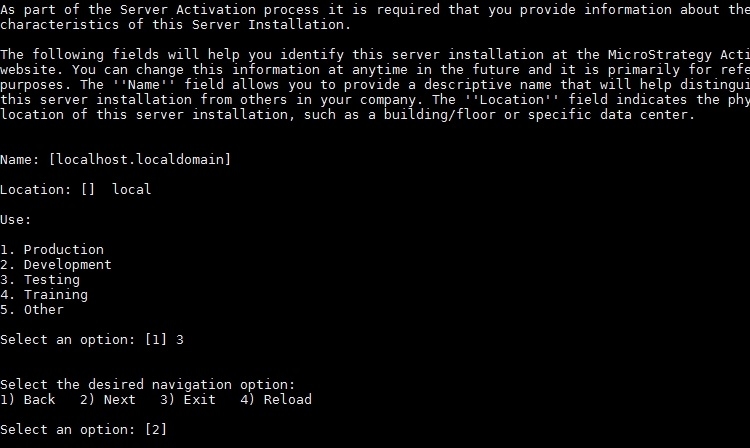
17) Enter the server information to get a server activation code and select 2 (Next) to continue:
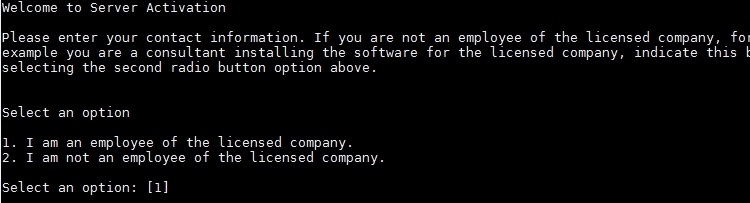
18) Select 1 if you are a company employee or 2 if you are not a company employee:
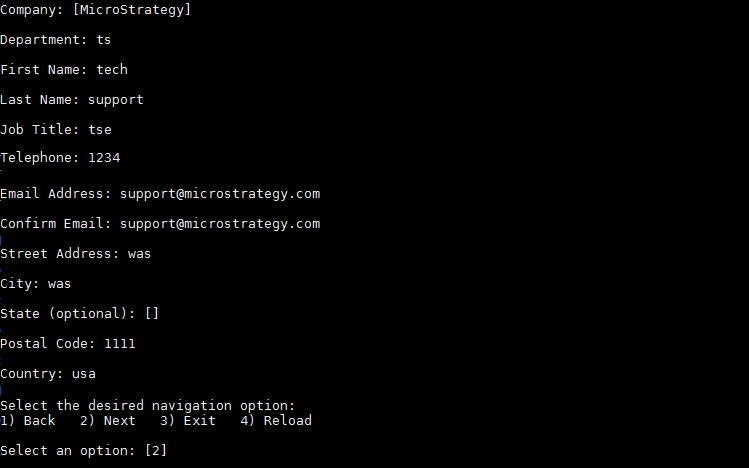
19) Enter the contact information and select 2 (Next) to continue:
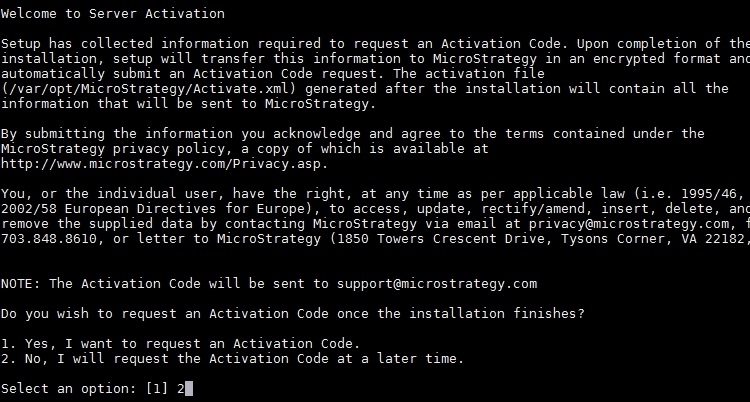
20) Enter 1 to request the activation code now or 2 to request it later:
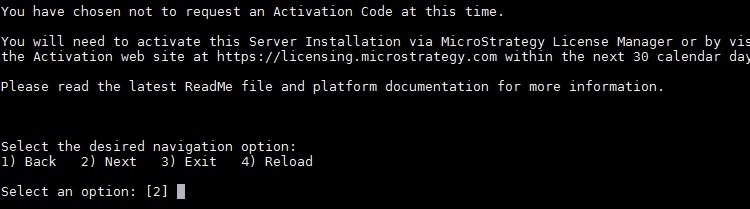
21) Select 2 (Next) to continue:
22) Enter C to skip the reading of the installation settings newly defined or Enter to continue reading:
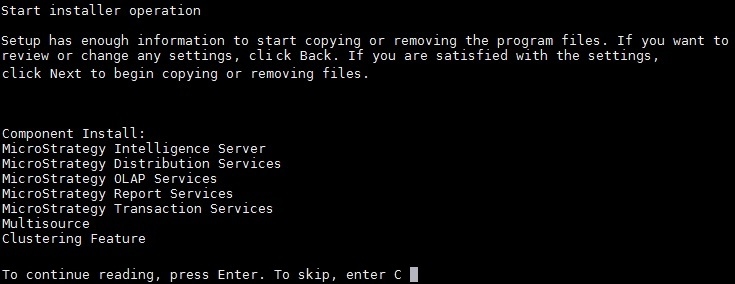
23) Select 2 (Next) to initiate the installation process:

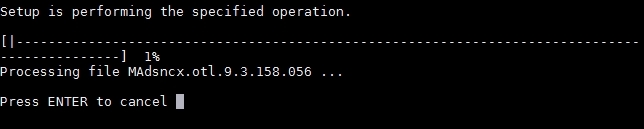
24) Once Setup reaches 100%, the installation process will be concluded: