EducationSoftwareStrategy.com
StrategyCommunity

Knowledge Base

Product

Community

Knowledge Base

TopicsBrowse ArticlesDeveloper Zone

Product

Download SoftwareProduct DocumentationSecurity Hub

Education

Tutorial VideosSolution GalleryEducation courses

Community

GuidelinesGrandmastersEvents
x_social-icon_white.svglinkedin_social-icon_white.svg
Strategy logoCommunity

© Strategy Inc. All Rights Reserved.

LegalTerms of UsePrivacy Policy
  1. Home
  2. Topics

KB45435: How to configure Multimedia widget for MicroStrategy Mobile 9.x and 10.x


Community Admin

• Strategy


This document shows instructions on how to configure Multimedia widget for MicroStrategy Mobile 9.x and 10.x

Follow the below steps to configure Multimedia widget for Strategy Mobile 9.x.
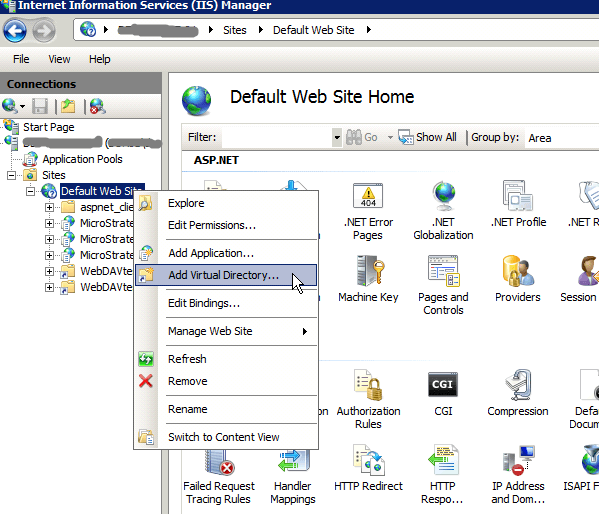
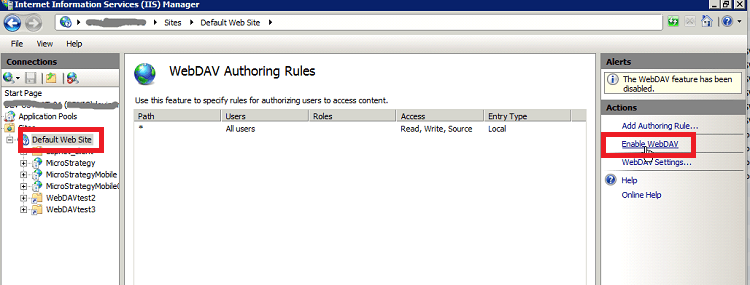
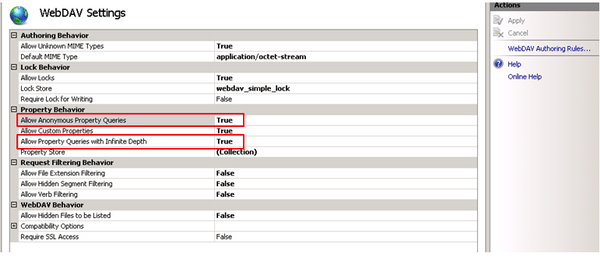
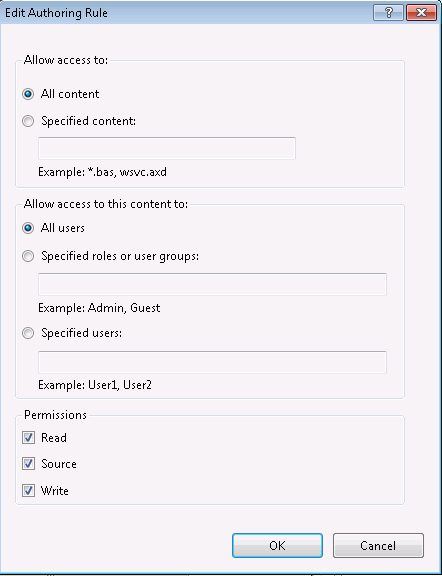
 
1. Set up WebDAV
 
IIS 6: Refer to: KB39315: How to install WebDav in IIS 6?
IIS 7 or newer: http://www.iis.net/ConfigReference/system.webServer/webdav
 
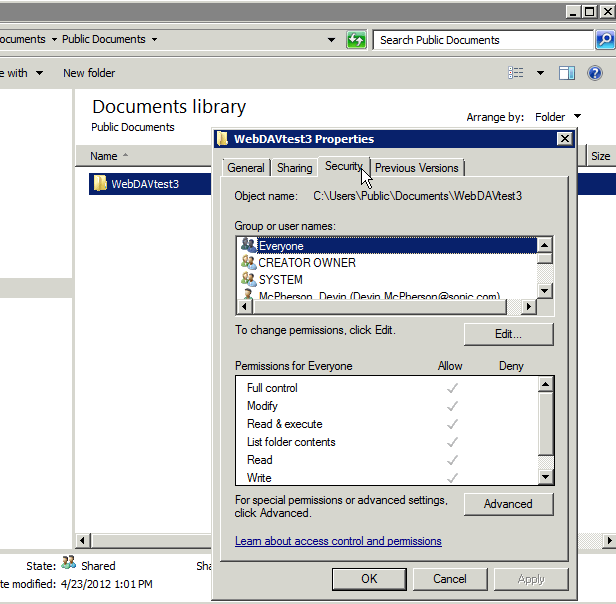
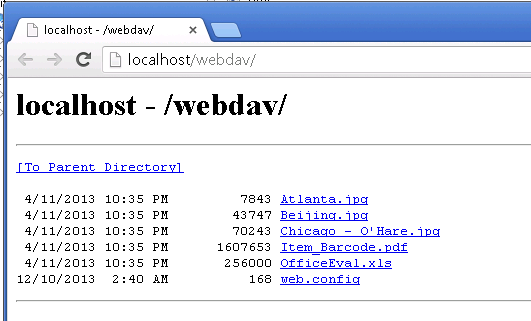
2. Set up WebDAV directory

  • Create a folder of files. The multimedia widget can support audio and video files, ePub files, Excel, HTML, images, PDFs, plain text, PowerPoint, and Word. (The folder CAN be located in the library, as long as permissions are set to Allow for everyone.)
  • In the folder, right click Properties > Security and make sure read/write permissions are set to Allow for everyone.
     
ka04W000001MKvWQAW_0EM440000002AAF.png
  • In the Web Server (IIS) hierarchy pane, expand Sites, then Default Web Site.
    Right click on Default Web Site, then click > Add Virtual Directory.
     
ka04W000001MKvWQAW_0EM440000002AAY.png
  • Create any alias for the directory, and set the physical path to the folder of files. To check that the virtual directory has been successfully created, enable Directory Browsing for the newly created virtual directory, open a browser and enter http://localhost/directoryname to see the directory of files.
ka04W000001MKvWQAW_0EM440000002AAf.png
  • In the Web Server (IIS) hierarchy pane, click on Default Web Site. In the Default Web Site window, click on WebDAV Authoring Rules. Check that WebDAV is enabled—if not, click on Enable WebDAV.
ka04W000001MKvWQAW_0EM440000002AAS.png
  • Click on "WebDAV Settings" which is below "Enable WebDAV" shown in image above. Set "Allow Anonymous Property Queries" and "Allow Property Queries with Infinite Depth" to True as shown below:
ka04W000001MKvWQAW_0EM440000002AAV.jpeg
  • In the Web Server (IIS) hierarchy pane, click on webdav virtual directory, if no Authoring Rules has been created, add a new rule: All Content--All User--Read, Source, Write.
ka04W000001MKvWQAW_0EM440000002AAI.png

 
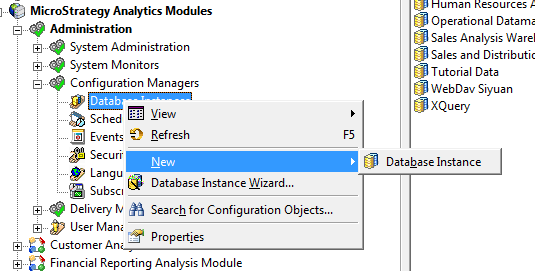
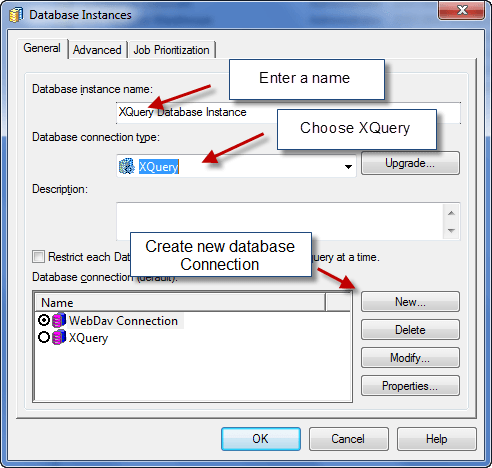
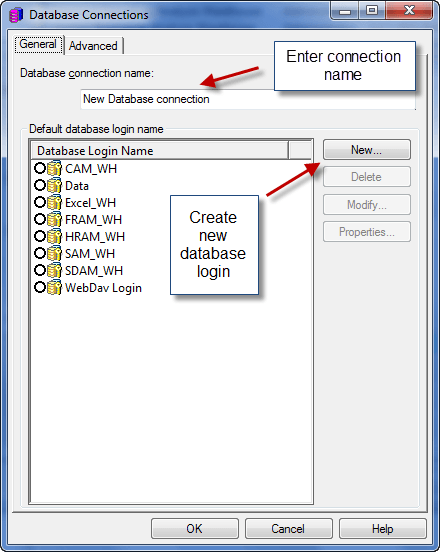
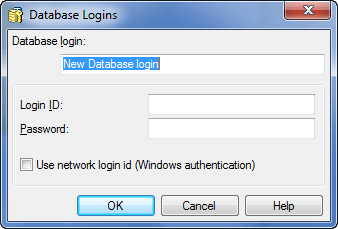
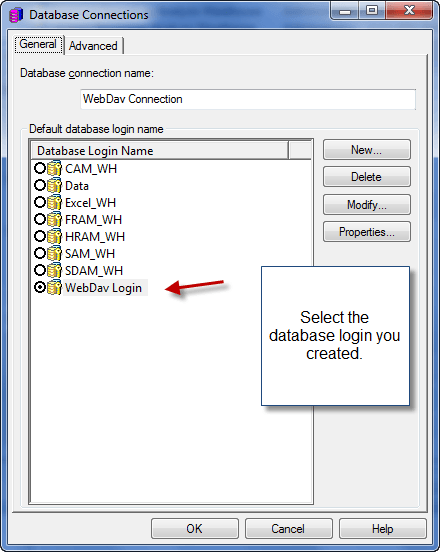
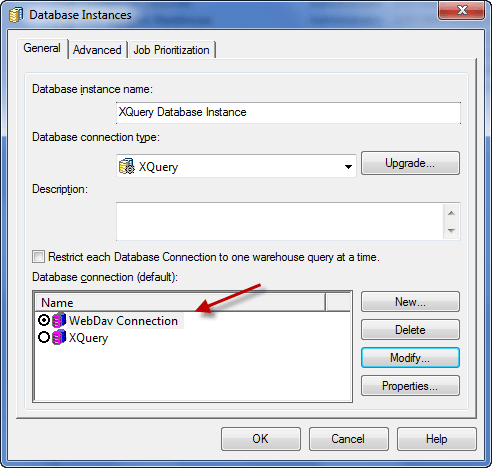
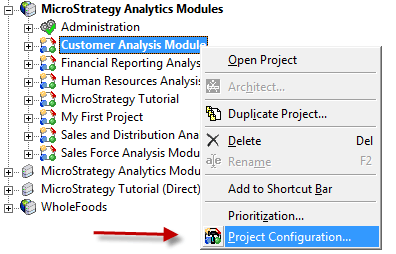
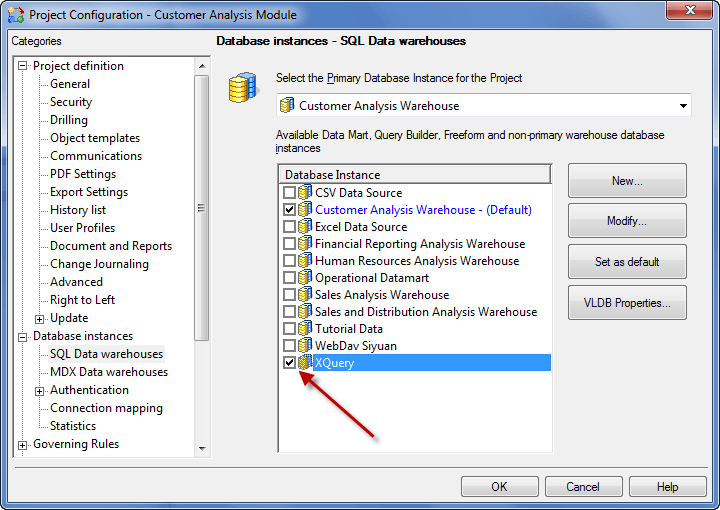
3. Configure an XQuery database instance to retrieve web folder contents

  • In Strategy Desktop, expand Administration > Configuration Managers > Database Instance > right click New Database Instance.
ka04W000001MKvWQAW_0EM440000002AAE.png
  • Enter a database instance name, choose XQuery as the connection type, and click New to create a database connection.
ka04W000001MKvWQAW_0EM440000002AAi.png
  • Enter a database connection name, and create database login.
ka04W000001MKvWQAW_0EM440000002AAj.png
  • Fill out the information. The login name/password is for connecting to the webdav directory. There may not be a login needed if Anonymous authentication is set for IIS.
ka04W000001MKvWQAW_0EM440000002AAU.png
  • Select the database login created.
ka04W000001MKvWQAW_0EM440000002AAX.png
  • Select the database connection just created.
ka04W000001MKvWQAW_0EM440000002AAa.png
  • Enable the XQuery database instance to make it available to the project.
    Right Click on the project > Project Configuration
ka04W000001MKvWQAW_0EM440000002AAQ.png
  • Click to check the XQuery database instance just created.
ka04W000001MKvWQAW_0EM440000002AAR.png
  • Restart the Intelligence Server to apply the changes. 

 
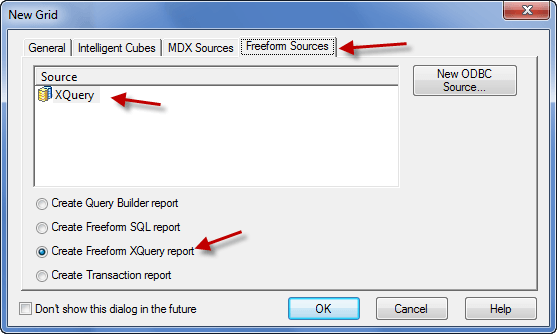
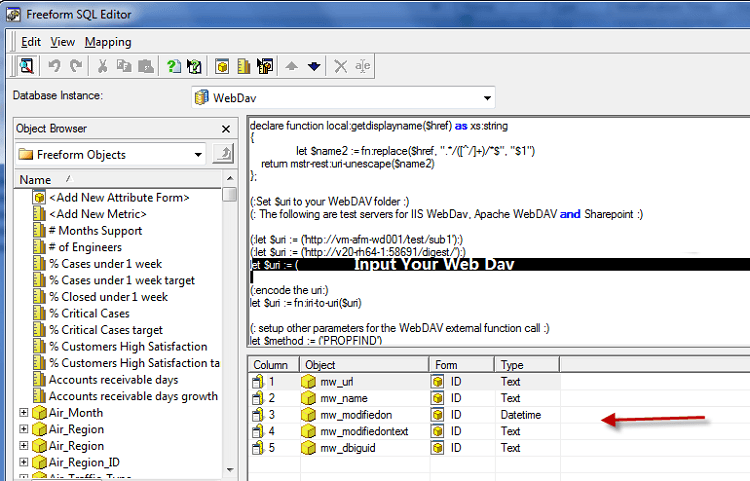
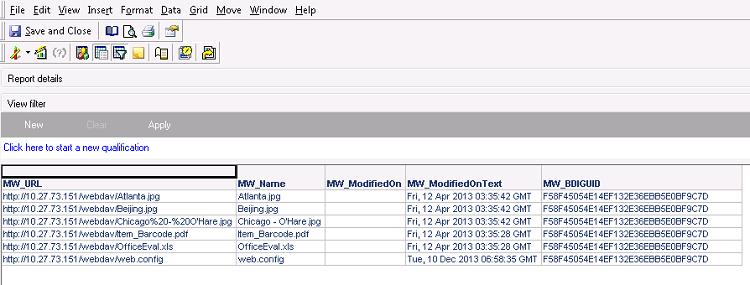
4. Create an XQuery Freeform SQL Report

  • Create a new report and click on the Freeform Sources tab. Select XQuery as the source, select Create Freeform XQuery Report.
ka04W000001MKvWQAW_0EM440000002AAW.png
  • Copy the XQuery Code from product manual <Advanced Reporting Guide>.
  • Modify 3 parameters: WebDAV_Folder, Database_Instance_ID, http://yourwebserver/icon_. Refer to <Advanced Reporting Guide> for more detailed information;
  • Create the 5 attributes per the image and save the report.
ka04W000001MKvWQAW_0EM440000002AAT.png
  • Run the report to test if Freeform SQL report created successfully. It should return list of files as below.
ka04W000001MKvWQAW_0EM440000002AAh.png

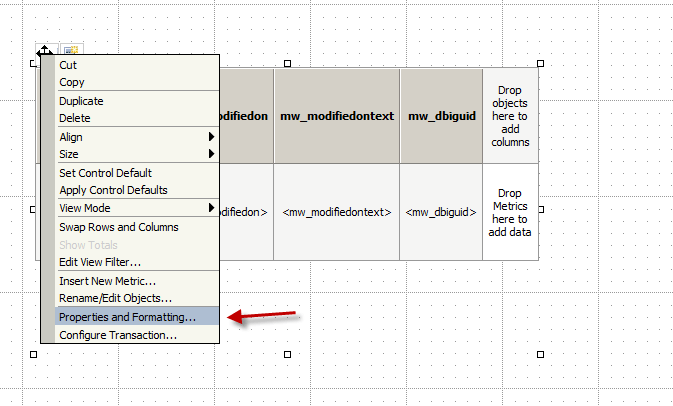
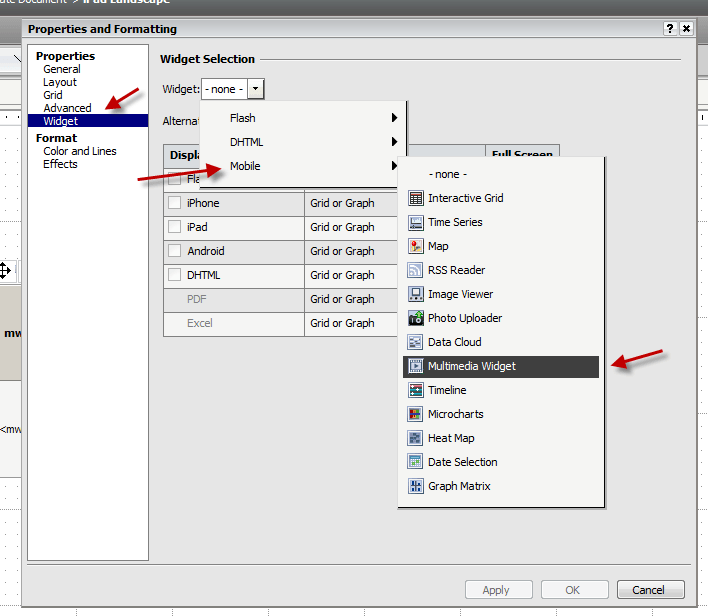
5. Create a document with the Multimedia Widget

  • Add the XQuery Report created above as a dataset for the document.
  • Right click on the grid, select Properties and Formatting.
ka04W000001MKvWQAW_0EM440000002AAP.png
  • Select Widget > Mobile > Multimedia Widget.
ka04W000001MKvWQAW_0EM440000002AAG.png
  • Run document. The Multimedia Widget should also show up in Strategy App on an iPad.

 
6. Additional formatting to your Multimedia Widget.
KB44673: How to remove file extensions from files displayed through the Multimedia Widget in MicroStrategy Mobile 9.3.x?
KB42454: How to replace the default icons in the Multimedia Widget with a custom thumbnail image in MicroStrategy Mobile iOS 9.3


Comment

0 comments

Details

Knowledge Article

Published:

April 3, 2017

Last Updated:

April 3, 2017