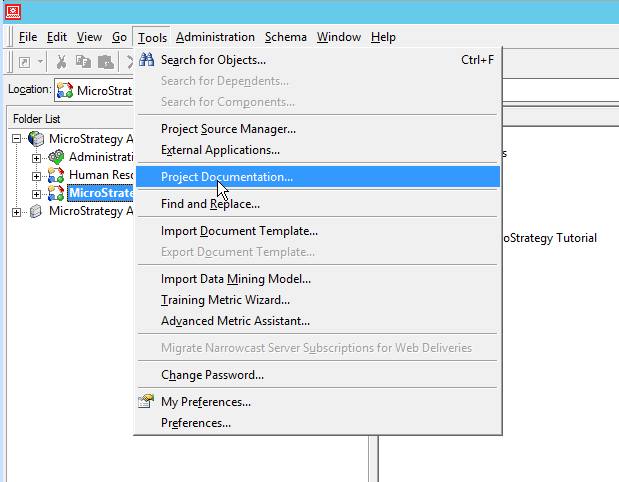
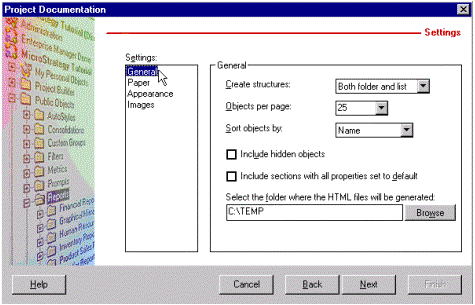
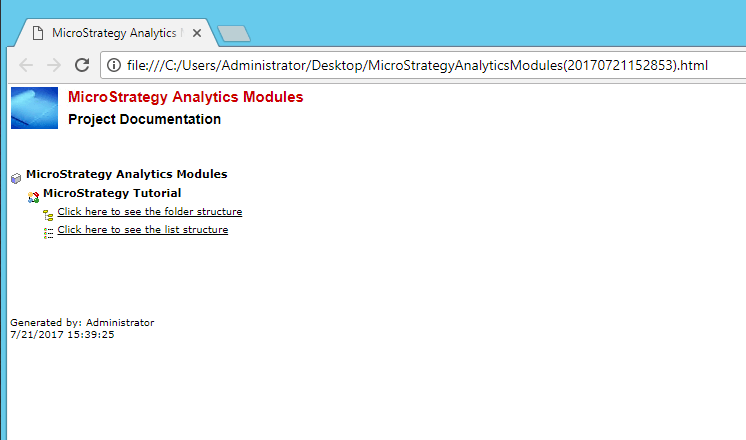
The 'Project Documentation Wizard' allows Administrators to create project documentation by translating the metadata's information of the available application objects, schema objects and configuration objects.
To use this feature, the 'Developer' > 'Use Project Documentation' privilege must be granted as set in the user editor.
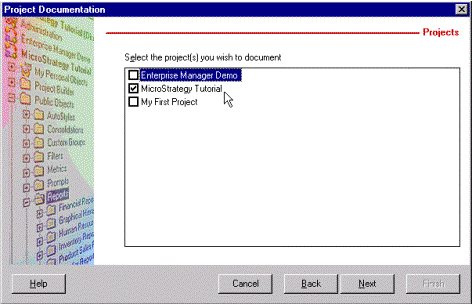
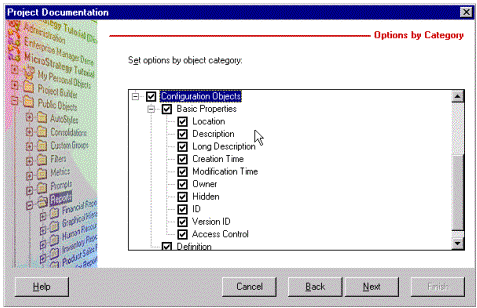
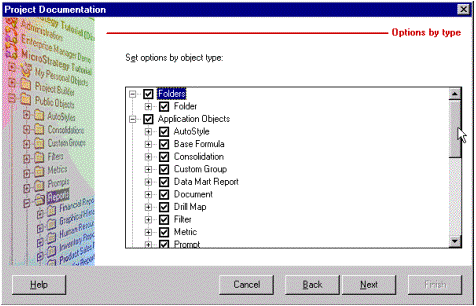
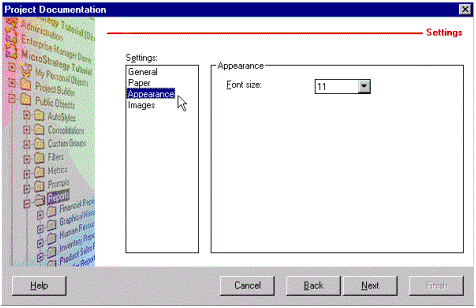
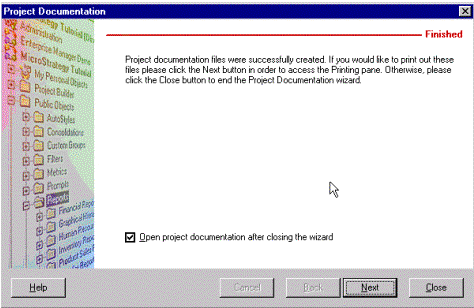
The steps below outline the use of this feature: