EducationSoftwareStrategy.com
StrategyCommunity

Knowledge Base

Product

Community

Knowledge Base

TopicsBrowse ArticlesDeveloper Zone

Product

Download SoftwareProduct DocumentationSecurity Hub

Education

Tutorial VideosSolution GalleryEducation courses

Community

GuidelinesGrandmastersEvents
x_social-icon_white.svglinkedin_social-icon_white.svg
Strategy logoCommunity

© Strategy Inc. All Rights Reserved.

LegalTerms of UsePrivacy Policy
  1. Home
  2. Topics

MicroStrategy QVX File Generator for Qlik (REST API)


Community Admin

• Strategy


Description

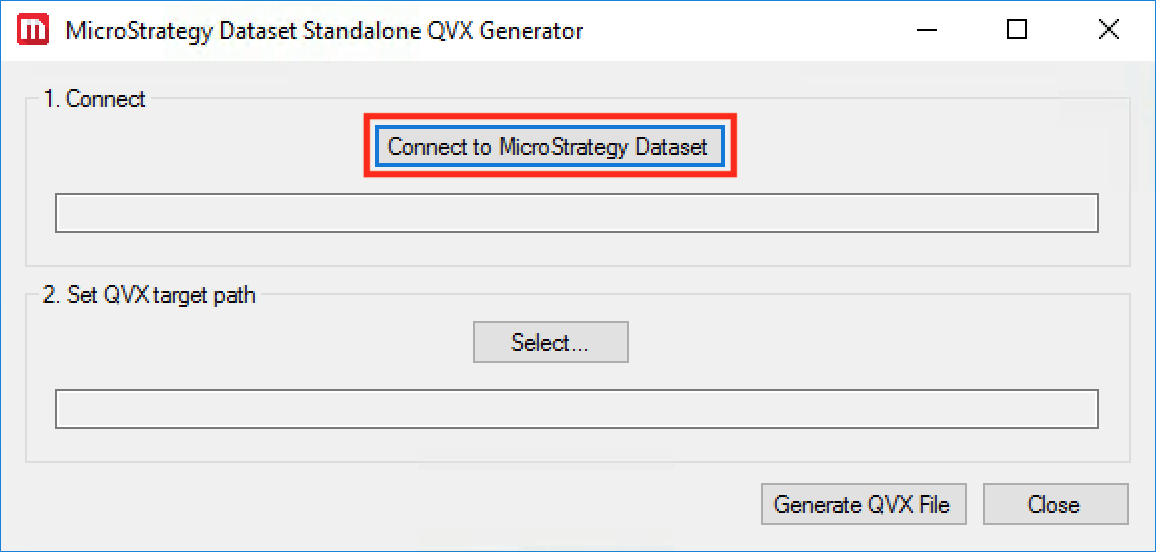
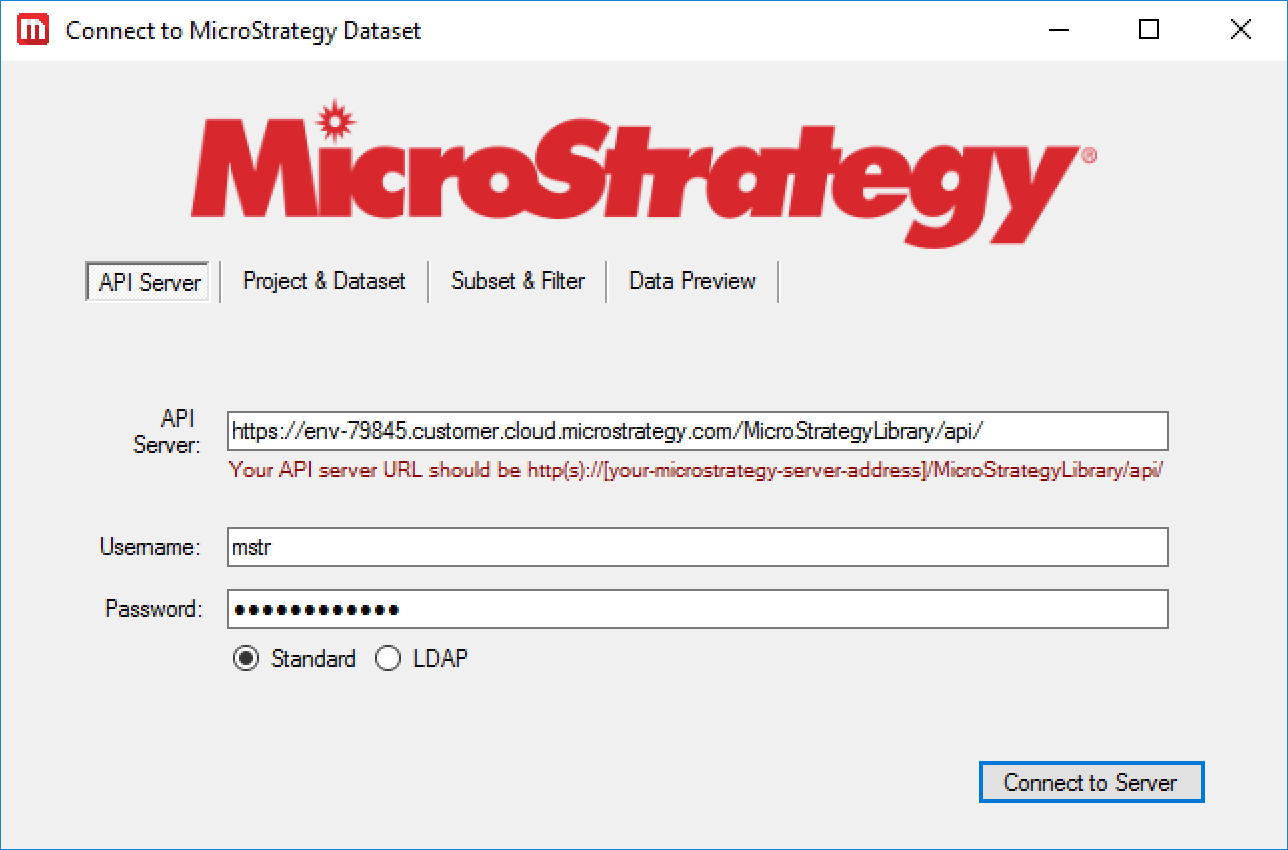
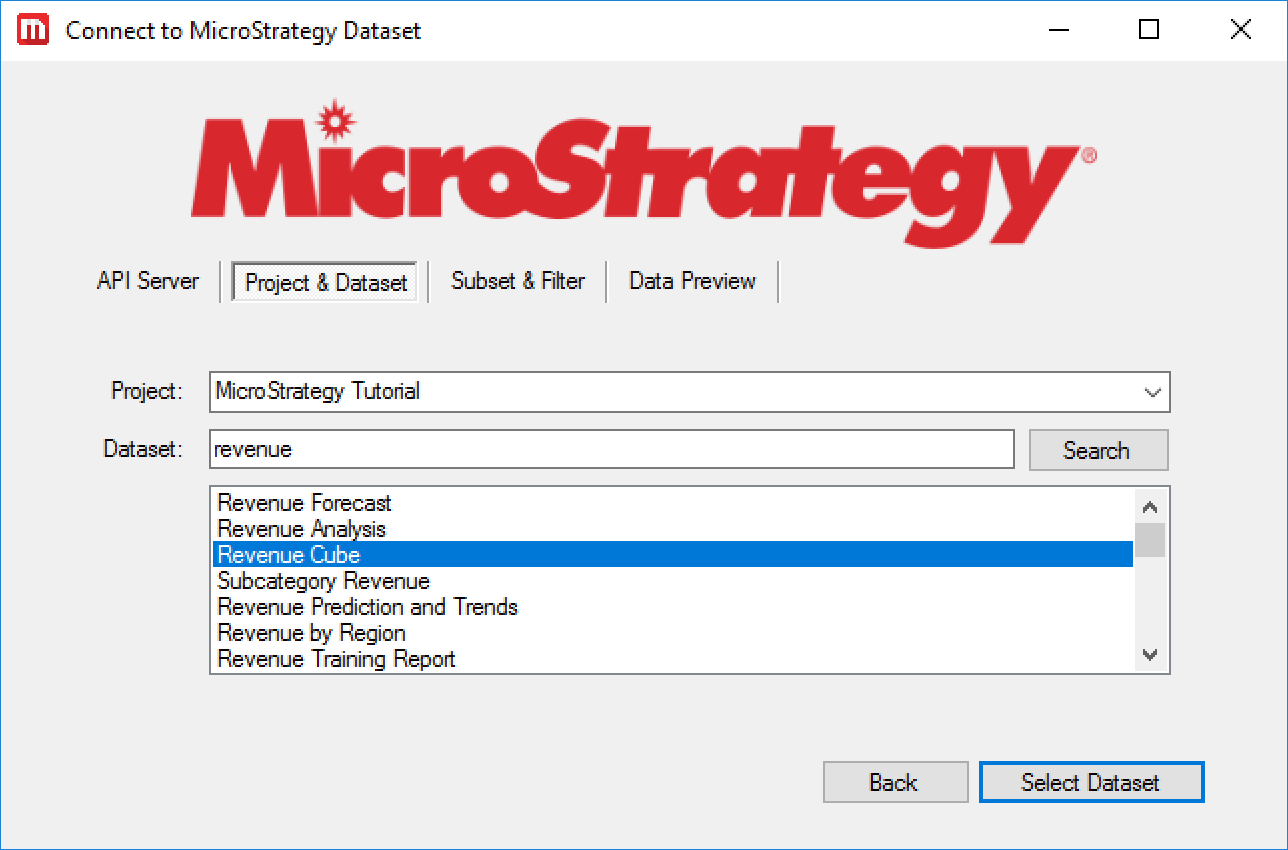
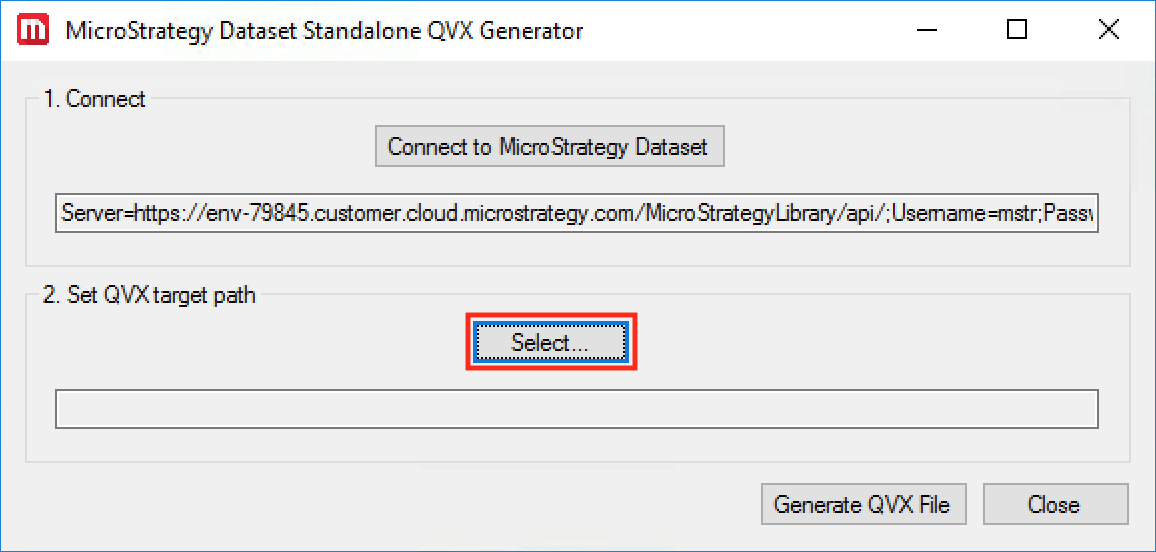
With the Strategy REST API, users can now export data from their Strategy projects into a QVX table file that can be imported directly into QlikView and Qlik Sense. View the following video for more information about the REST API: 


Features of the QVX Filter Generator


  1. Ability to import data from Strategy reports and cubes (with some limitations imposed by the Strategy REST API)
  2. Support for standard and LDAP authentication
  3. Ability to search by name for a report or cube to import
  4. Ability to only import a subset of attributes and metrics as well as define filters on attribute elements when importing a cube
  5. Support for multi-form attributes
  6. Ability to preview data before import

Prerequisites


  1. The QVX file generator application must be run on a Windows machine.
  2. Strategy Library is deployed on the server(s) you wish to import data from.
  • You can check that Strategy Library is accessible on your server by visiting: http(s)://[your-server-address]/StrategyLibrary/.


Generating a QVX File


  1. Download the attached ZIP file (mstr-qlik-qvxgenerator.zip) and extract its contents.
  • You should see a folder called MstrQlikQVXGenerator.
  1. Open the MstrQlikQVXGenerator folder and double-click the QvMstrDatasetConnector application to run it.

    The QVX file generator should appear in a popup window as follows:
     
ka04W000001Ix1sQAC_0EM44000000QGkJ.png


  1. Click the “Connect to Strategy Dataset” button to launch the Strategy Dataset Connector to define your data source:

    Your Strategy Library API server URL should be somewhere along the lines of:
    [http(s)://[your-Strategy-server-address]/StrategyLibrary/api/].
     
ka04W000001Ix1sQAC_0EM44000000QGmA.png


  1. Fill in your Strategy Library API server address and user credentials.
  2.  Select whether you would like to use Standard or LDAP authentication to log in.
  3. Click “Connect to Server” when you’re ready to select a dataset for import.
  4. After selecting a project from the “Project” dropdown, the “Dataset” list will populate with reports and cubes from the selected project.

    You can also use the search bar to look for a specific dataset within the project:
     
ka04W000001Ix1sQAC_0EM44000000QGxm.png


  1. Select the project and dataset to import data from and click “Select Dataset”.
  • If the dataset selected cannot be fetched by the current Strategy REST API, the connector will identify the problem and ask for a new dataset selection:
     
ka04W000001Ix1sQAC_0EM44000000YT3m.png


  1. If the selected dataset is a cube, you will be given the option to select which attributes and metrics you want to import, as well as the ability to define filters on attributes by selecting which elements to include in your import. View these options below:


ka04W000001Ix1sQAC_0EM44000000QGy1.png


  • If no changes are made to the default options, all attributes and metrics are imported and no filters are applied
  • All elements of attributes not selected for filtering will be imported
  • If the selected dataset is a report, subsets and filtering will be unavailable and you will be prompted to proceed directly to the data preview:


ka04W000001Ix1sQAC_0EM44000000QGy6.png


  1. Once you are done selecting subsets and filters for your dataset, click the “Generate Preview” button.

    This will enable you to see a preview of the data that will be imported and give a name to your table:
     
ka04W000001Ix1sQAC_0EM44000000QGyL.png

 
For multi-form attributes, the attribute’s forms (ex. First Name, Last Name of a Customer) will be automatically split into separate columns.
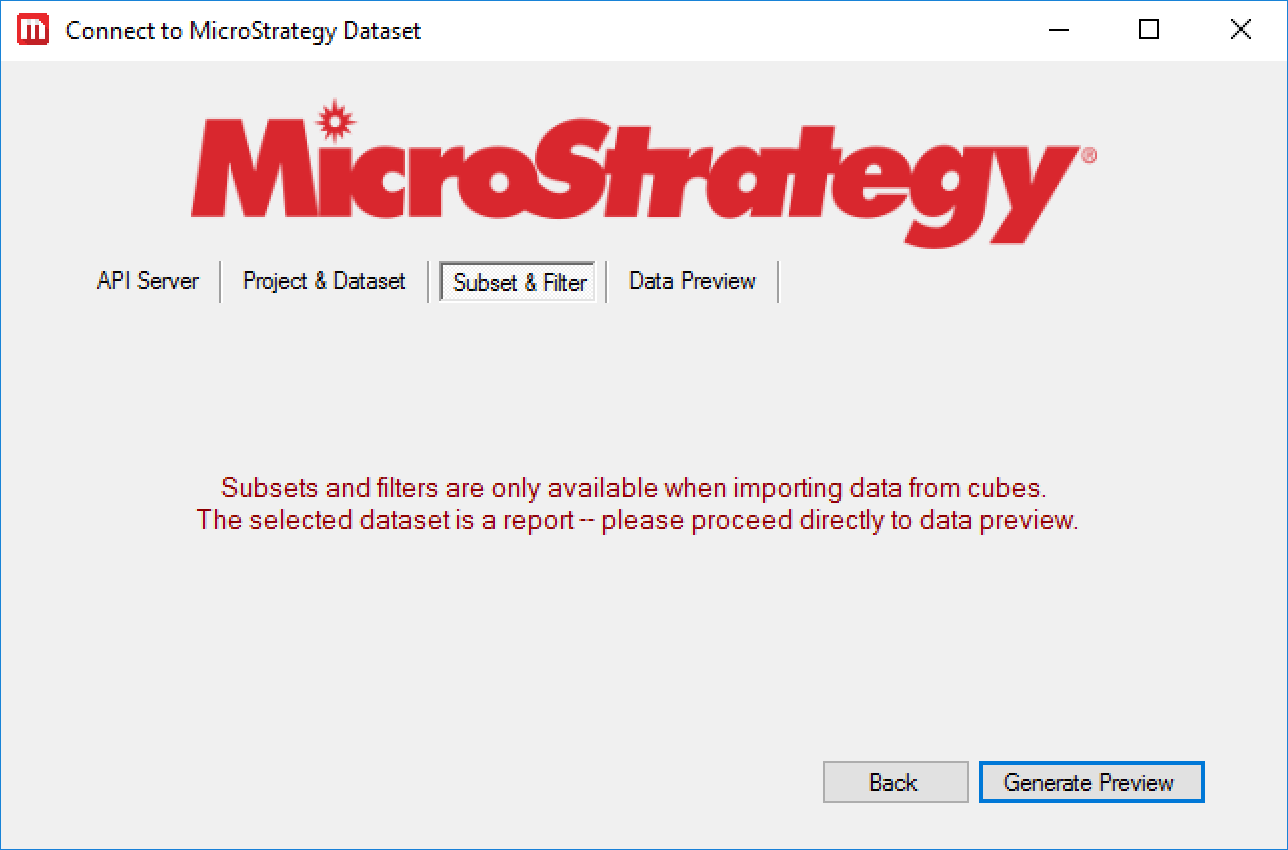
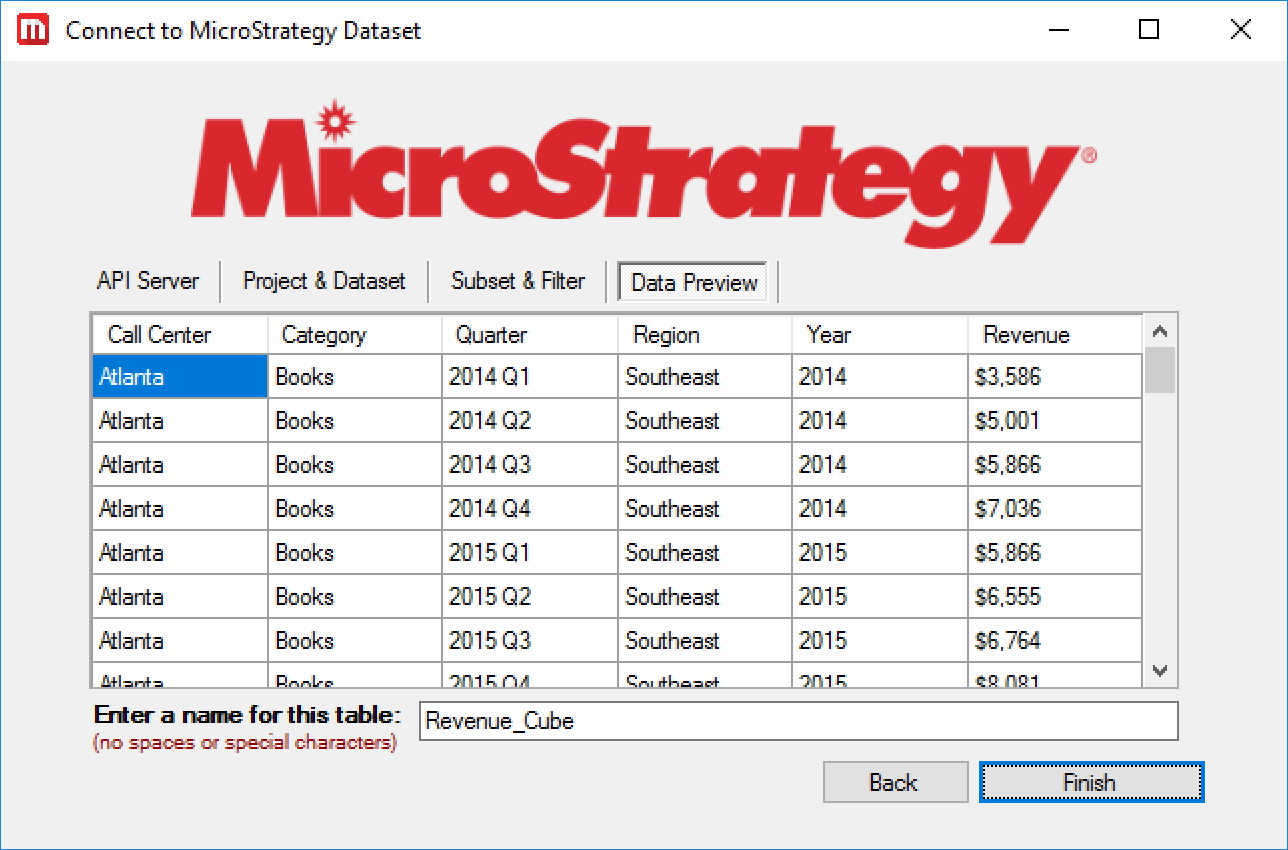
For larger datasets, only the first 50 rows of data will be displayed in the data preview.
 

  1. Use the “Back” button to modify your selections and click “Finish” when you are satisfied with the data preview to generate a connection string for the QVX File Generator to connect to your dataset.
  2. Close the connector window.
  3. Use the “Select…” button to pick a destination to save your new QVX file:


ka04W000001Ix1sQAC_0EM44000000QGyQ.png
ka04W000001Ix1sQAC_0EM44000000QGyf.png


  1. Once you have generated a connection string and selected a target path, click the “Generate QVX File” button to generate and save your new QVX file to the selected location:
     
ka04W000001Ix1sQAC_0EM44000000QGyu.png
ka04W000001Ix1sQAC_0EM44000000QGyz.png


Importing QVX Files into QlikView

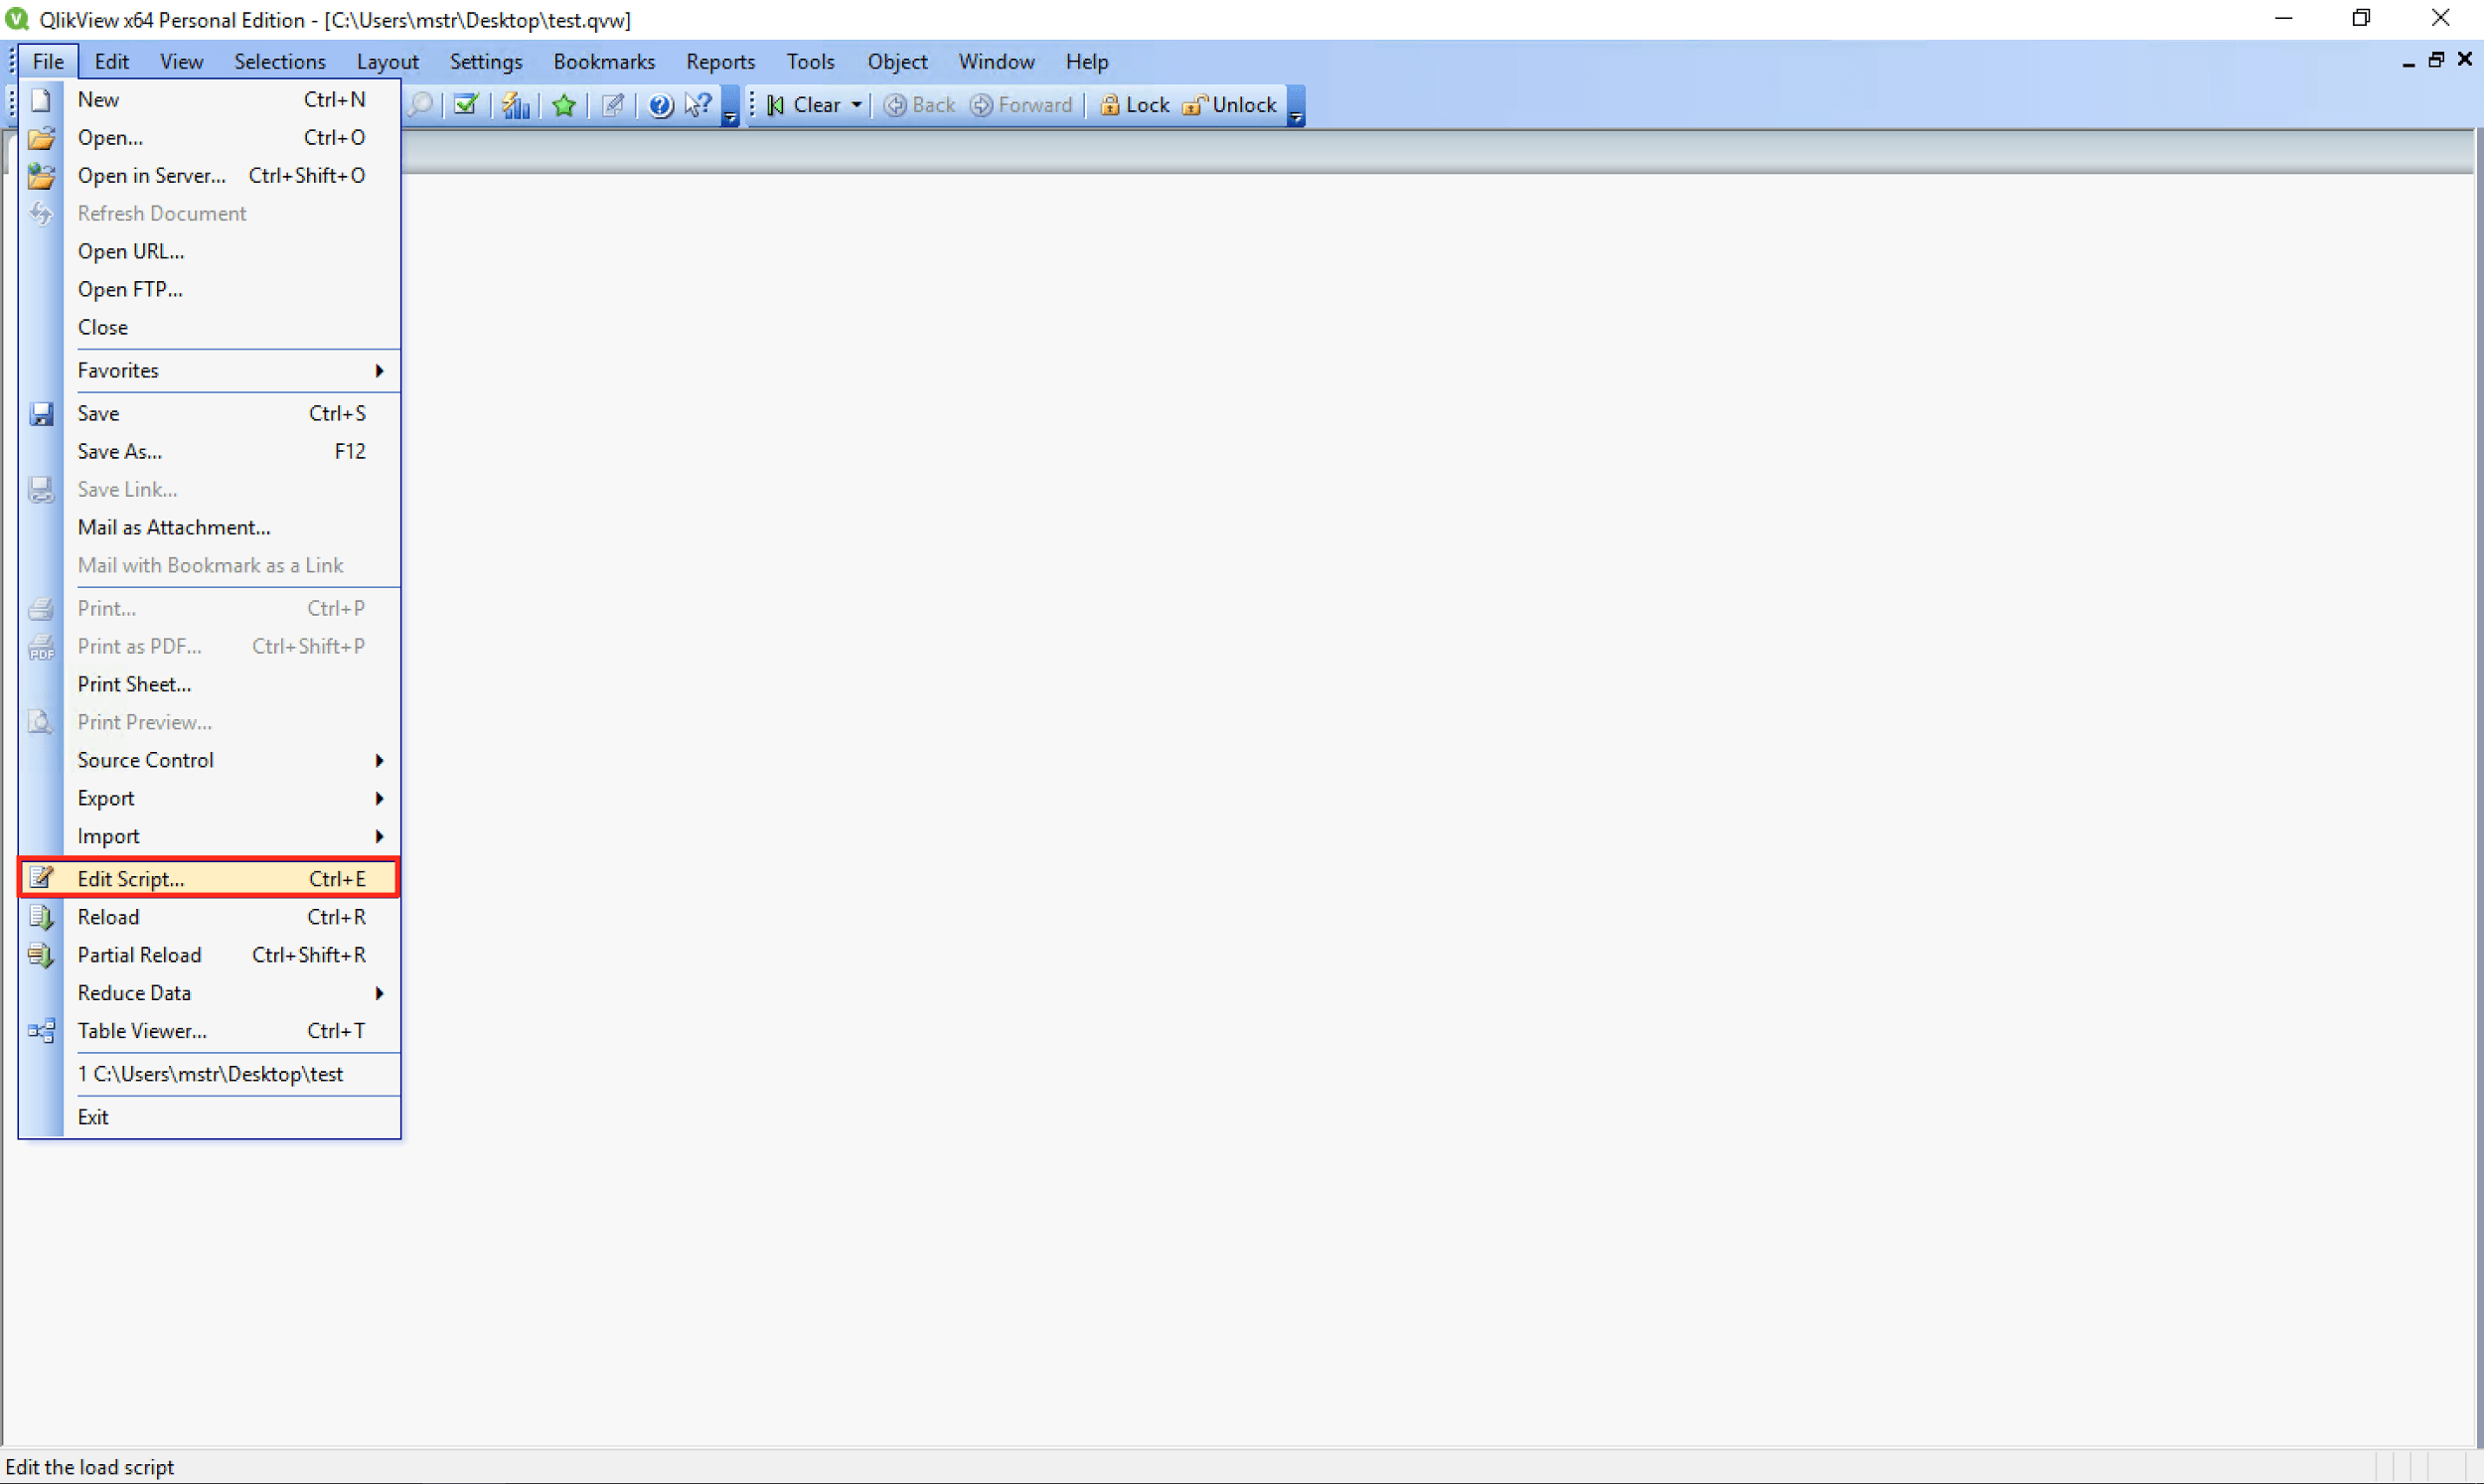
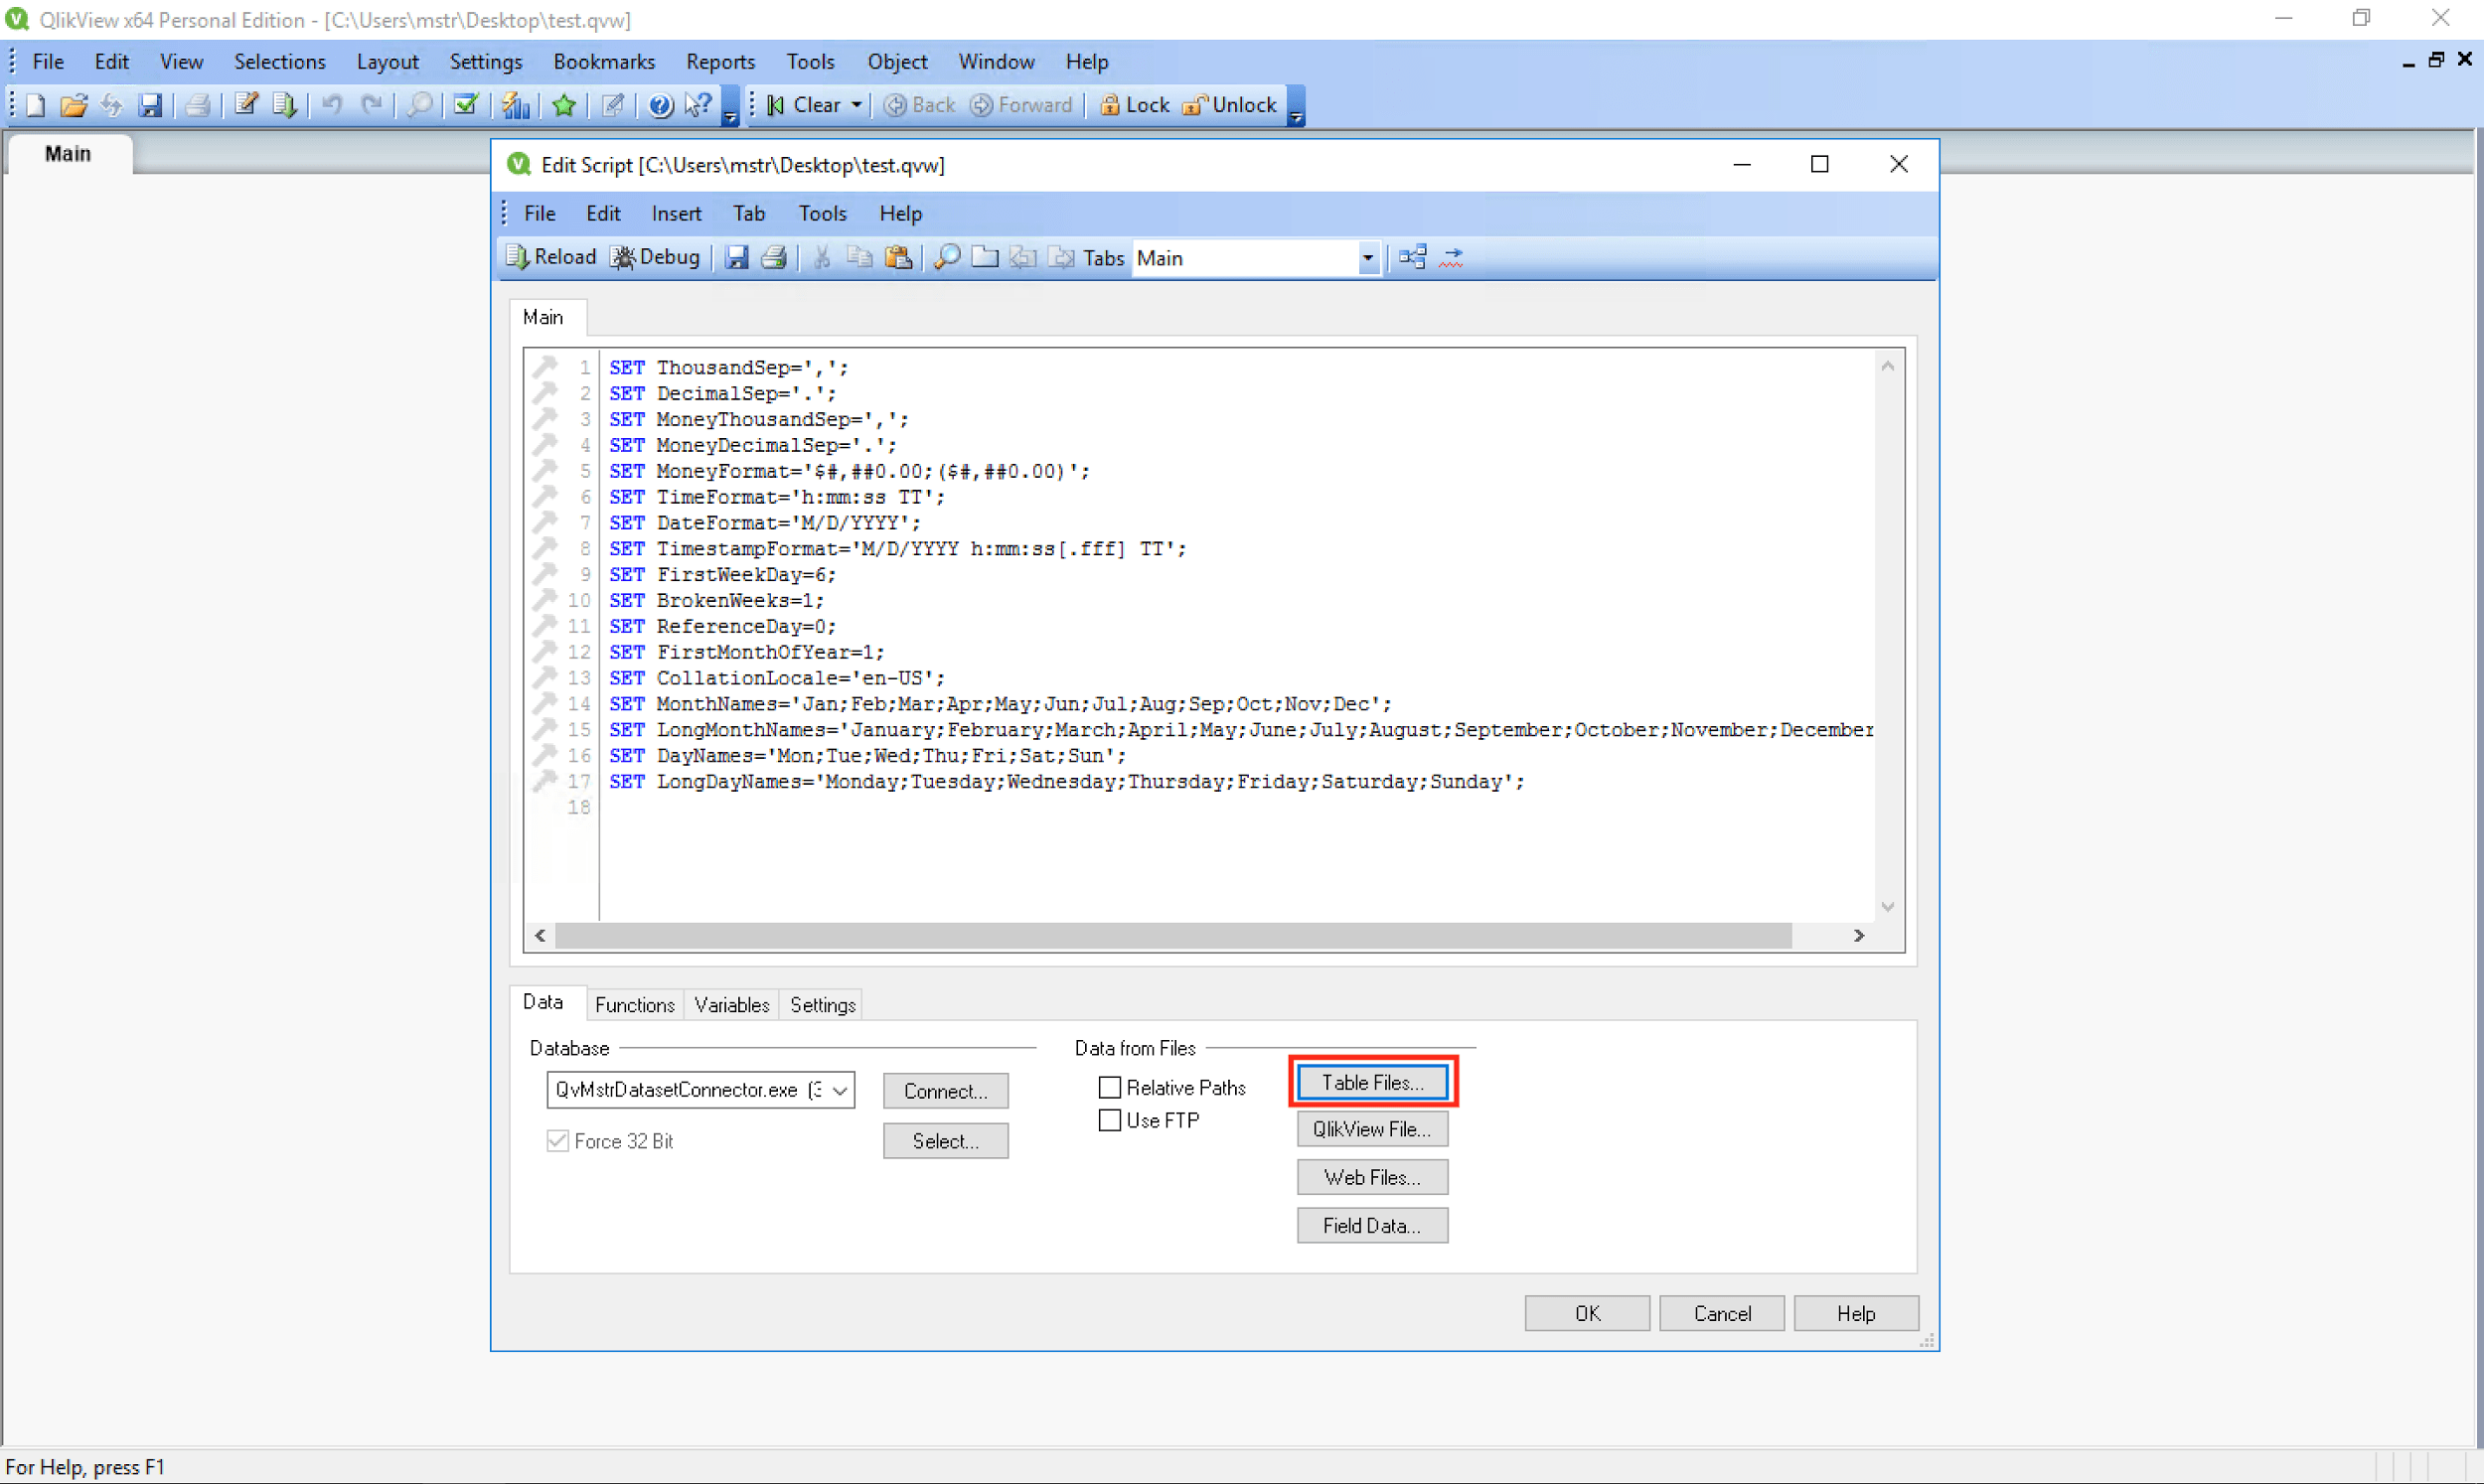
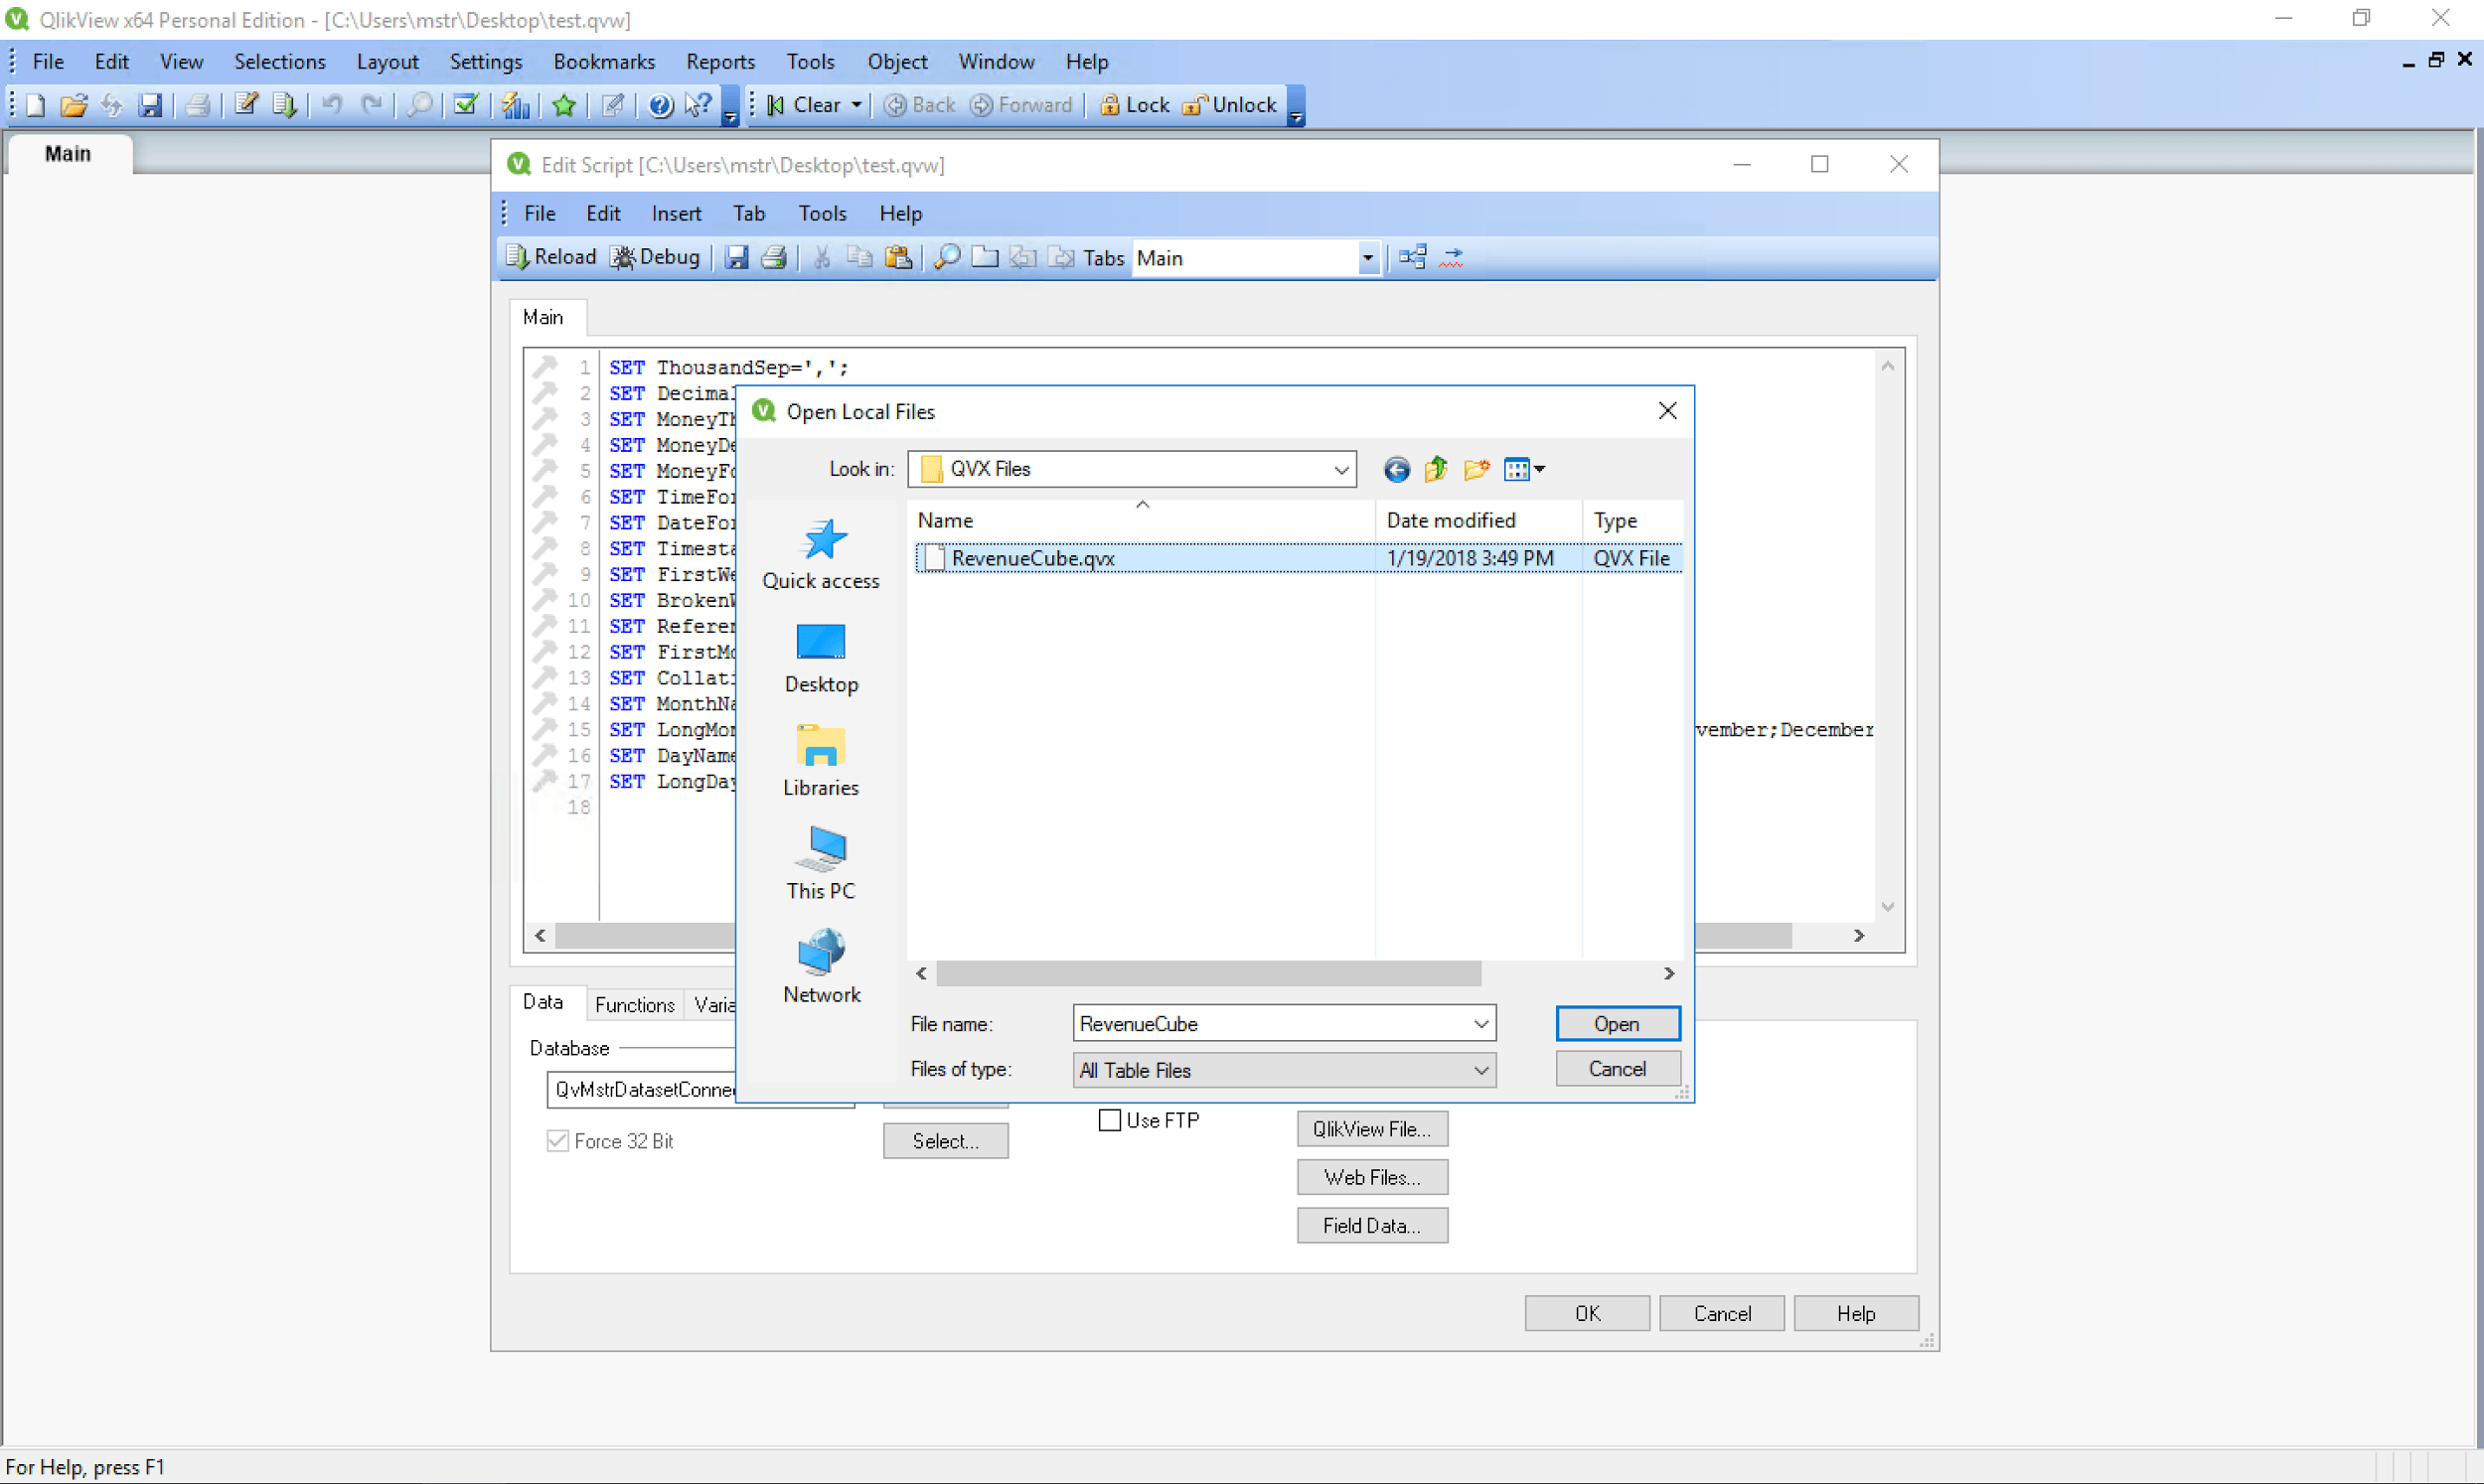
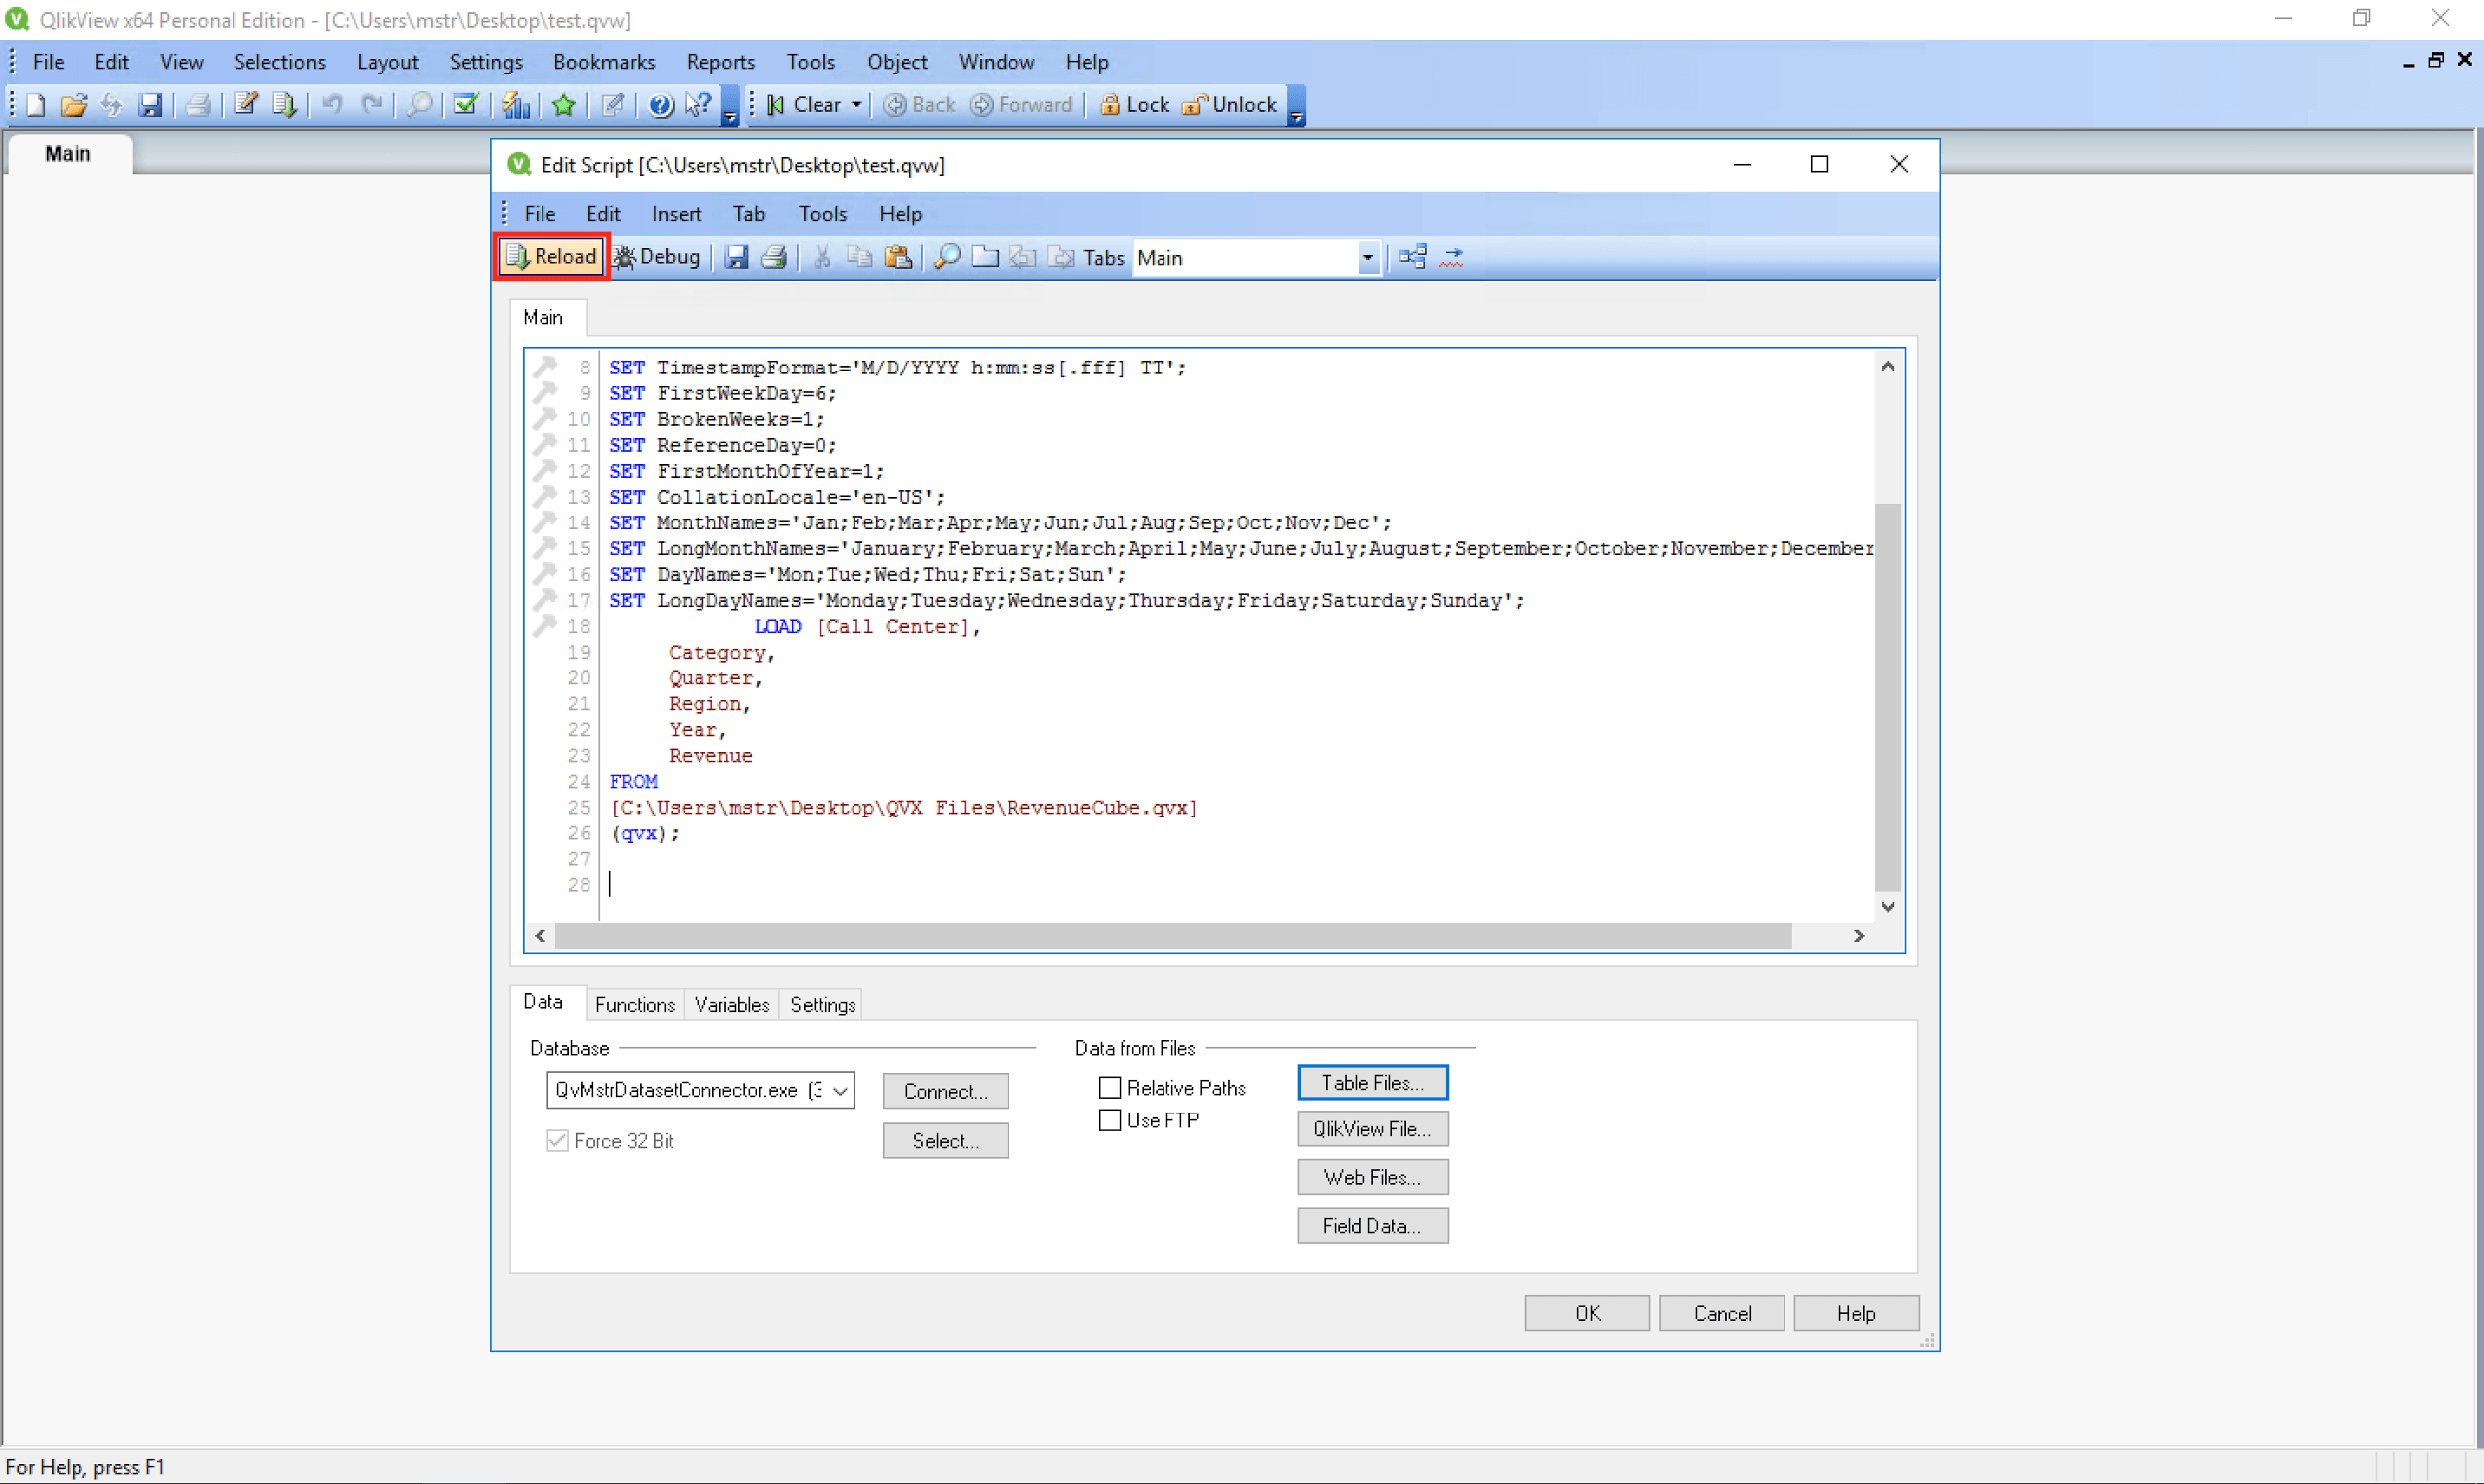
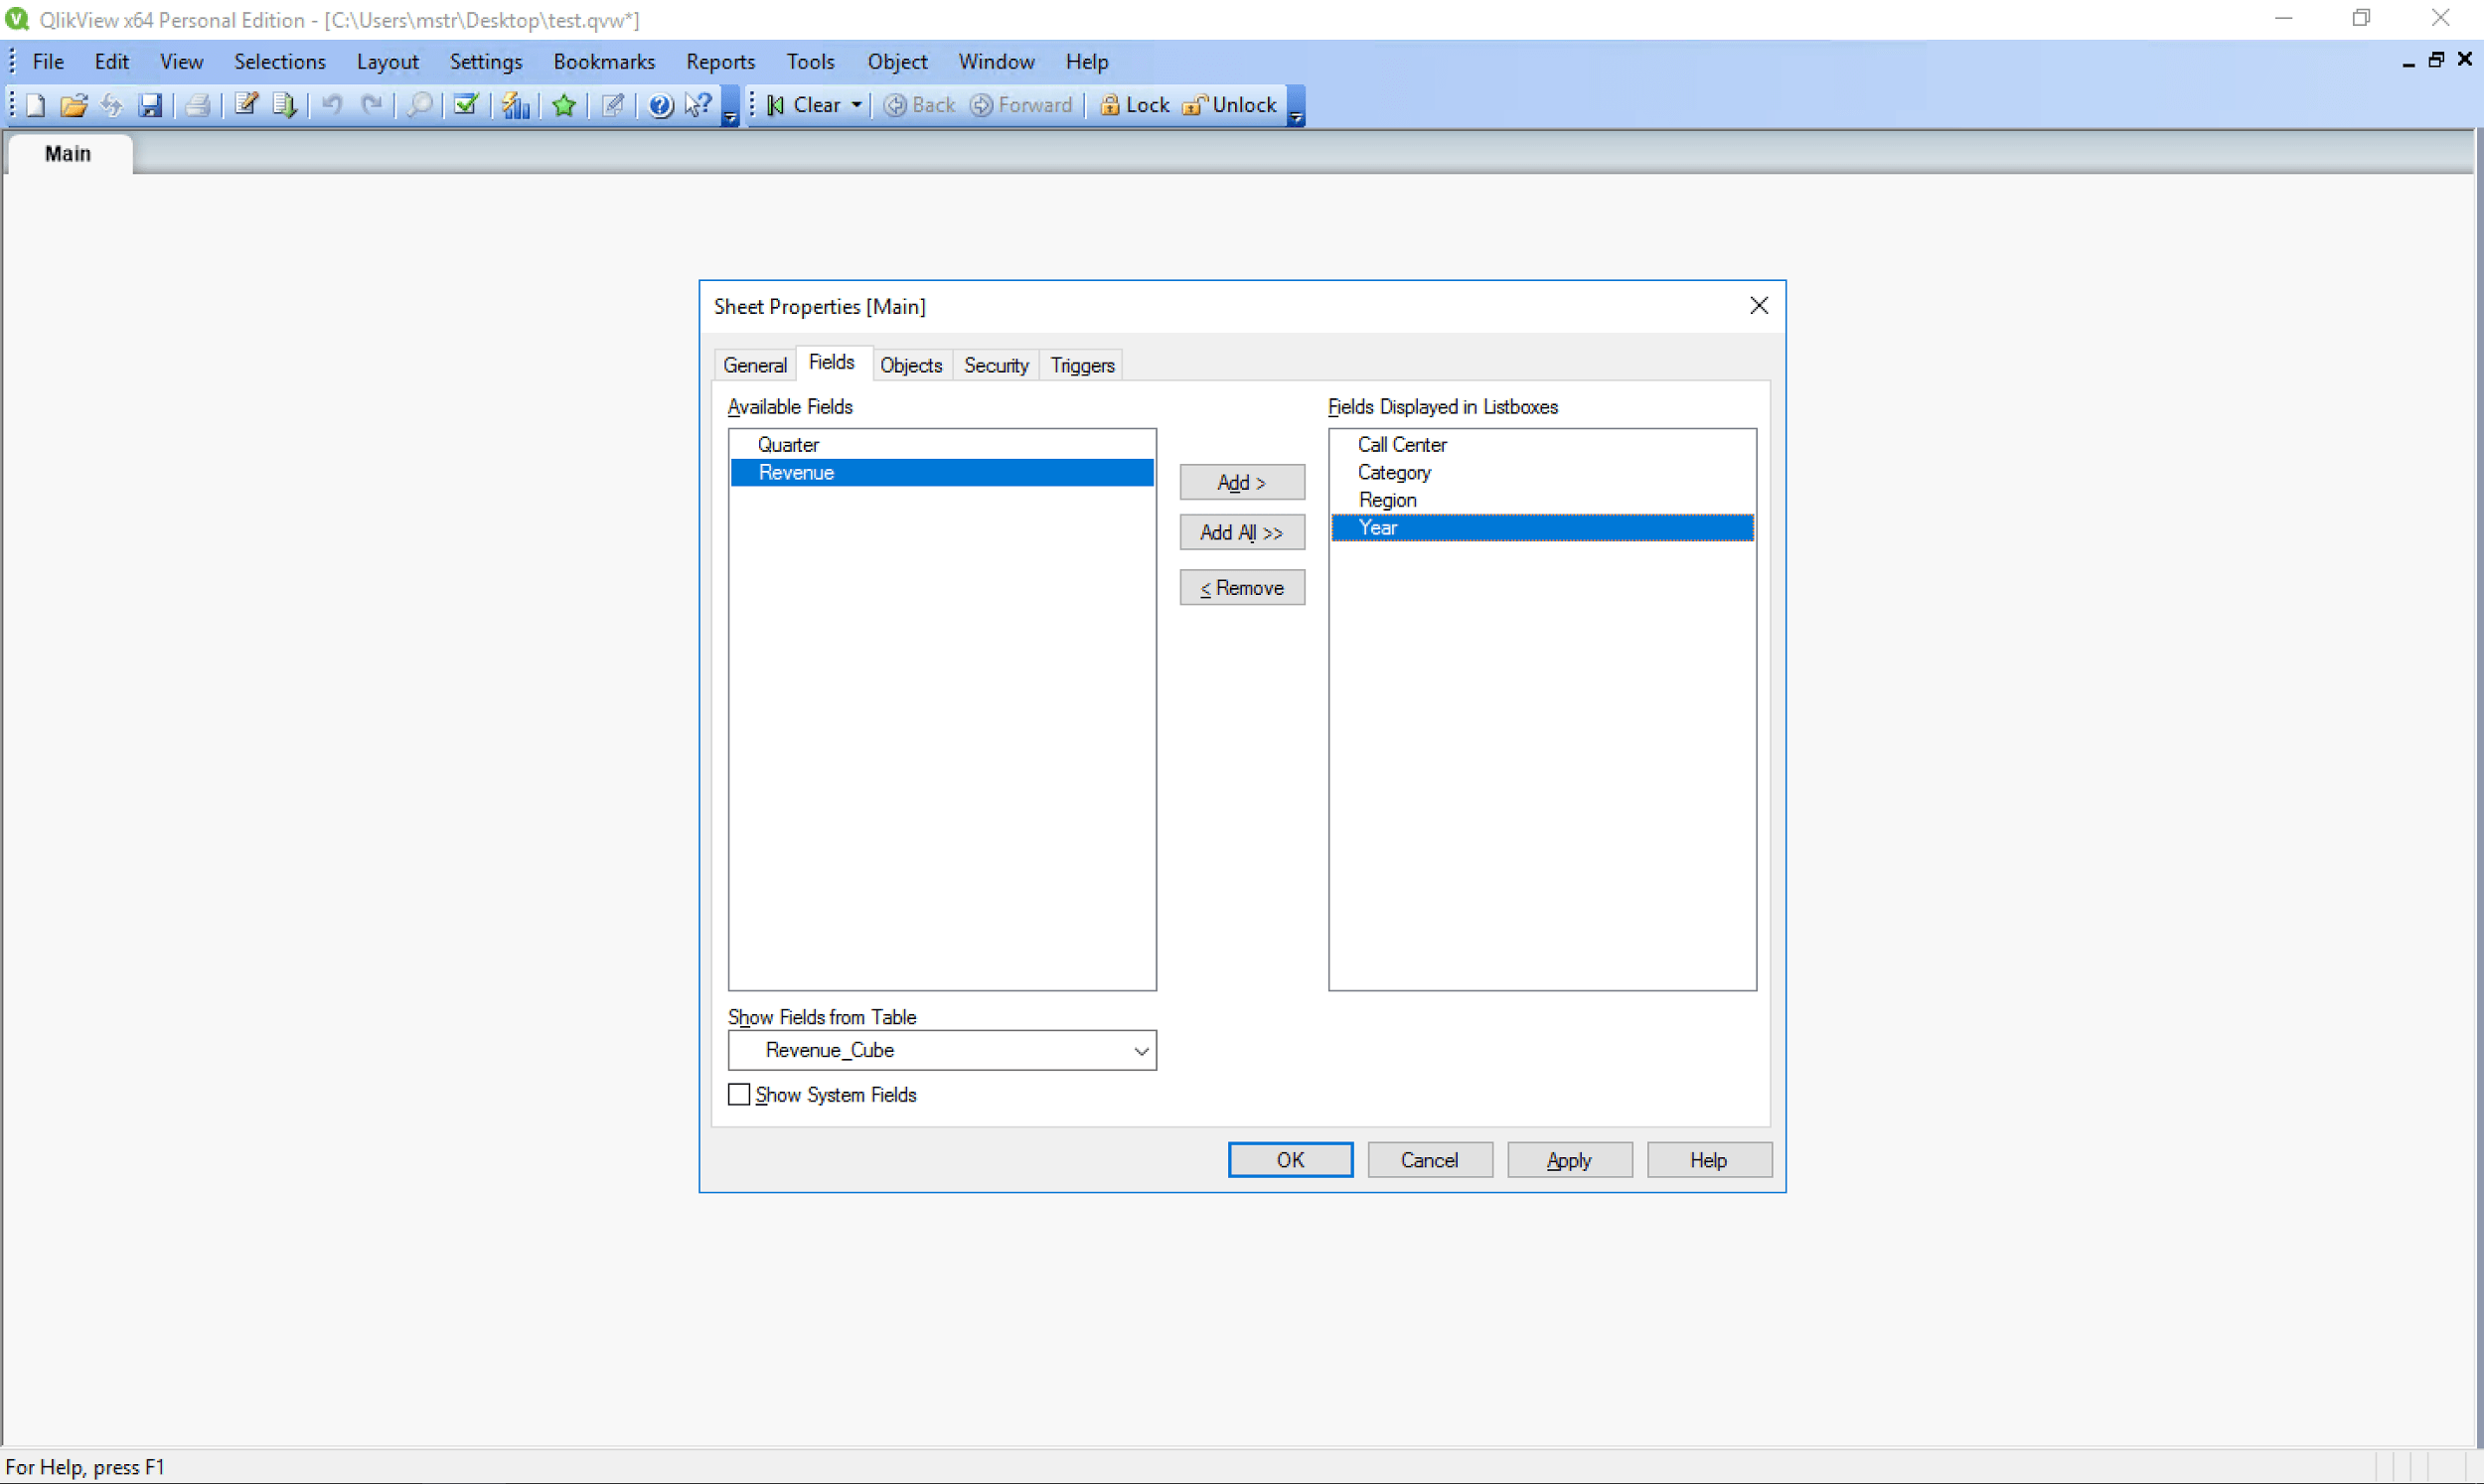
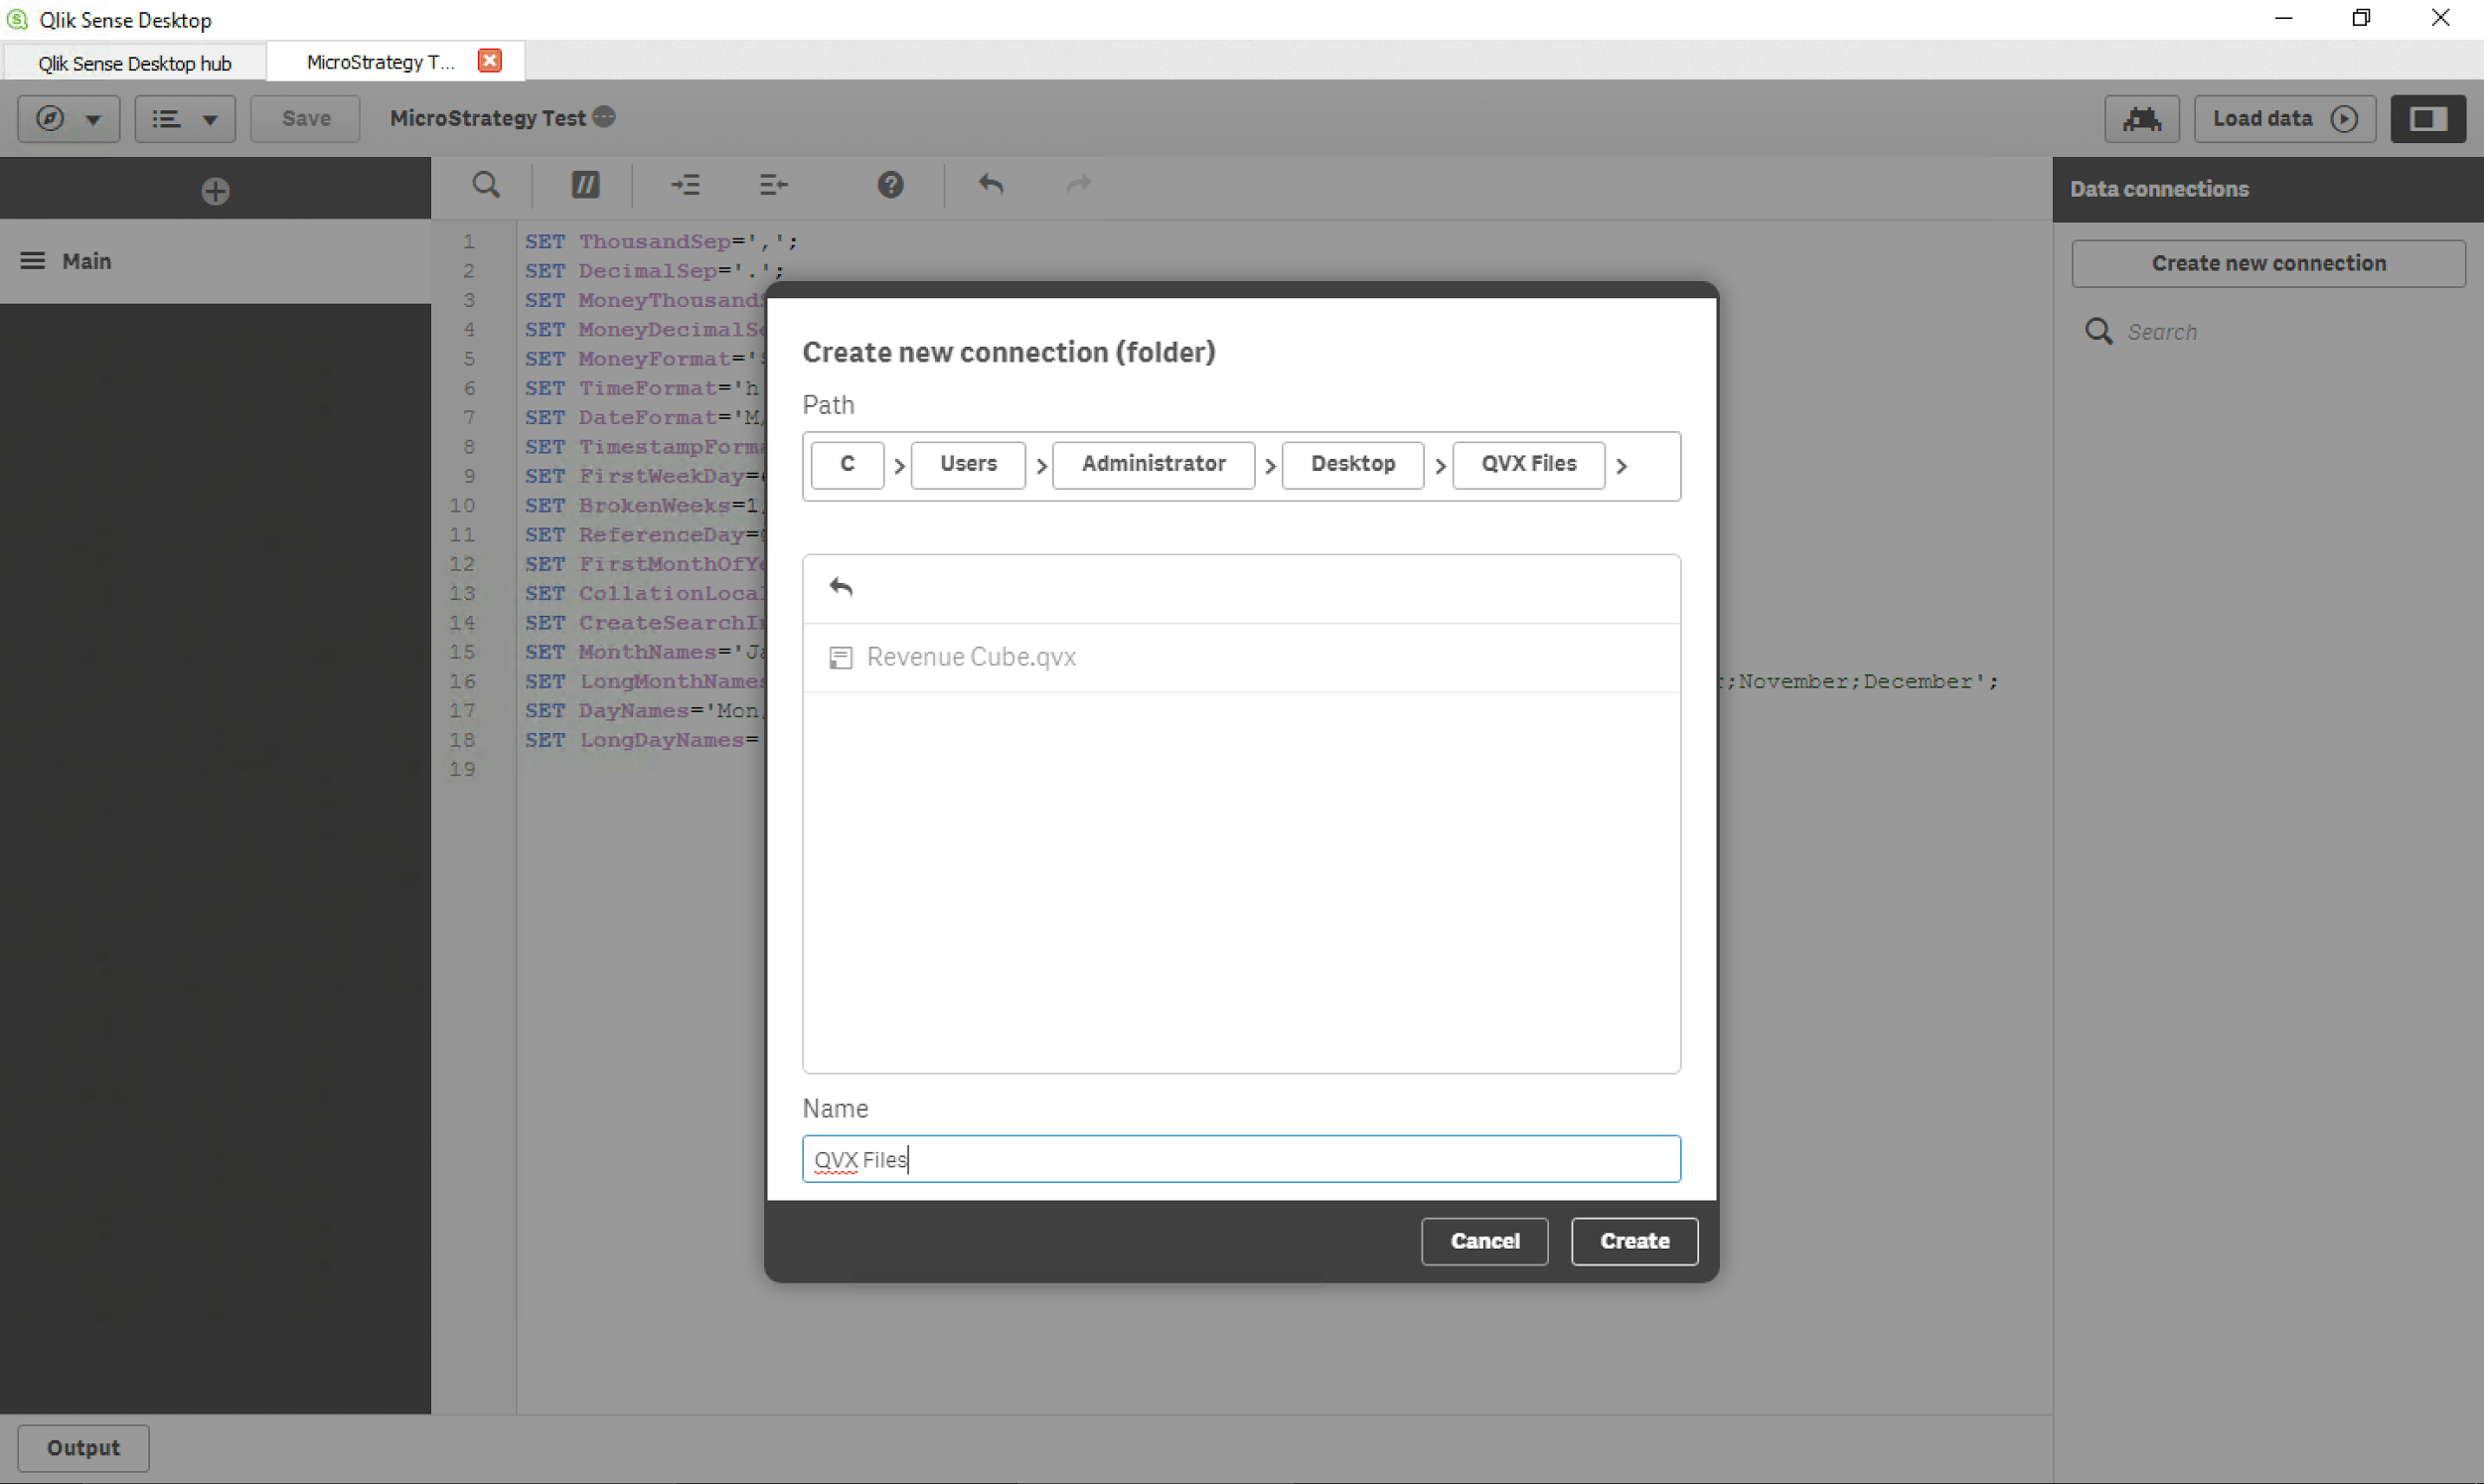
To import your new QVX file into a QlikView document:

  1. Open your document.
  2. Go to File > Edit Script… to open the Edit Script dialog:


ka04W000001Ix1sQAC_0EM44000000QGz4.png


  1. In the Edit Script window, click the “Table Files…” button under “Data from Files” in the Data tab.

    Here you can locate and select your QVX file:


ka04W000001Ix1sQAC_0EM44000000QGz9.png
ka04W000001Ix1sQAC_0EM44000000QGzE.png


  1. After selecting your QVX file, you will see a preview of your data in the popup window:


ka04W000001Ix1sQAC_0EM44000000QGzY.png

 
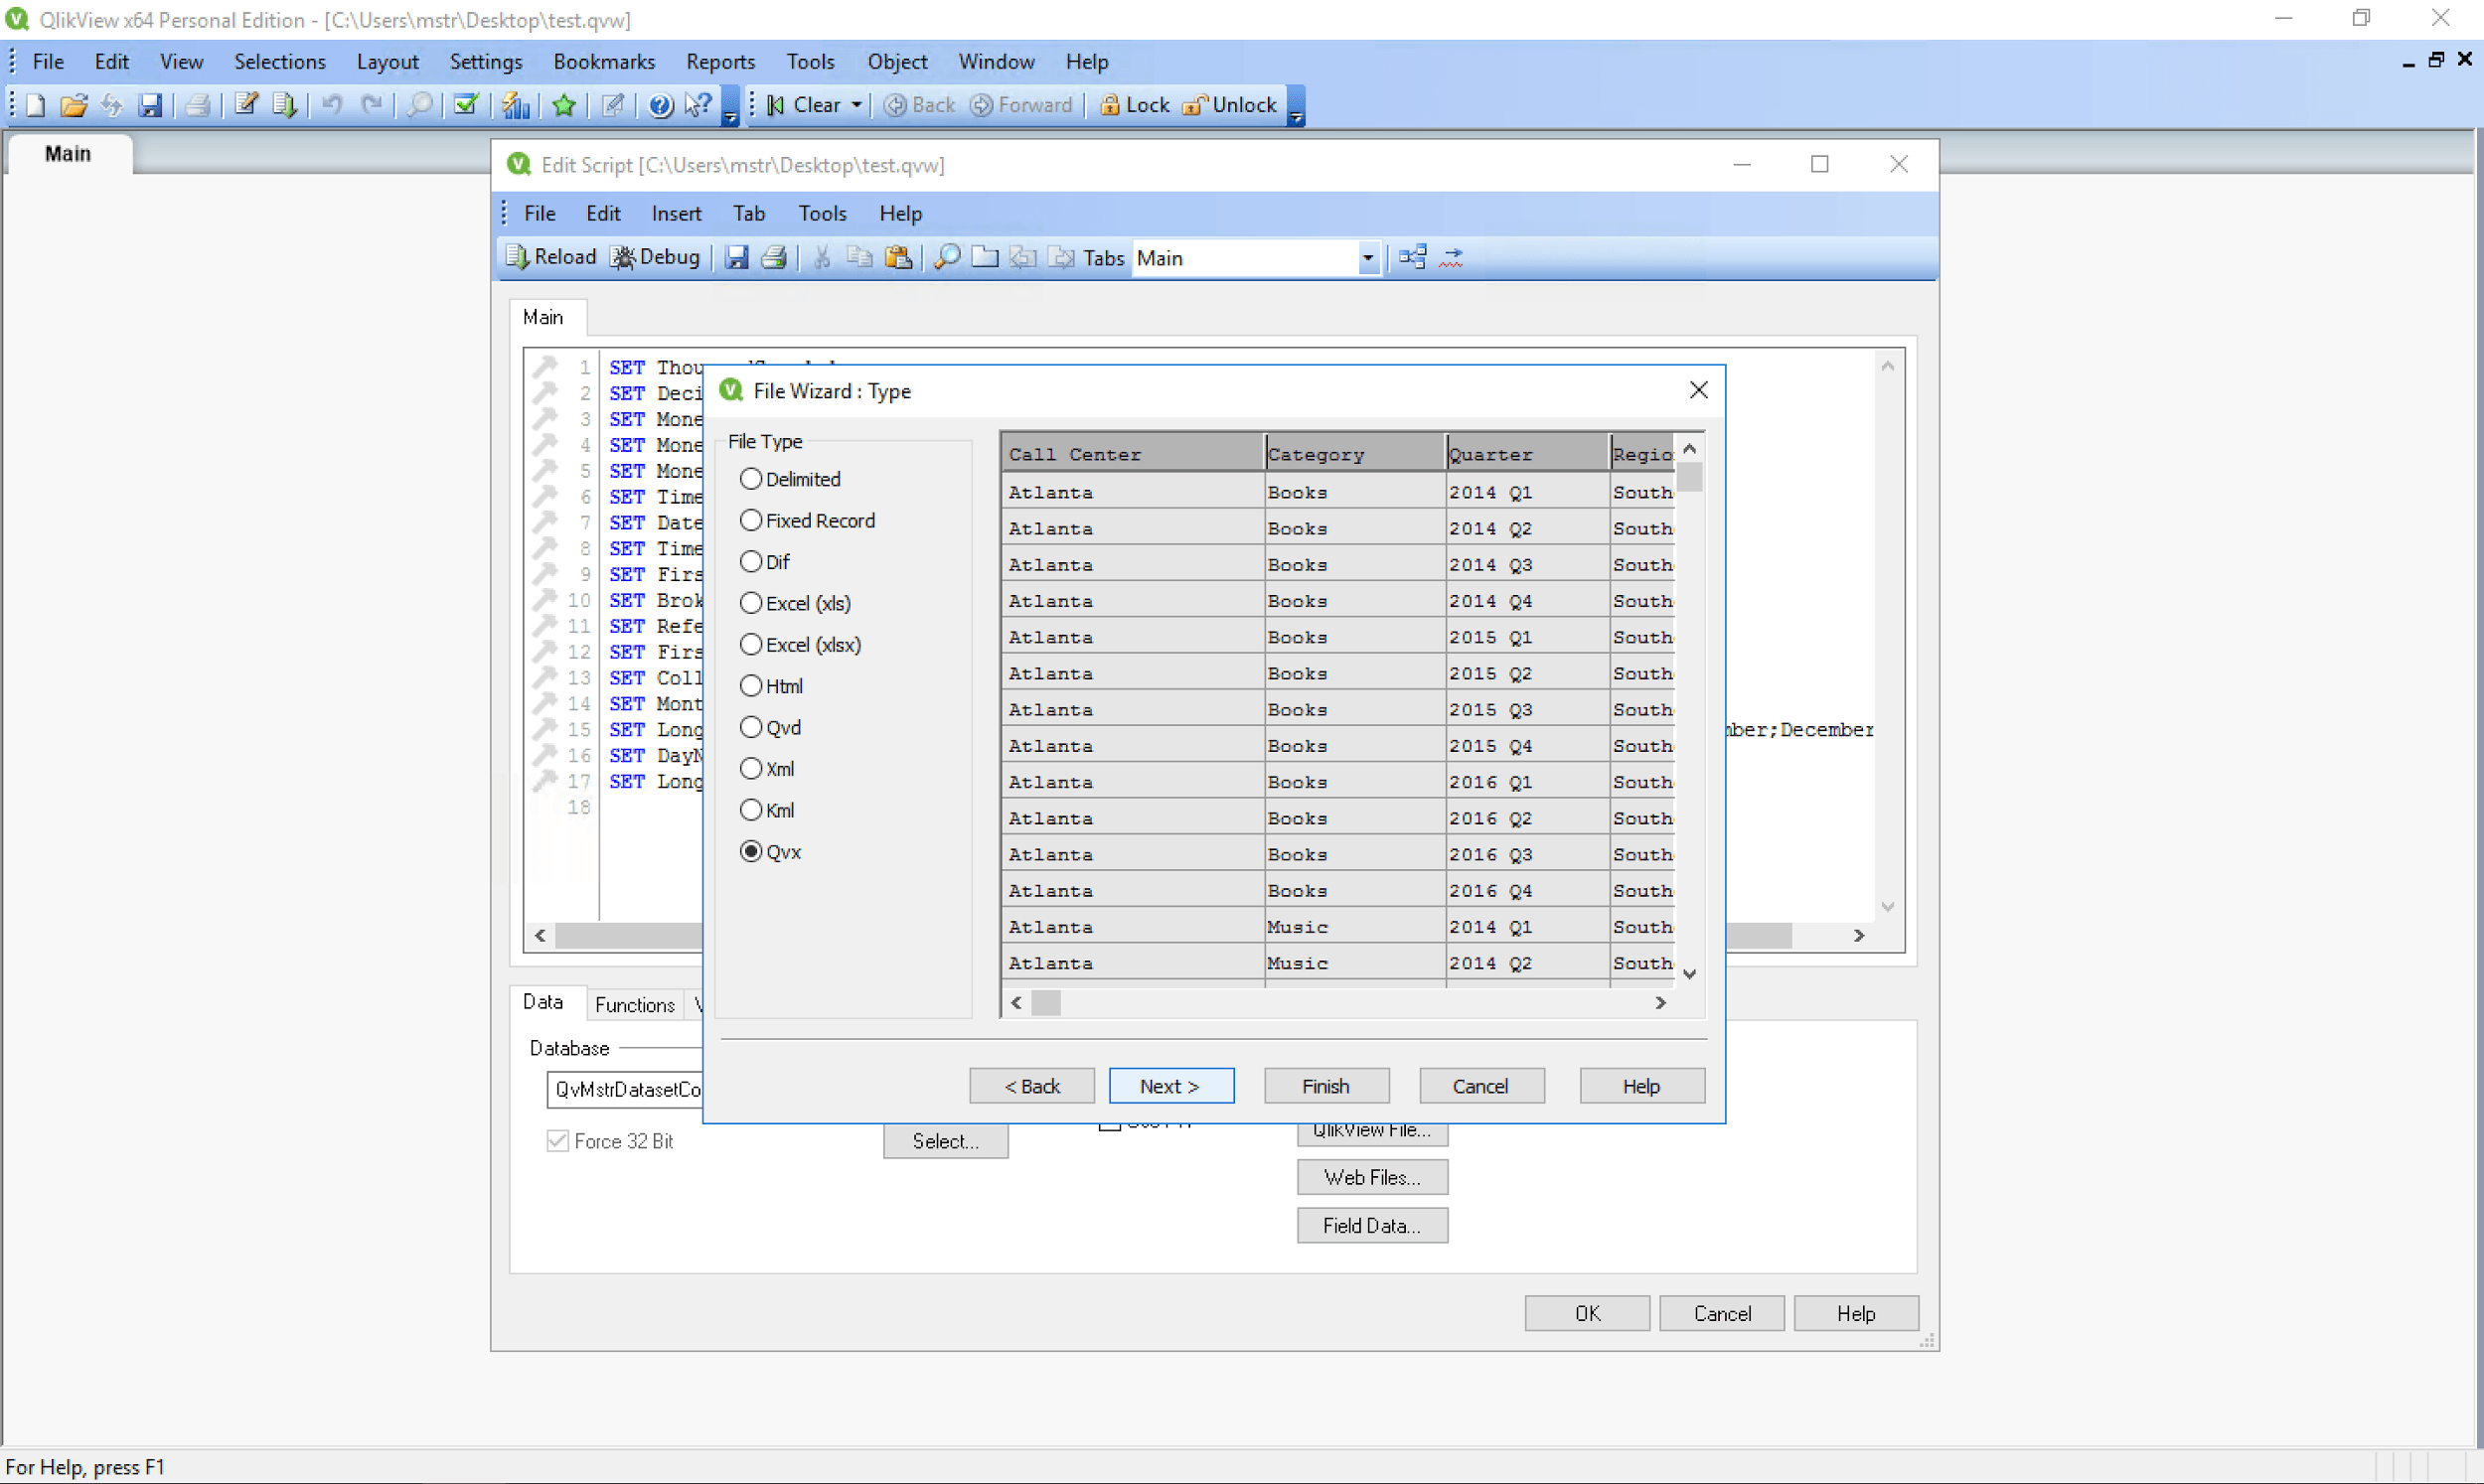
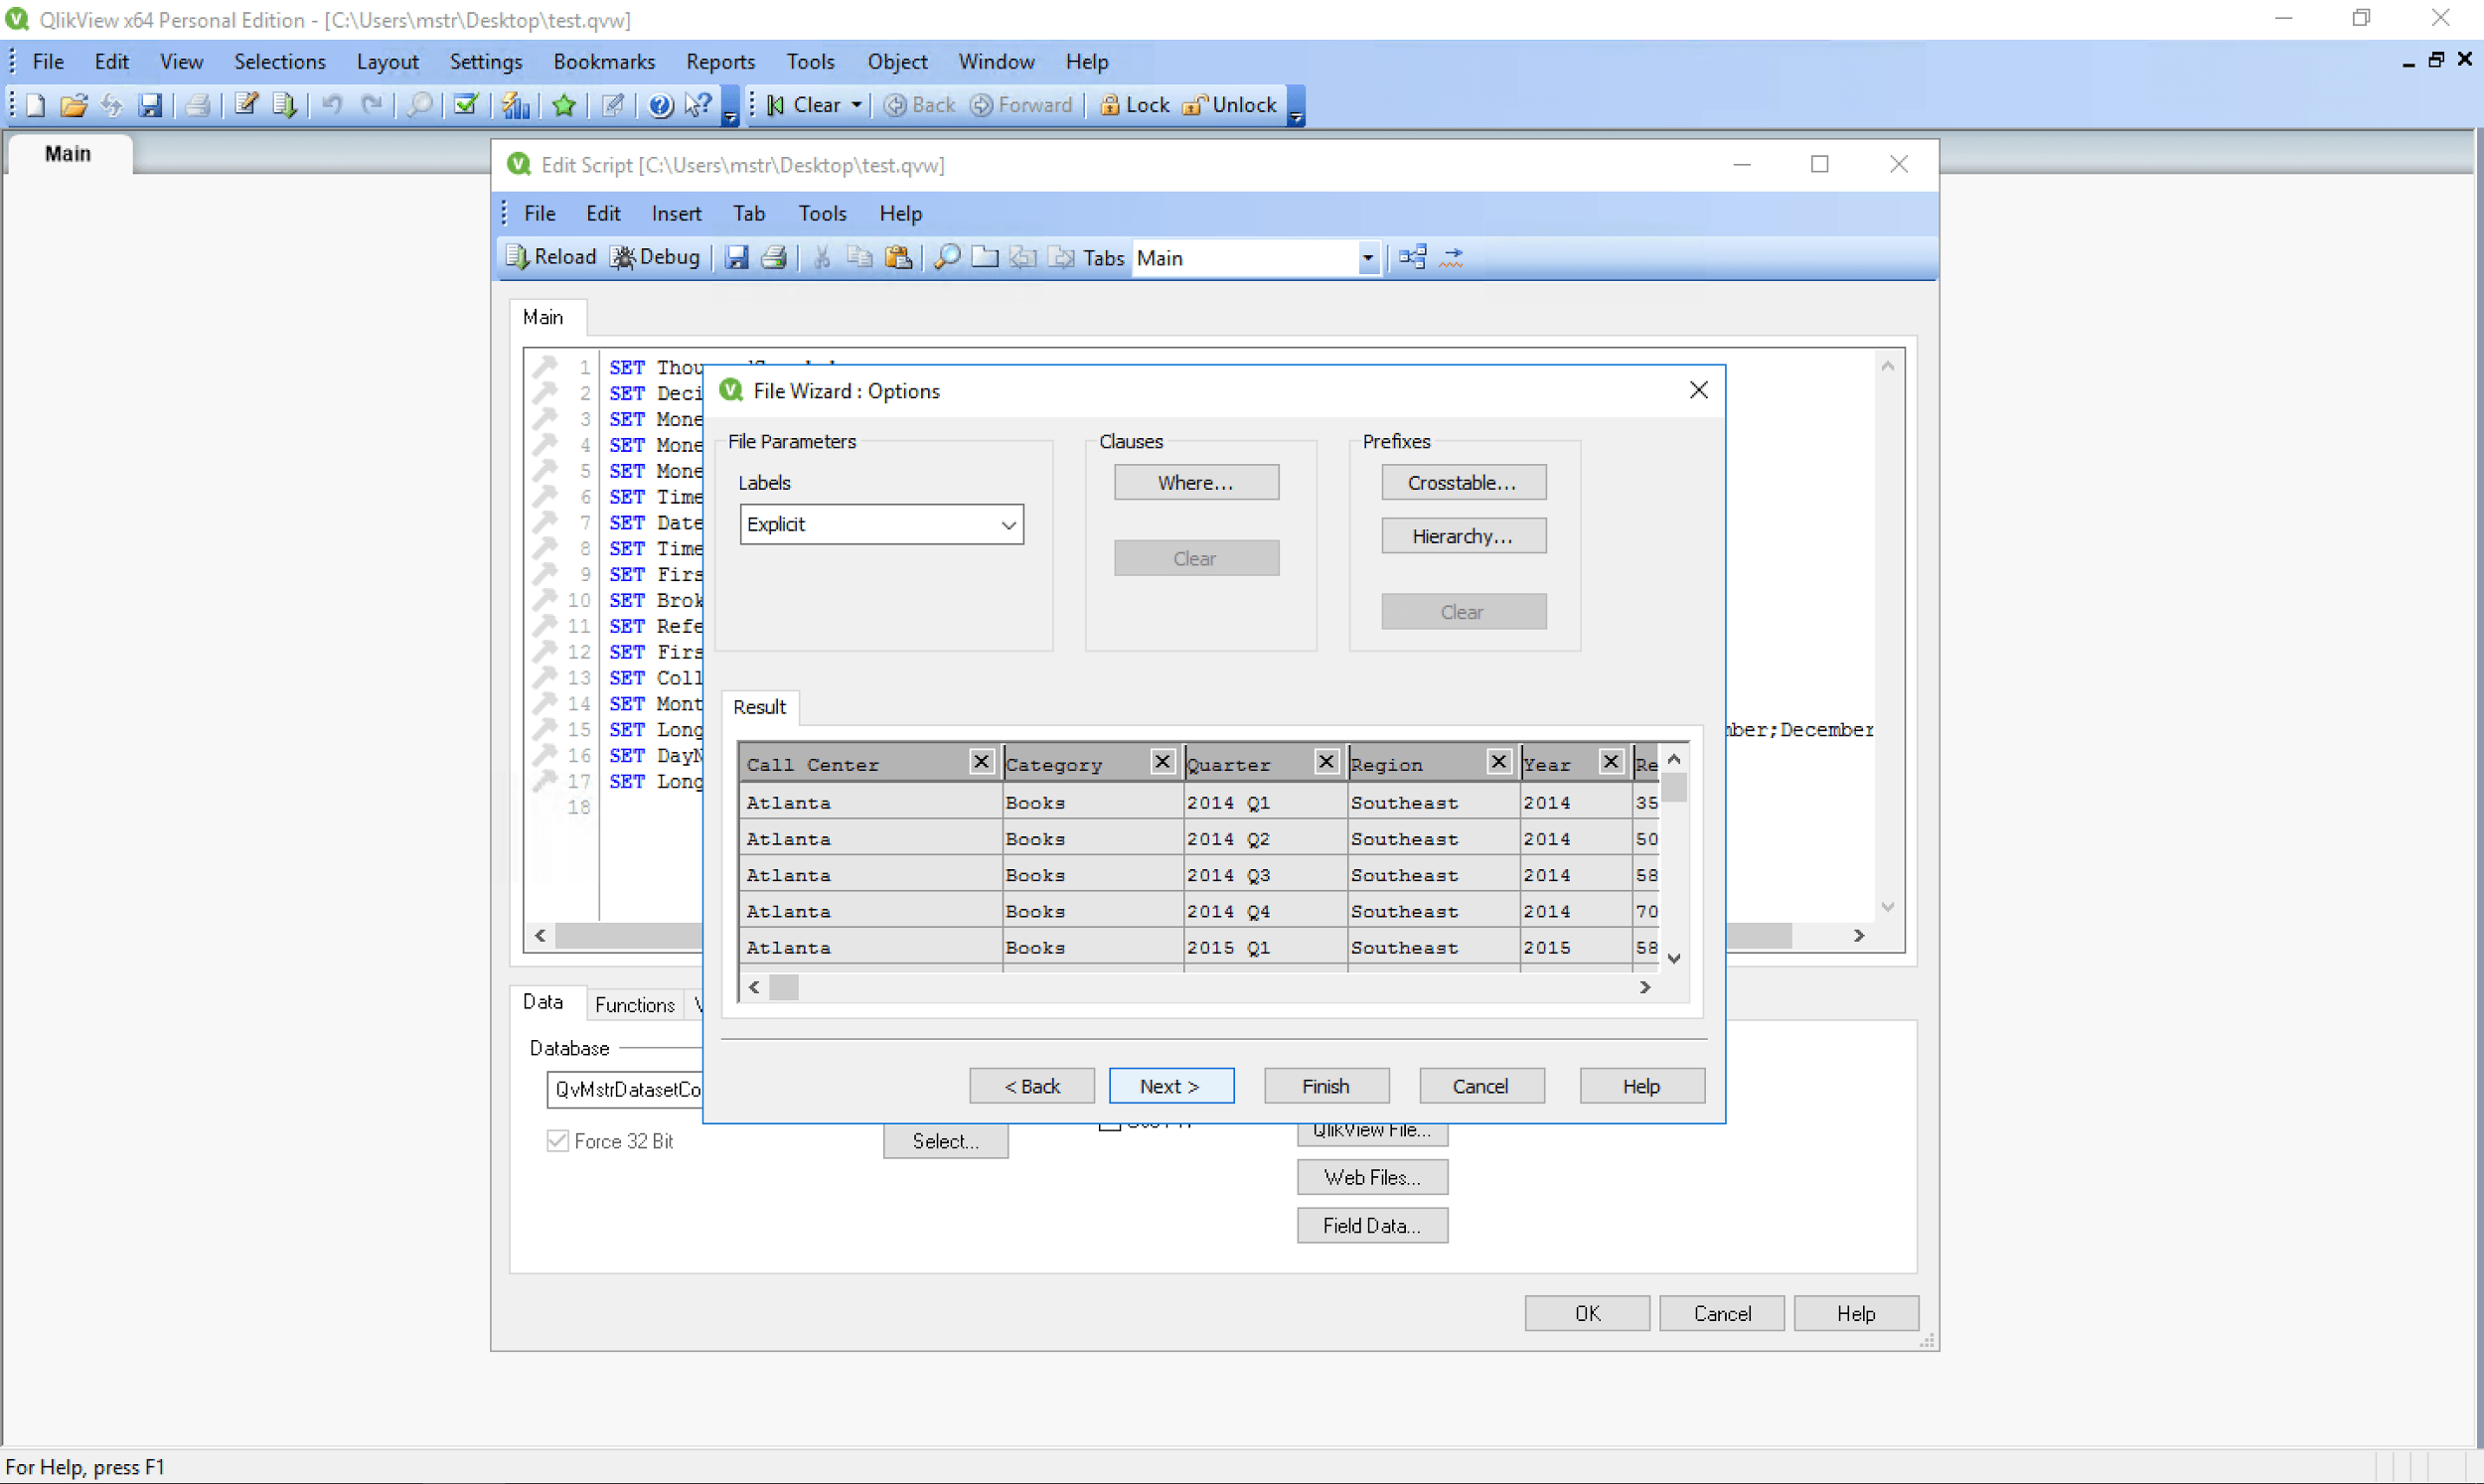
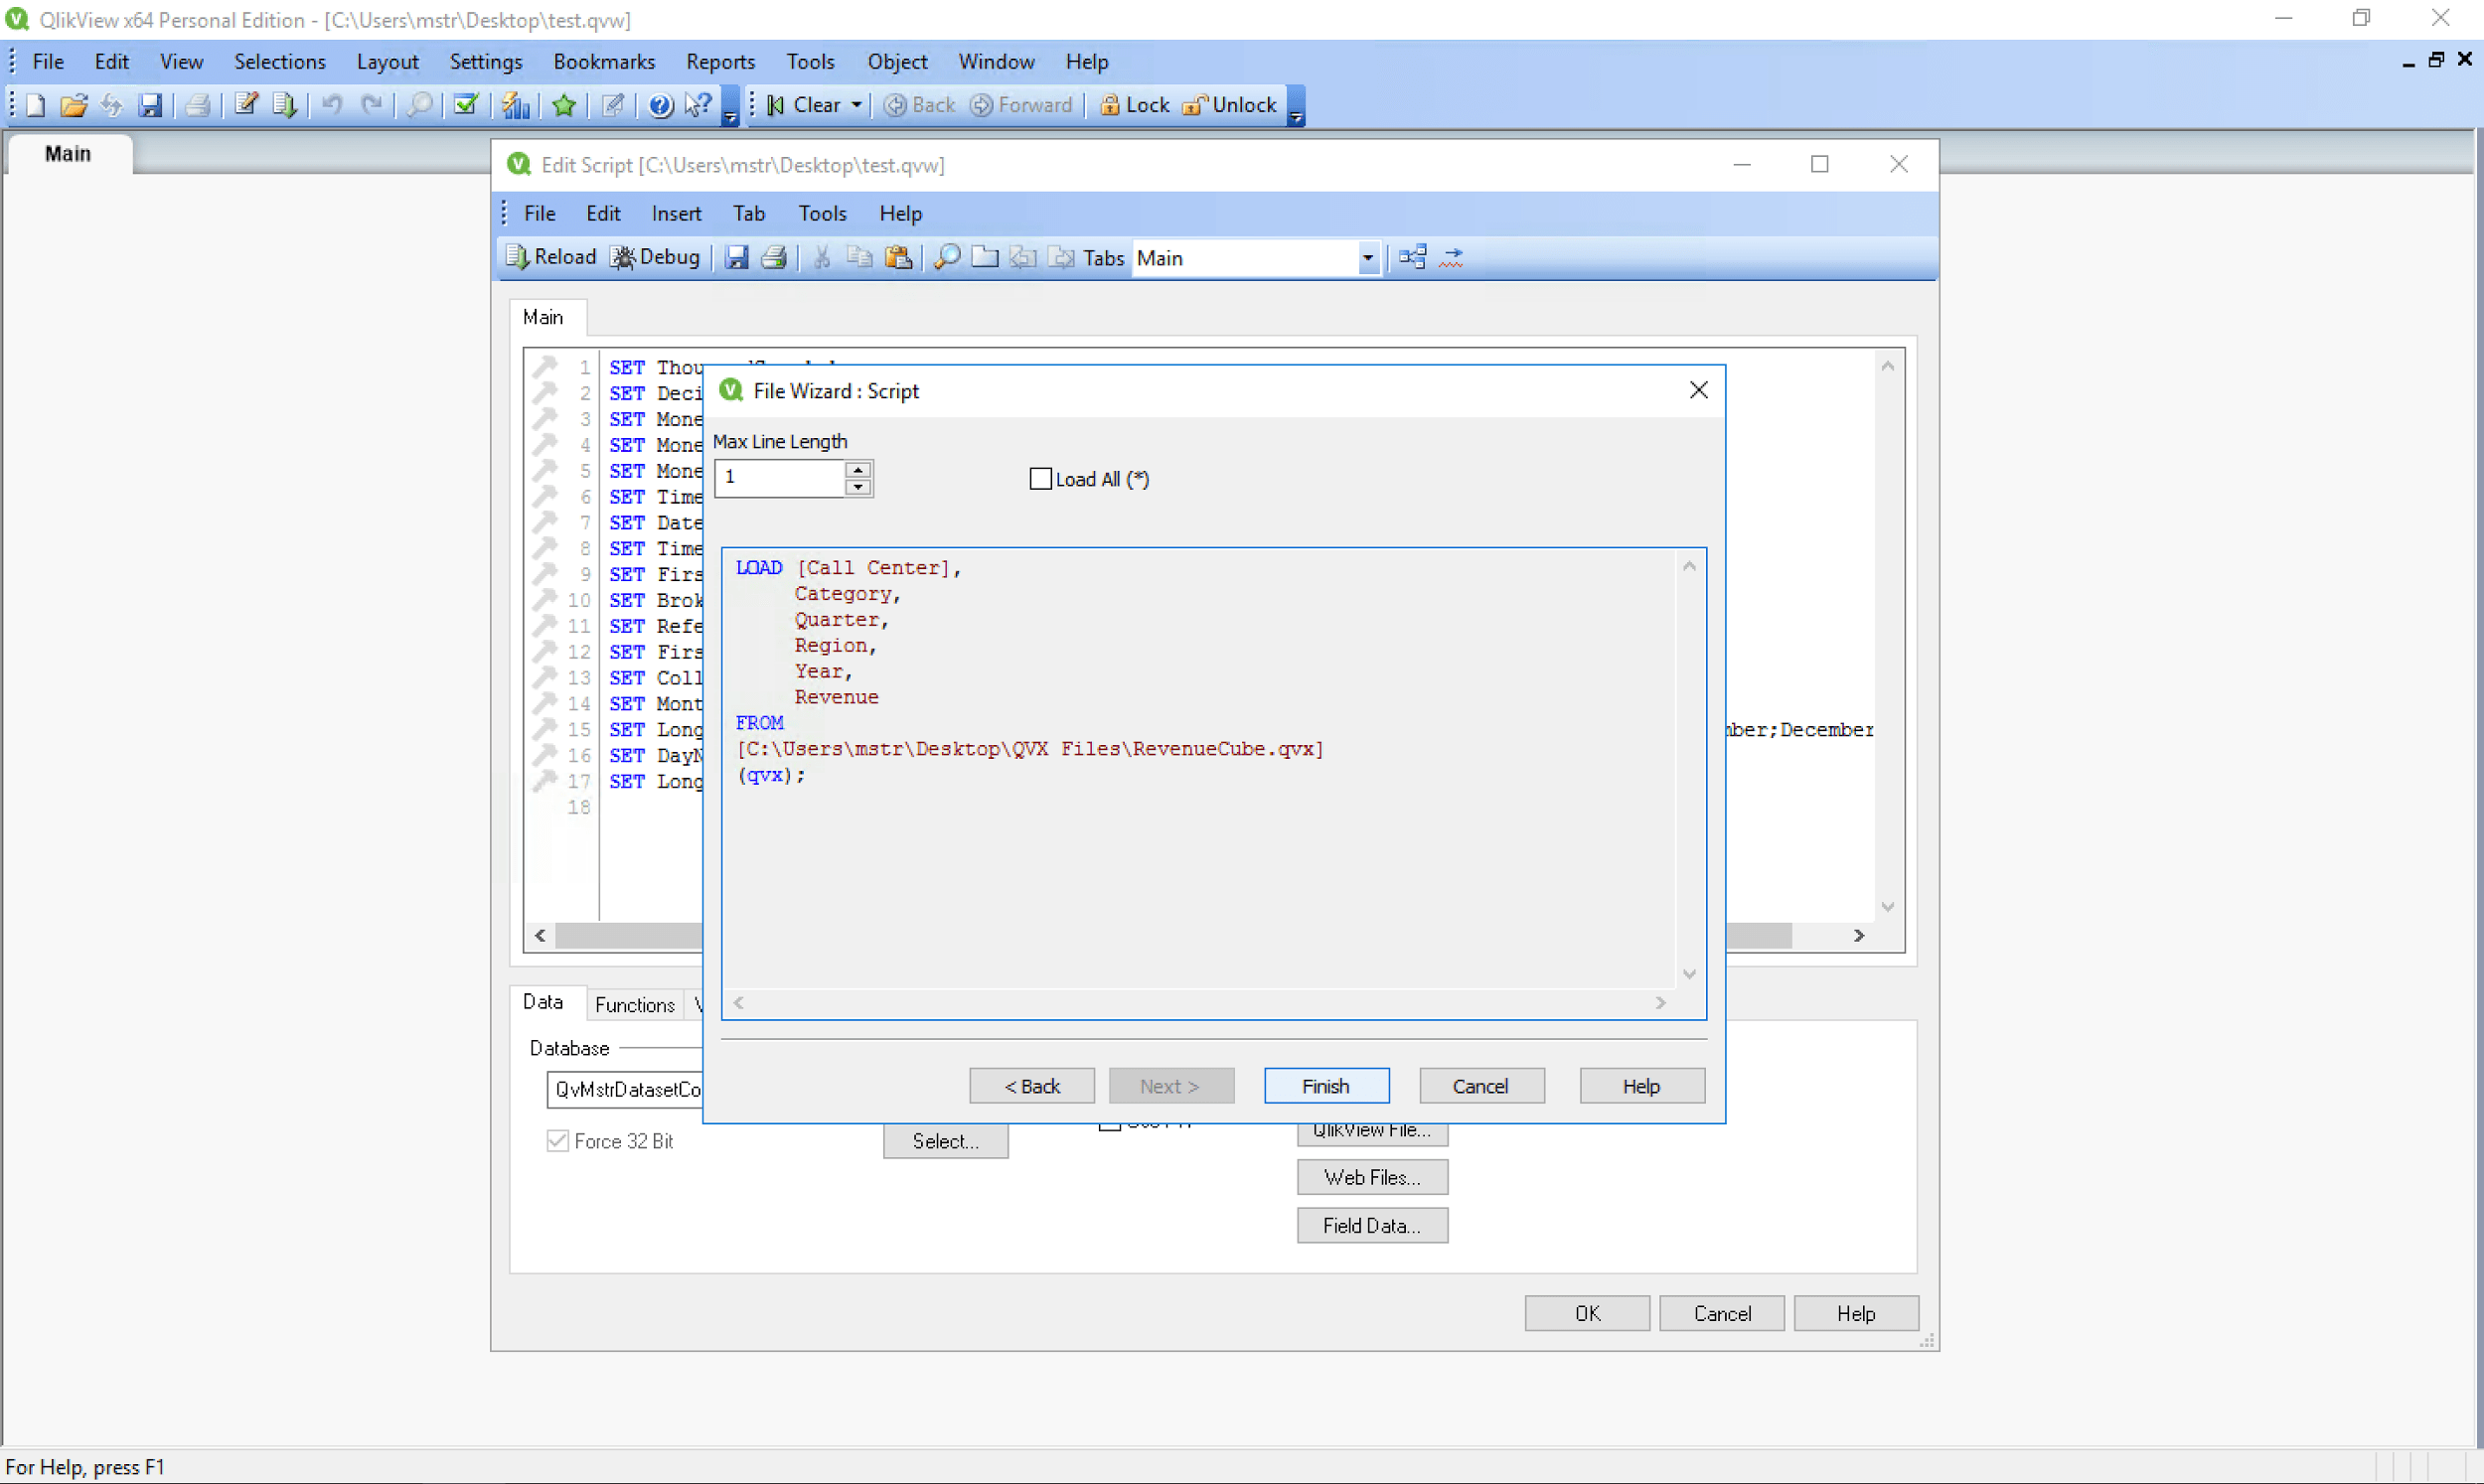
To import all the fields in the preview, just click the “Finish” button. To further narrow down which fields you wish to import from the subset that you selected in the subset/filter step in the Strategy Dataset Connector and filter your data, click the “Next” button for options to add WHERE clauses and choose which fields to include in your import:  

ka04W000001Ix1sQAC_0EM44000000QGzd.png


  1. Click “Next” to see a preview of your load statement:
ka04W000001Ix1sQAC_0EM44000000QGzi.png


  1. Click the “Finish” button to add the load statement to your data load script.
  2. Click “Reload” near the top of the Edit Script page to execute your script.
  3. Import the QVX file data for use in your QlikView document:


ka04W000001Ix1sQAC_0EM44000000QGzn.png
ka04W000001Ix1sQAC_0EM44000000QGzs.png
ka04W000001Ix1sQAC_0EM44000000QGzx.png


Importing QVX Files into Qlik Sense

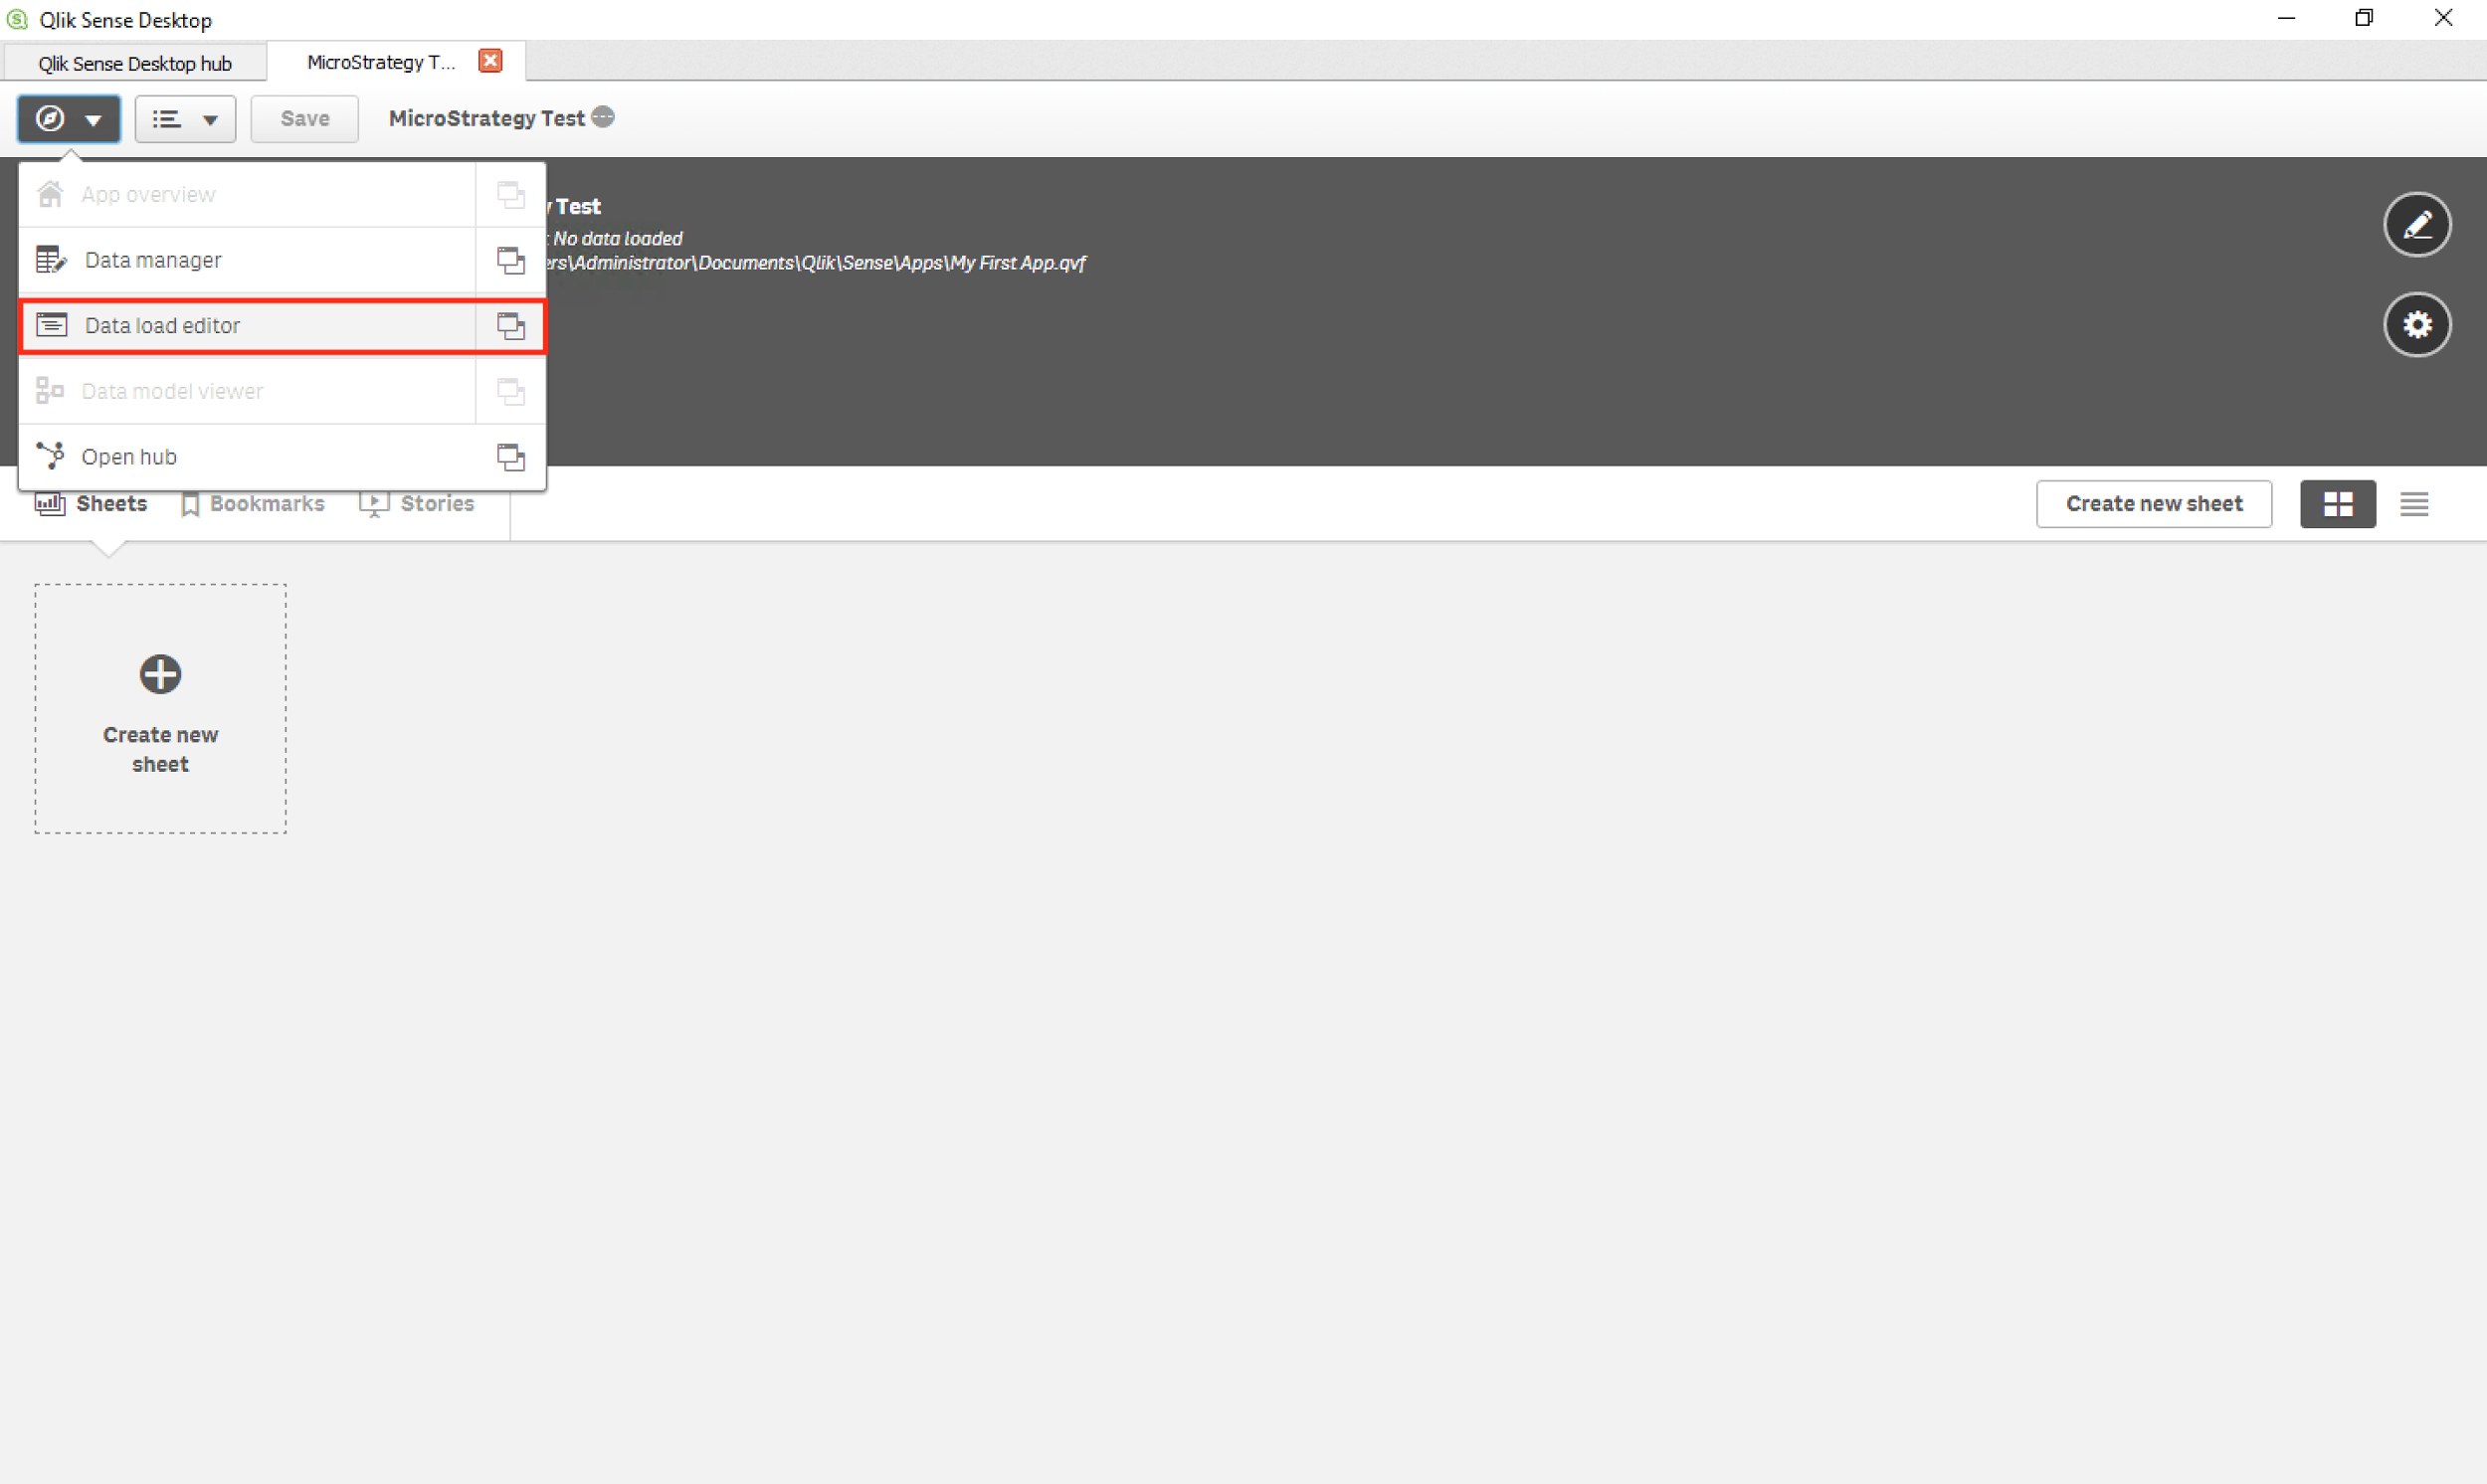
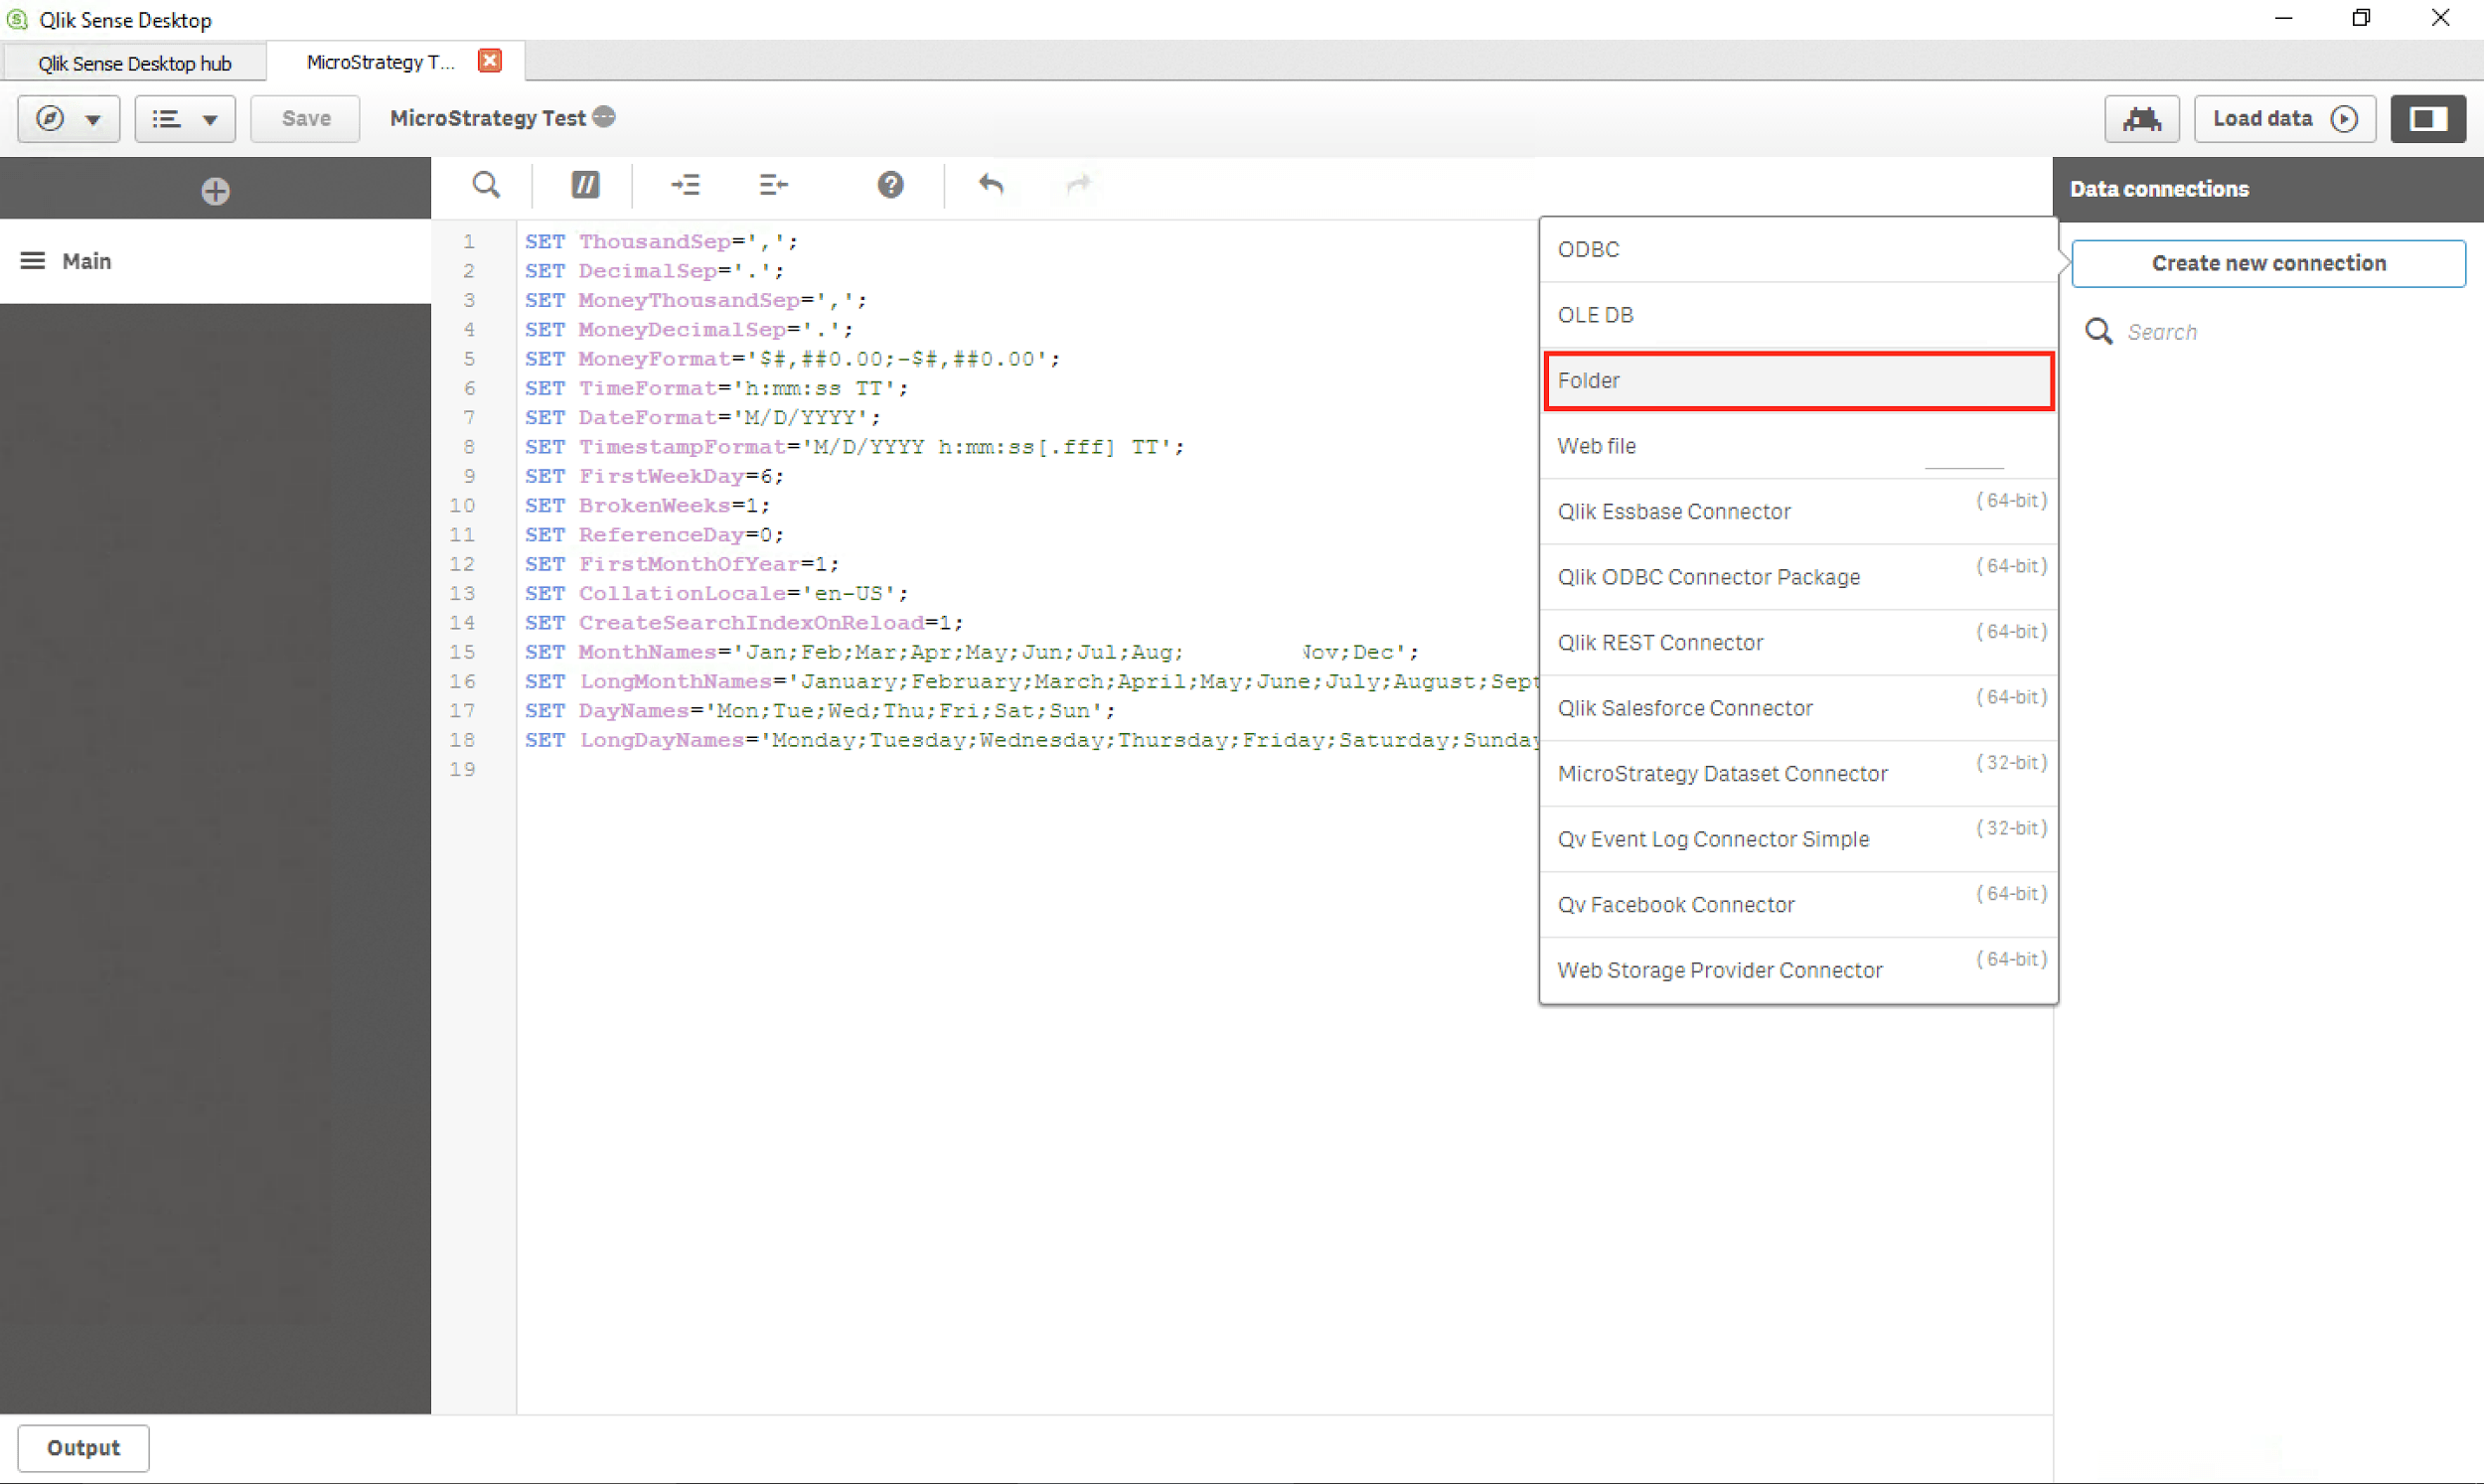
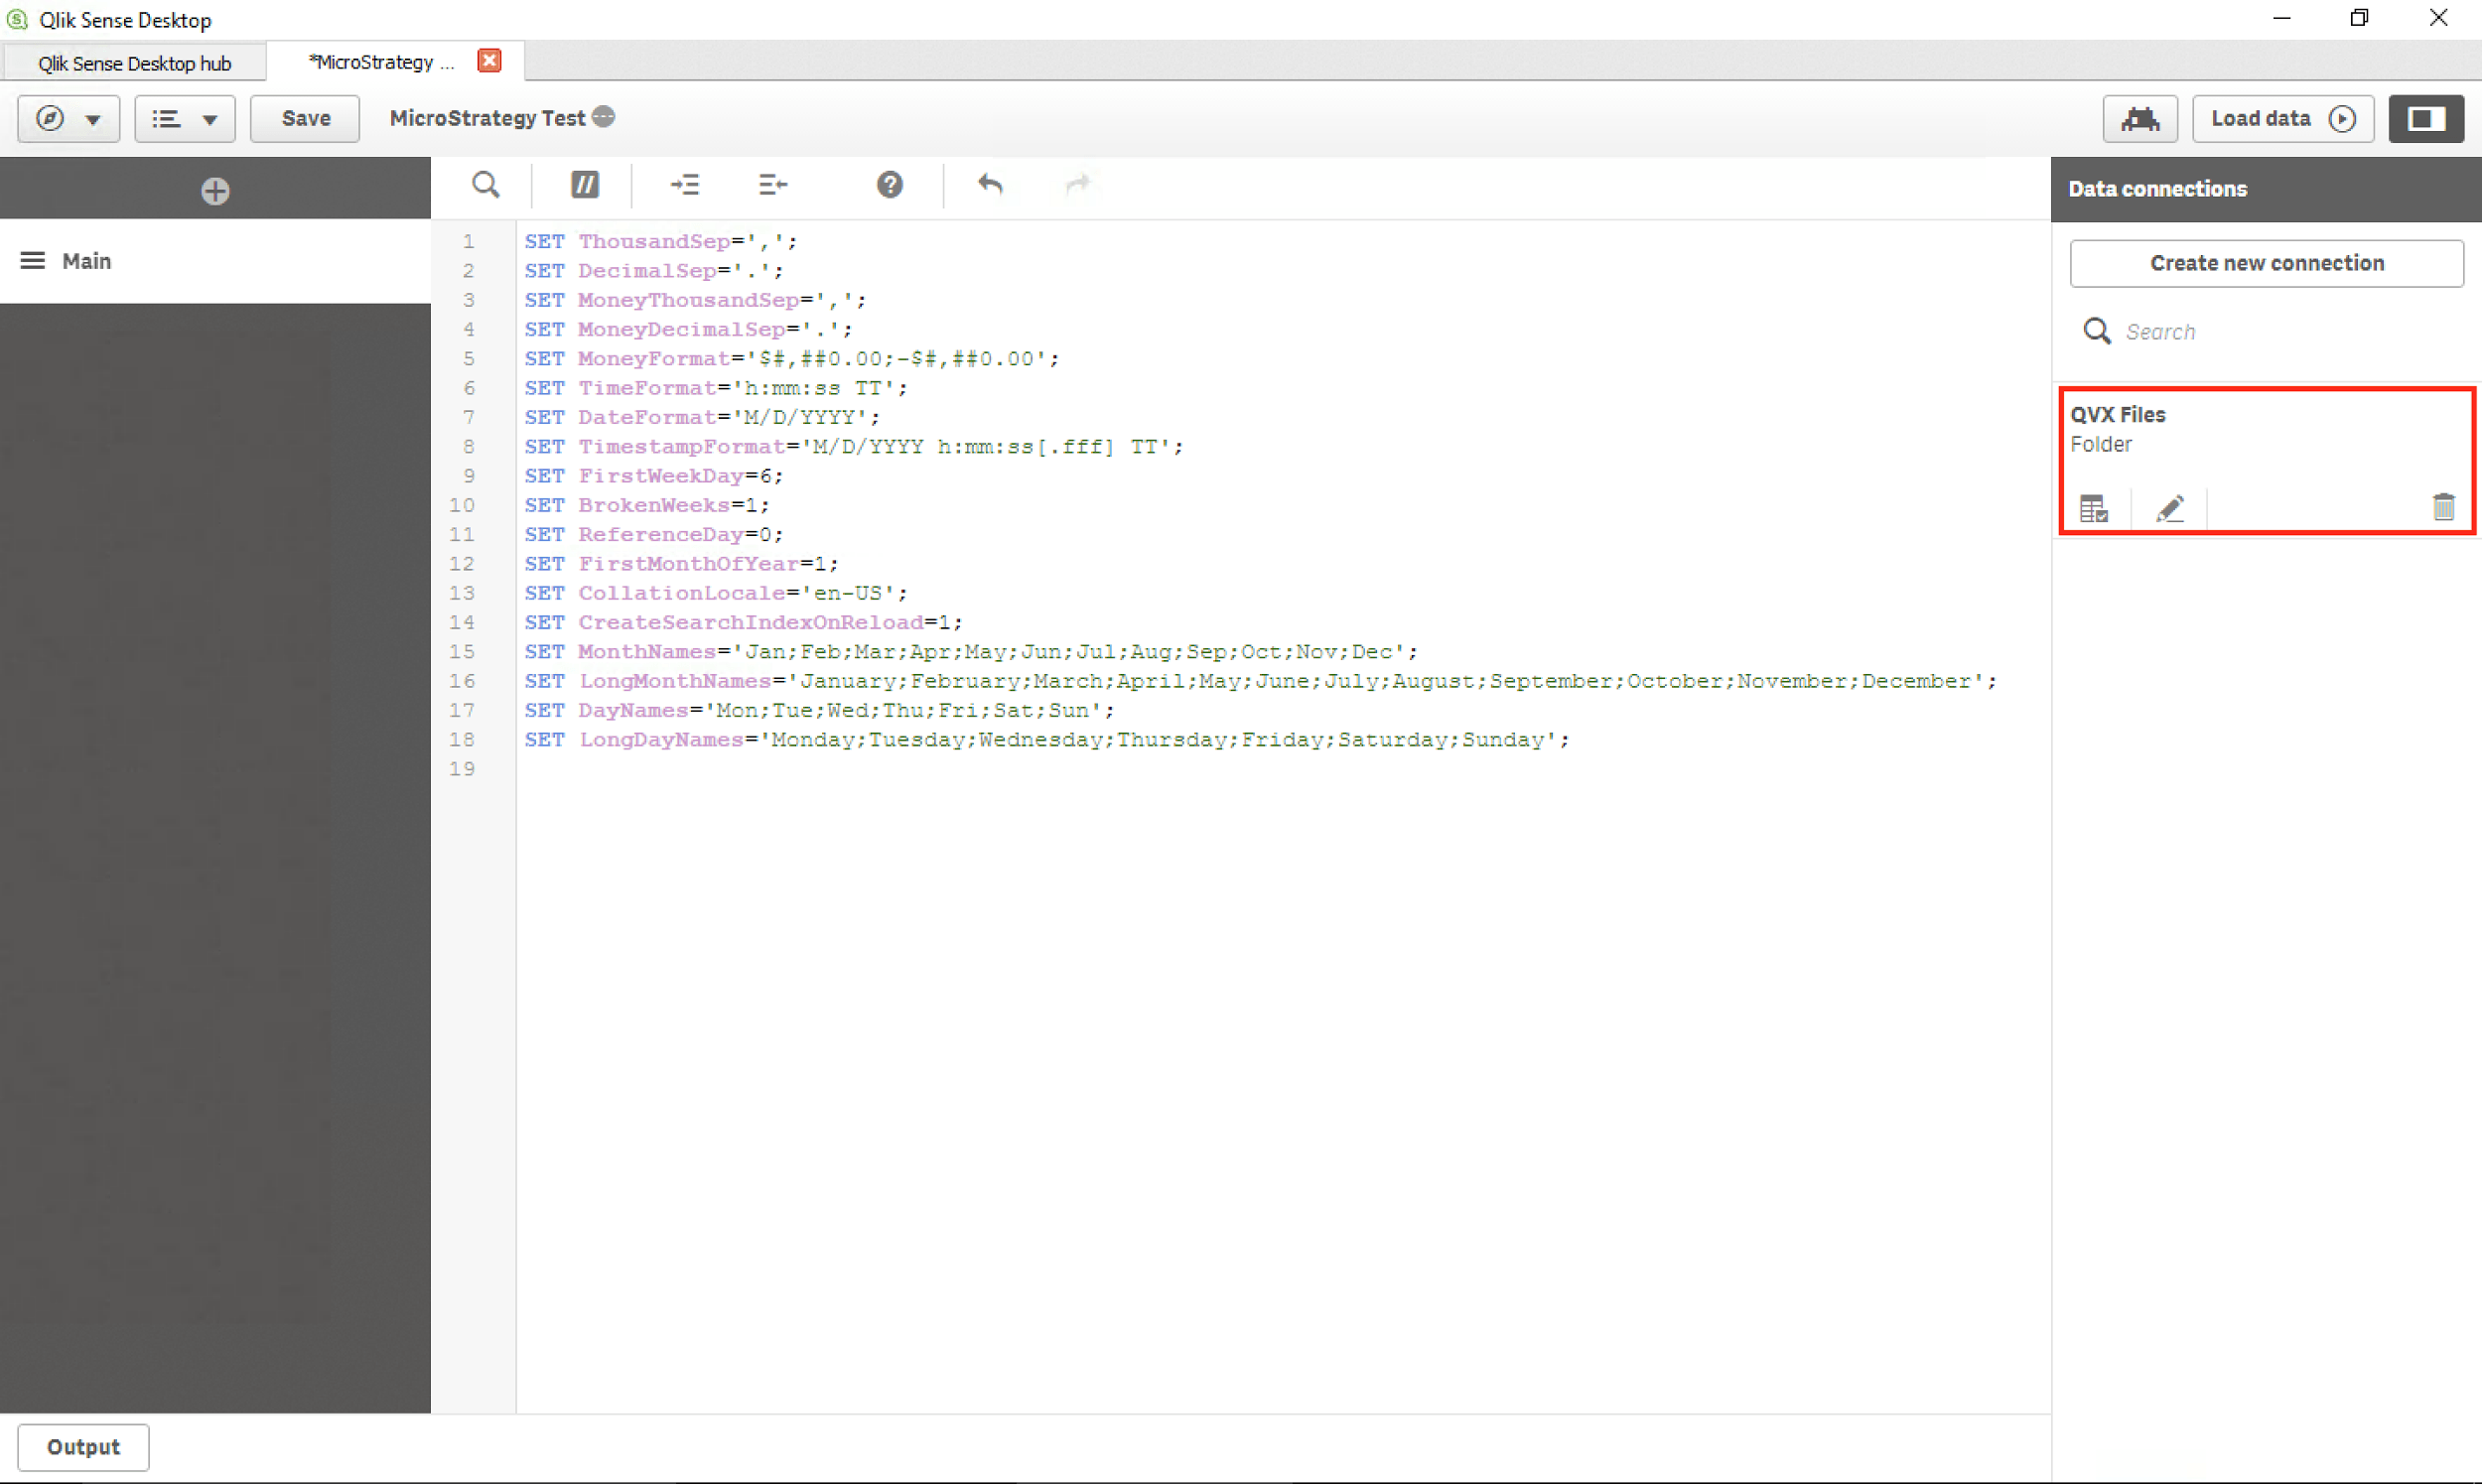
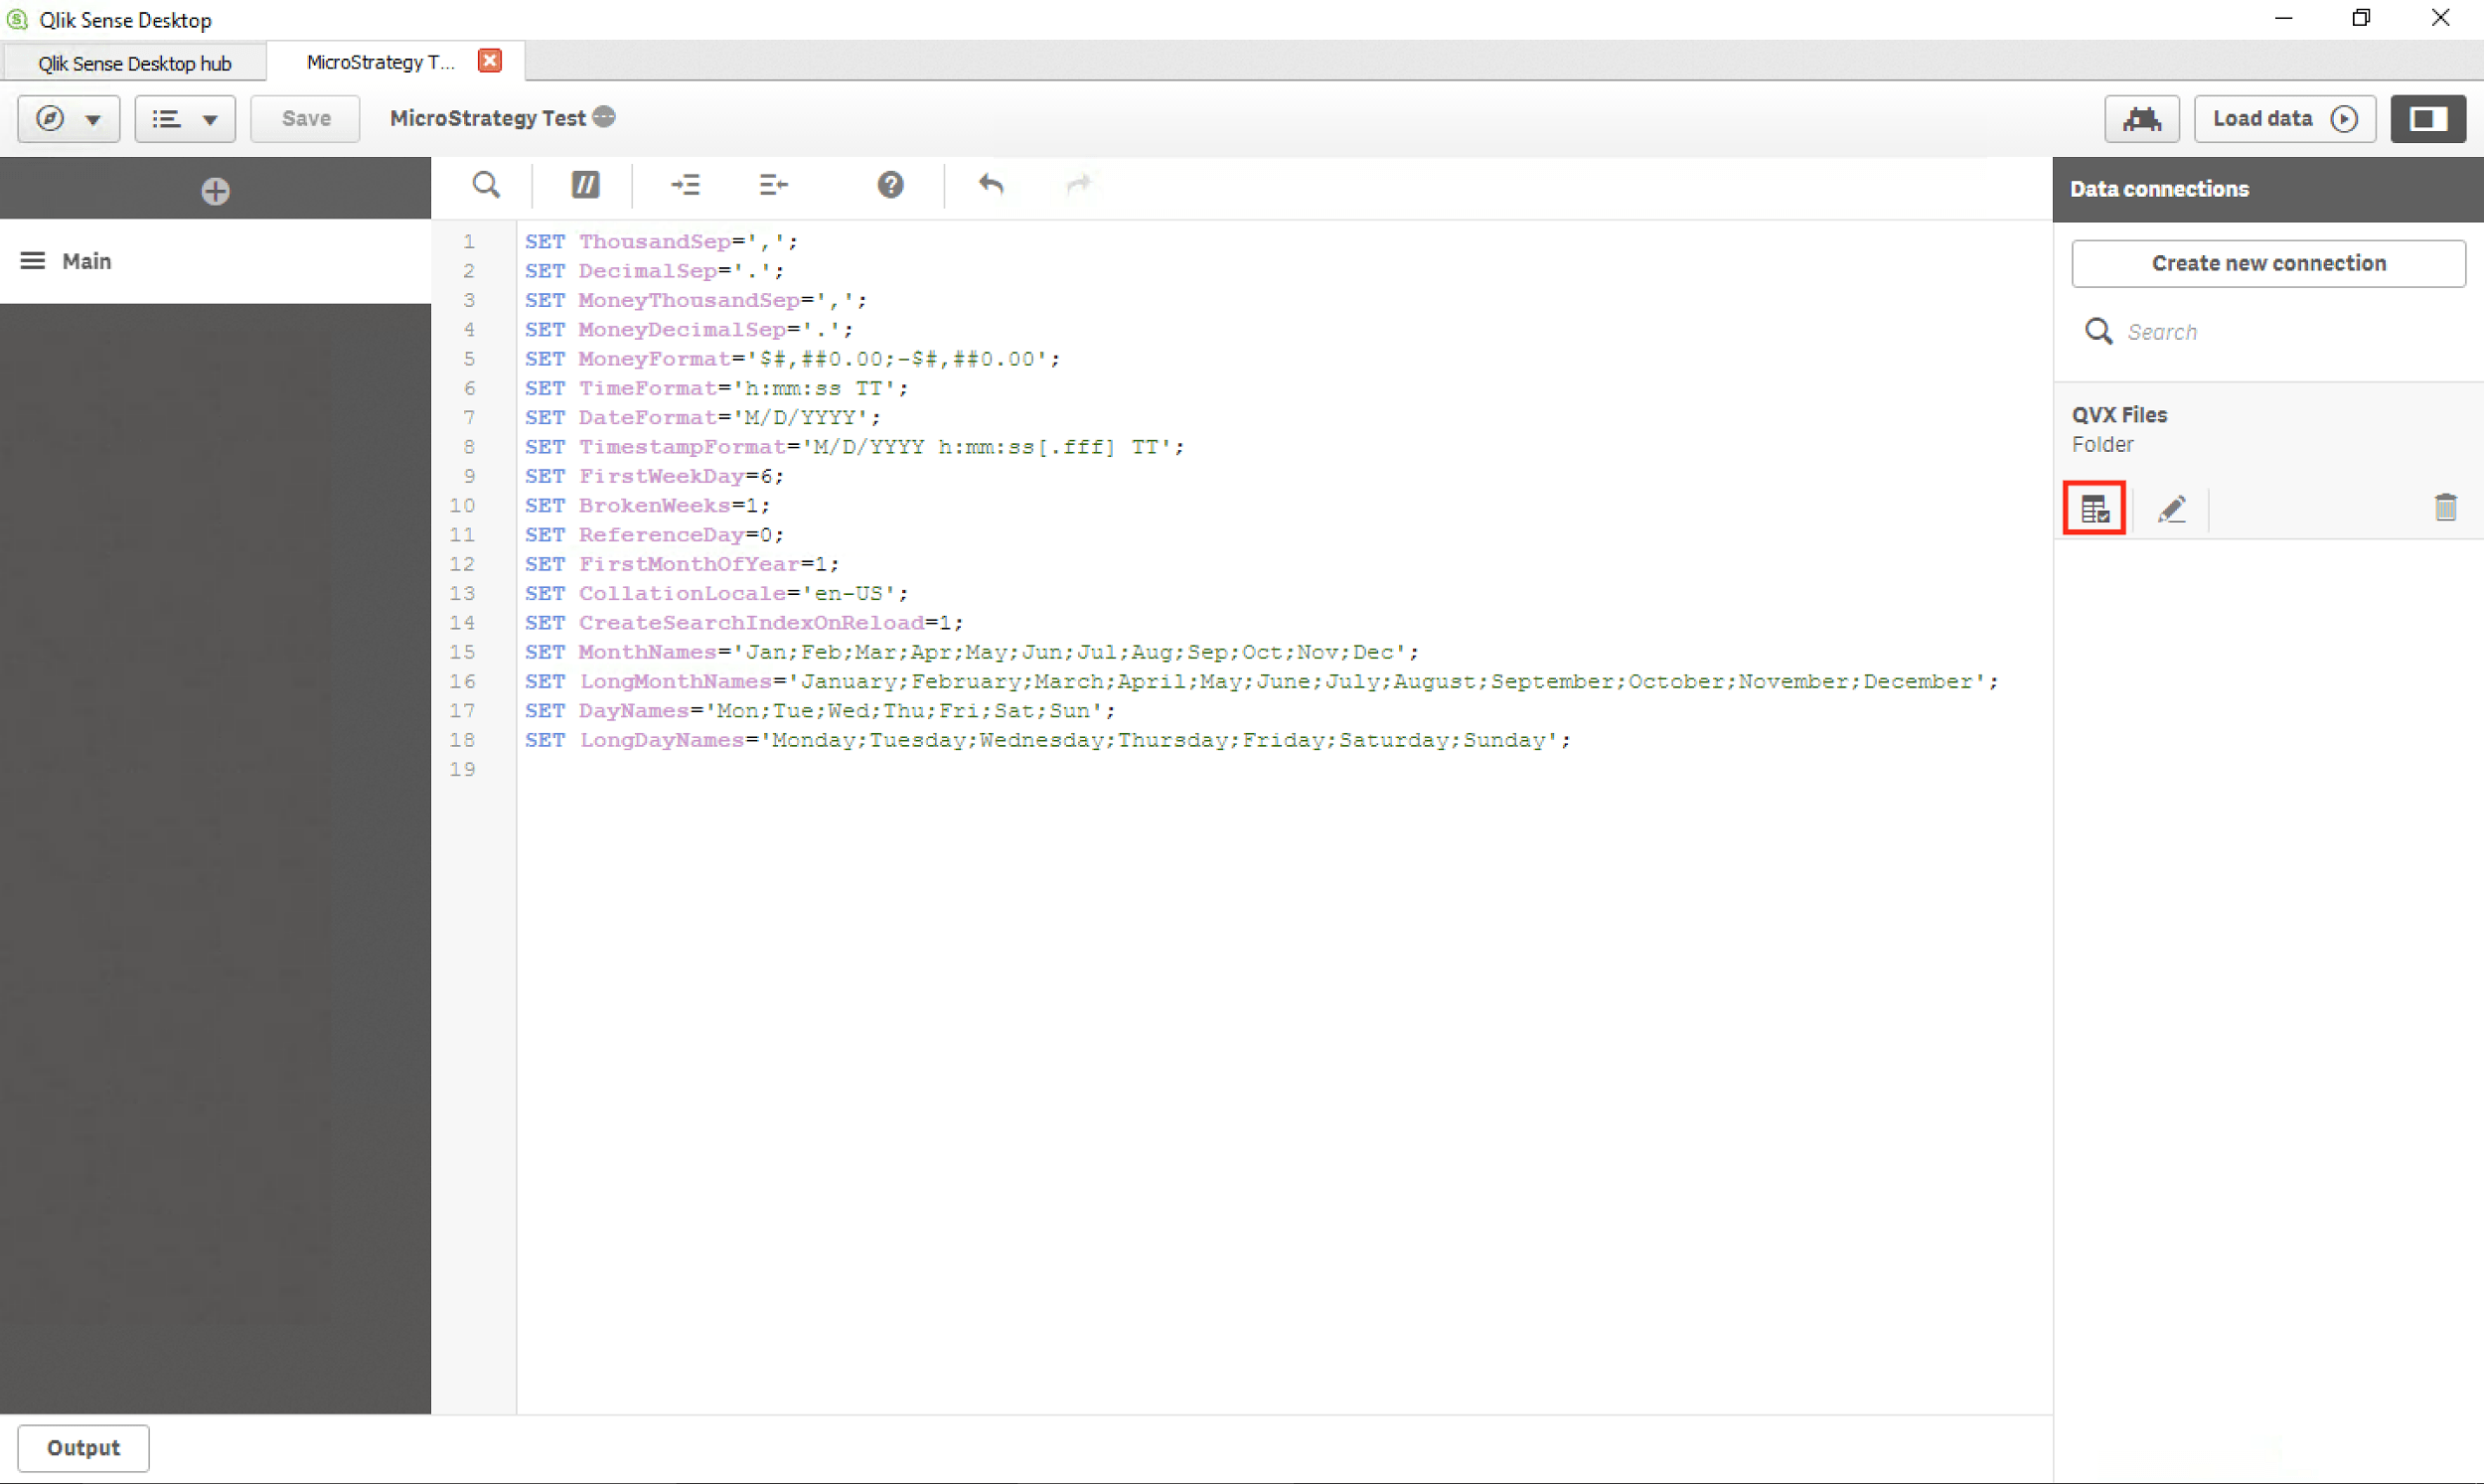
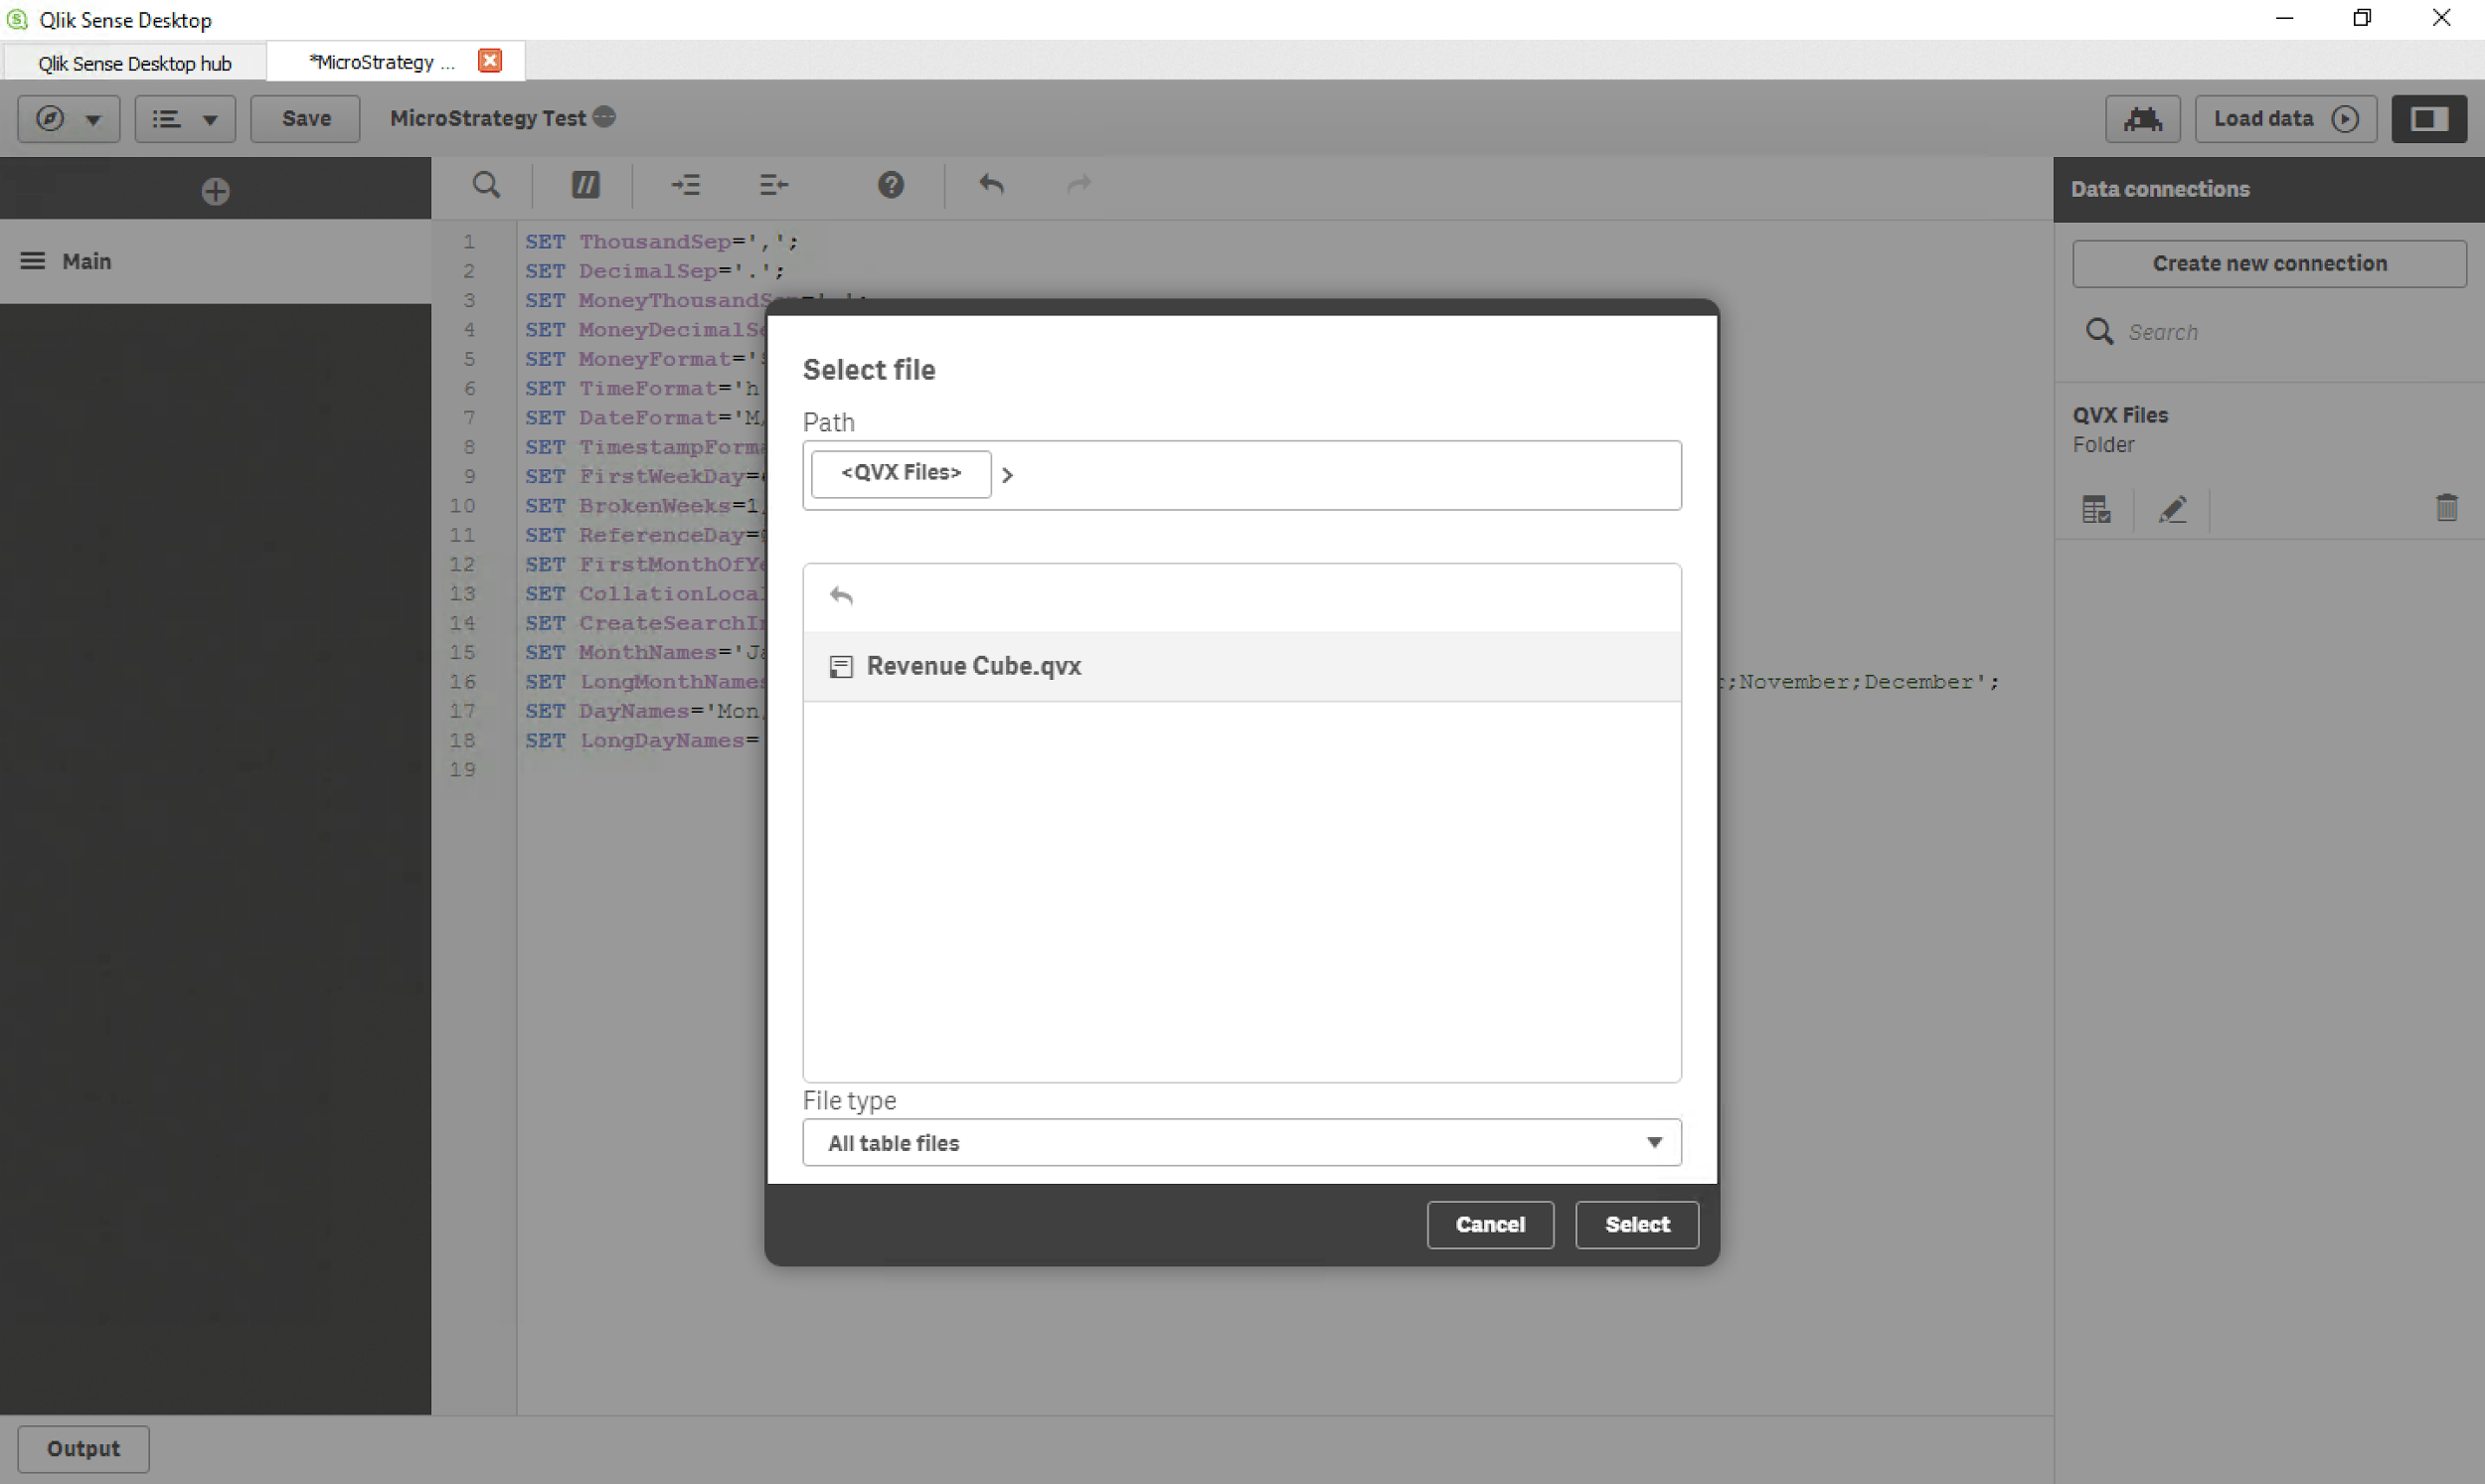
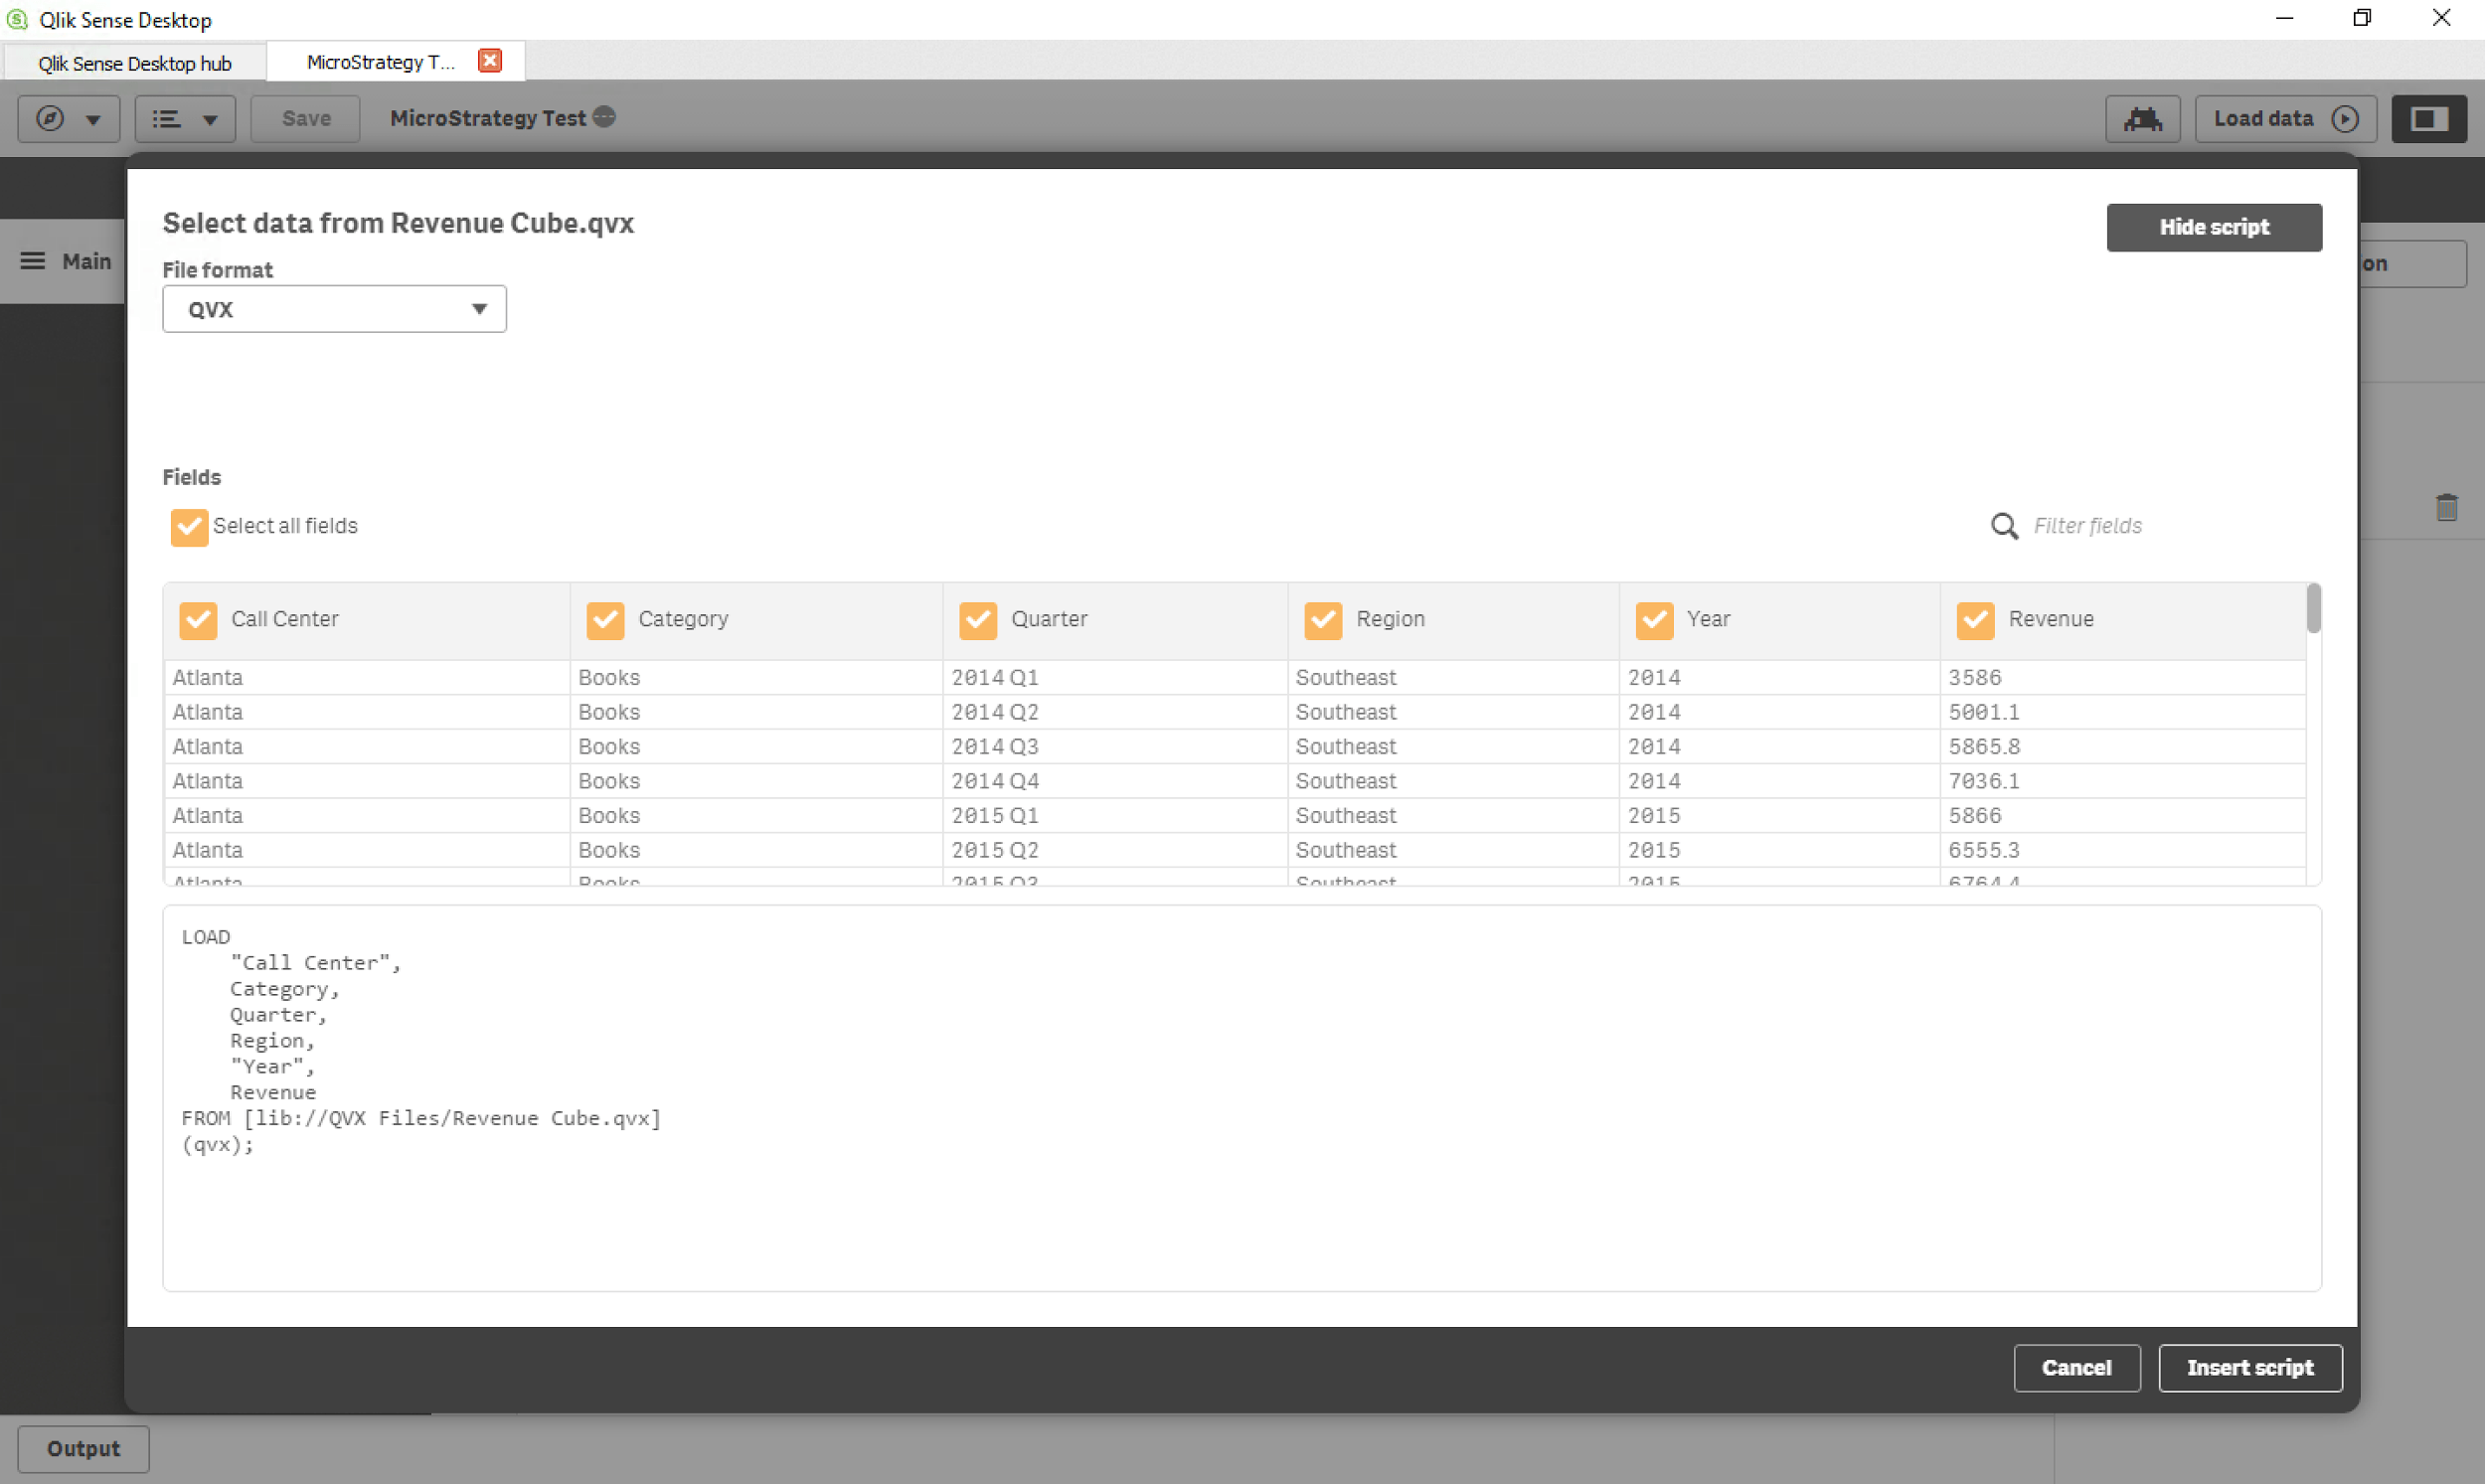
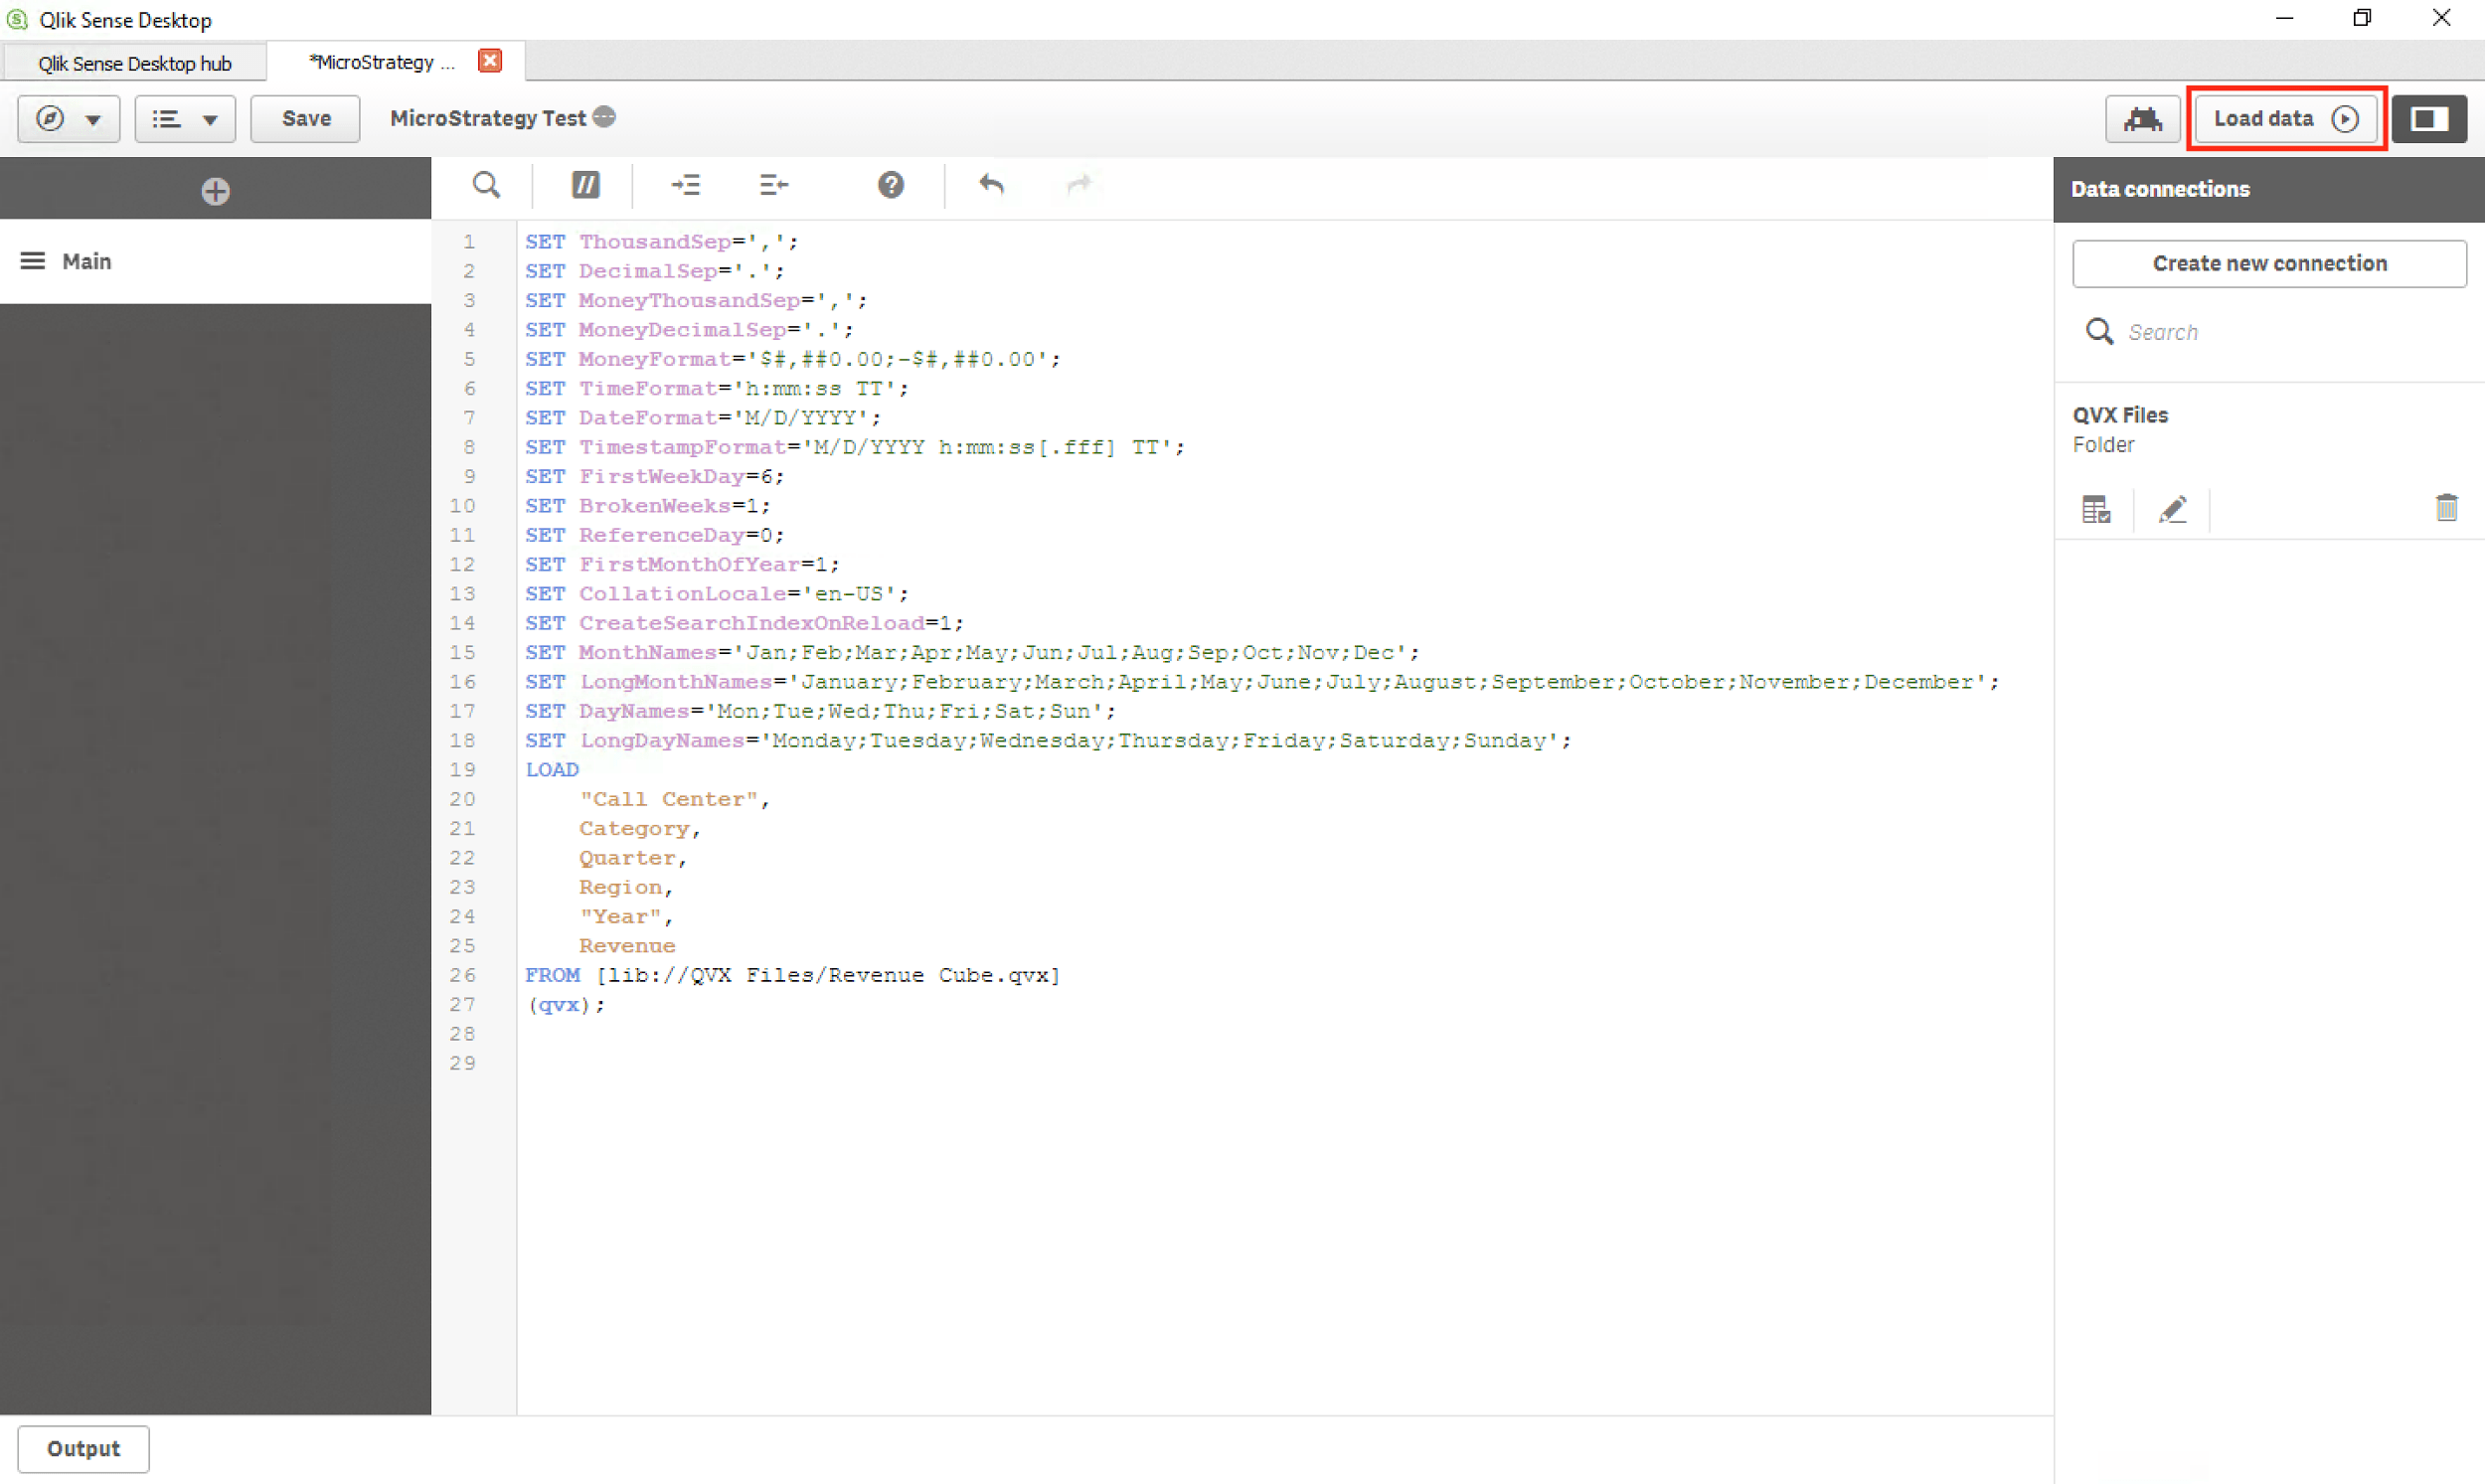
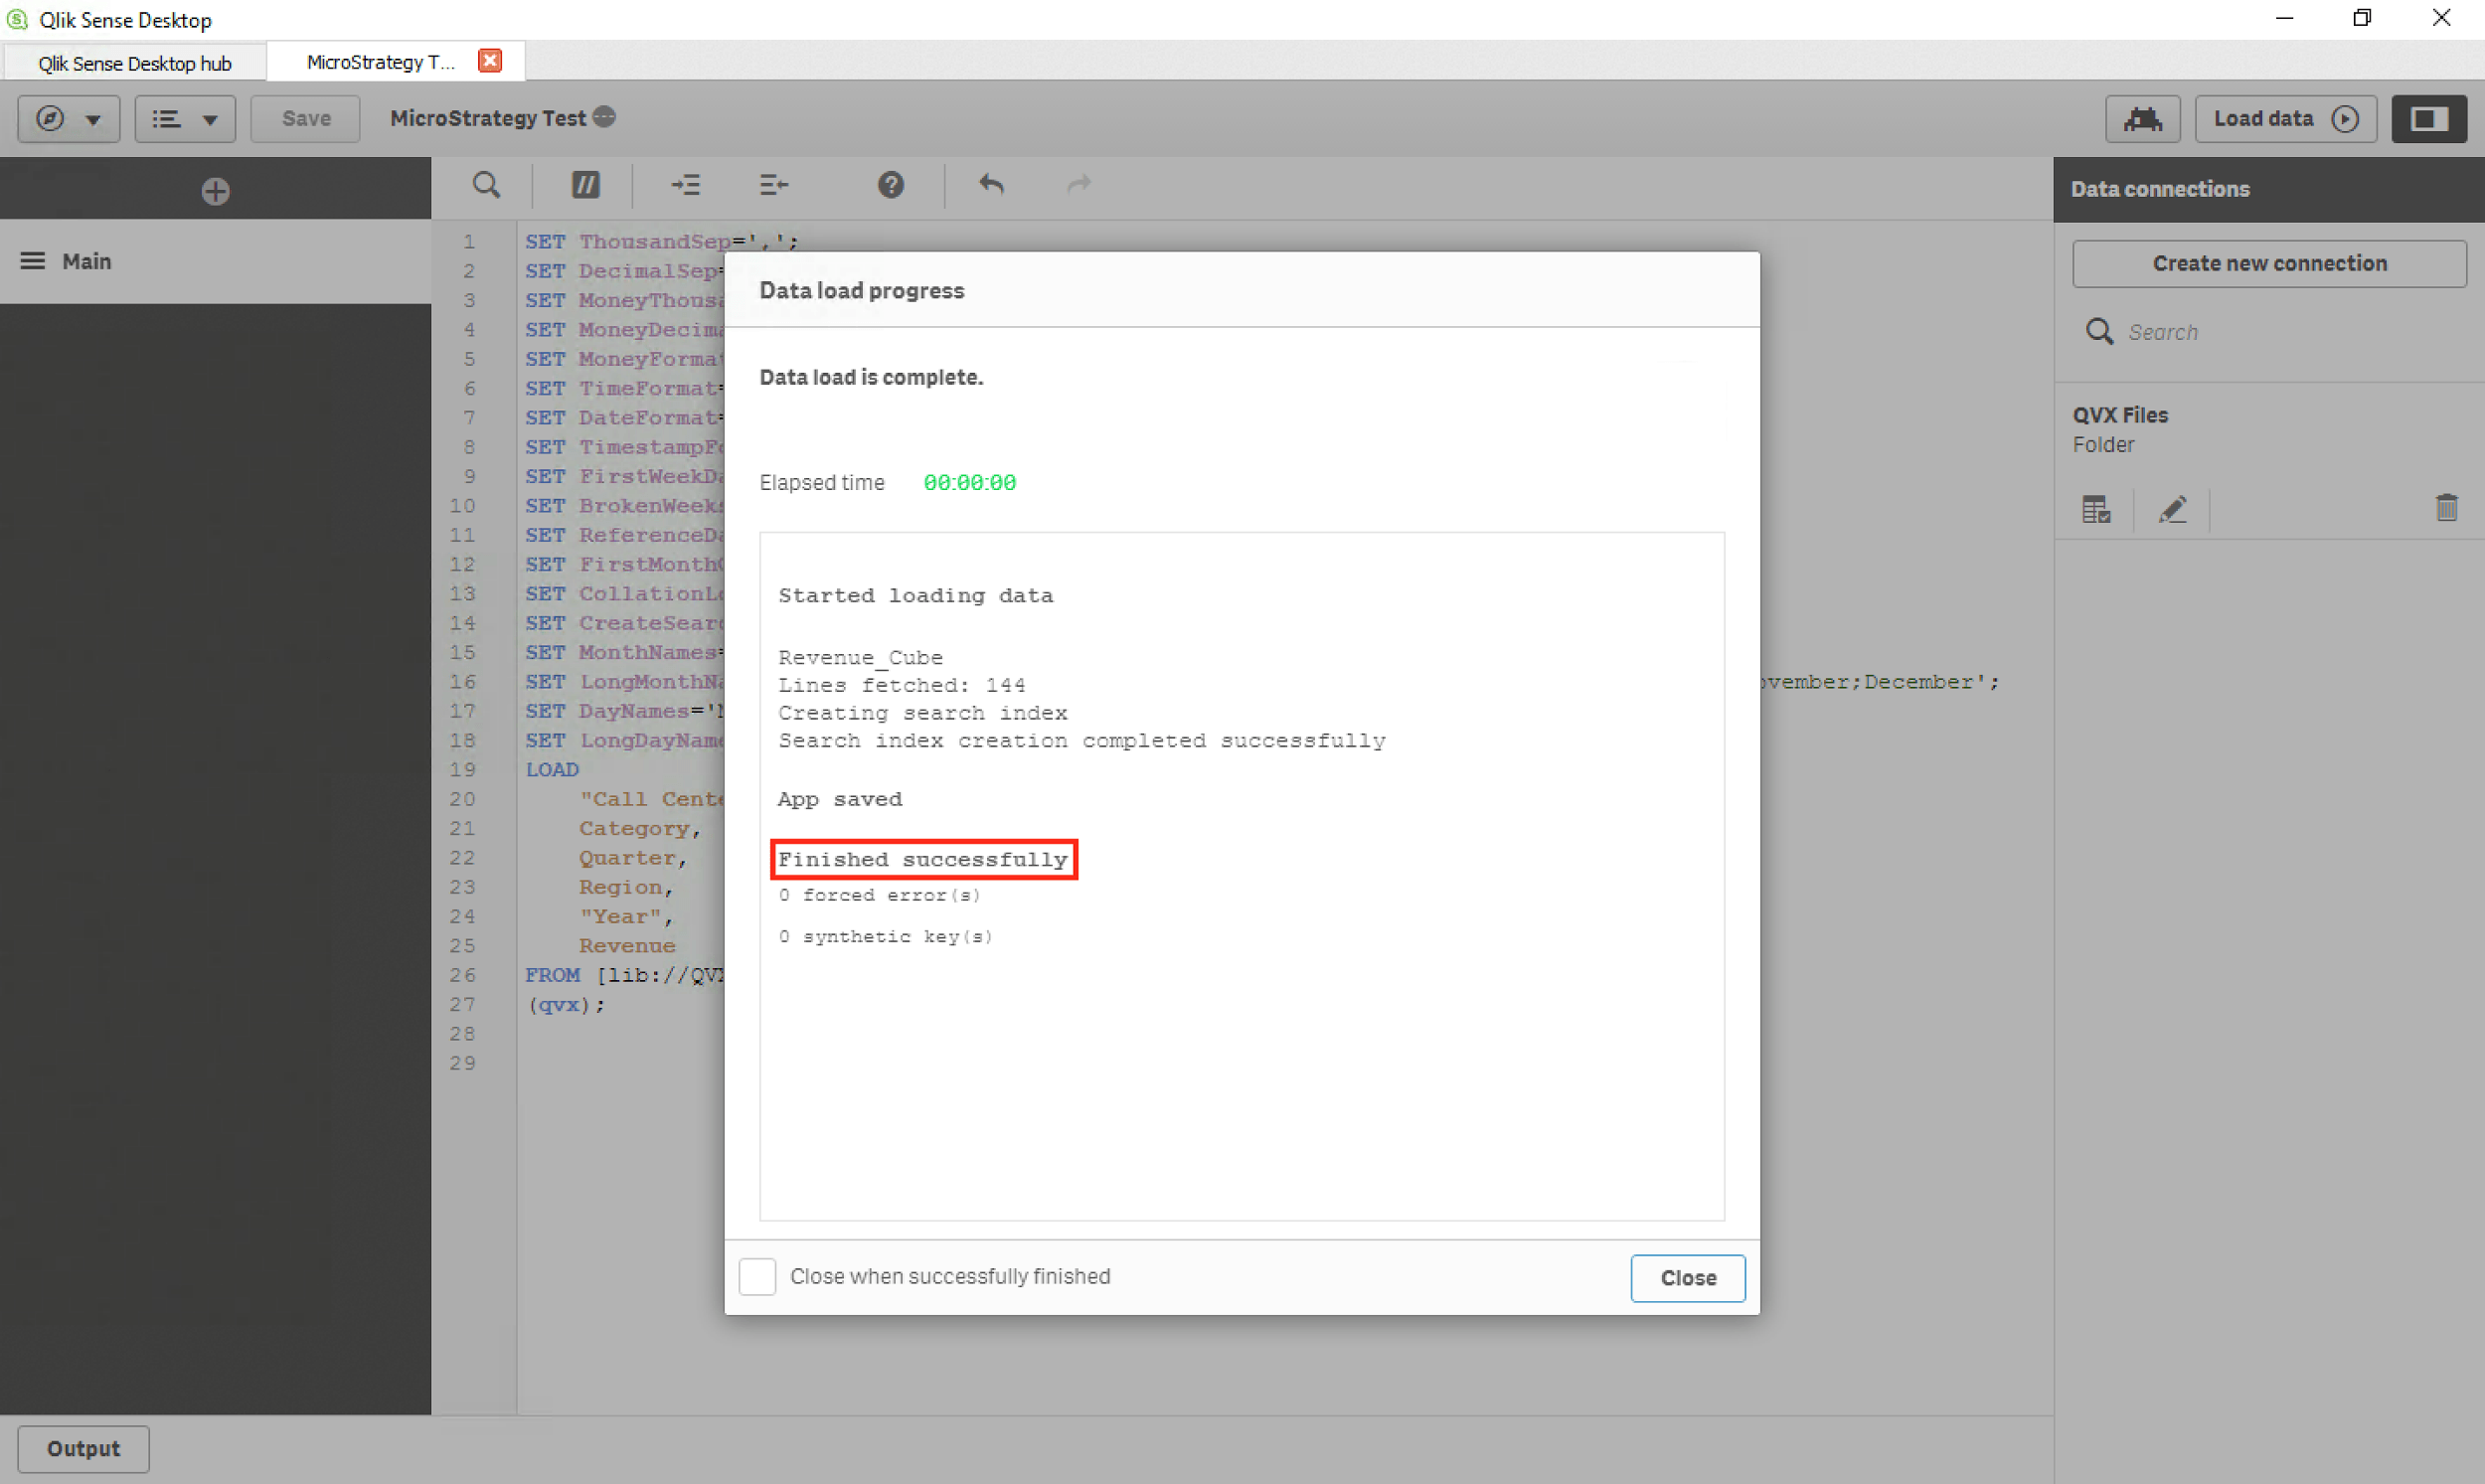
To import your new QVX file into a Qlik Sense app:

  1. Open your app and select the “Data load editor” under the “Navigation” menu:


ka04W000001Ix1sQAC_0EM44000000QH0M.png


  1. In the Data Load Editor, click the “Create new connection” button under “Data connections”.
  2. ​​​​​​​Select the “Folder” option​​​​​​​ to create and name a new connection to the folder containing your QVX files:


ka04W000001Ix1sQAC_0EM44000000QH0R.png
ka04W000001Ix1sQAC_0EM44000000QH0W.png


  1. After clicking “Create”, you should be able to see your new connection under “Data connections” on the Data Load Editor page:


ka04W000001Ix1sQAC_0EM44000000QH0b.png


  1. Click the “Select data” button (little table icon) to select the QVX file from the connected folder that you want to import into Qlik Sense:


ka04W000001Ix1sQAC_0EM44000000QH0g.png
ka04W000001Ix1sQAC_0EM44000000QH0l.png


  1. After you select a QVX file, you will be able to select the fields to import from it:


ka04W000001Ix1sQAC_0EM44000000QH0q.png


  1. Once you have selected the fields to import, click “Insert script” to close the selection dialog and add the load script to your script editor.
  2. ​​​​​​​Click the “Load data” button in the top right corner of the Qlik Sense window to execute your connection script and import the selected QVX file for use into your app:


ka04W000001Ix1sQAC_0EM44000000QH0v.png
ka04W000001Ix1sQAC_0EM44000000QH10.png


  1. Once you see the “Finished successfully” text in the Data Load Progress dialog, your data has been imported from the QVX file.
  2. The data. can now be used from within your Qlik Sense app.
     

Data Connector Disclaimer

By downloading or using this data connector, you accept and acknowledge these terms.
This data connector is provided as a sample and supported by Strategy Technical Support if the Testing Conditions are met. Defects found within the Testing Conditions will be triaged by the Strategy team as they are raised. Further adaptation may be needed for this sample to function correctly in other conditions than the Testing Conditions listed, as other conditions may not have been tested for the context of this sample. High-level guidance may be provided by Strategy Technical Support to those with an active maintenance contract, but for specific guidance or assistance in adapting this sample in different scenarios, contact your Account Executive for Strategy Professional Services involvement. Post any additional feedback within the article's comments.
 
Testing Conditions
This sample has been built for and tested under these conditions:
Web Browser(s): 

  • N/a

Strategy Product(s):

  • Strategy Intelligence Server version 10.11.0.15860

3rd Party Product(s):

  • Apache Tomcat 8.x
  • Qlik November 2017 Release

​​​​​​​

​​​​​​​Learning Resources

Interested in learning more about REST APIs or SDK? Visit the Learning Center on Community!
Feel free to view our videos on federated analytics to learn more about integrating Strategy with your favorite tools. 
​​​​​​​


Comment

0 comments

Details

Knowledge Article

Published:

January 25, 2018

Last Updated:

September 22, 2022