EducationSoftwareStrategy.com
StrategyCommunity

Knowledge Base

Product

Community

Knowledge Base

TopicsBrowse ArticlesDeveloper Zone

Product

Download SoftwareProduct DocumentationSecurity Hub

Education

Tutorial VideosSolution GalleryEducation courses

Community

GuidelinesGrandmastersEvents
x_social-icon_white.svglinkedin_social-icon_white.svg
Strategy logoCommunity

© Strategy Inc. All Rights Reserved.

LegalTerms of UsePrivacy Policy
  1. Home
  2. Topics

Testing standalone Java using the MicroStrategy Web SDK in the Web Customization Editor


Community Admin

• Strategy


An introduction to executing standalone Java after deploying the Web Customization Editor.

After setting up and configuring the Web Customization Editor in Eclipse , you'll have access to the Java Web APIs provided through the Strategy Web SDK.
In this tutorial, you'll learn how to execute standalone Java using the Strategy Web SDK. This is often a useful method for simplifying and testing issues involving usage of the Strategy Web SDK Java API.
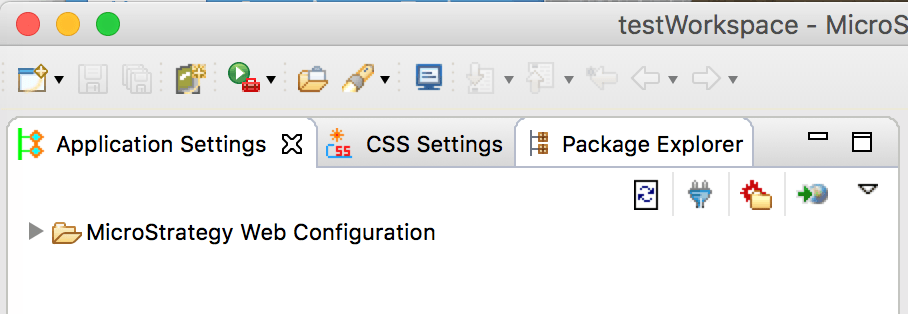
The starting point for this tutorial is from the completely configured Web Customization Editor, after following these steps from the developer zone: Deploying and Configuring the Web Customization Editor .
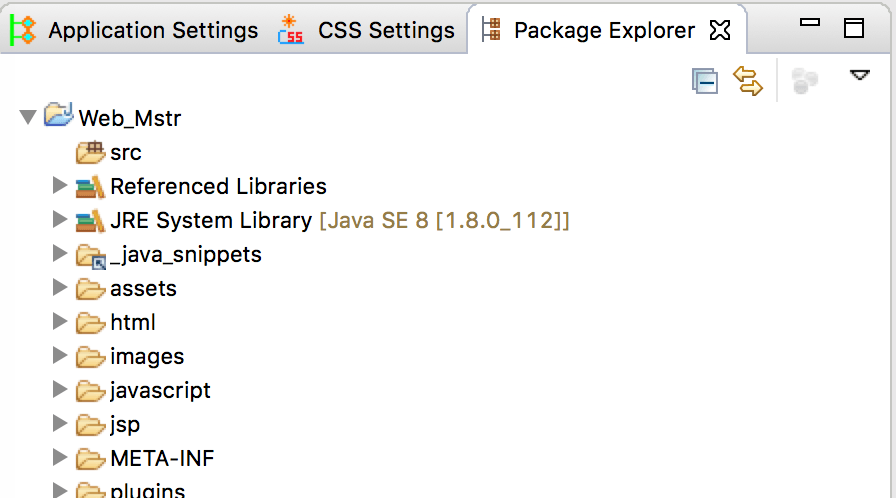
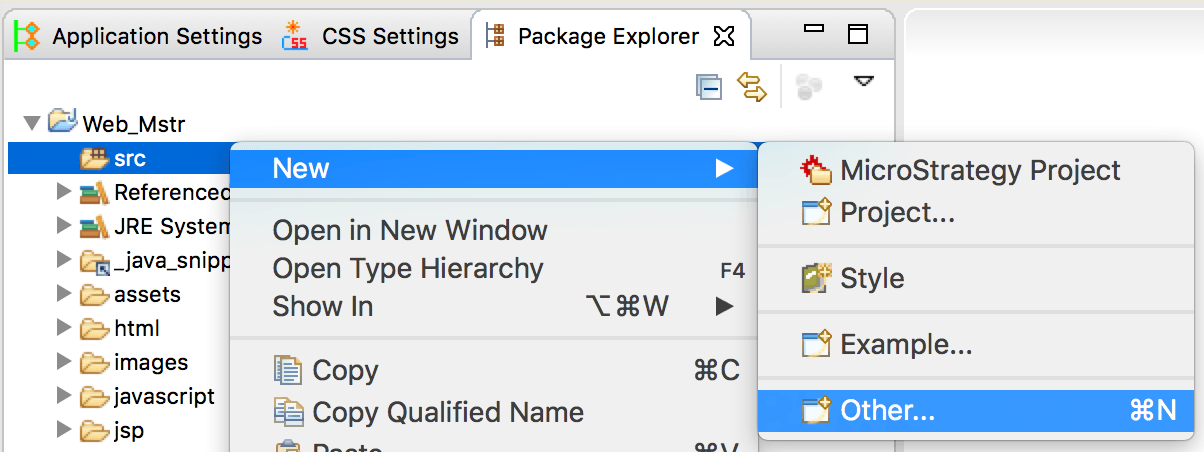
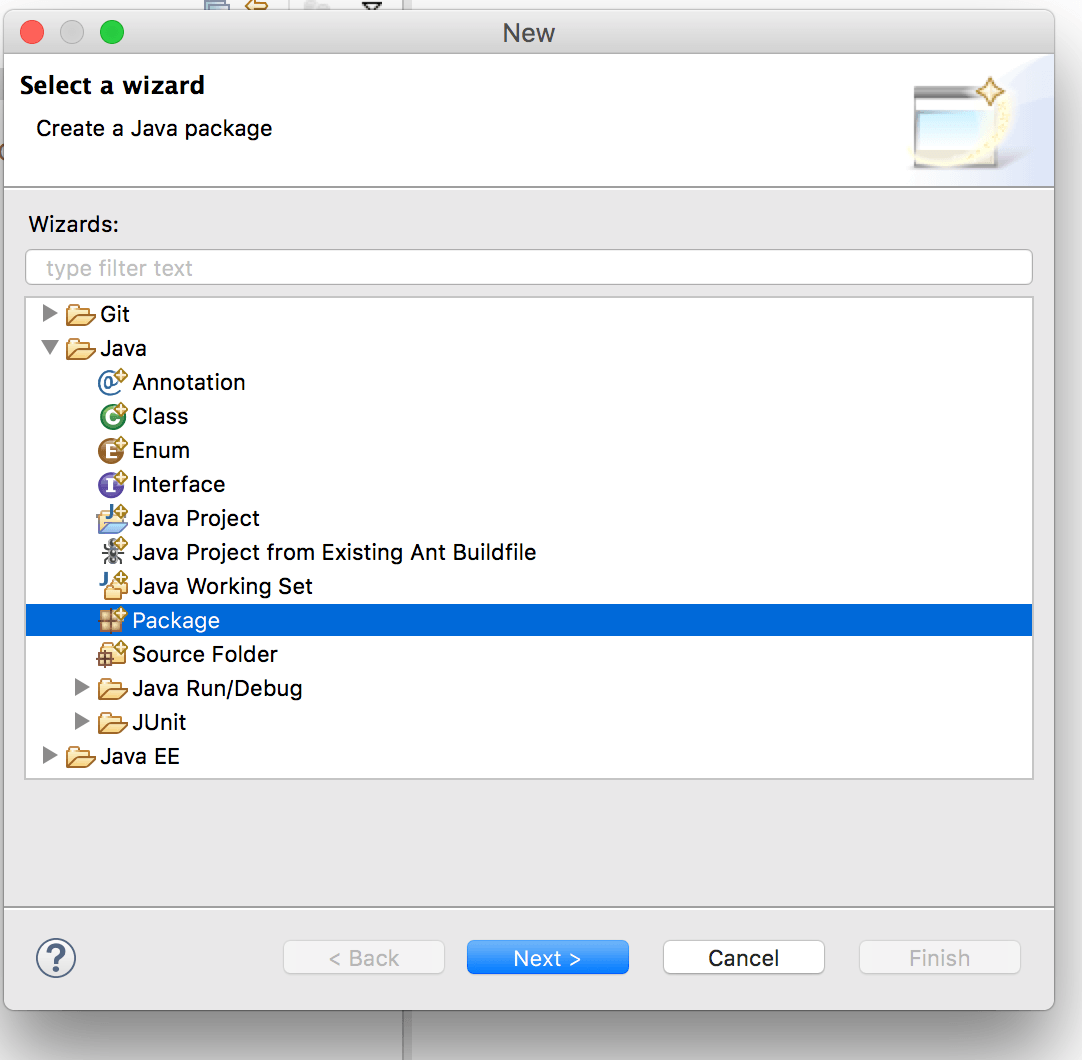
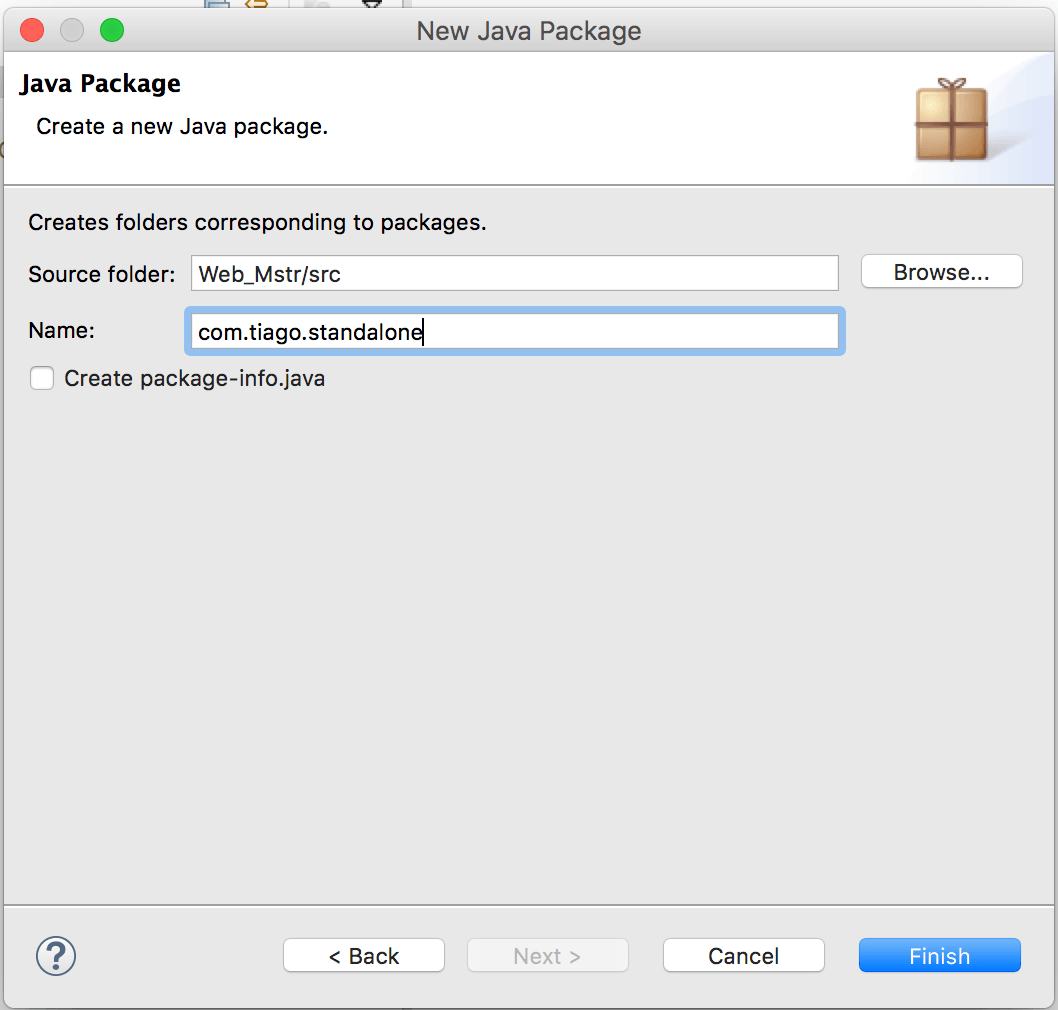
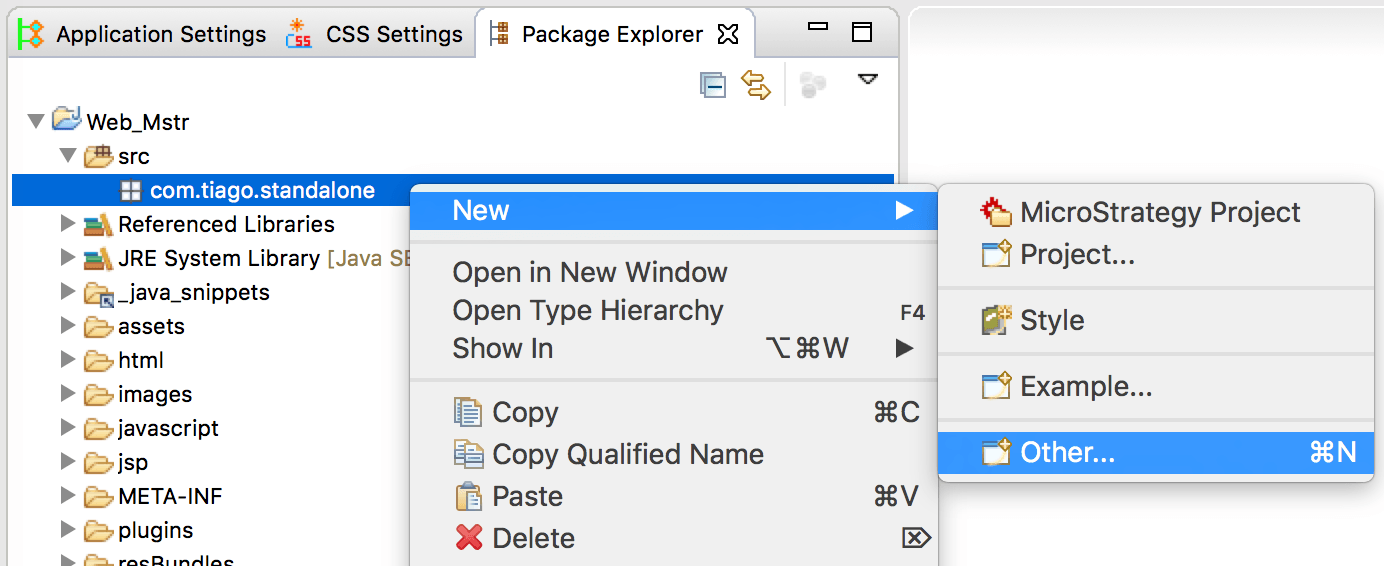
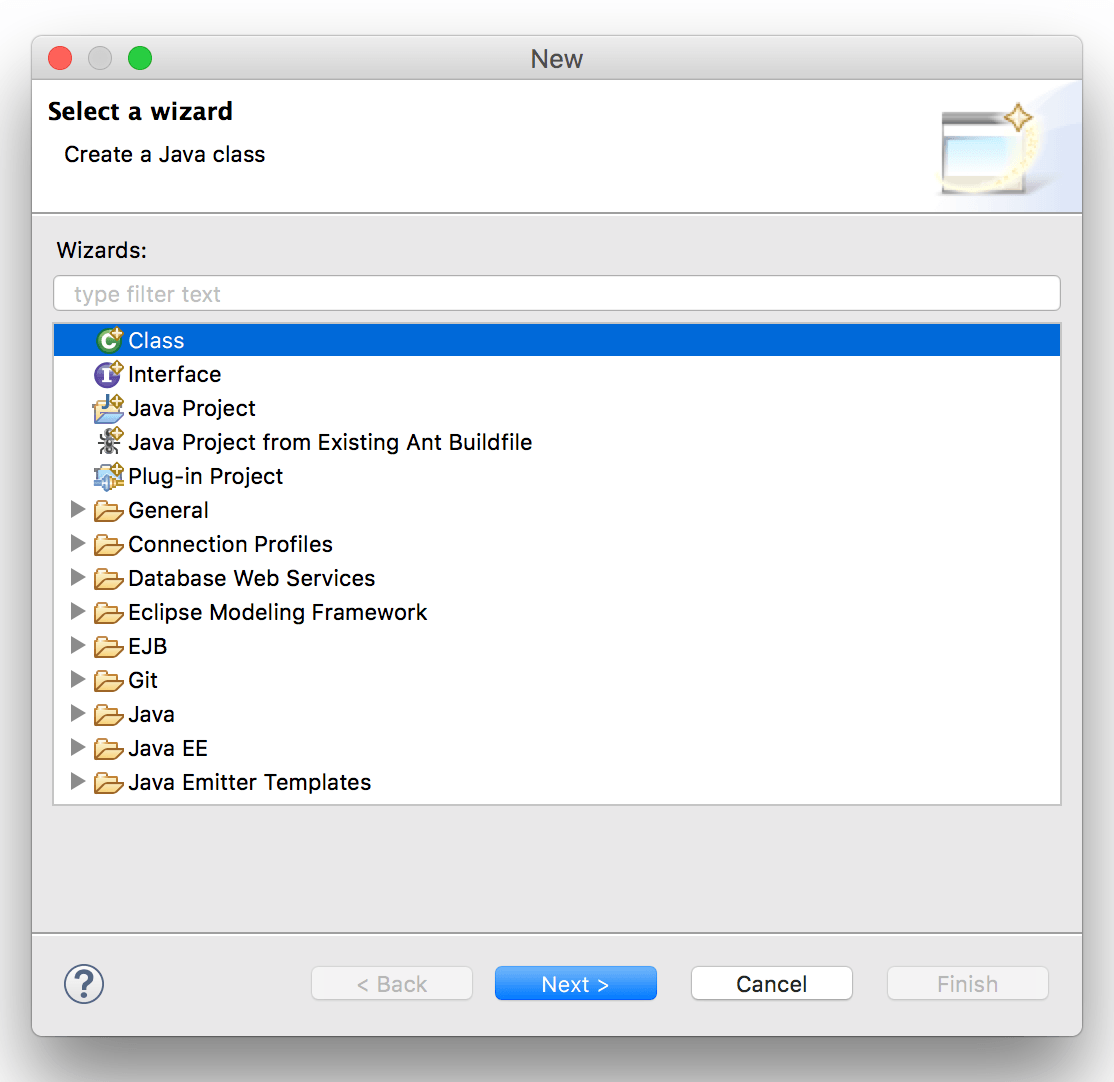
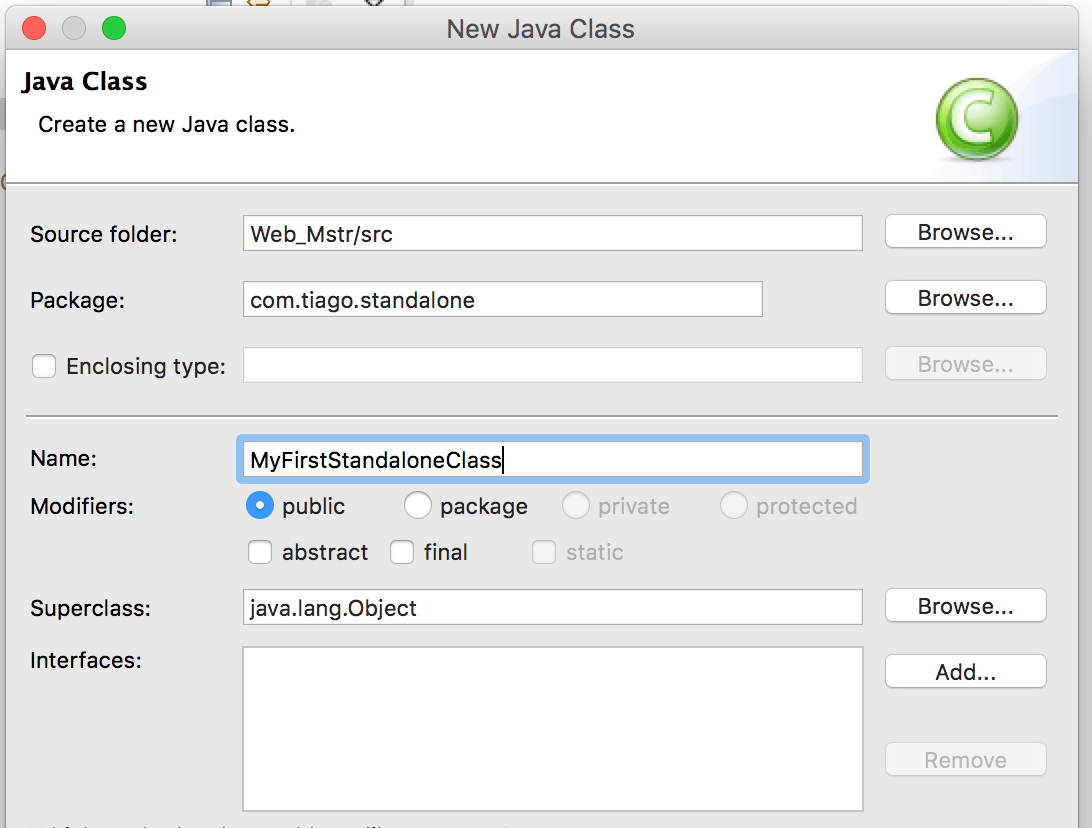
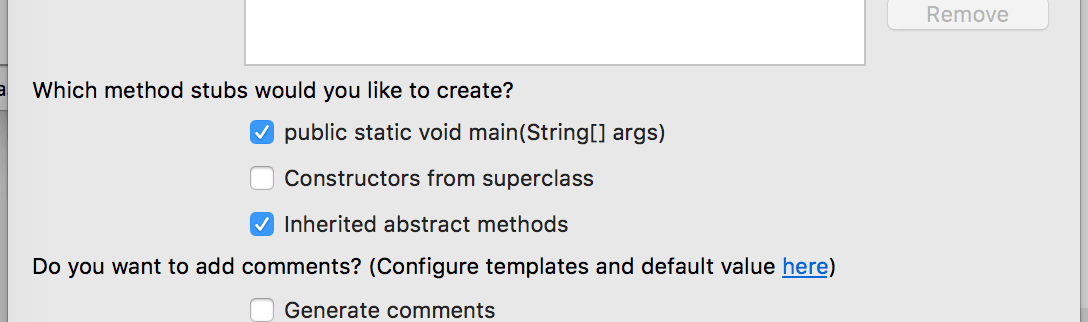
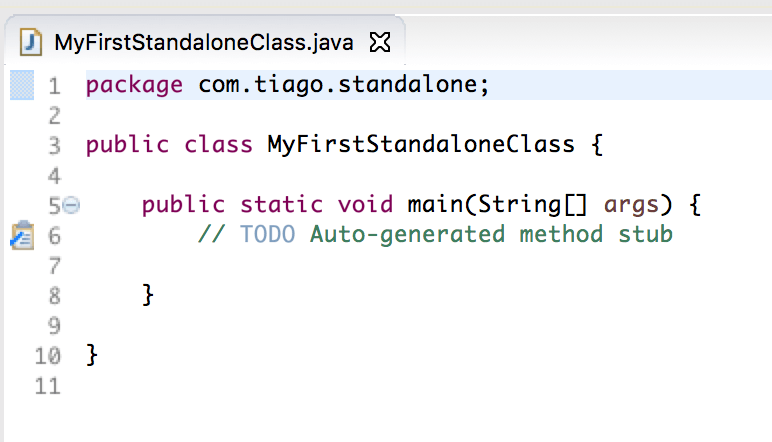
Creating a standalone Java class within the Web Customization Editor

  • Within the Web Customization Editor, navigate to the Package Explorer tab:

​

ka0PW0000000m33YAA_0EM440000002LfA.png


  • Expand the Web_Mstr project, to show a view similar to the one below.
ka0PW0000000m33YAA_0EM440000002LfF.png


  • Right-click the src folder, and choose New > Other...
ka0PW0000000m33YAA_0EM440000002LfK.png


  • Select Package and click Next.
ka0PW0000000m33YAA_0EM440000002LfU.png


  • Give the package a meaningful name, making it easier to identify what Java classes you're adding it to, and click Finish.
ka0PW0000000m33YAA_0EM440000002LfZ.png


  • The new package appears under Web_Mstr > src. Right-click the newly created package and select New > Other...
ka0PW0000000m33YAA_0EM440000002Lfe.png


  • Select Class and click Next.
ka0PW0000000m33YAA_0EM440000002LfP.png


  • This is the standalone class we are creating. Give it a meaningful name:
ka0PW0000000m33YAA_0EM440000002Lfj.png


  • Under Which method stubs would you like to create, ensure public static void main is selected.
ka0PW0000000m33YAA_0EM440000002Lfo.png


  • Click Finish. Eclipse automatically creates this file and adds a main() method to it.

​

ka0PW0000000m33YAA_0EM440000002Lft.png

 
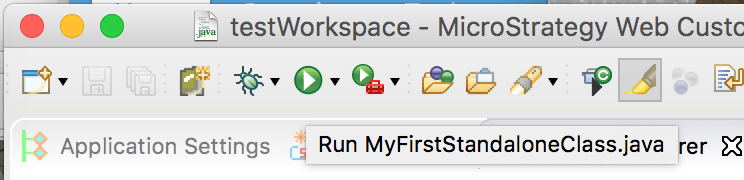
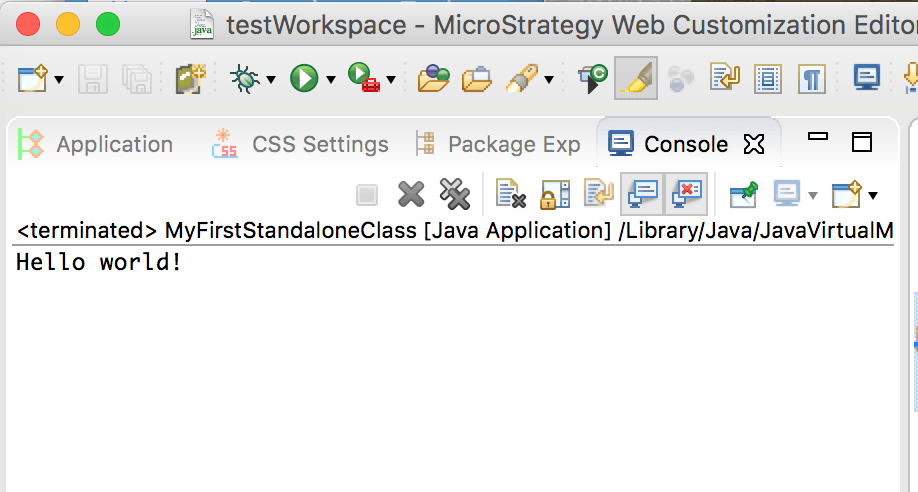
Executing a standalone class within the Web Customization Editor
This main method is the starting point of your standalone class. Any logic within this method will be executed when the standalone class is run. You can create additional methods and call them within this method, or execute existing methods as needed.

  • As an example, add the following print statement to the main method body:
ka0PW0000000m33YAA_0EM440000002Lfy.png


  • To execute the standalone class, click the execute/play button in the Eclipse menu bar:
ka0PW0000000m33YAA_0EM440000002Lg3.png


  • This executes the main() method within your class, including any logic within it. After clicking the execute button, the console view displays your output.
ka0PW0000000m33YAA_0EM440000002Lg8.png

 
While this tutorial focuses on the creation of a standalone class, this scenario can be expanded to call Strategy Web SDK APIs within this class, on-demand, to test custom logic against the Strategy Web APIs.


Comment

0 comments

Details

Knowledge Article

Published:

May 15, 2017

Last Updated:

February 15, 2024