Billing projects help with distributing the cost of the queries among certain departments. To learn more about this feature, please see the BigQuery Cloud Billing documentation.
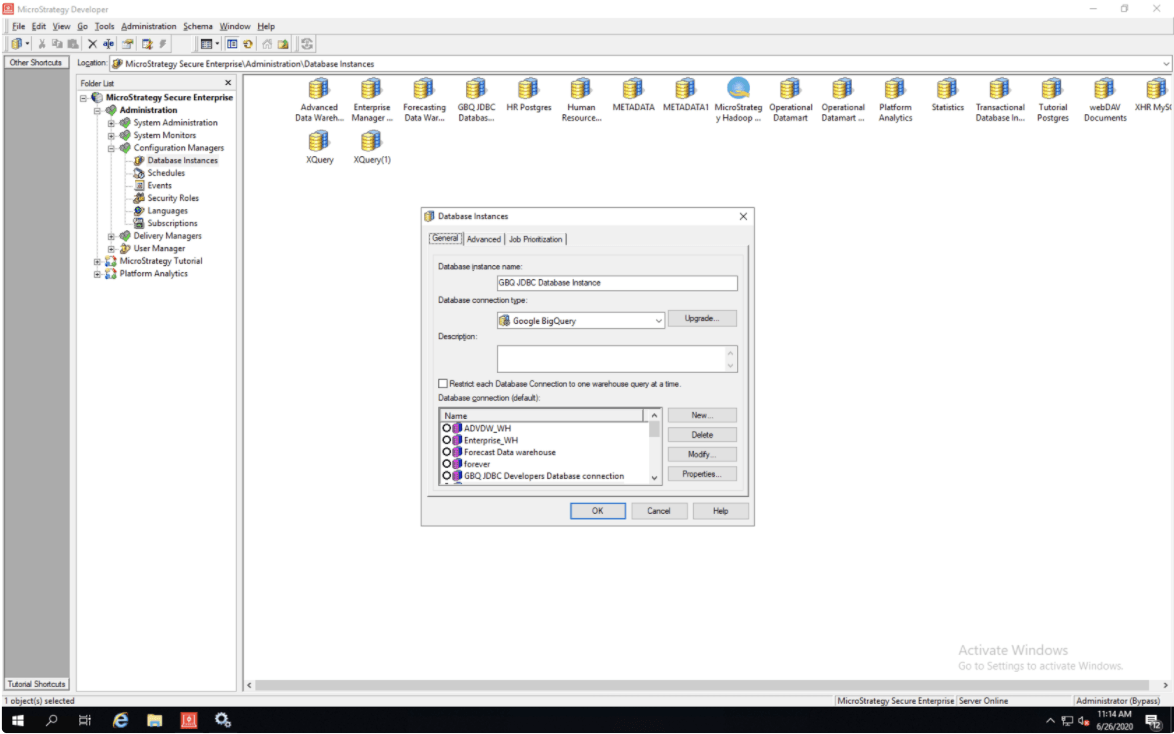
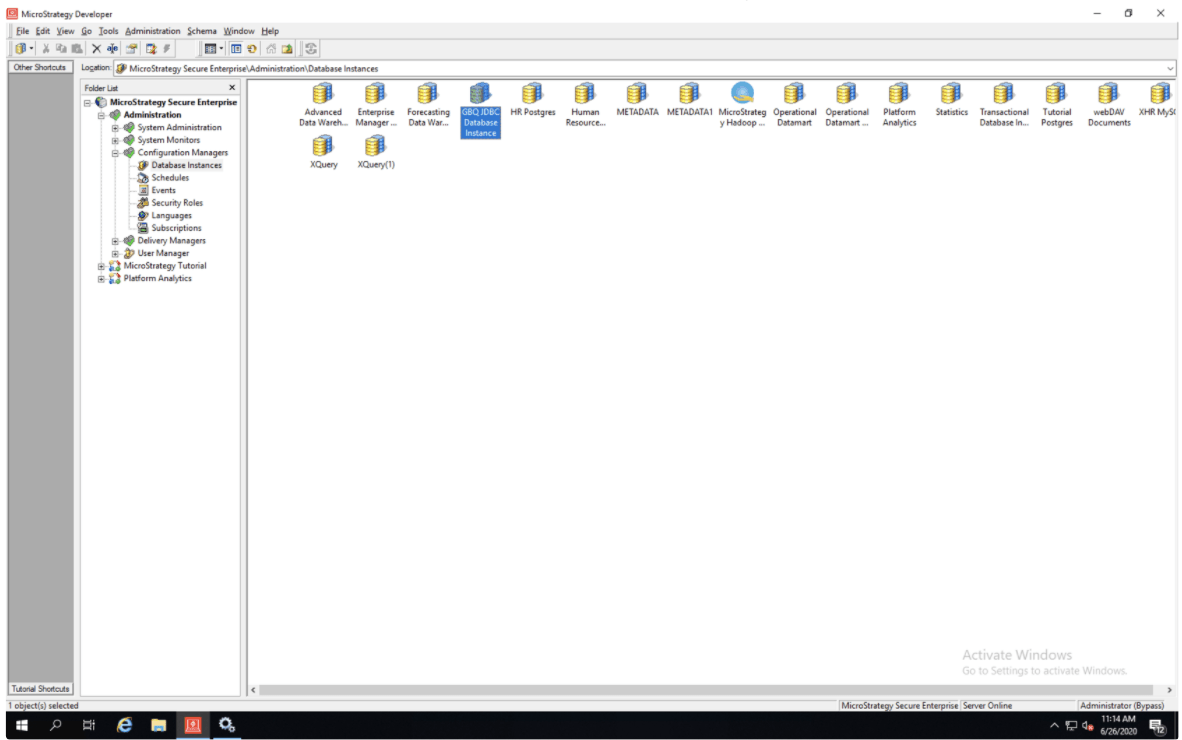
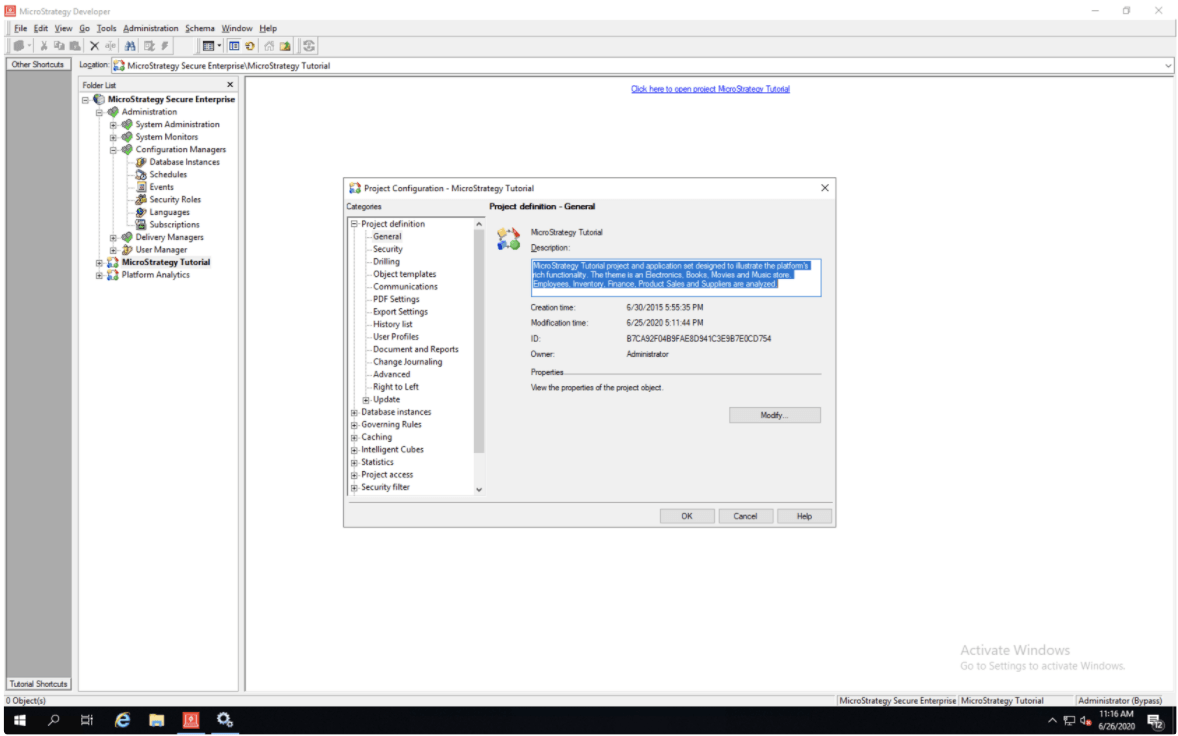
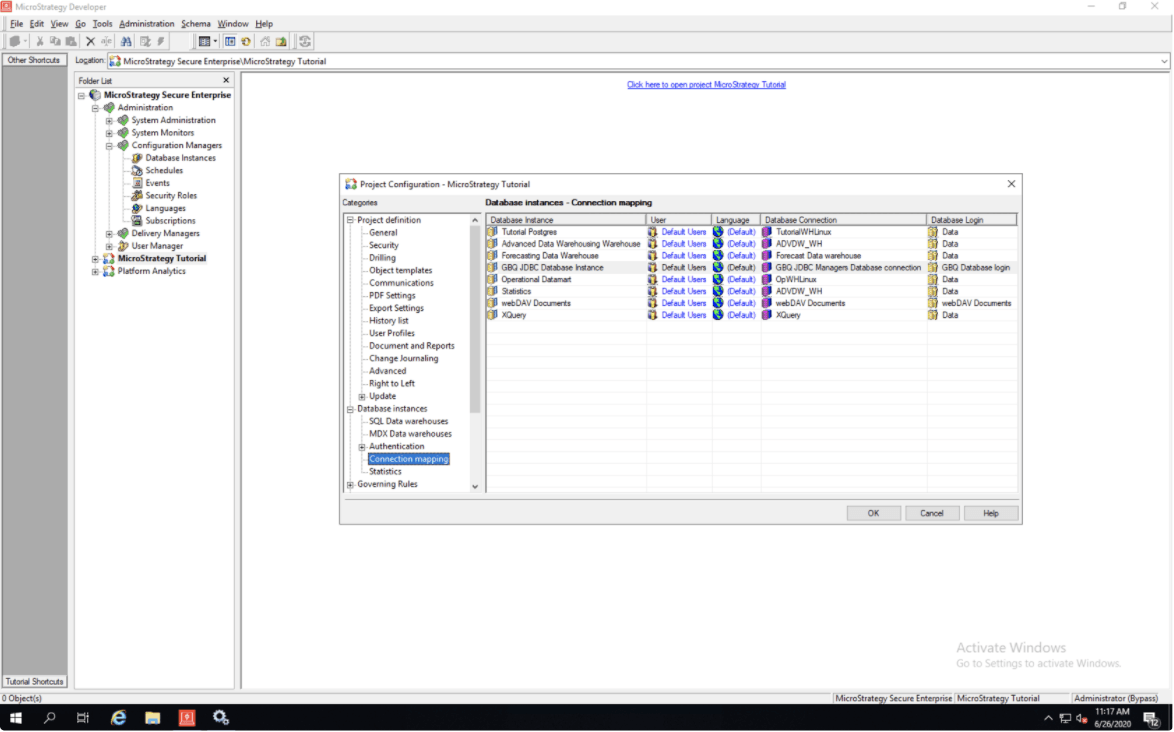
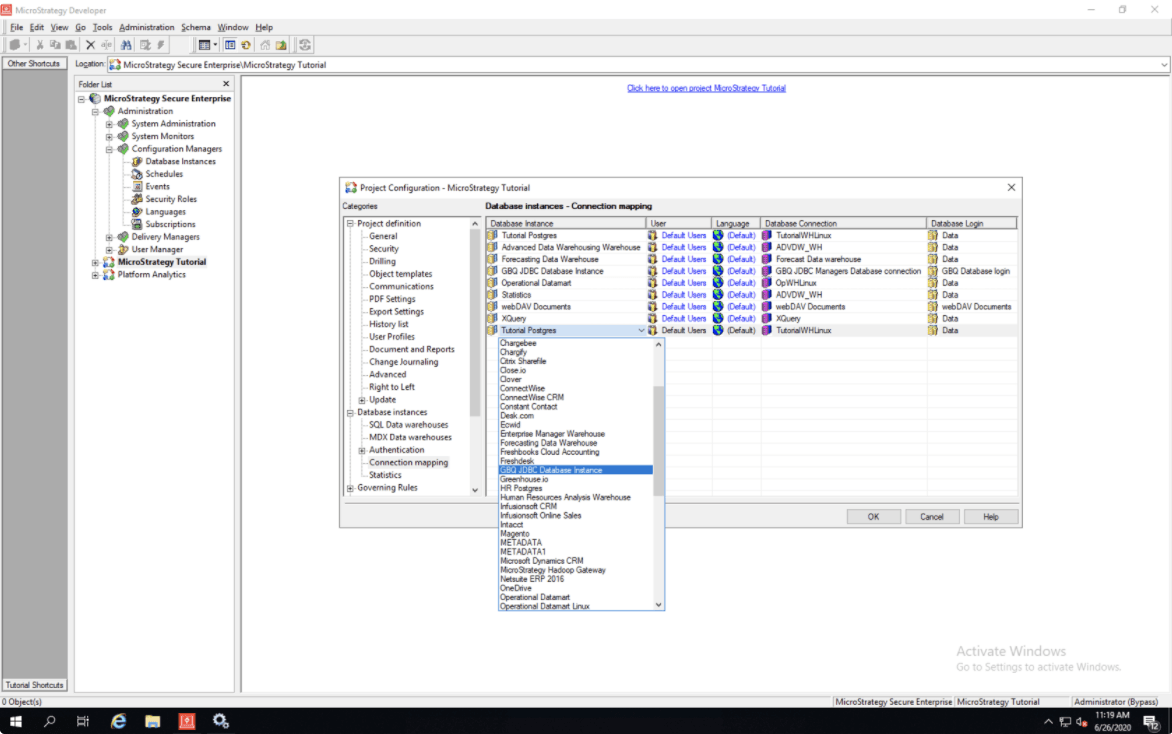
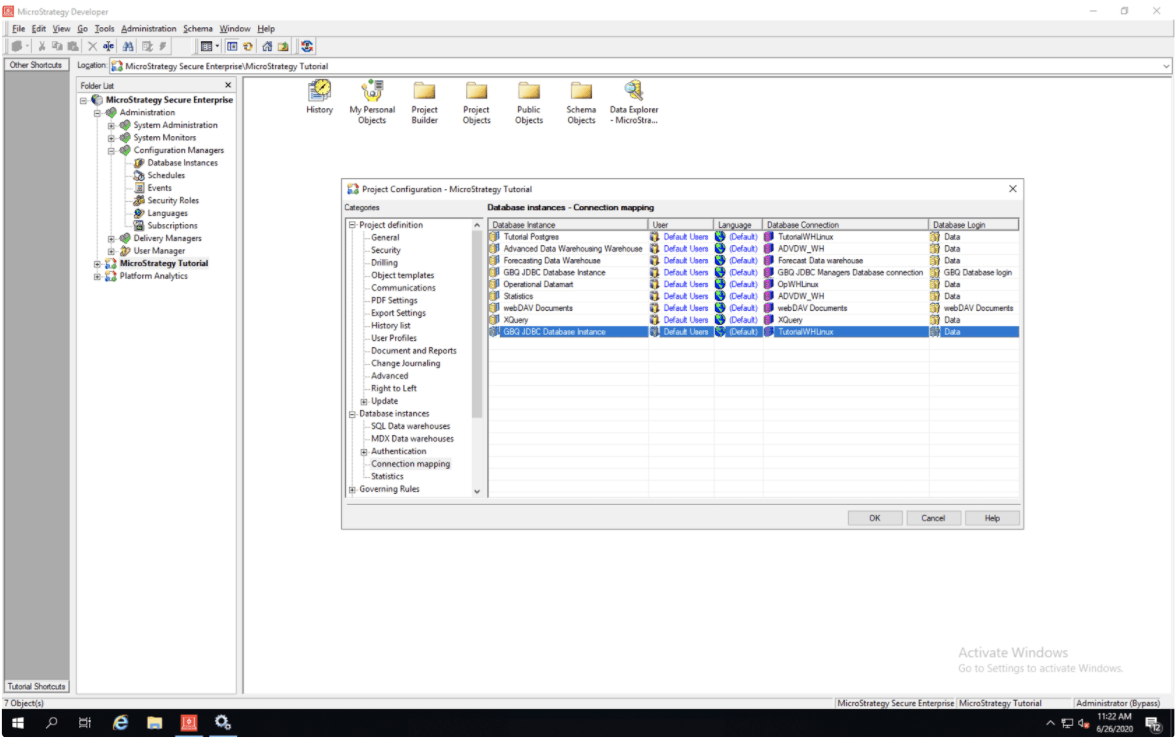
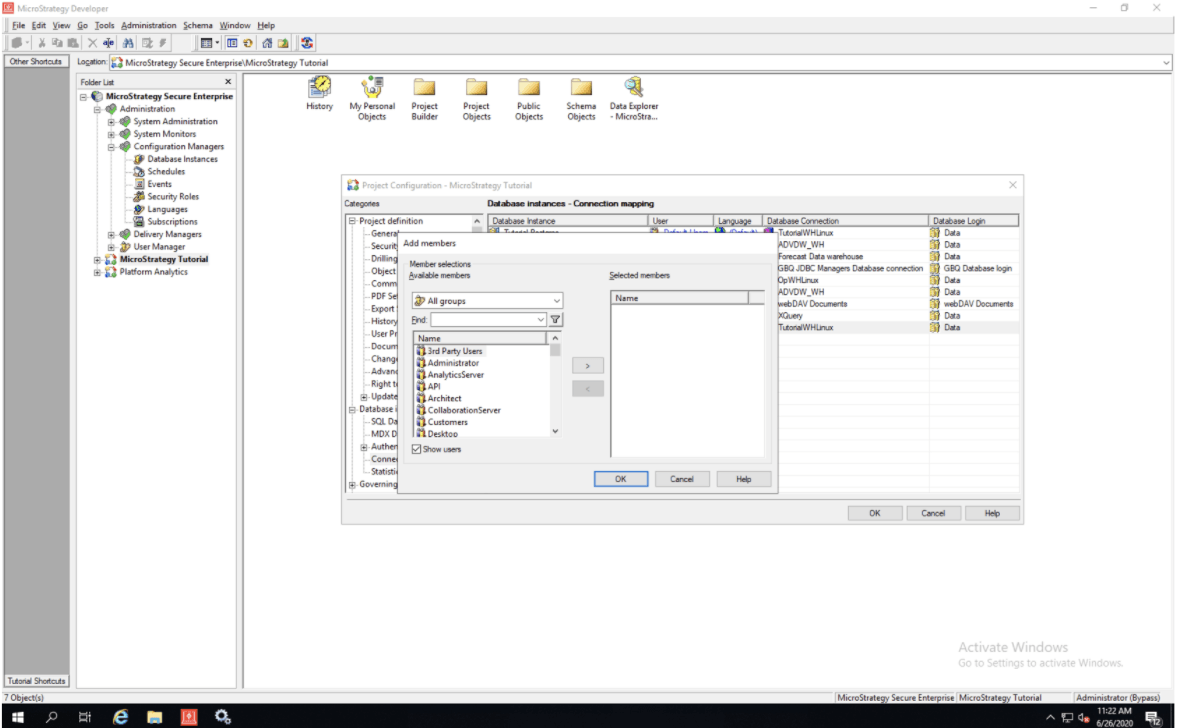
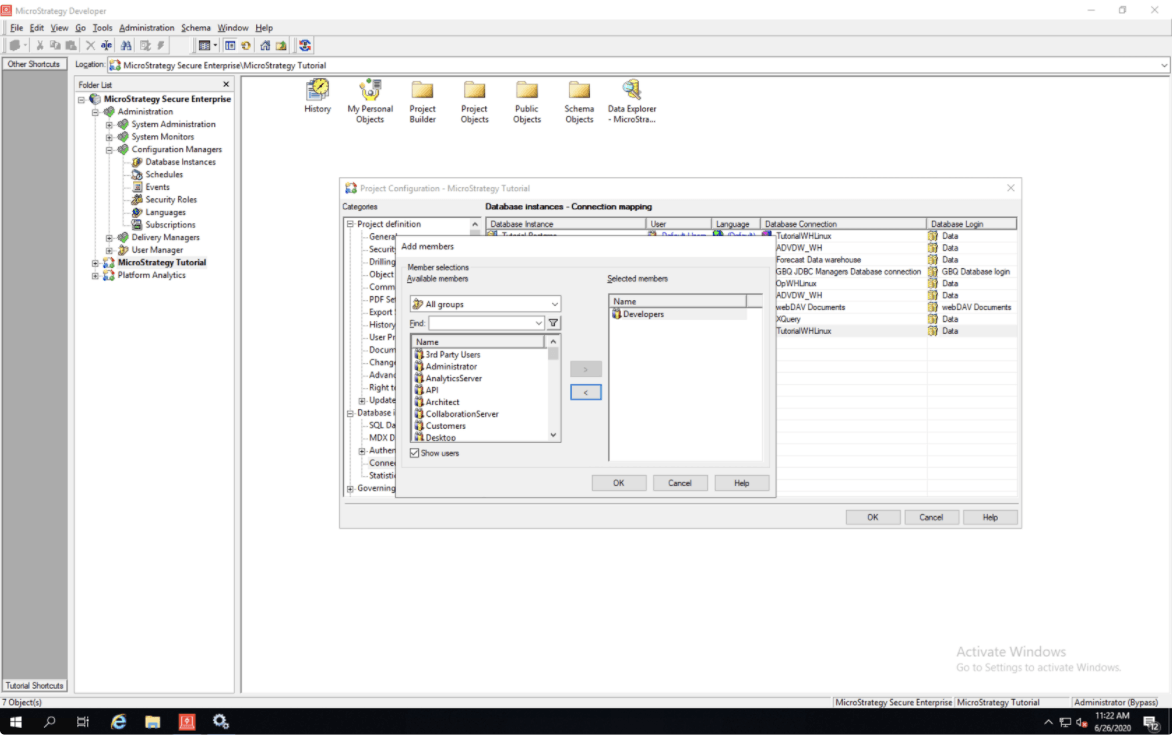
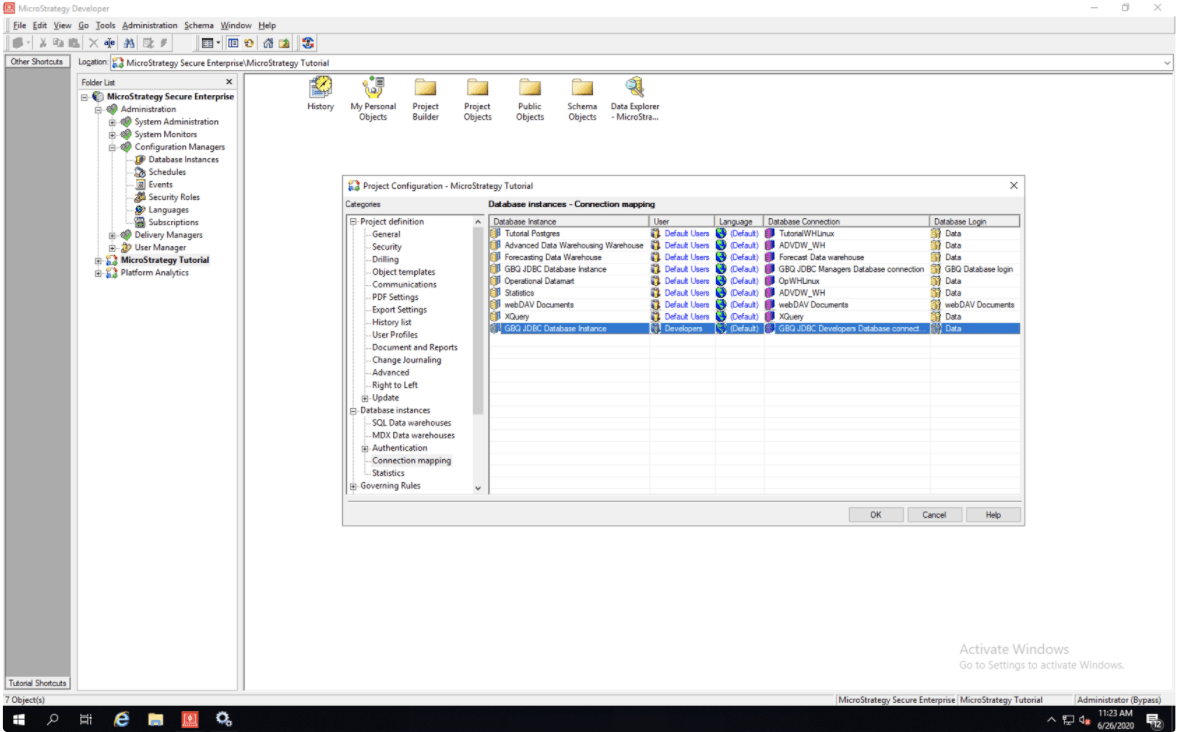
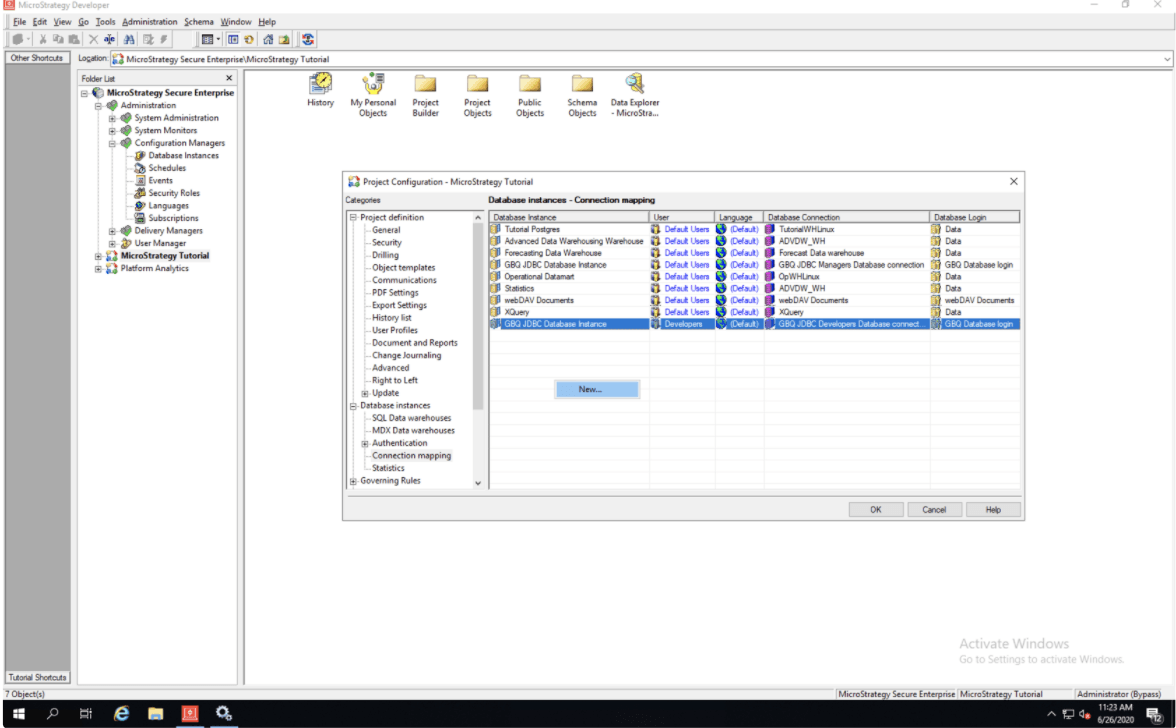
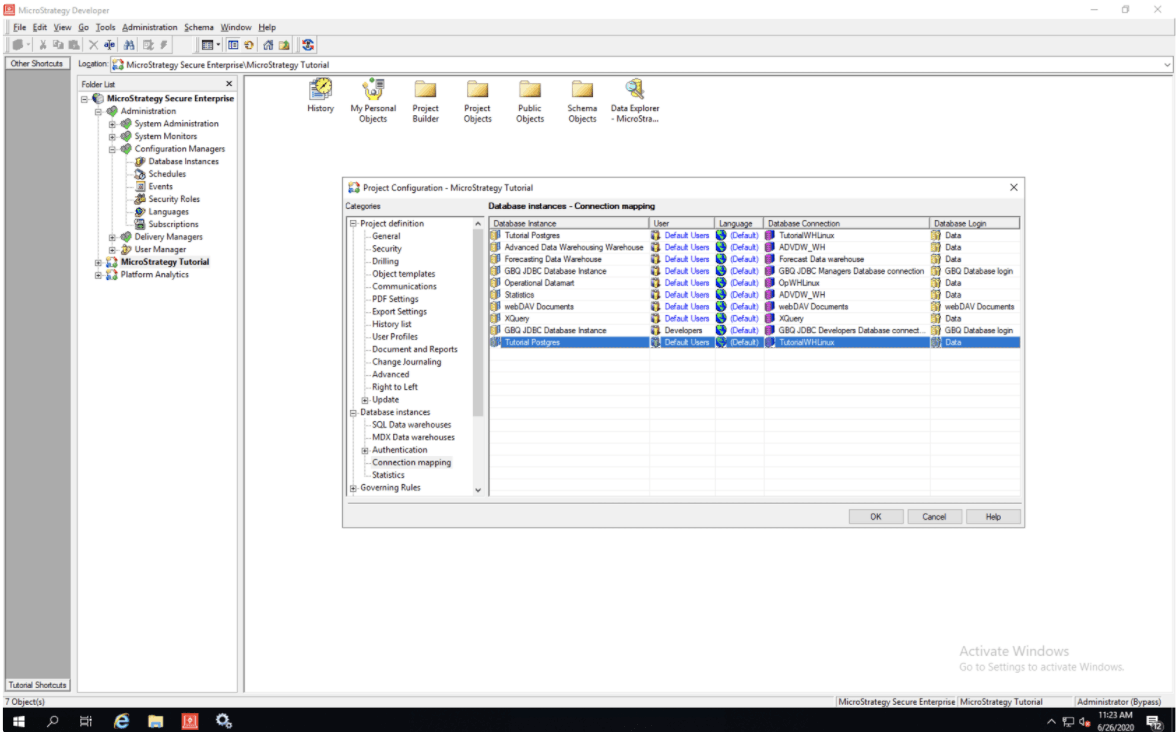
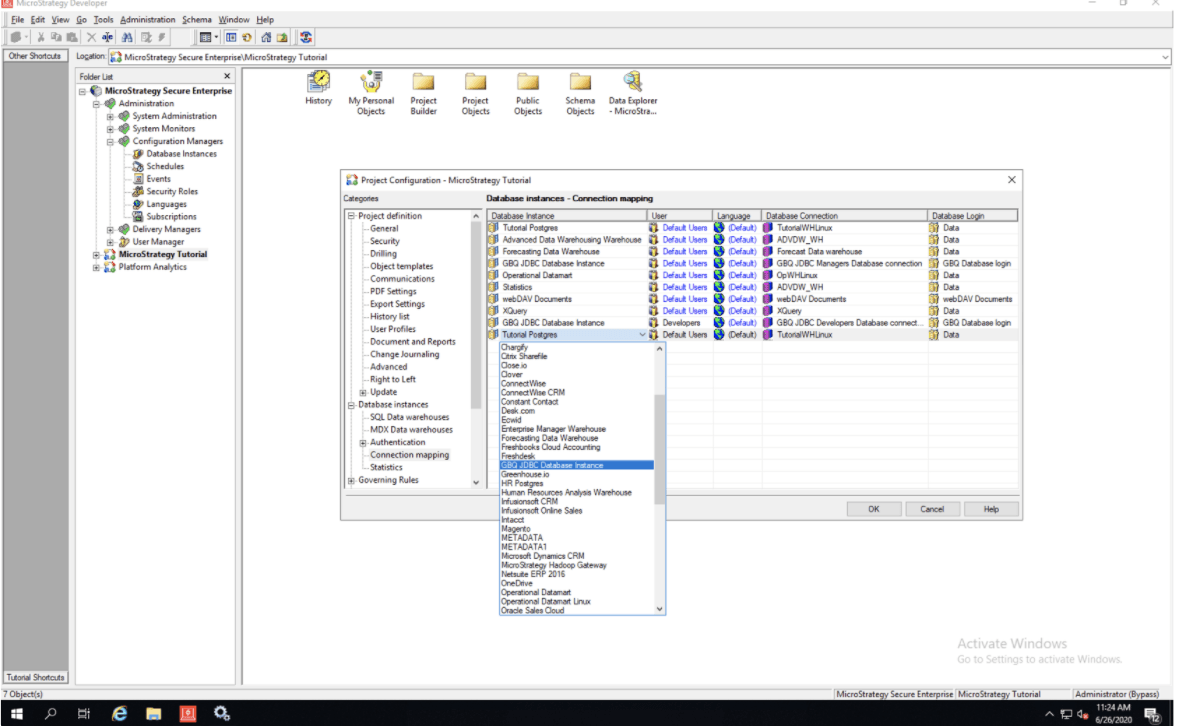
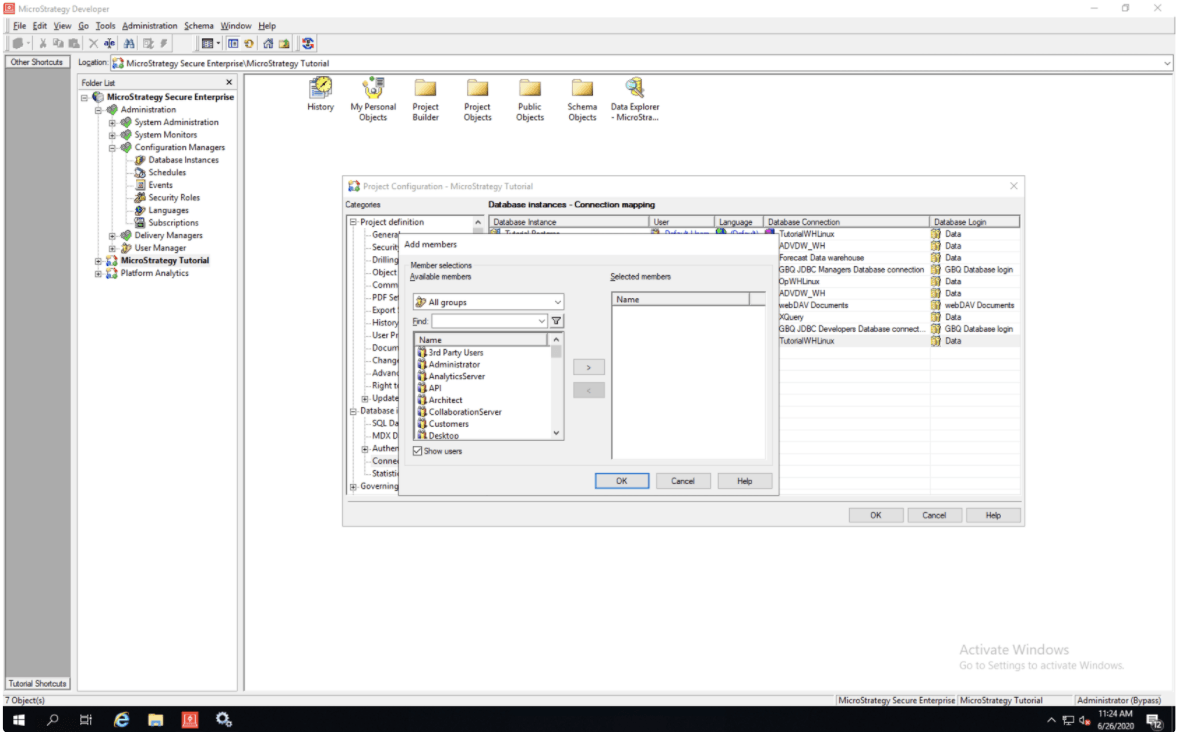
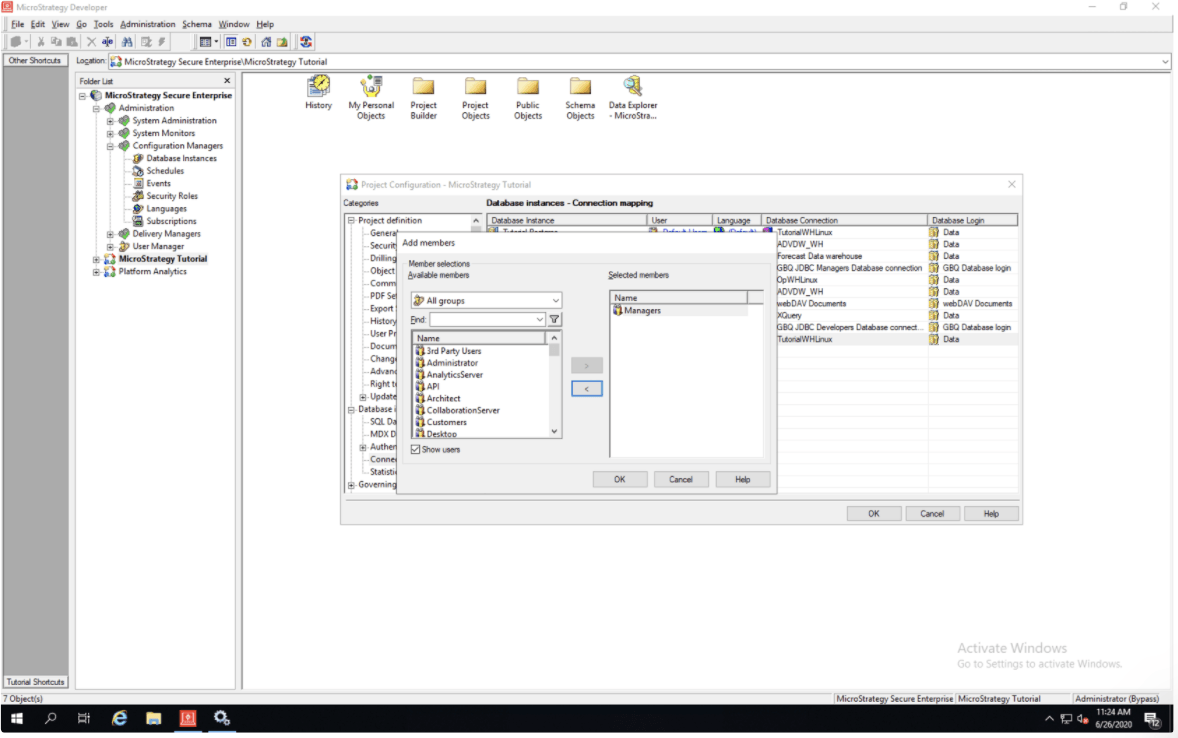
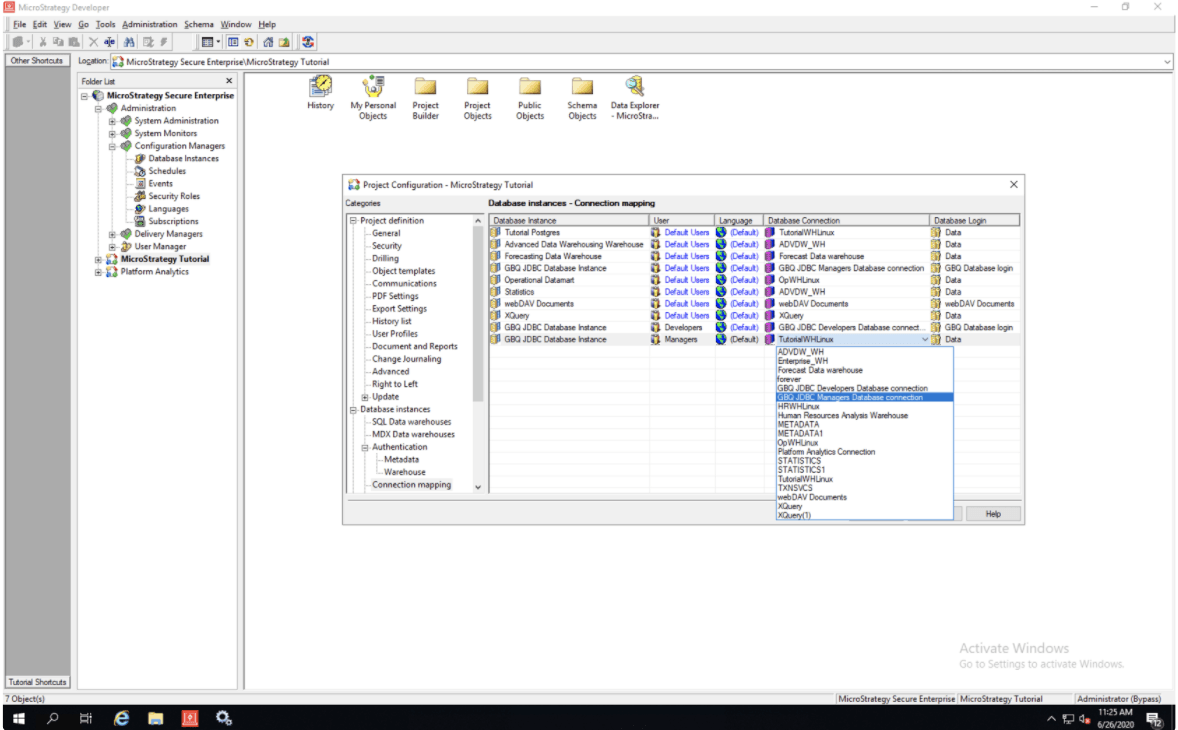
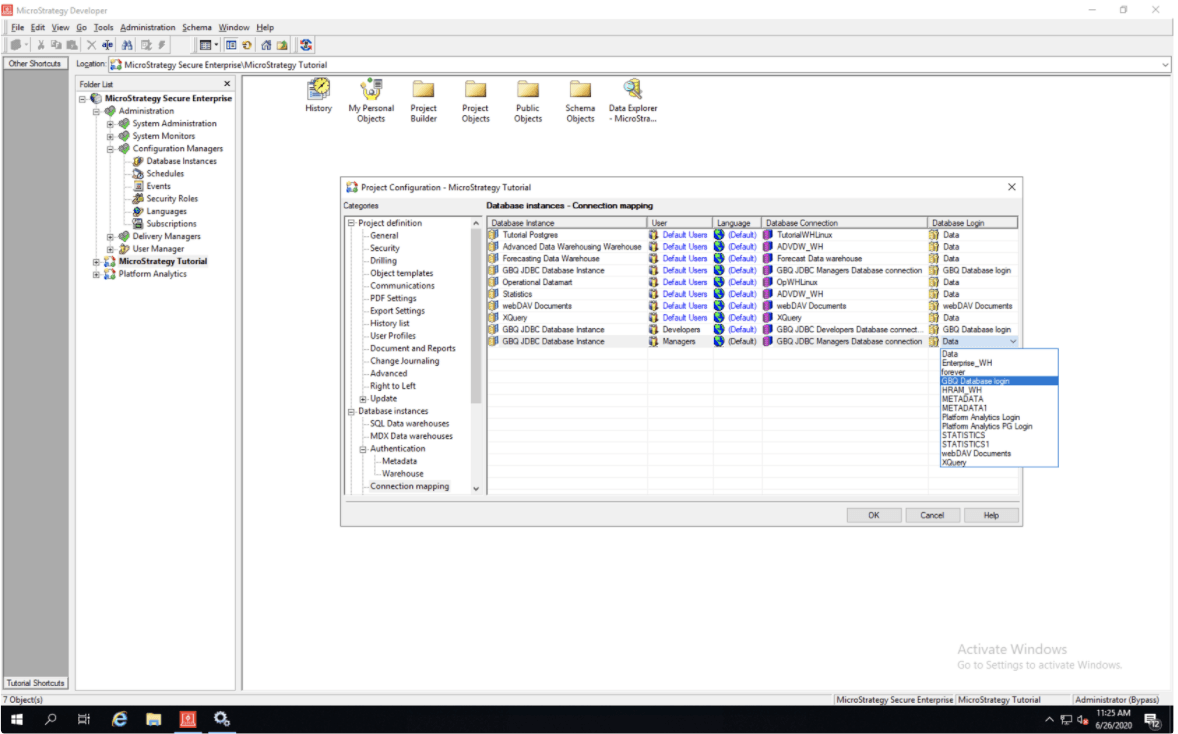
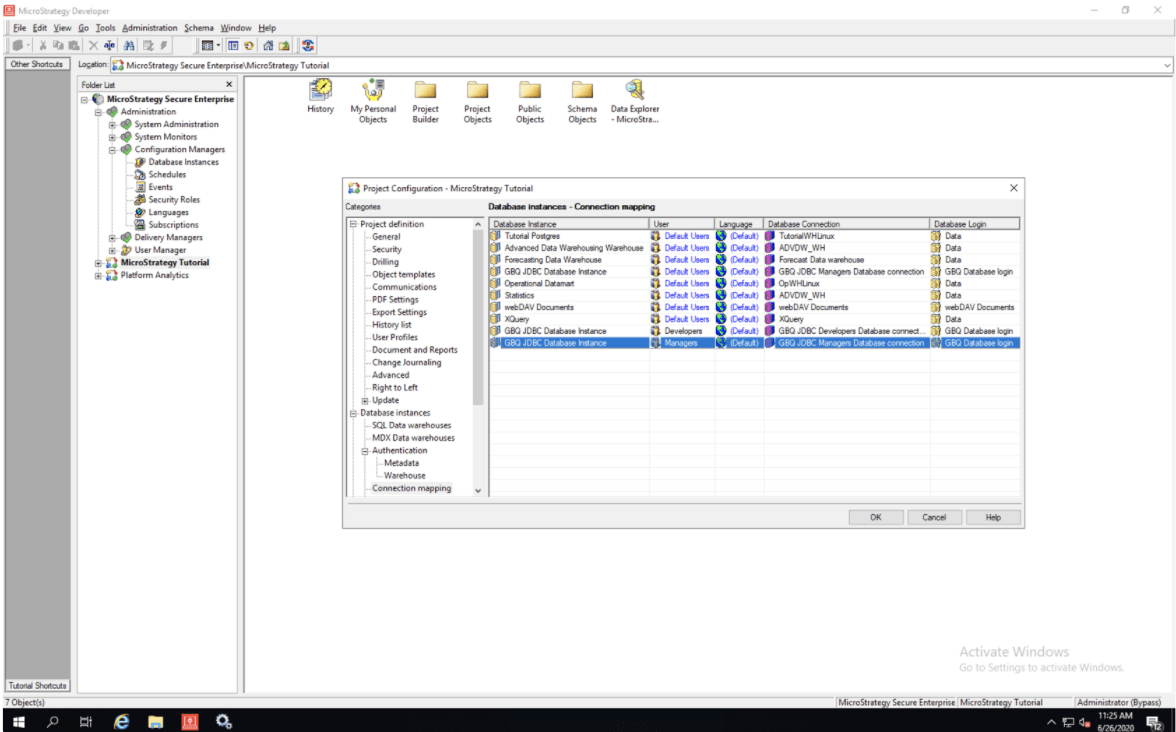
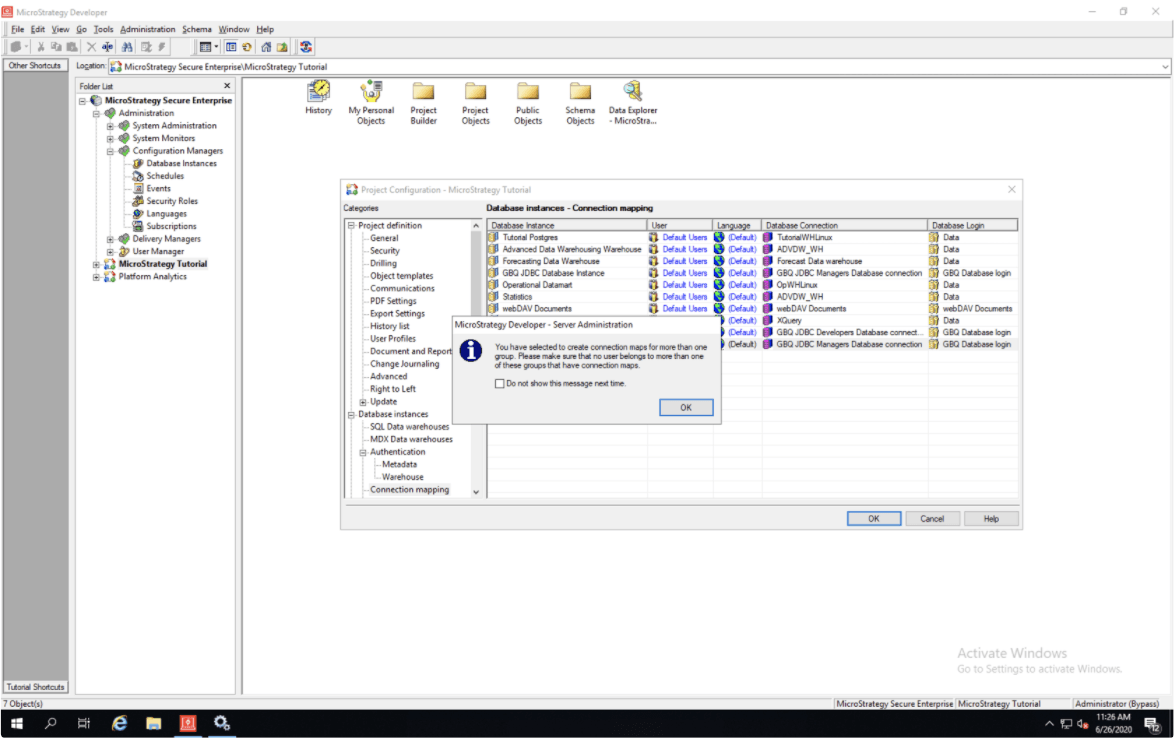
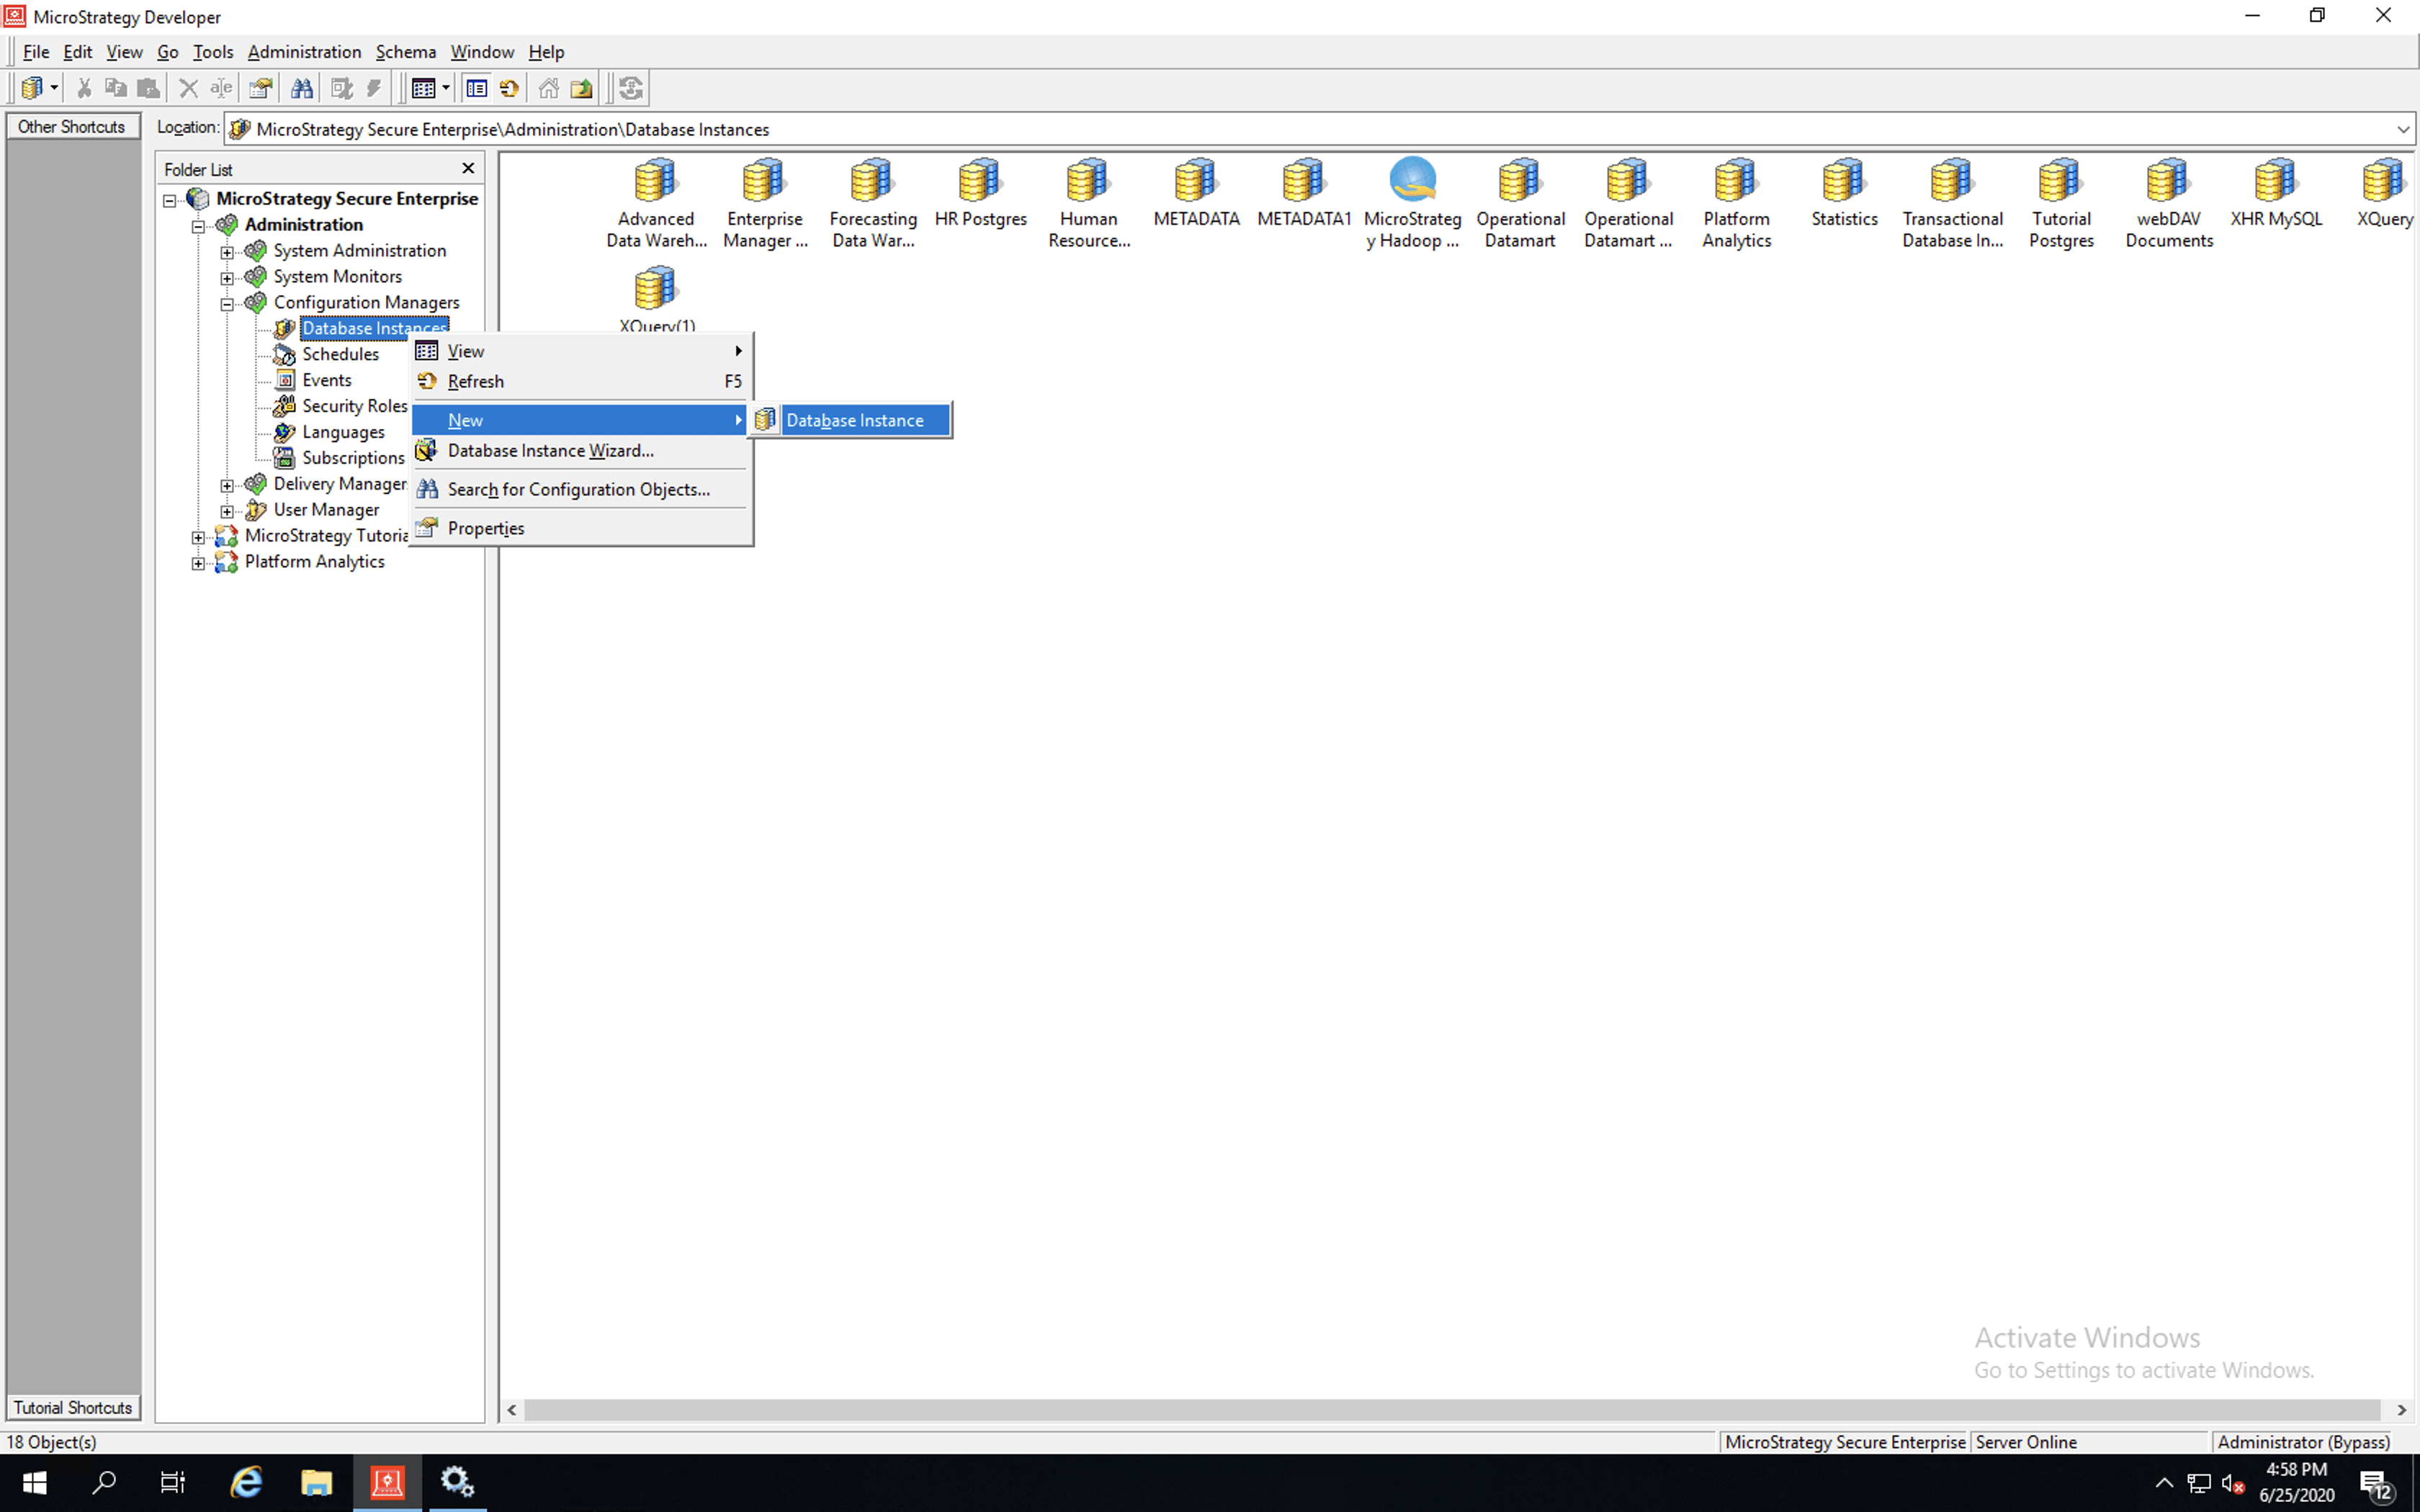
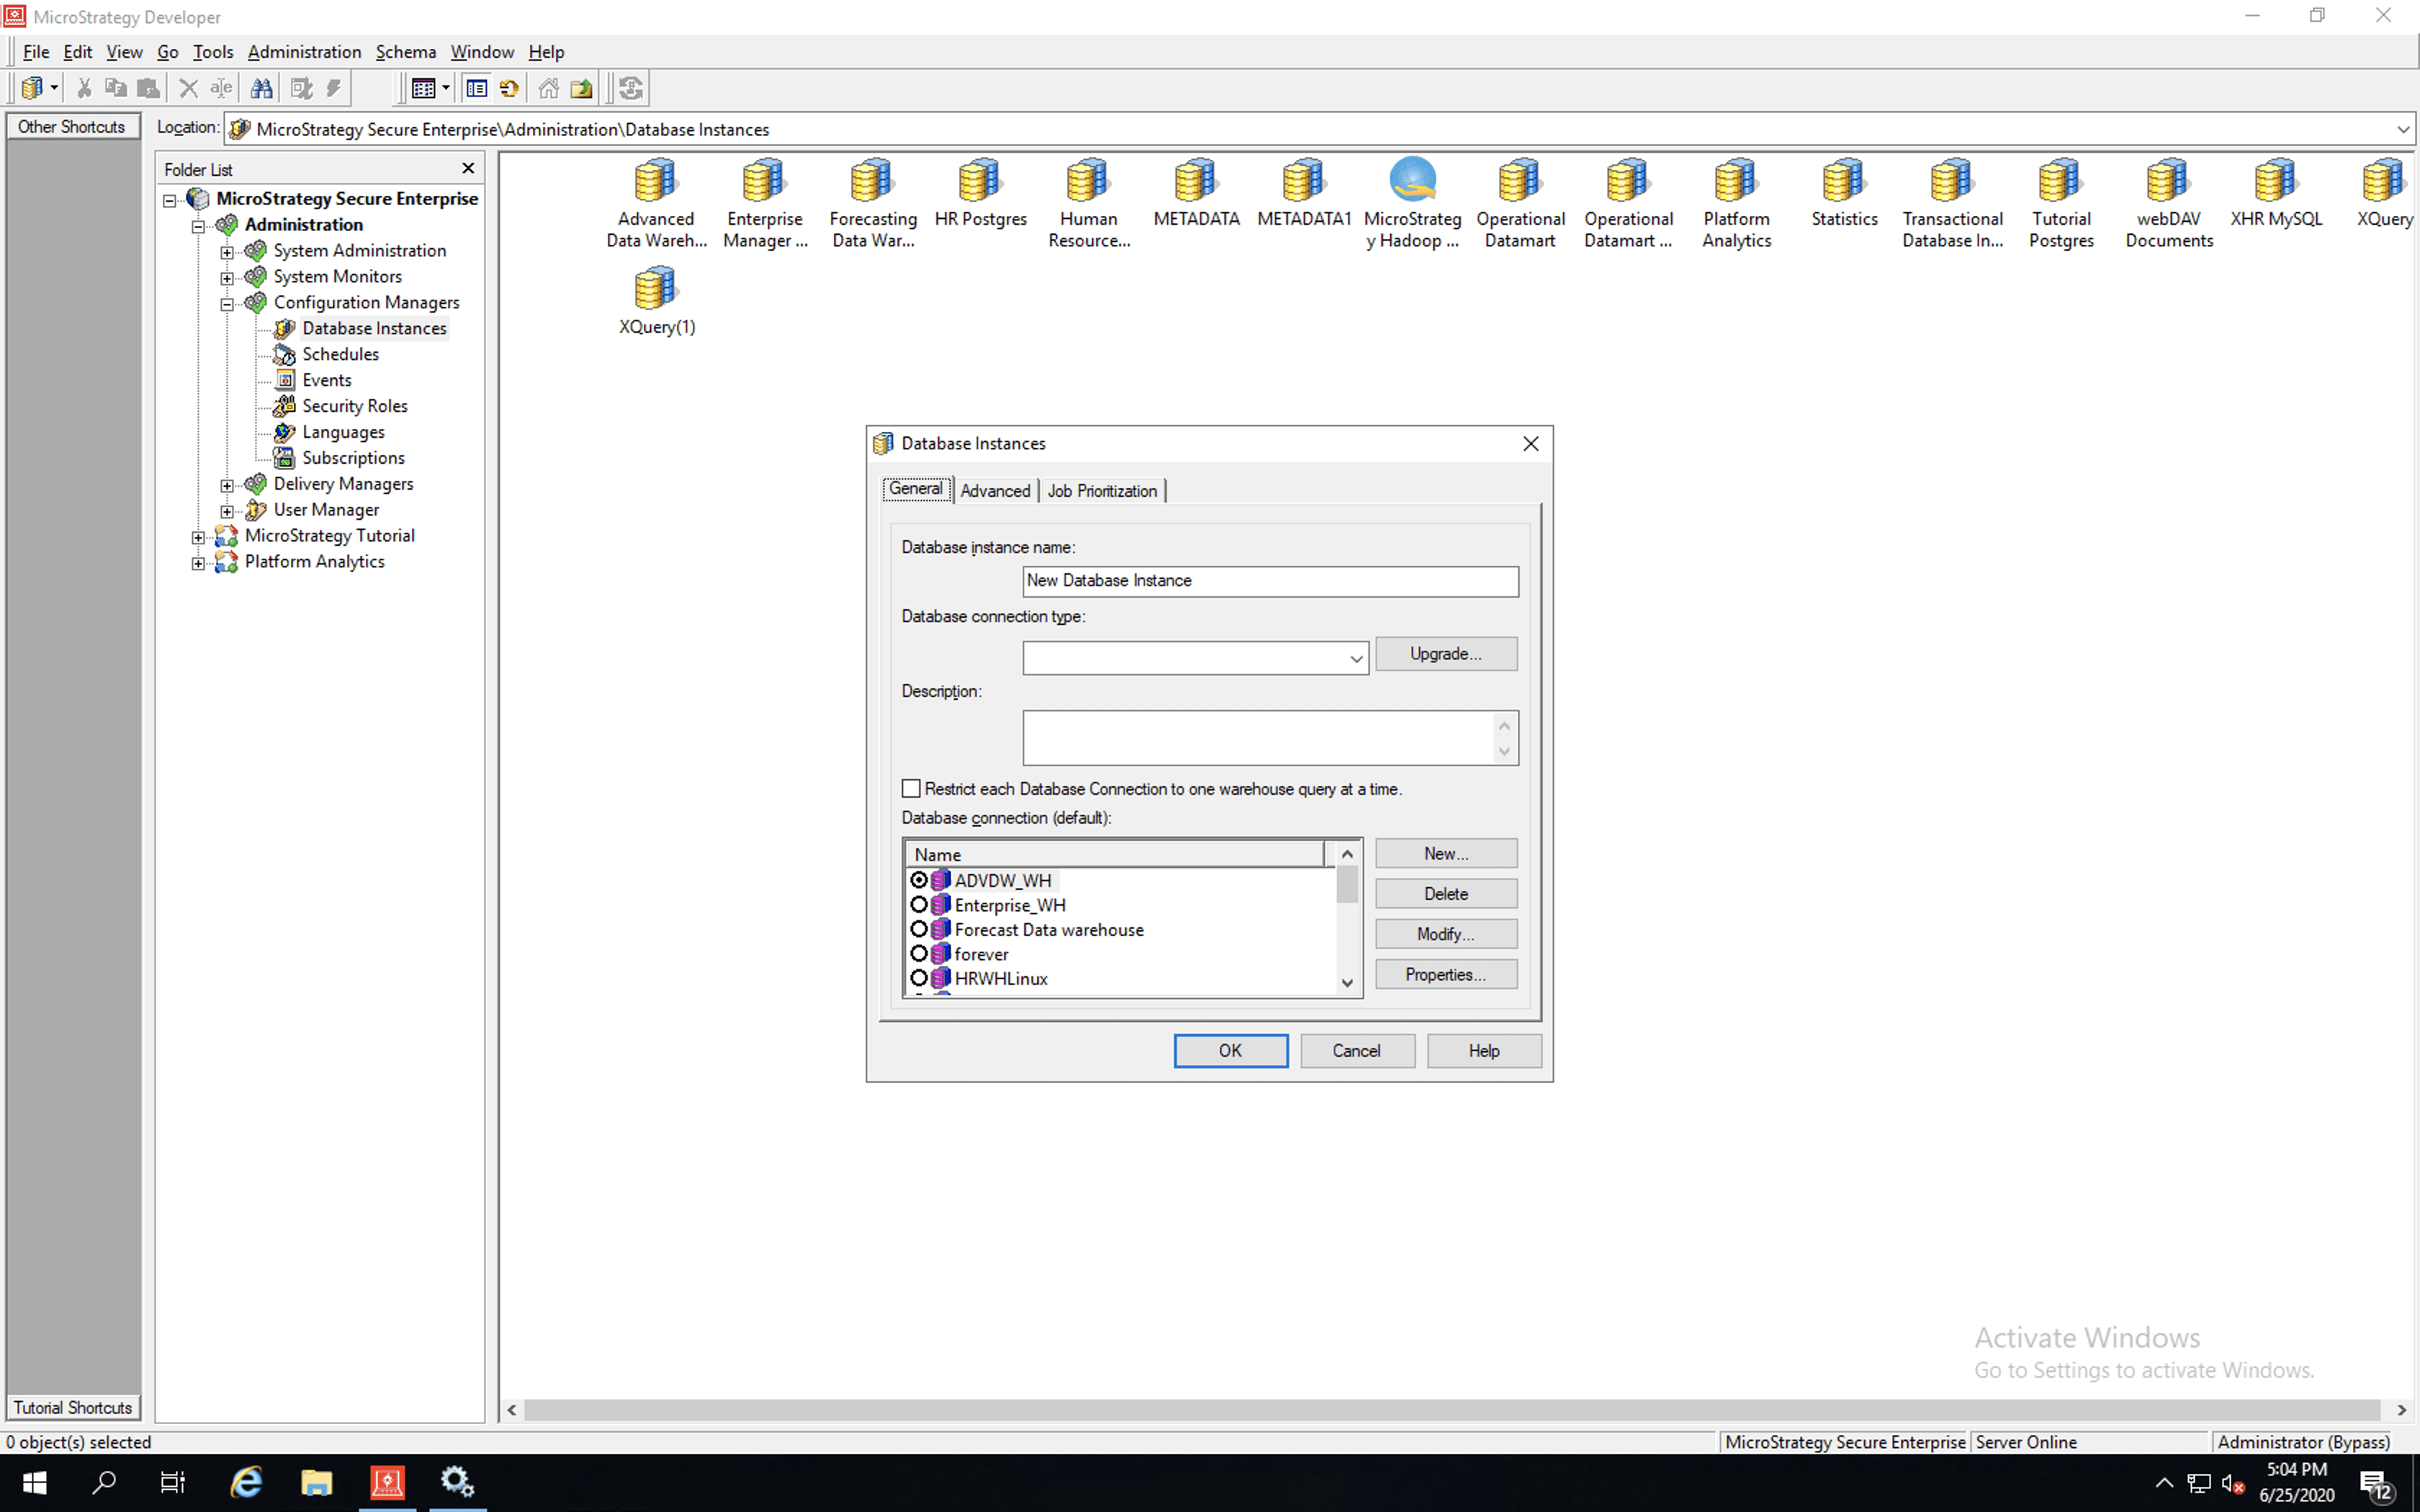
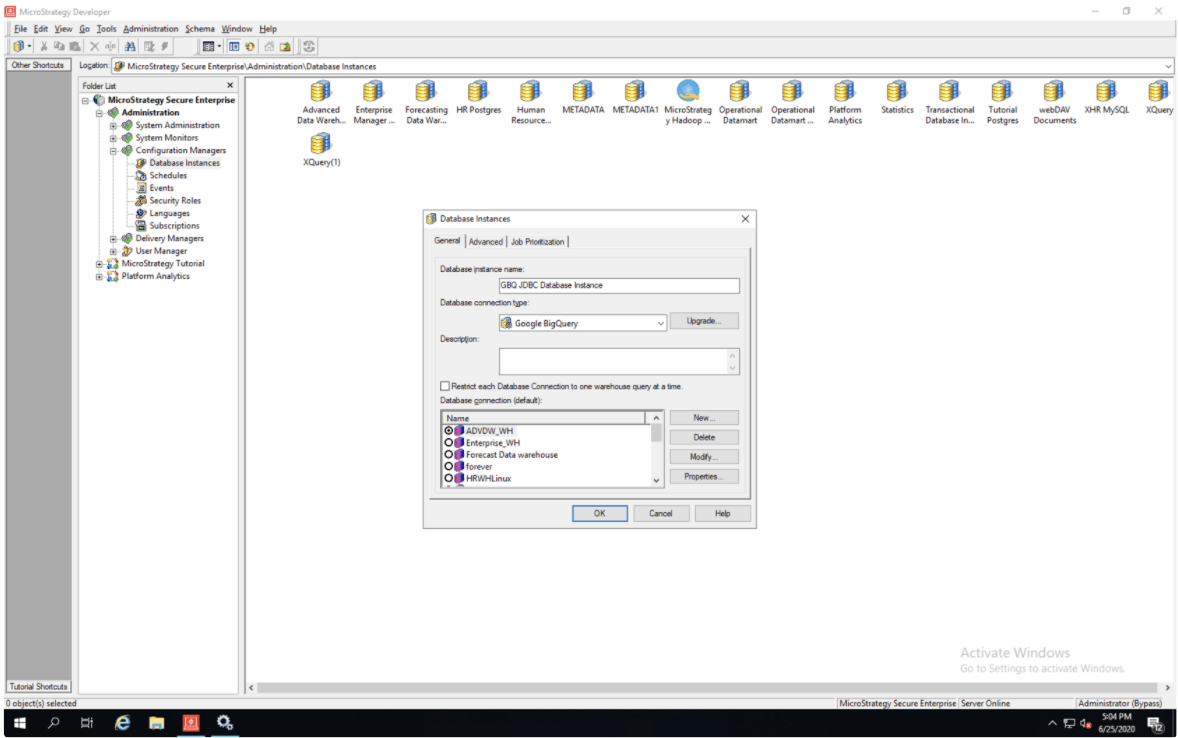
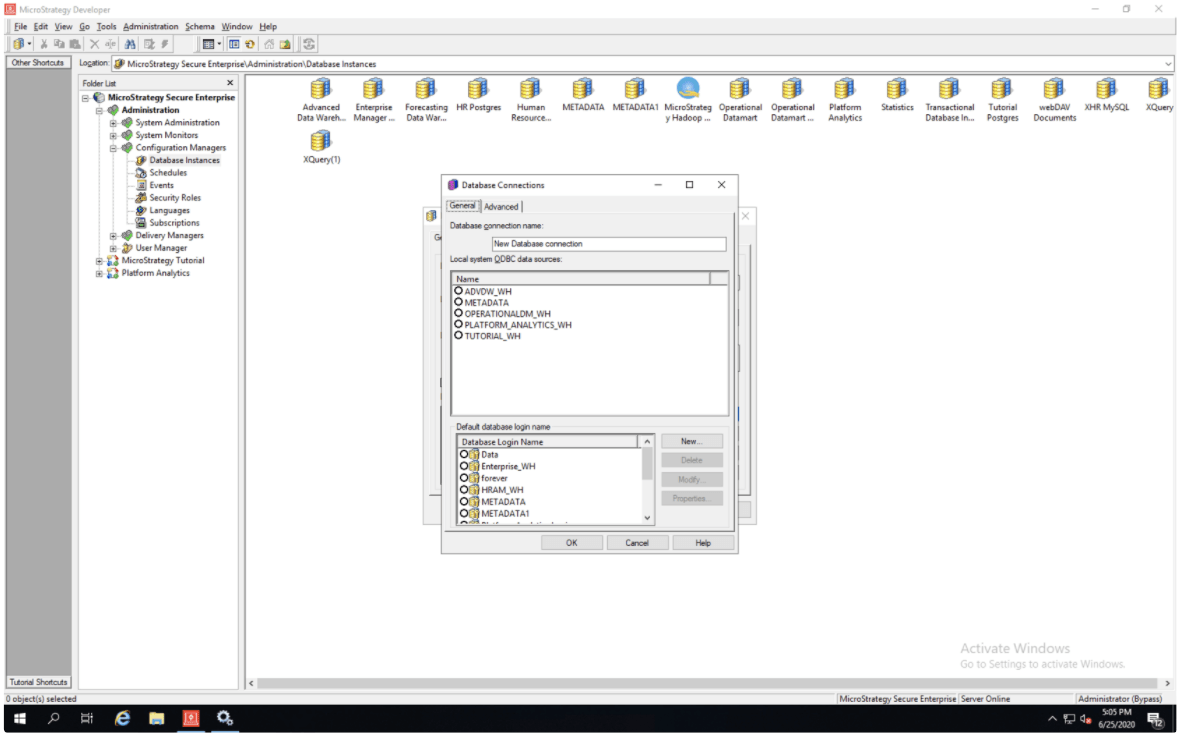
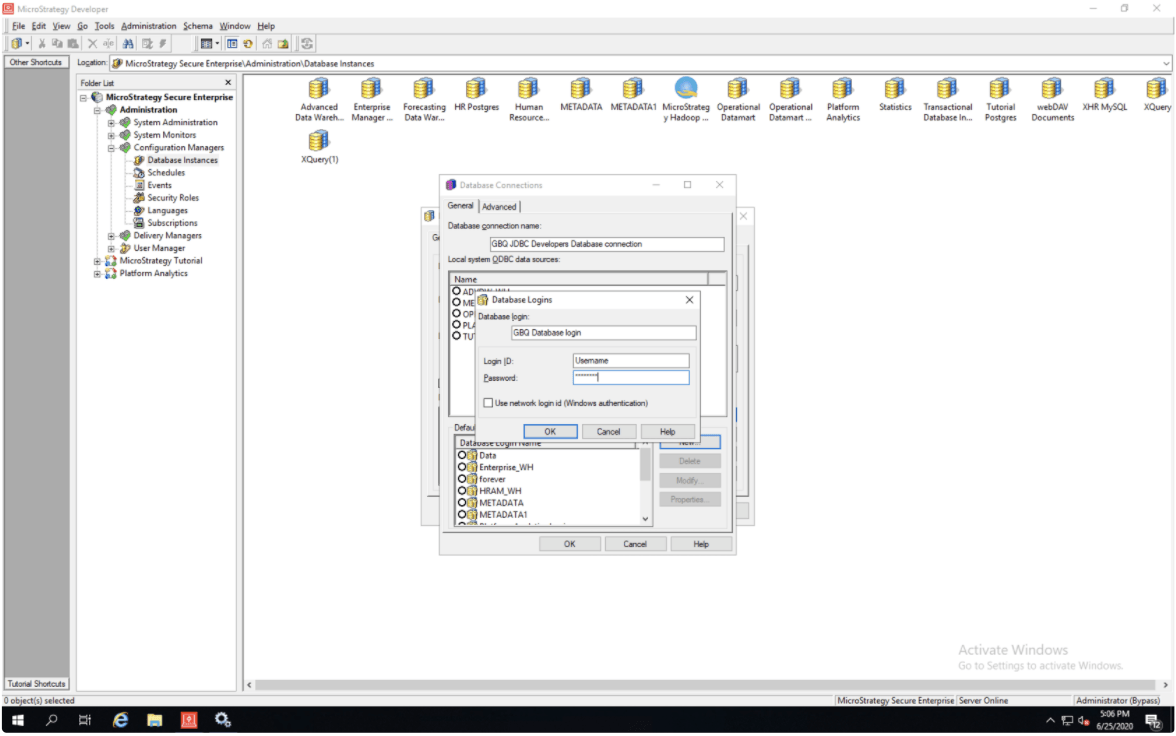
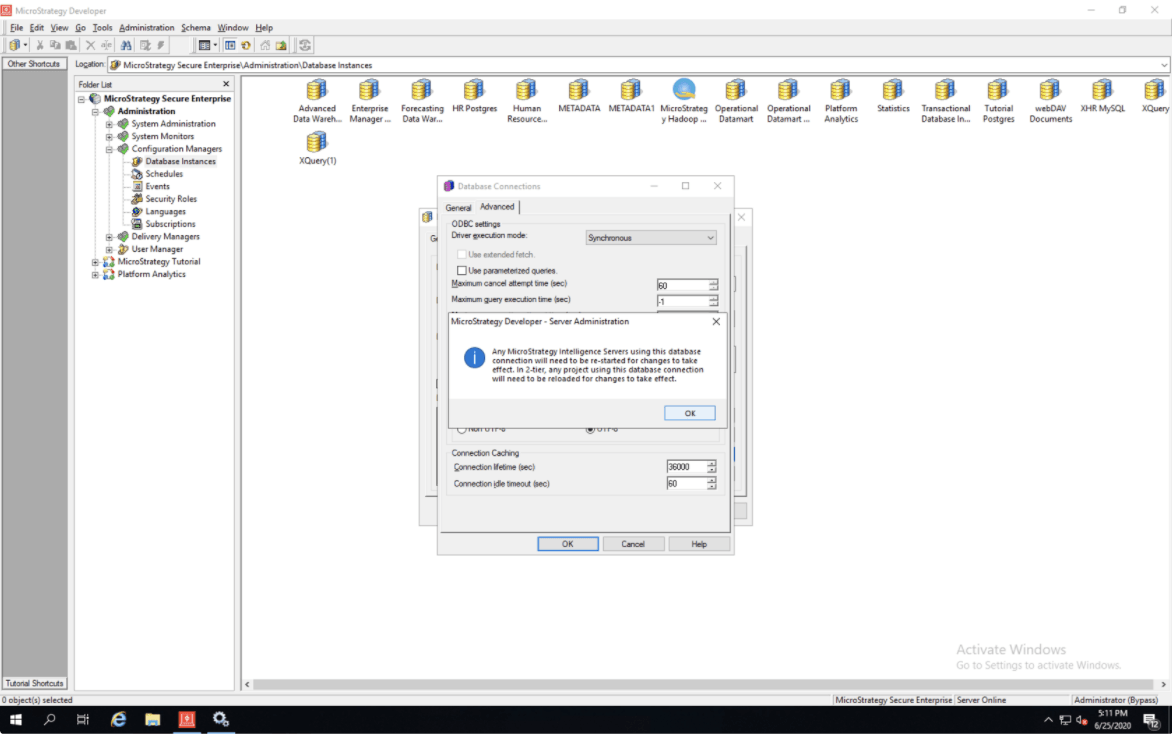
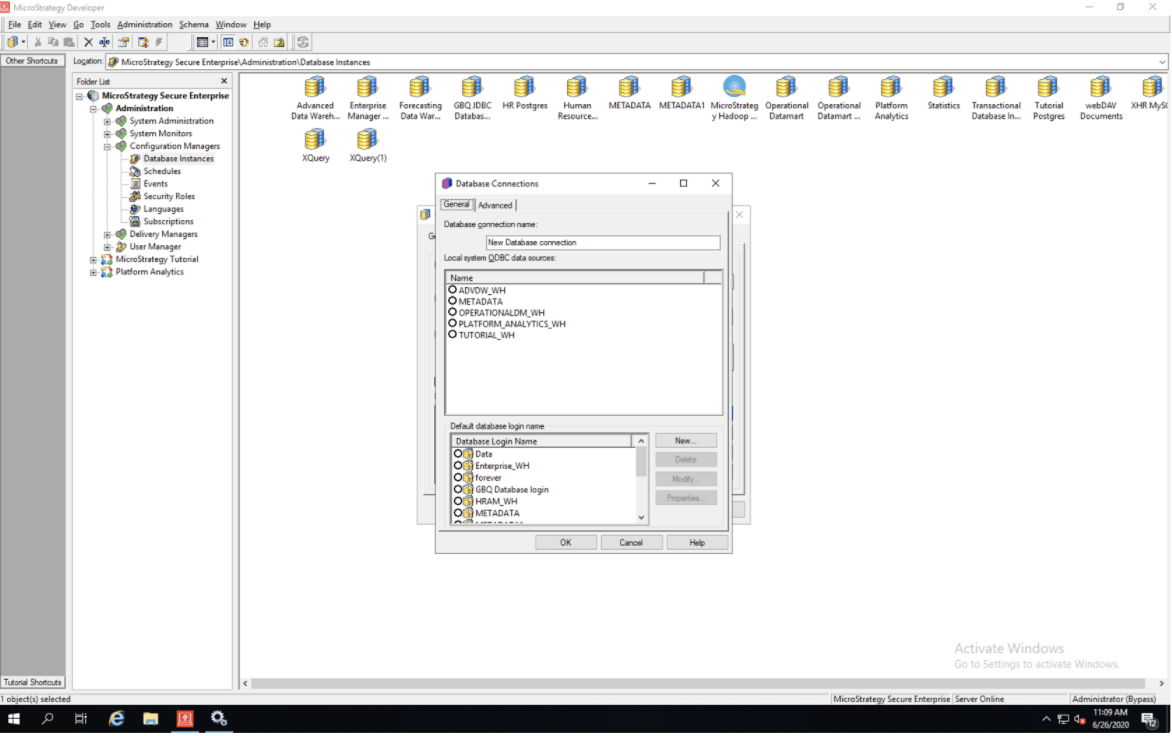
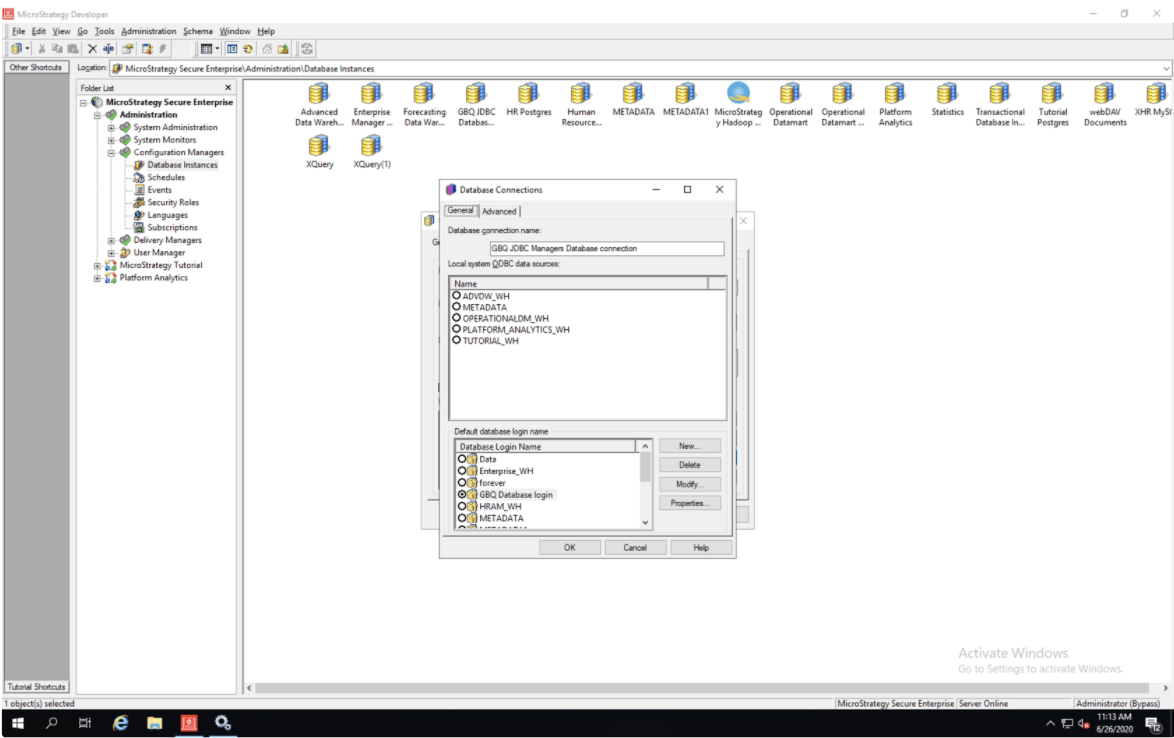
This article assumes that you have two Strategy groups created and each of these groups has at least one user with data import privilege. In this example, I have two groups, Developers and Managers, where the Developers group has a Developer user, while the Managers group has a Manager user associated with it. We are going to create one database instance “GBQ JDBC Database Instance;" two database connections “GBQ JDBC Developers Database connection” and “GBQ JDBC Managers Database connection;” and each of these database connections will use connection string with a different billing project. Lastly, we are going to use Strategy connection mapping to map the Developers group to “GBQ JDBC Developers Database connection” and the Managers group to “GBQ JDBC Managers Database connection." When the Developer user logs in, query the “GBQ JDBC Database Instance," and the billing project set up in “GBQ JDBC Developers Database connection” connection string will be used for billing. On the other hand, when the Manager user logs in, query the “GBQ JDBC Database Instance," and the billing project set up in “GBQ JDBC Managers Database connection” connection string will be used for billing.

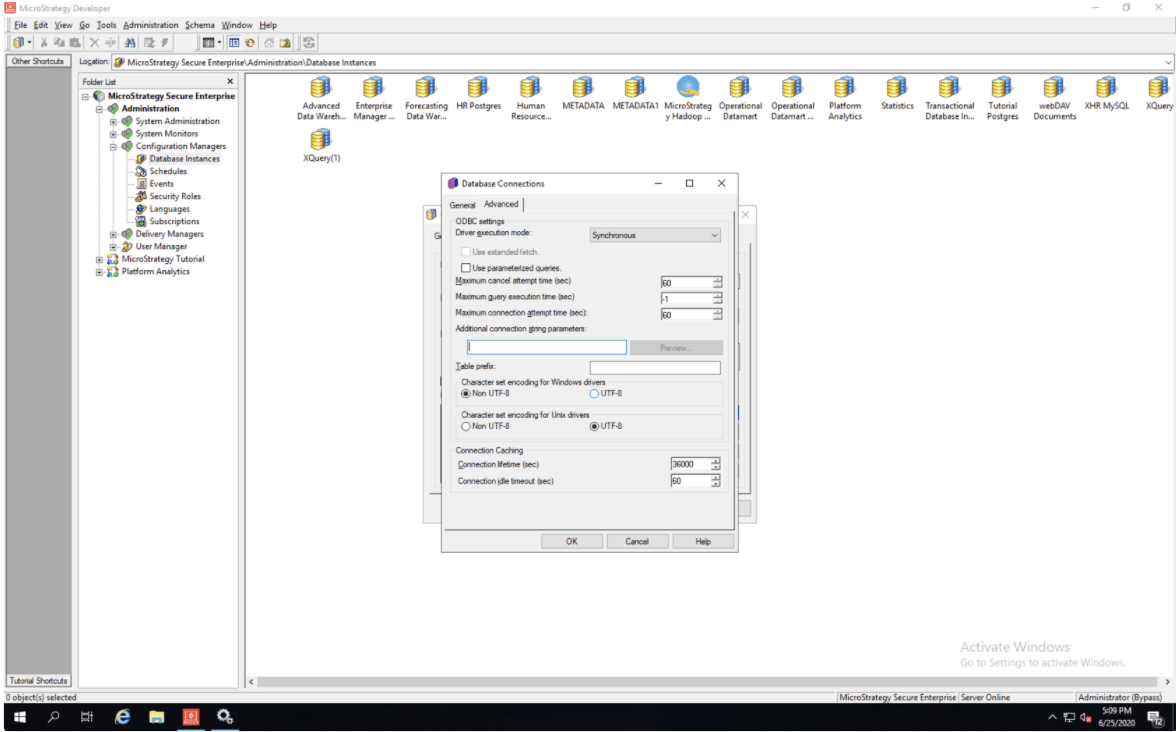
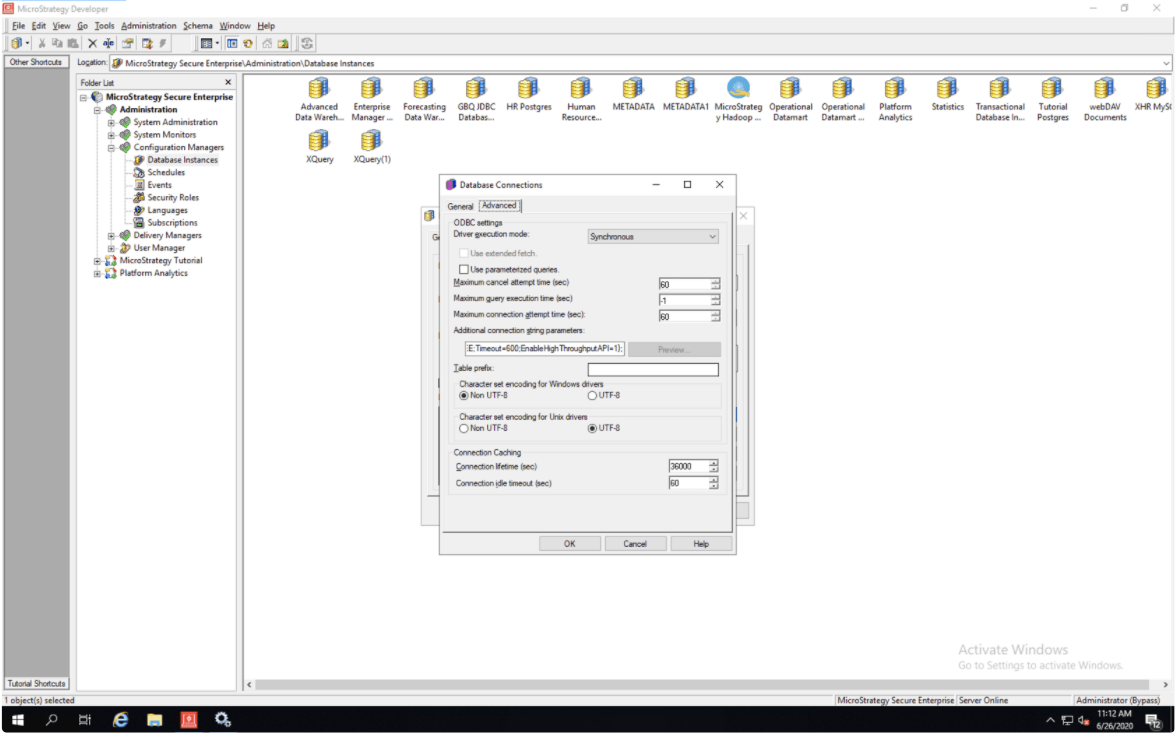
“JDBC;DRIVER={com.Strategy.googlebigquery.jdbc42.Driver};URL={jdbc:bigquery://https://www.googleapis.com/bigquery/v2;ProjectId=PROJECT_ID;OAuthType=2;OAuthRefreshToken=OAUTH_REFRESH_TOKEN;OAuthClientId=977385342095.apps.googleusercontent.com;OAuthClientSecret=wbER7576mc_1YOII0dGk7jEE;Timeout=600;EnableHighThroughputAPI=1};”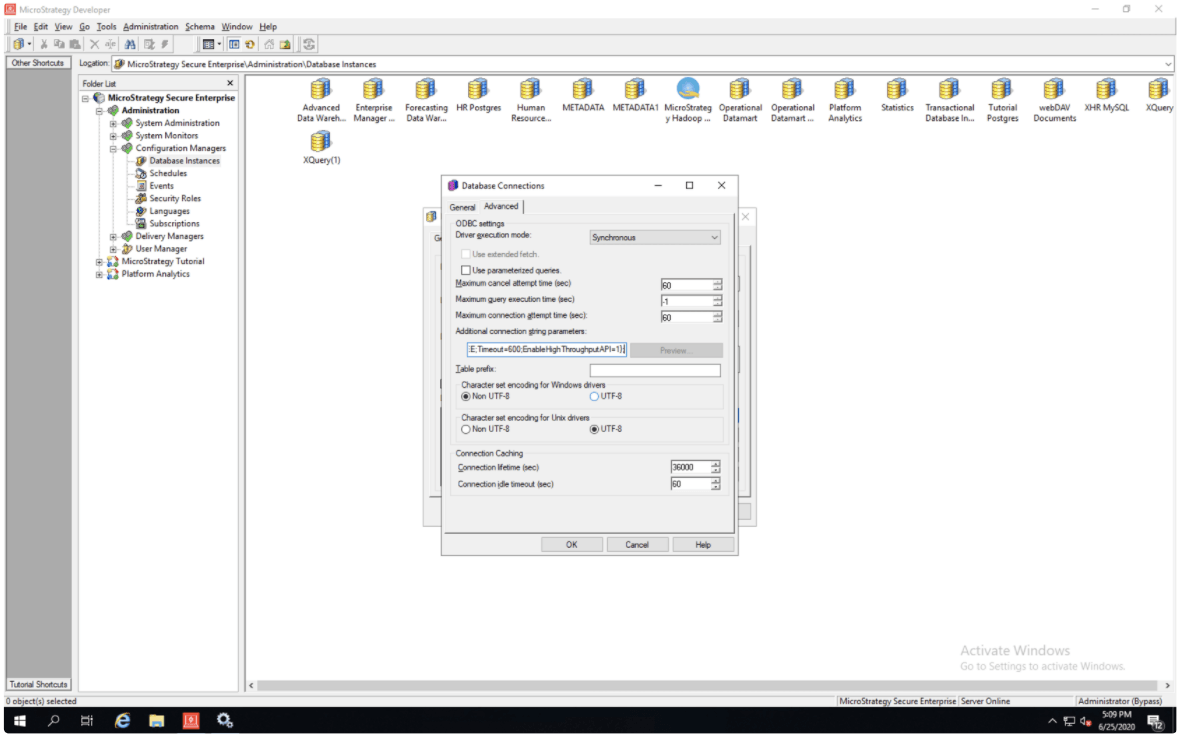
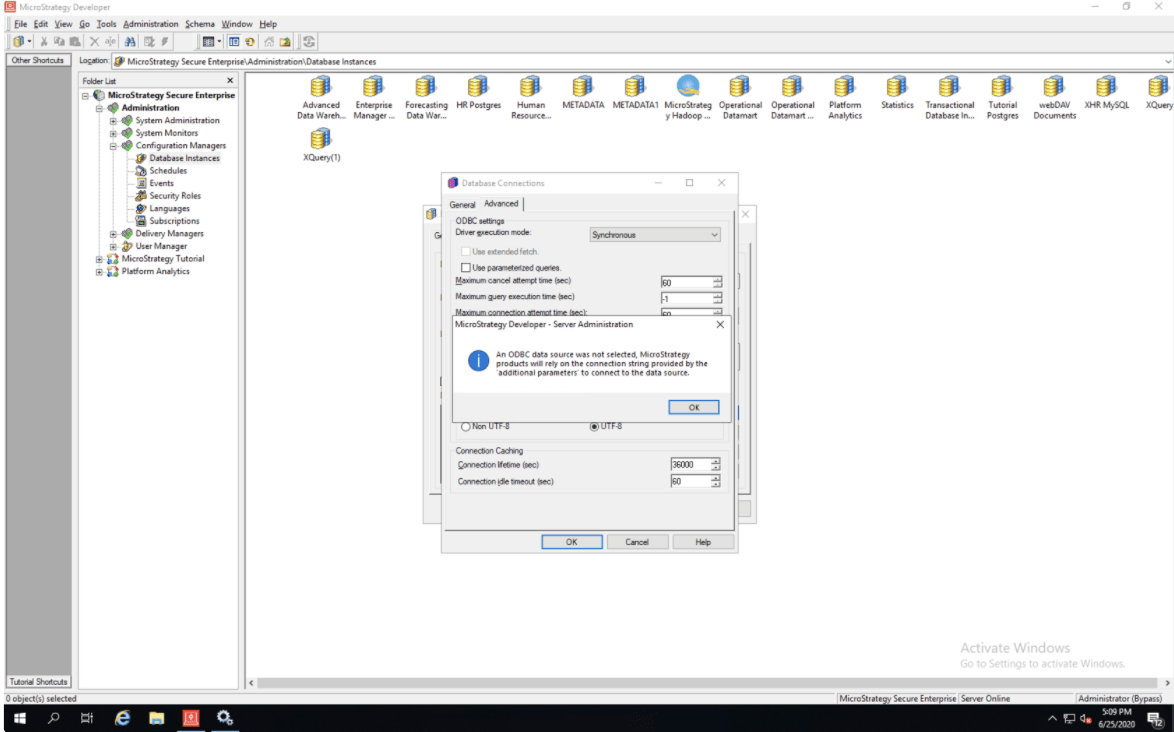

“JDBC;DRIVER={com.Strategy.googlebigquery.jdbc42.Driver};URL={jdbc:bigquery://https://www.googleapis.com/bigquery/v2;ProjectId=PROJECT_ID;OAuthType=2;OAuthRefreshToken=OAUTH_REFRESH_TOKEN;OAuthClientId=977385342095.apps.googleusercontent.com;OAuthClientSecret=wbER7576mc_1YOII0dGk7jEE;Timeout=600;EnableHighThroughputAPI=1};”